Making a DIY Miniature Pineapple with Polymer Clay at Home
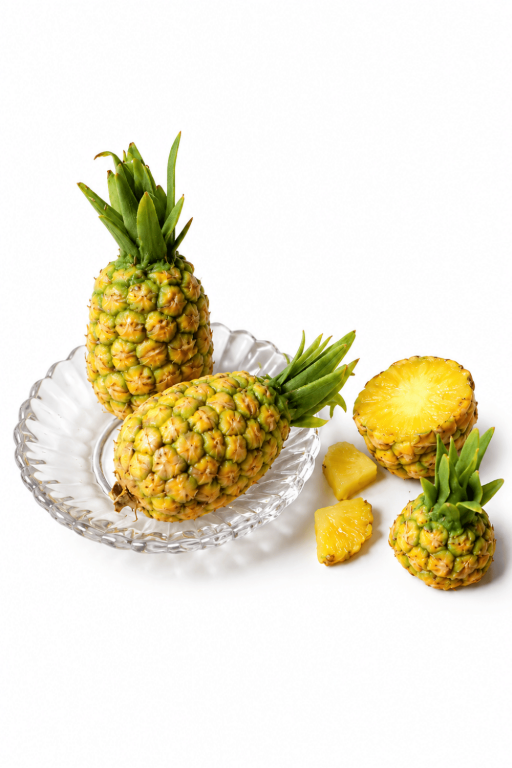
Learn how to make a DIY Miniature Pineapple with Polymer Clay in this fun and easy tutorial that helps you craft a professional, realistic design.
Who knew something as simple as a tiny pineapple could bring so much joy? Crafting a miniature pineapple with polymer clay is like playing with tiny fruit for grown-ups—it’s fun, creative, and completely adorable. This little project is perfect if you love tropical vibes, want to brighten your space with something unique, or just feel like making something ridiculously cute for no reason at all.
Easy DIY Miniature Pineapple with Polymer Clay Craft
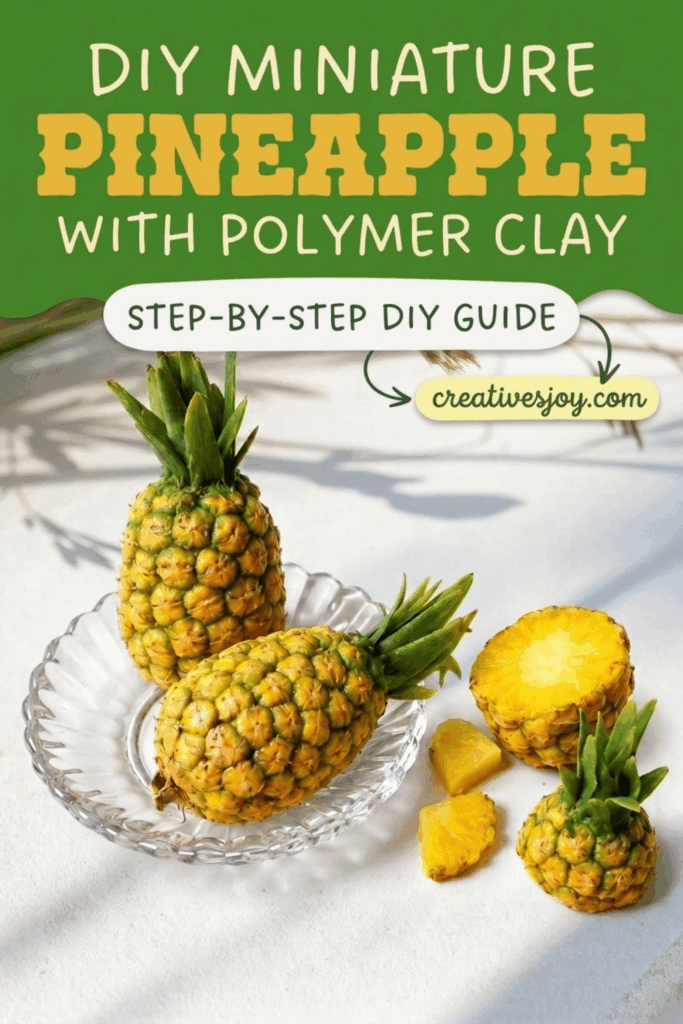
The best part about this DIY is how easy and satisfying it is. You’ll shape a squishy little yellow ball, give it that patterned pineapple texture, and pop on some spiky green leaves to finish the look. Real joy comes when you bake it in the oven and watch your tiny masterpiece transform into a solid, colorful decoration. It’s the perfect mix of art and fun, with no rules.
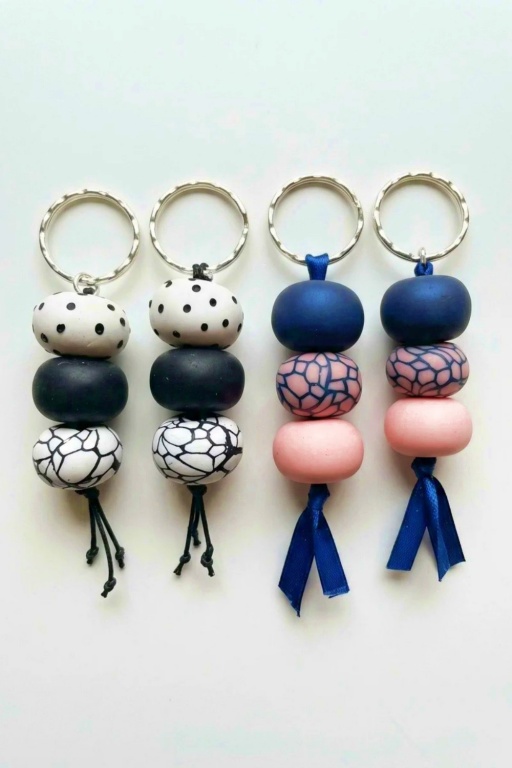
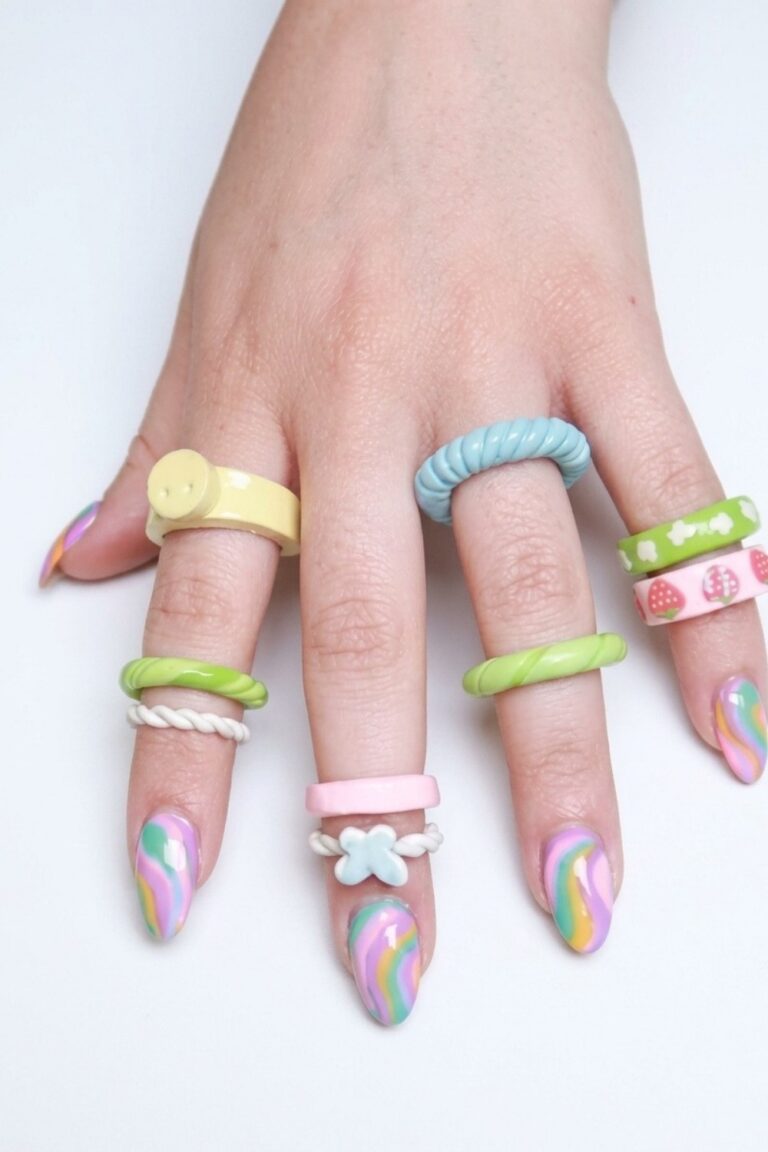
Whether you use your miniature pineapple as a charm for your keys, a quirky piece of jewelry, or just a cheerful decoration for your desk, this project is guaranteed to bring smiles. It’s simple, creative, and a little silly—in the best way possible.
DIY Miniature Pineapple with Polymer Clay
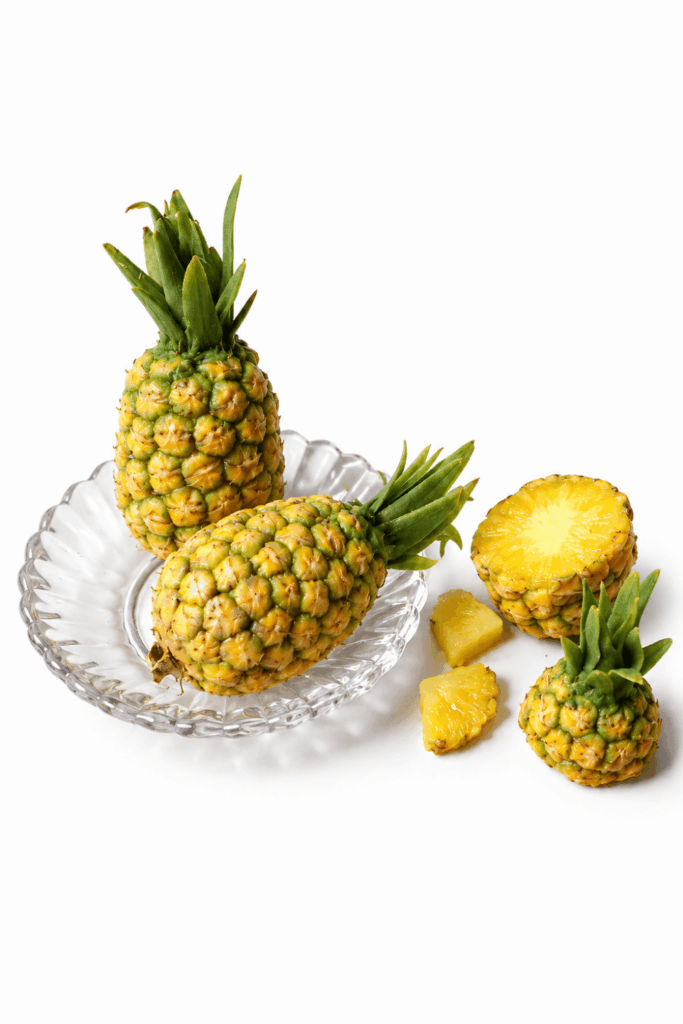
This tutorial shows how to make a small, textured pineapple using colored clay canes, thin sliced skin pieces, and a simple leafy top. The finished piece has a layered outer skin, slight color variation inside, and painted and glazed details for a polished look. Follow each step in order; the process is repetitive but straightforward and beginner-friendly.
Materials and tools
- Yellow clay in several shades (for the inner/pulp)
- Tan and green clay in a variety of shades (scrap clay is fine) for the outer skin
- Dark green clay (for the top leaves)
- Small pieces of paper (used after baking to mimic leaves and bottom half)
- Light tan acrylic paint
- Glaze (sealer)
- Needle tool or small dotting tool
- Cutting tool (blade or knife suitable for clay)
- Roller or other way to roll clay into canes and thin sheets
Making instructions
Prepare the pineapple core (inner/pulp)
Step 1 — Mix yellow shades
- Gather the different yellow clay shades you have.
- Mix the yellow shades together by combining them lightly; the aim is to create subtle color variation rather than a single flat color.
- Roll the mixed yellow clay into thin sheets or logs so you can work with smaller pieces.
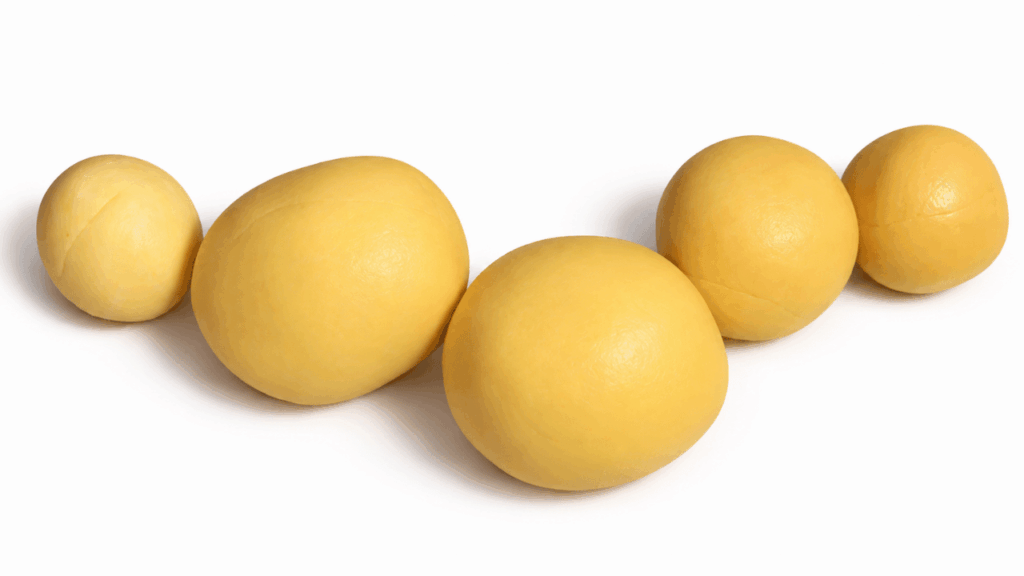
Step 2 — Stack small pieces for variation
- Cut or tear the rolled yellow into small pieces.
- Stack those small pieces one on top of another as shown in the video to build a layered look. Stacking keeps the yellows visibly varied inside the cane.
- Take care to keep the stacked pieces aligned so the cane will look even when reduced.
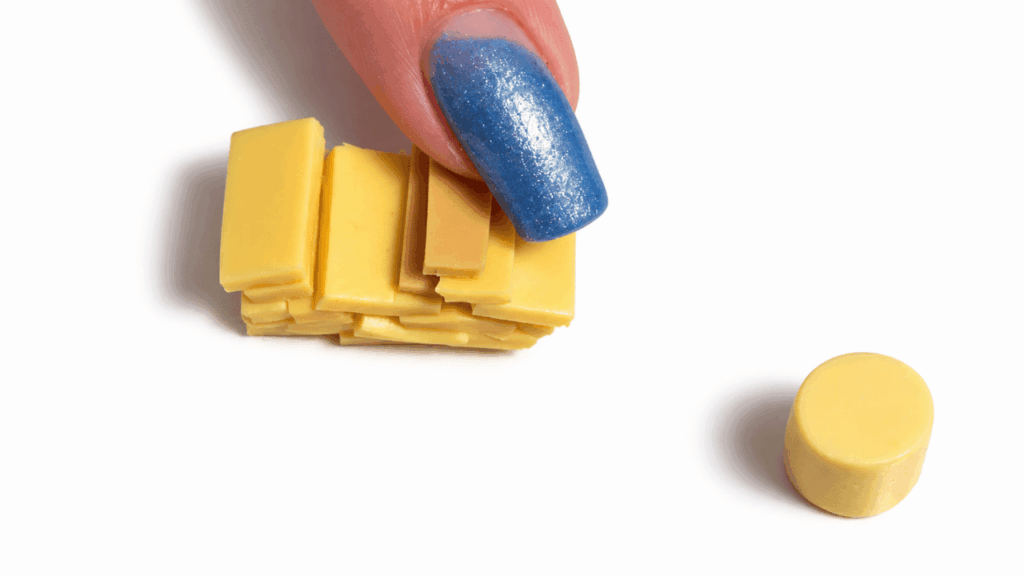
Step 3 — Reduce, cut, and wrap the centerpiece
- Reduce the stacked/rolled yellow stack so it becomes a workable-sized cane; the transcription calls this “reduce the size.”
- Cut the reduced cane into small pieces.
- Wrap the cut yellow pieces around a central core piece (the “centerpiece”) to form the inner part of the pineapple. The video shows wrapping many small pieces evenly around this center.
- Roll the assembled center gently until it becomes the basic inner pineapple cane or shape to receive the outer skin.
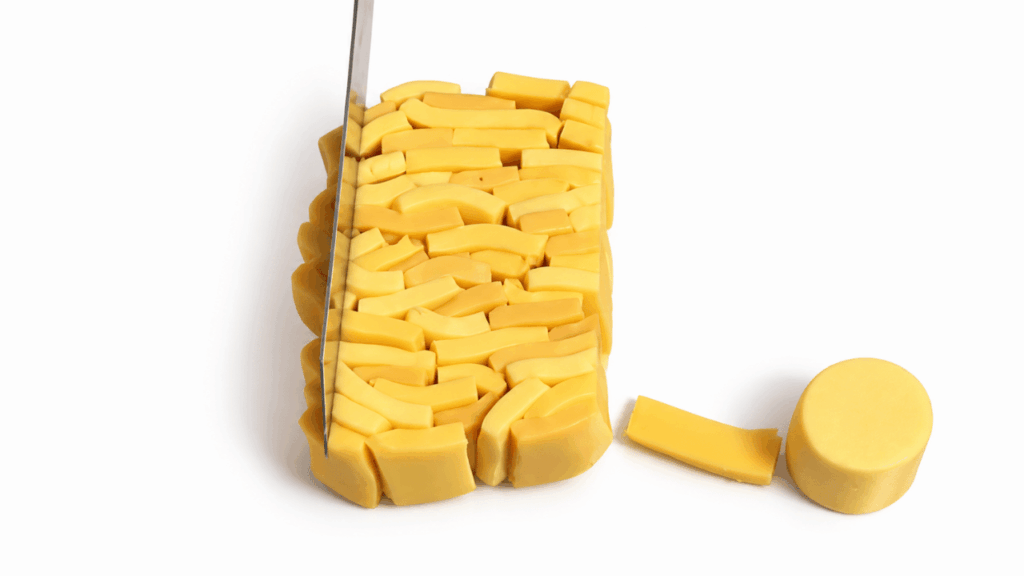
Build the outer skin cane and prepare slices
Step 4 — Gather tan and green shades
- Collect a range of tan and green clay shades; the video used a container of scrap clay with mixed tones.
- Combine these shades into an outer cane that reflects the natural color variation of pineapple skin. Work until the colors blend visually but remain distinguishable.
Step 5 — Roll the outer cane thin
- Roll out the outer cane so it is pretty thin. The transcript emphasizes thinness: thin slices will lay better and look more natural.
- Keep the thickness consistent so slices will have a similar profile when applied to the base.
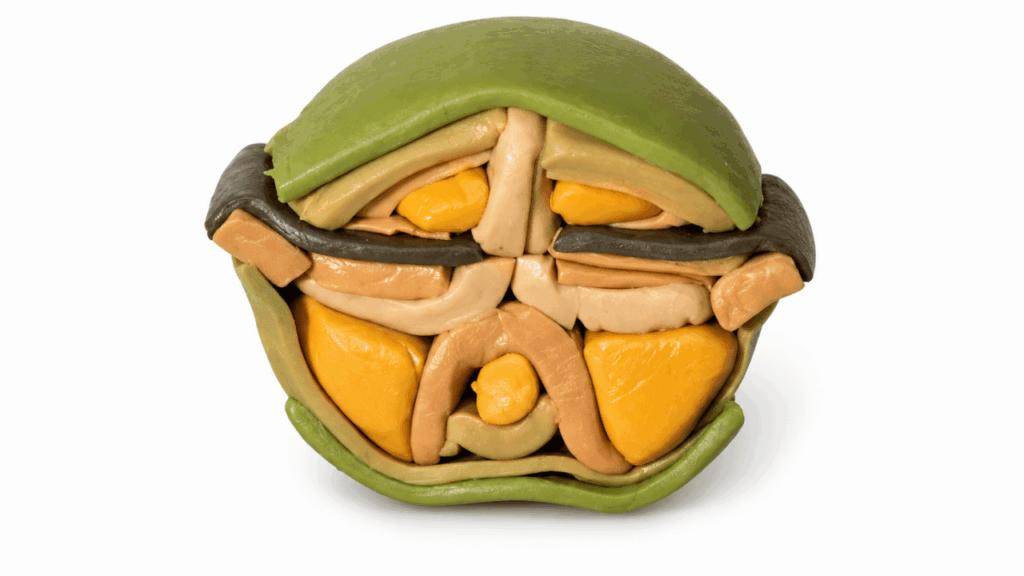
Step 6 — Cut many thin slices
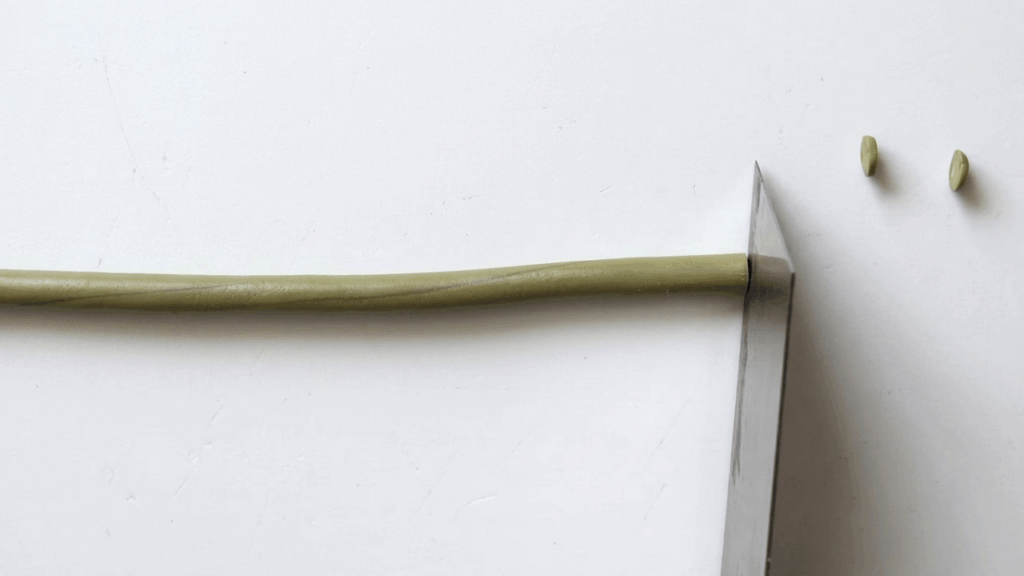
- Using your cutting tool, cut a lot of thin slices from the rolled outer cane. The piece needs many slices to cover the whole pineapple, so plan on cutting repeatedly.
- Aim for consistent slice thickness. Consistency helps the final surface look even and realistic.
Assemble the pineapple surface
Step 7 — Place slices on the base
- Begin placing the thin outer slices onto the yellow inner base. Work from one area and continue until the whole surface is covered.
- This may take some time—the video shows careful placement of many small slices. Arrange them closely so they form overlapping textured skin.
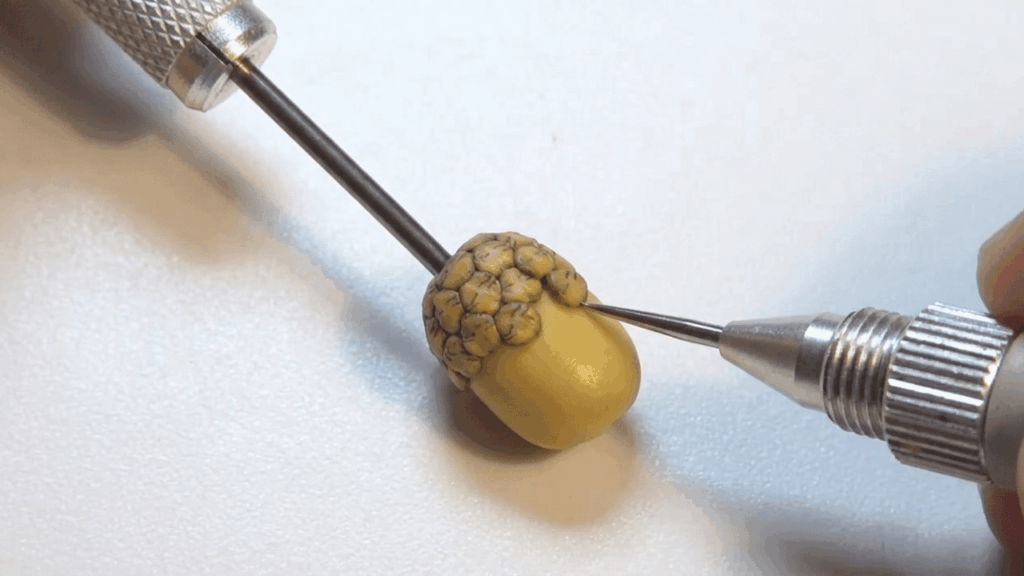
Step 8 — Correct shape and texture
- Use a needle tool or small dotting tool to correct any shapes, press slices into place, and blend edges where needed.
- Go over gaps and uneven areas with the tool to create a uniform textured surface. Press gently so slices adhere without losing their thin profile.
- Continue shaping until the pineapple’s surface resembles the textured pattern shown in the video.
Pre-bake, add the top, and final bake
Step 9 — Pre-bake the assembled surface
- Pre-bake the assembled piece for a few minutes as demonstrated in the video to stabilize the surface before adding details. This short bake helps the thin slices stay in place for the next steps.
- Remove from the oven and allow the piece to cool enough to handle before attaching the top.
Step 10 — Make and attach the top leaves
- Take the dark green clay and cut thin slices to form the leaves for the top of the pineapple.
- Attach these thin green slices to the top part of the pineapple. The slices should be layered to suggest leaf shapes on top.
- Press and arrange the leaves so they sit naturally on the top and integrate with the pre-baked pineapple surface.
Step 11 — Final bake
- After the leaves are attached and you are satisfied with positioning, bake the completed pineapple according to your clay’s instructions (the video shows a final bake after assembly).
- Allow the pineapple to cool completely after baking before moving to finishing steps.
Finish and seal
Step 12 — Add paper details and paint
- After baking, add small pieces of paper where the video shows them: to mimic the leaves and to suggest texture on the bottom half.
- Paint the paper and any parts you want to highlight with light tan acrylic paint to bring out depth and color variation. The light tan adds a subtle finish that matches the pineapple tones.
Step 13 — Seal with glaze
- Once paint is dry, apply a glaze over the entire piece to seal and protect it. The glaze will also give a finished, slightly polished look to the pineapple.
- Allow the glaze to dry completely before handling or displaying the piece.
Final notes
- The project is largely about repetition—rolling, slicing, and placing many thin pieces to build texture. Take your time with placement and tool work to achieve a natural-looking surface.
- Use the needle or dotting tool carefully to refine shapes and close gaps without disturbing nearby slices.
- The video shows a short pre-bake step before adding the top leaves and a final bake after assembly; follow those same sequencing cues to stabilize details at the right times.