Unique DIY Earrings with Polymer Clay Craft Guide
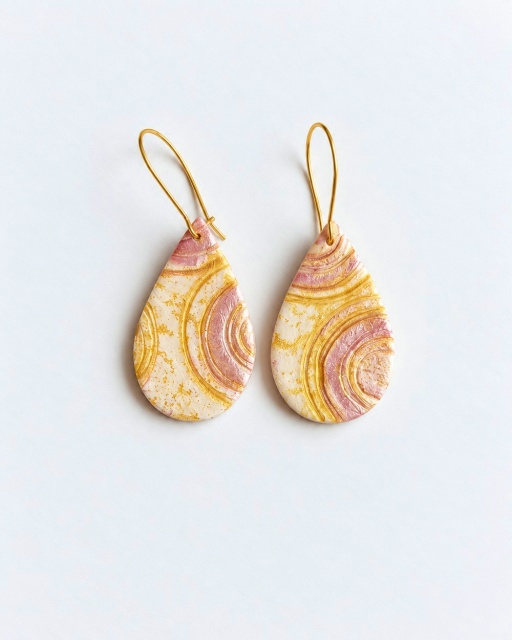
Make your own stylish DIY Earrings with Polymer Clay using this creative guide and craft fashionable accessories that look professionally made.
Jewelry has always been a fun way to express yourself, and creating your own earrings adds a whole new level of creativity to your style. Crafting earrings with polymer clay is an exciting DIY project that allows you to design unique, colorful accessories that reflect your personality. It’s a simple yet rewarding way to explore your artistic side while creating jewelry that’s perfect for any occasion.
Creative DIY Earrings with Polymer Clay Step-by-Step
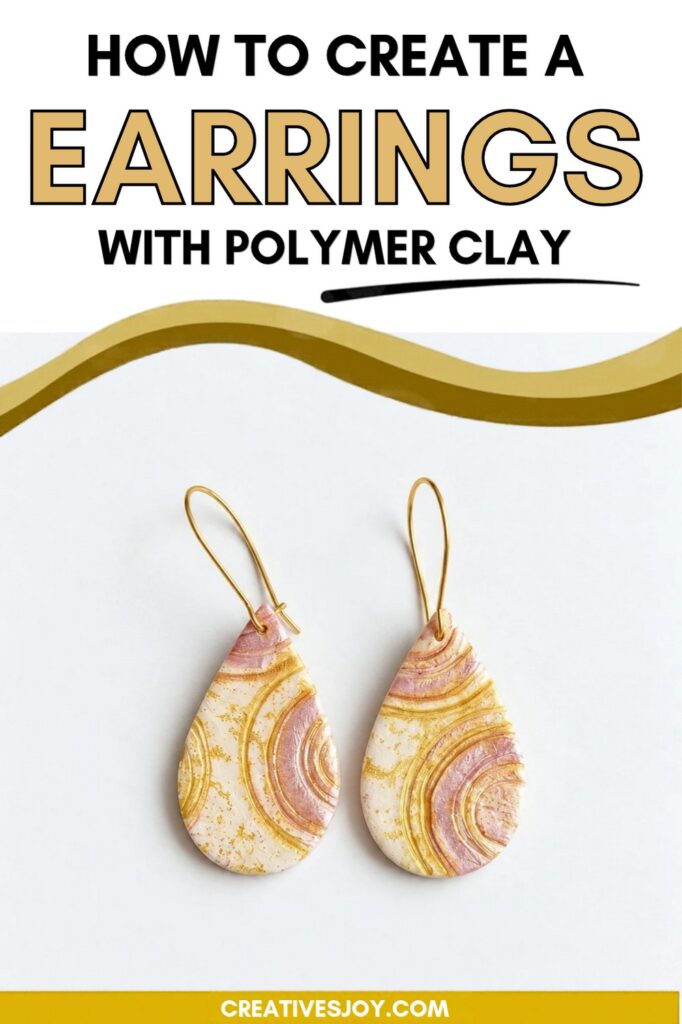
Using polymer clay to make earrings opens up endless possibilities. You can shape the clay into all kinds of designs—geometric patterns, cute shapes, or elegant styles—and play around with colors to create something that’s totally your own. Pronounced joy comes when you see how your ideas turn into beautiful, wearable pieces that add a personal touch to your outfits. Whether you prefer bold statement earrings or delicate, dainty ones, clay gives you the freedom to bring your vision to life.
This project is not just about the end result, but also the fun of experimenting and exploring your creativity. It’s a great activity to enjoy by yourself or with friends, and it doesn’t require expensive supplies to get started. Plus, making earrings with polymer clay lets you craft one-of-a-kind gifts for loved ones or create accessories that feel truly special. It’s stylish, fun, and a wonderful way to add a little flair to your everyday look.
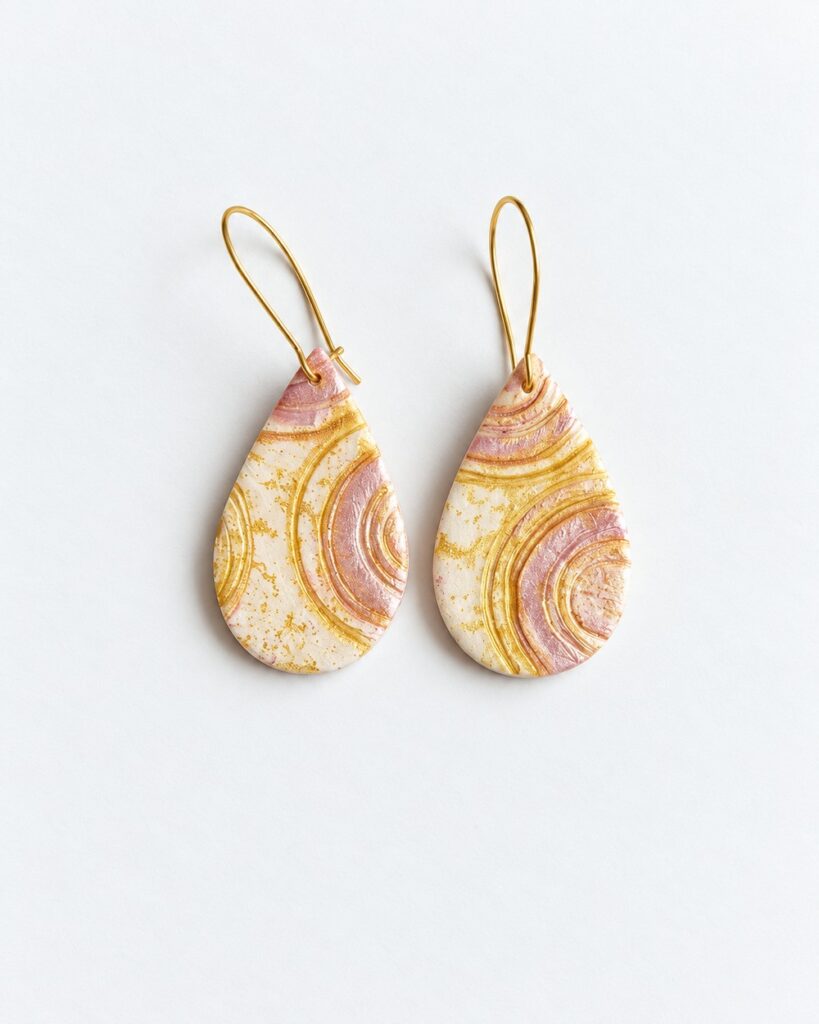
How to Create A Earrings with Polymer Clay
This idea shows a simple surface technique for polymer clay to create textured, metallic-ring jewelry pieces. The finished pieces have a white clay base with soft gold texture, concentric stamped rings, and a mica-highlighted inner ring. The method uses no special equipment and finishes with baking, sanding, and a varnish seal.
Materials and tools
- Conditioned white-coloured polymer clay (for the base; not too thin, slightly thicker)
- Any acrylic paint (video used a lighter-shaded gold)
- Sponge (for dabbing paint)
- Squeegee (for spreading paint)
- Round cutters in various sizes
- Pointed brush (for mica application)
- Mica powder
- Tissue or wet wipe (for cleaning paint edges)
- Scissors or blade (for cutting the slab)
- Materials to bake the clay (follow your clay’s instructions)
- Sanding and sealing supplies (sandpaper and gloss varnish or resin)
- Water and cleaning cloths for washing cutters
Preparing the clay base
Step 1 — Condition and shape the slab
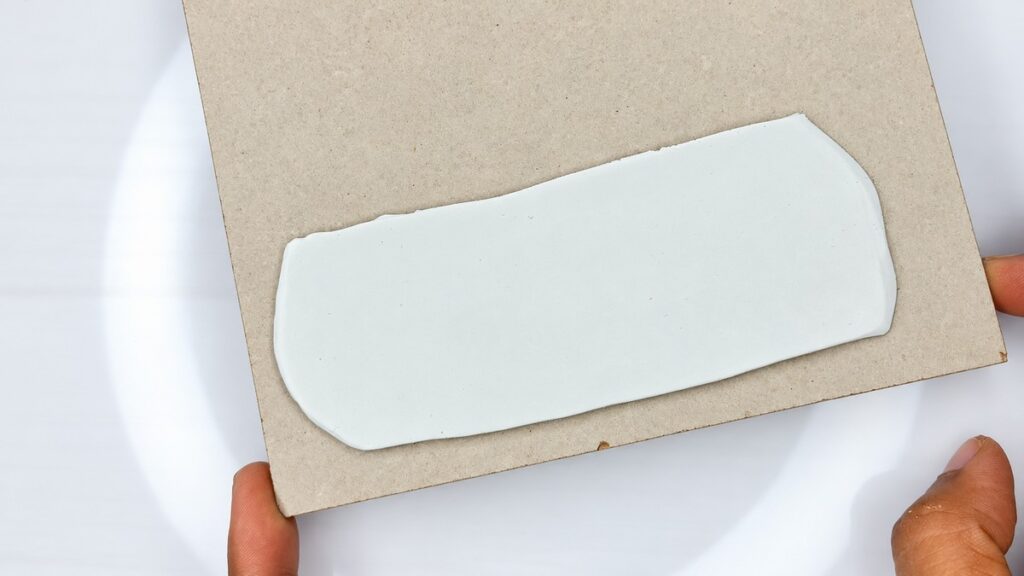
- Take a sheet of conditioned white polymer clay as your base.
- Make the slab slightly thicker than a thin sheet — you want a firm surface that will hold texture.
- Smooth the face of the slab so it is even and ready for painting.
Applying textured gold paint
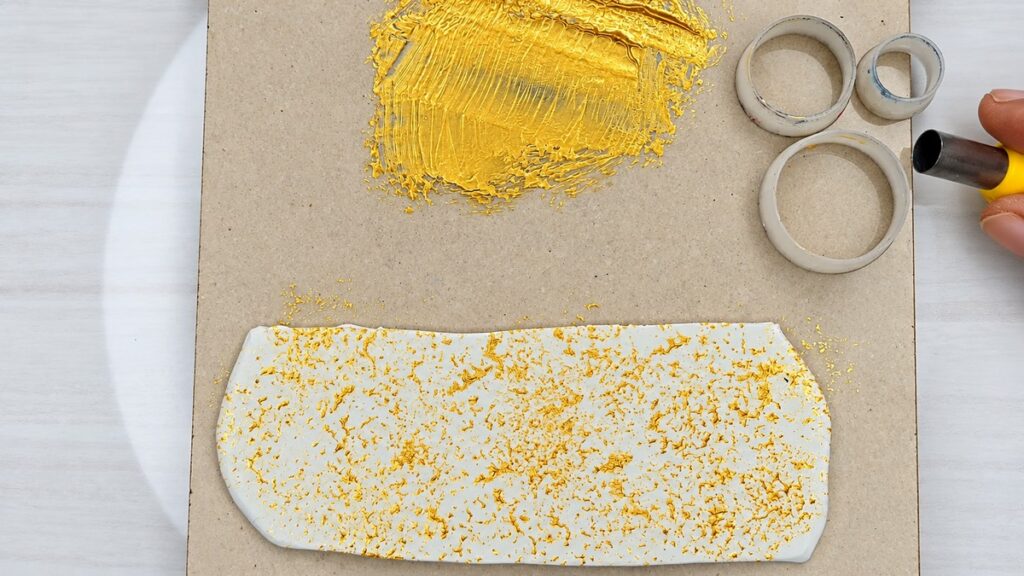
Step 2 — Load paint onto the sponge
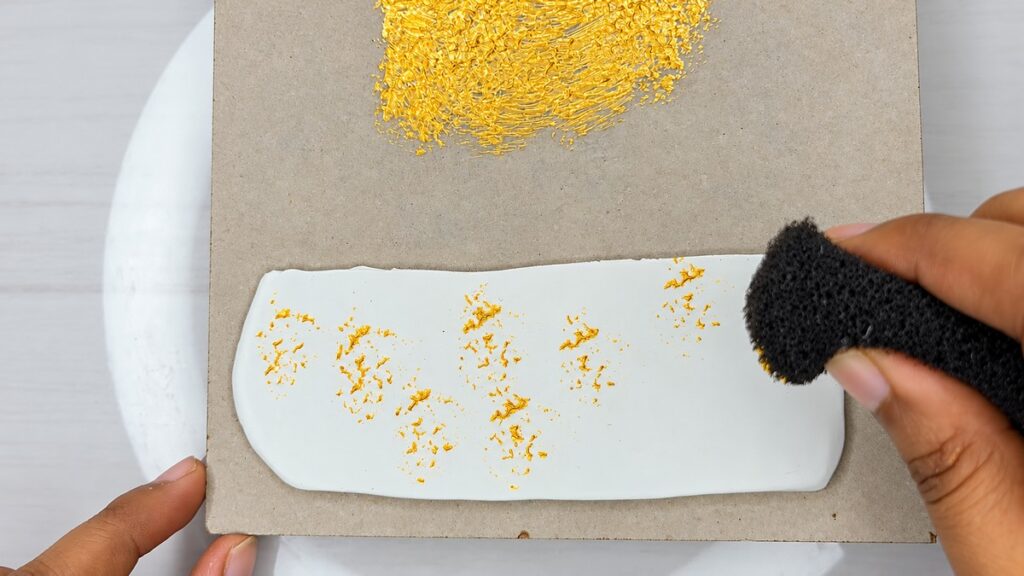
- Squeeze or dab a small amount of the lighter-shaded gold acrylic paint onto a palette or flat surface.
- Use a sponge and spread the paint so only a little bit transfers to the sponge.
- Dab the sponge gently onto the clay surface; do not rub hard.
- Press the sponge slightly to leave a soft, textured gold effect. This creates a subtle metallic texture across the white base.
Step 3 — Add more paint with a squeegee
- Put some more gold paint onto the palette and spread it thinly with a squeegee so the paint is even and easy to pick up.
- Keep the paint thin on the squeegee to control how much transfers to your cutter edges in the next step.
Stamping concentric rings with round cutters
Step 4 — Prepare cutters and transfer paint
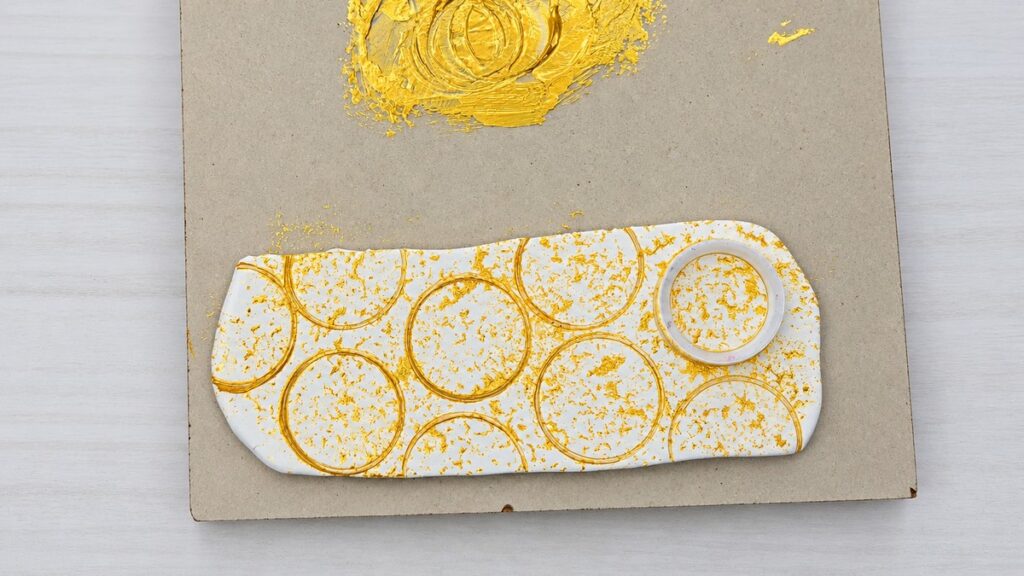
- Select a round cutter and dip its rim lightly into the thinned gold paint on the palette.
- Bring the cutter to the clay slab and slightly press the cutter rim into the clay so the paint transfers and leaves a ring.
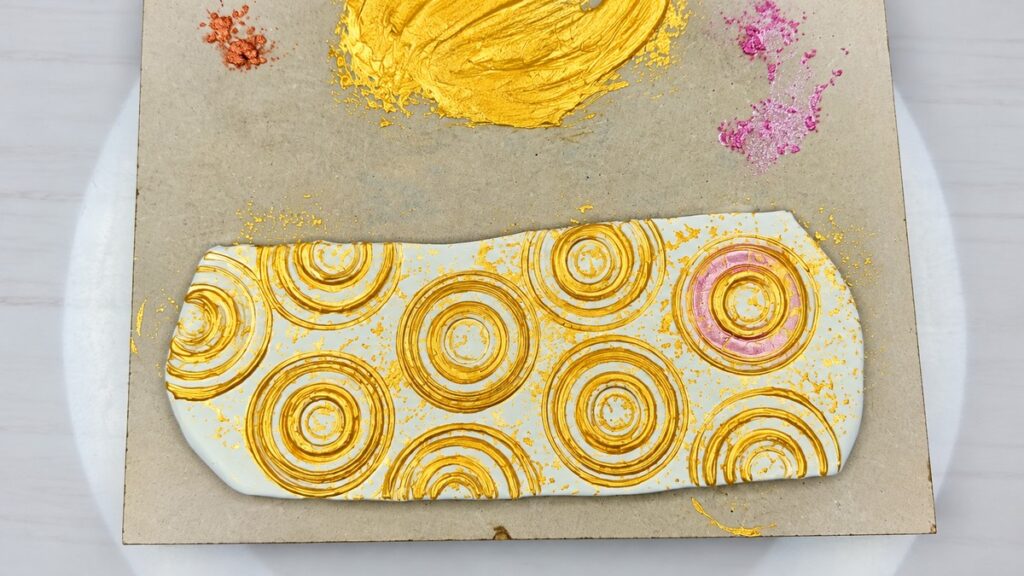
- Repeat with other round cutters of different sizes to create concentric circles or any ring arrangement you like.
Step 5 — Keep prints crisp and clean tools
- If paint pools or collects at the cutter edges or on the clay, wipe away excess immediately with a tissue or wet wipe to maintain a crisp print.
- As soon as you finish stamping, clean all cutters thoroughly so paint does not dry on them.
Adding mica powder detail
Step 6 — Paint mica powder into the ring portion
- Use a pointed brush to pick up mica powder mixed with a tiny amount of medium (as used in the video) and paint it into the ring portion created by the cutter.
- Work carefully inside the ring to highlight the area with mica and create a subtle shimmer.
- The video used lighter colours throughout for a soft look; note that a darker clay background (for example black) would make the print stand out more.
Cutting, baking, and finishing
Step 7 — Cut shapes and bake
- Cut the decorated slab into the shapes you want for your jewelry using scissors or a blade.
- Bake the clay according to your polymer clay manufacturer’s instructions (the video states “bake accordingly”).
Step 8 — Sand and seal
- After baking and cooling, sand the pieces to smooth edges and surfaces as needed.
- Because mica powder sits on the surface, apply a gloss varnish or resin to fix it. The video recommended always sealing mica with gloss varnish or resin.
- The creator applied varnish instead of resin here to keep a slight texture rather than a fully glassy finish.
- Allow the varnish to dry fully before handling or assembling into jewelry.
Quick reminders and tips
- Use a slightly thicker white clay slab so the texture and stamps register well.
- When dabbing paint, do not overload the sponge — less paint gives a subtle textured effect.
- Work quickly during stamping and clean cutters immediately to avoid dried paint spoiling prints.
- For a stronger contrast, try darker clay (the video notes black clay will elevate the print), but the shown technique uses a light, soft palette.
- If you prefer a smooth, glossy finish over mica, use resin; use gloss varnish for a textured sheen.