DIY Polymer Clay Otters Tutorial: Perfect Project for Animal Lovers
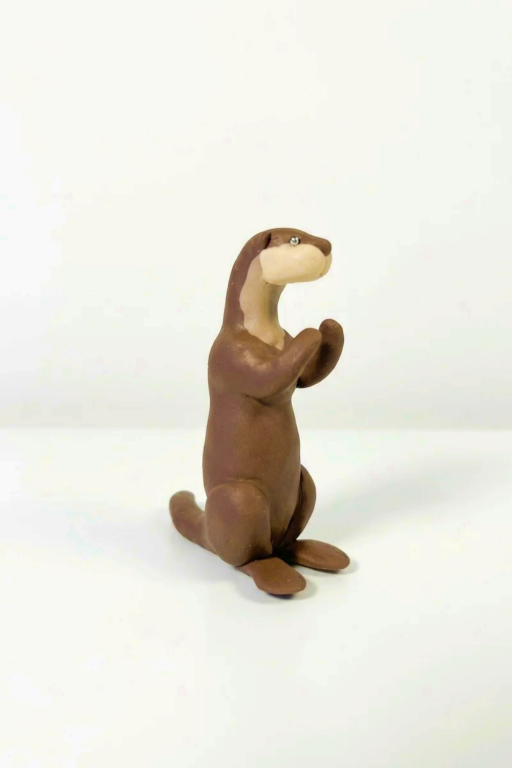
Enjoy making adorable DIY Polymer Clay Otters, perfect for handmade gifts, cute decorations, or adding charm to your craft collection effortlessly.
Have you ever wished you could turn a lump of clay into something adorable and full of personality? Imagine crafting your very own miniature otters—tiny, playful creatures brought to life with just your hands and a little creativity. This simple yet delightful DIY project is perfect for anyone who wants to turn ordinary materials into something special, no matter their crafting experience.
DIY Polymer Clay Otters Ideas to Add Charm to Your Decor
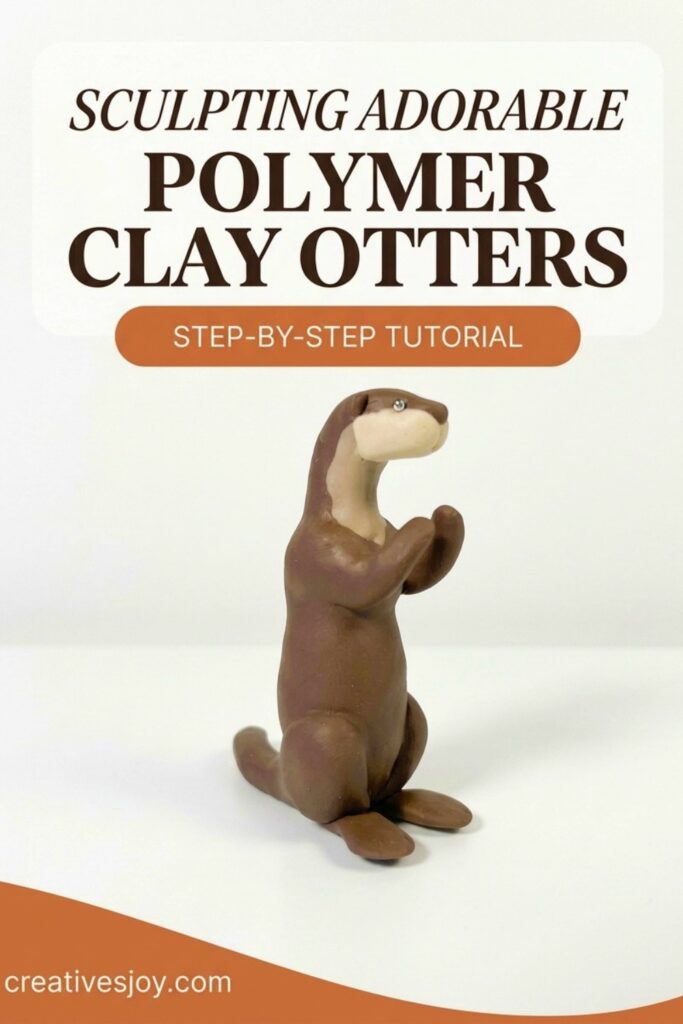
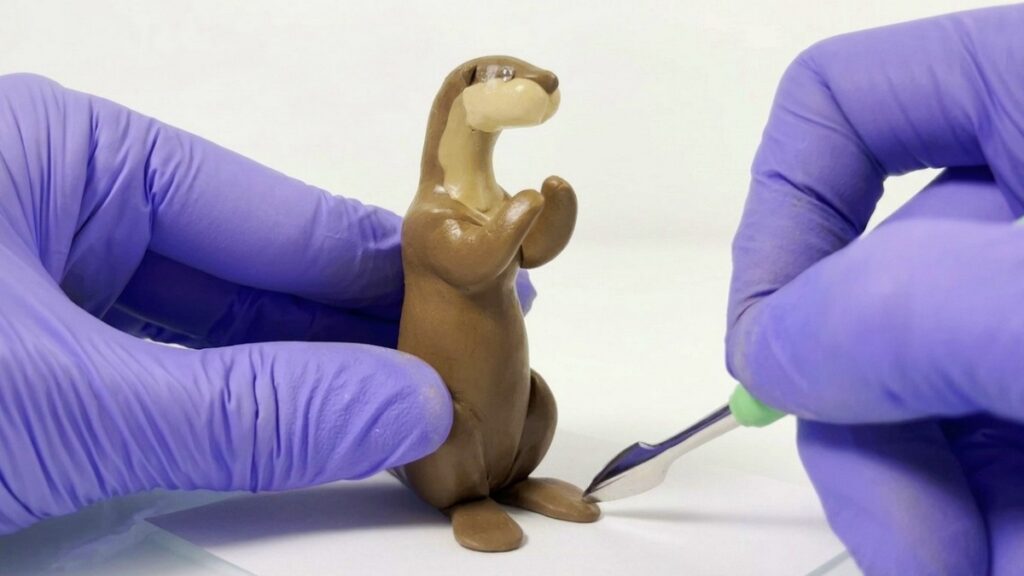
Making these clay otters is more than just a fun activity; it’s an opportunity to let your imagination shine. You’ll shape the clay step by step, adding adorable features like tiny paws, expressive faces, and even little accessories like a fish or seashell. The process is easy to follow, requiring only basic tools, and the clay itself is soft and simple to work with. Once you’re done, a quick oven bake hardens your creation, transforming it into a lasting keepsake that you’ll be proud to show off.
These miniature clay otters aren’t just creations—they’re a reflection of your creativity. Whether you keep them for yourself or gift them to someone special, you’ll love the charm they bring to any space. It’s a rewarding project that fills your day with fun and leaves you with something you’ll treasure.
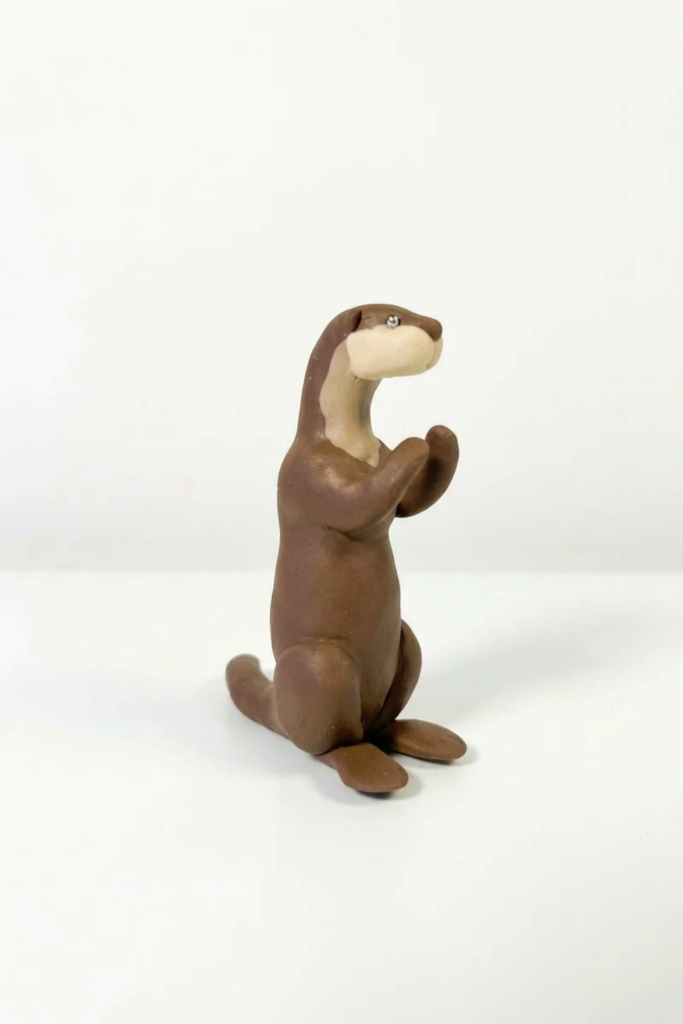
Joyful Stylized Sea Otter Sculpture
This project is a focused, reflective exercise in learning to sculpt stylized animals, using sea otters as the subject. The goal is not photorealism but to explore reduction, silhouette, and joyful form. You will practice thinking like a visual designer: deciding what features are essential, how to simplify them, and how to translate those choices into three-dimensional shapes. The process is intentionally uncomfortable at times because that’s where new artistic growth happens.
What You’ll Need
- Armature materials (wire, aluminum foil) for support
- Sculpting medium (air-dry clay, polymer clay, or oil-based clay) — choose what you’re familiar with
- Basic sculpting tools (loop tools, ribbon tools, spatula, smoothing tools)
- Dotting tool or ball stylus for eyes and small indents
- Fine sandpaper or smoothing sponge (for finishing)
- Reference images of sea otters and stylized animal art (logos, icons)
- Sketchbook and pencil for thumbnails and silhouette studies
- Work surface and container for water (if using water-based clay)
Before You Begin
- Commit to the mindset of exploration: prioritize learning over a perfect outcome.
- Collect references of sea otters in various poses and also of simple, graphic shapes (logos, mascots).
- Warm up by sketching quick thumbnails focused on silhouette; aim for many tiny variations rather than one polished drawing.
- Decide which elements of an otter you must keep for recognition (body proportion, tail, facial placement) and which you can simplify.
How to Make It
Step 1: Prepare the Materials
- Assemble your armature materials and cut wire to size for the pose you want.
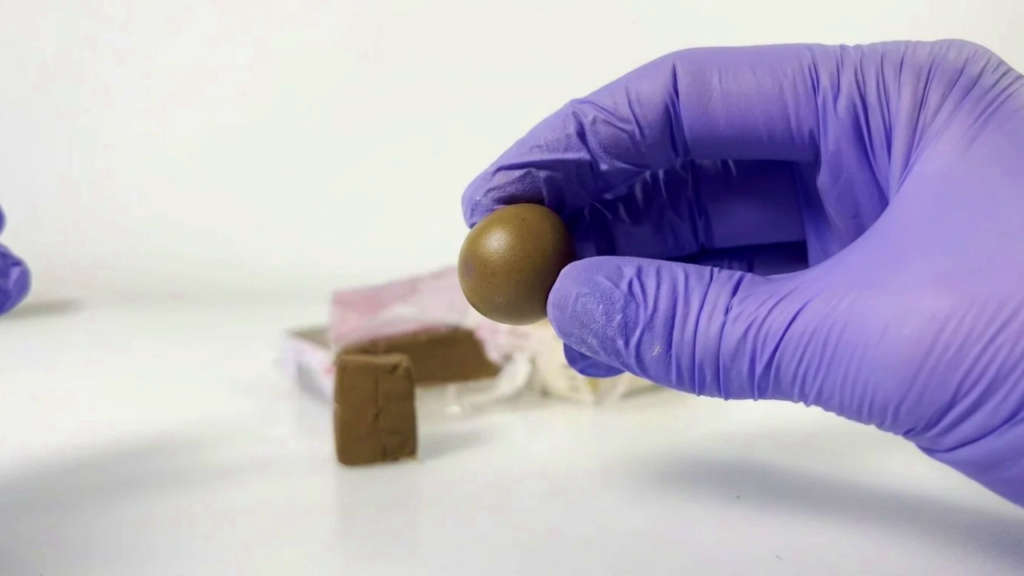
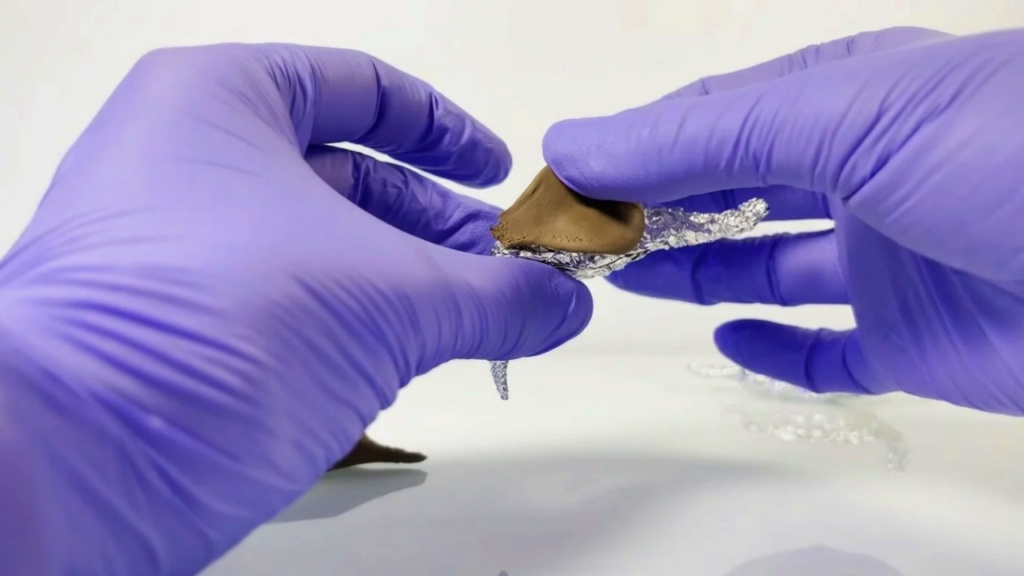
- Wrap core bulk with aluminum foil to save clay and create a stable mass.
- Condition your chosen clay until workable and set out tools and references.
- Sketch two or three thumbnail silhouettes to choose the strongest shape before you start sculpting.
Step 2: Start with Simplified Blocking
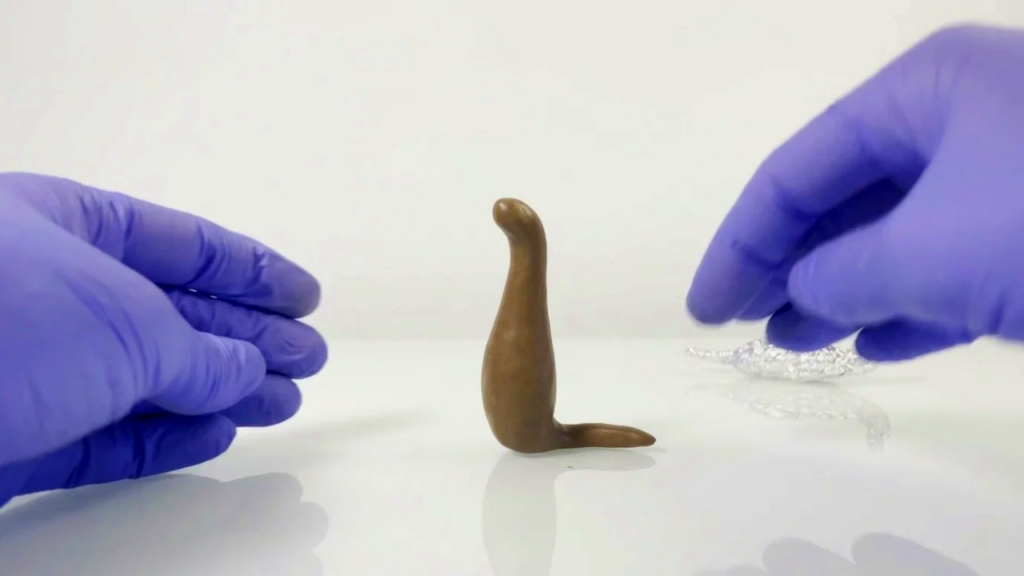
- Block in the main volumes using larger lumps of clay: torso, head, tail, and limb masses.
- Focus on achieving a clear, readable silhouette from one or two vantage points.
- Keep proportions exaggerated deliberately (for example, bigger head or stubby limbs) to emphasize stylization.
- Use the thumbnail sketches as direct guides; you should be able to compare the clay silhouette to your drawn silhouette frequently.
Step 3: Build the Main Part
- Refine the torso and head connection, smoothing transitions to create the “blobby” charm.
- Add the tail as a single flowing volume that reads clearly against the body.
- Place limb blocks without detailing: flat paddles or short stubs will convey the idea of limbs without getting lost in realism.
- Step back frequently and rotate the piece; evaluate negative space and the balance of shapes.
Step 4: Add the Details
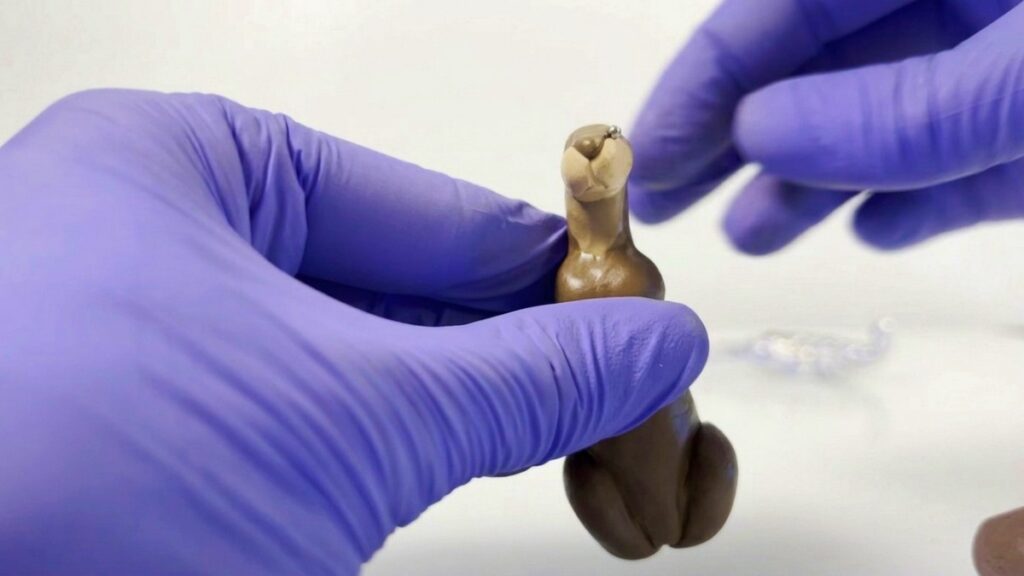
- Choose one or two small defining features to refine (for example, a distinctive nose, simple eye dots, or a fur patch) and keep everything else minimal.
- Use dotting tools for simple eye sockets or tiny black beads for pupils if appropriate.
- Create subtle surface textures only where they add character—over-texturing can ruin a stylized look.
- Reassess: if any detail starts to push the piece toward realism, simplify it again.
Step 5: Complete the Project
- Finalize smoothing and small adjustments, ensuring every line contributes to the overall design.
- If using polymer clay, bake according to manufacturer instructions; if air-dry, allow adequate drying time.
- Lightly sand any rough spots once cured, keeping the edges soft rather than sharp.
- Optionally apply a matte or satin sealant to protect the piece and unify surface appearance.
Finishing Details
- Consider mounting the finished otter on a simple base that supports the stylized composition rather than distracting from it.
- Use minimal color: a limited palette (two or three tones) often complements stylized forms better than complex painting.
- If you create multiple iterations, display them as a small family to showcase how small changes in silhouette and proportion alter personality.
Helpful Tips
- Embrace failure: every “meh” result teaches a specific lesson about proportion, negative space, or simplification.
- Think like a designer: ask “what’s necessary?” and “how can I simplify this while keeping it recognizable?” before committing to details.
- Use thumbnails aggressively; they are cheaper and faster than reworking clay.
- Practice a single decision repeatedly—e.g., how to depict an otter’s flipper—so you develop a library of stylized solutions.
- If a detail feels wrong, subtract rather than add—stylization often benefits from restraint.
Your Finished Craft
By completing this project you will have practiced converting realistic knowledge (anatomy and form) into abstract decisions (shape language and symbol). The finished sea otter should read clearly at a glance, evoke personality, and show confident, simplified choices instead of meticulous anatomical accuracy. More importantly, you will have exercised the habit of stepping outside your comfort zone and applying graphic design thinking to sculpture. Repeat the process with different poses or animals to deepen your understanding; over time those uncomfortable choices will become joyful tools in your creative toolbox.