Beginner DIY Polymer Clay Rings Ideas – step-by-step guide
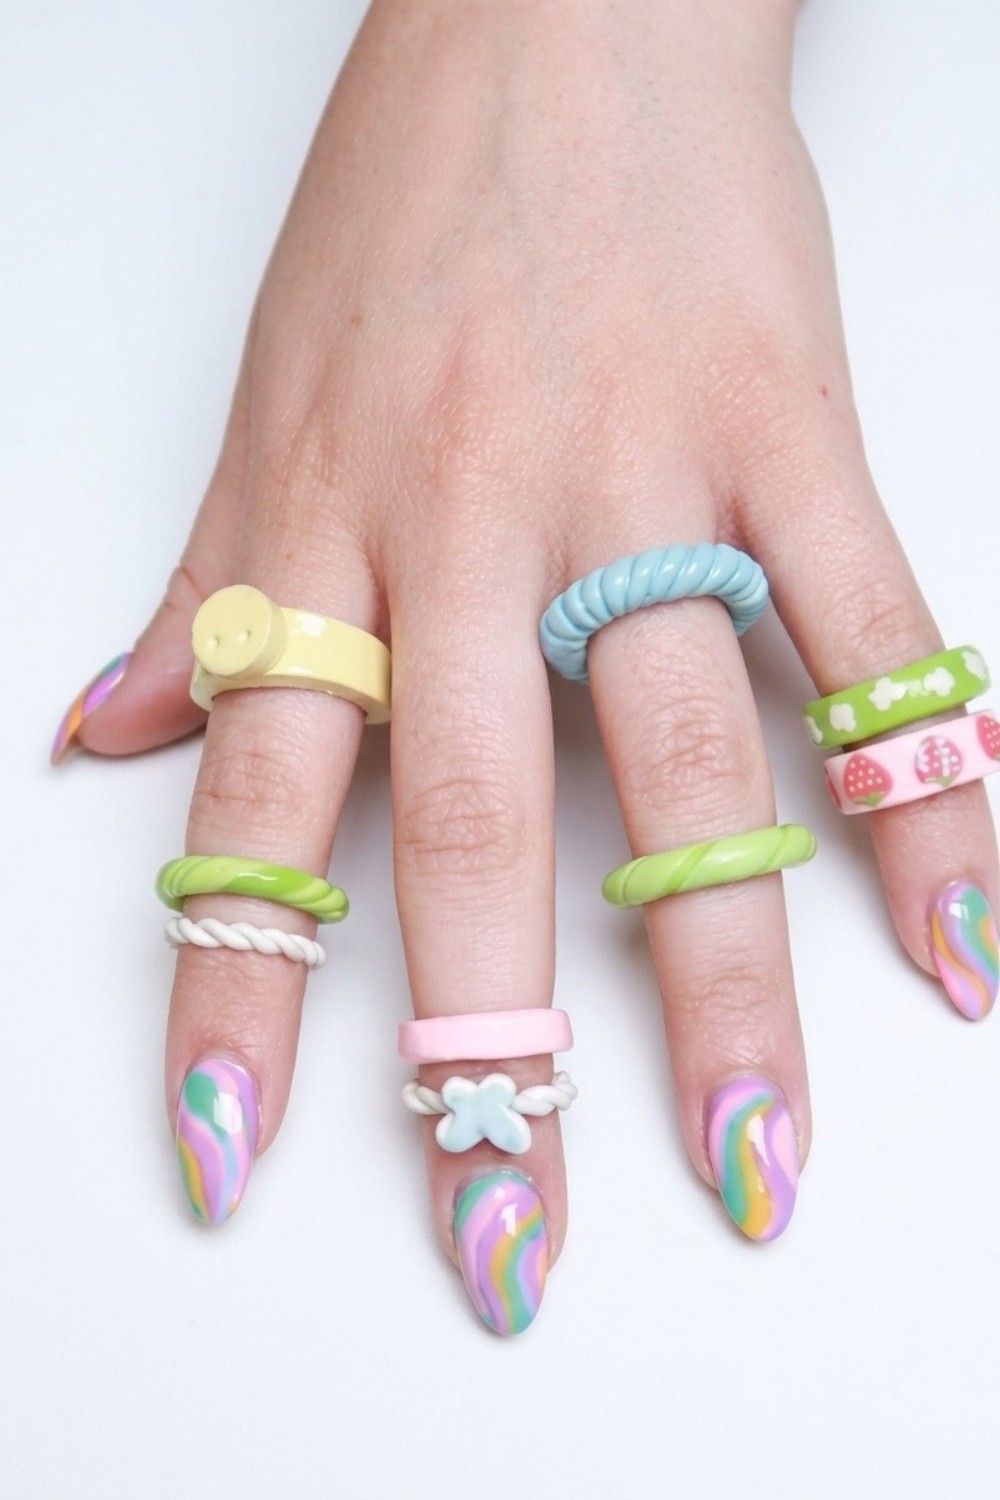
Try joyful polished DIY Polymer Clay Rings showcasing sleek stackable pastel styles with a professional finish that feels handmade and fun to wear.
Sunlight found a small pile of pastel rings on my desk, each one catching the light in a different, cheerful way. These DIY Polymer Clay Rings feel like tiny wearable art—chunky yet light, with soft silhouettes and playful accents that make them impossible to ignore.
Beginner DIY Polymer Clay Rings step-by-step guide
I enjoy it by making these little pieces, and you also happy to make and wear it; the emotion shows in every imperfect edge and hand-pressed dot. The collection balances glossy and matte finishes: some pieces gleam with a jewelry-like shine, while others keep a soft, powdery look that reads casual and cozy. Tiny details—a bubbly texture, a smiling face, slender twisted bands, or miniature cane motifs, give each ring a distinct character that reads both fun and refined.
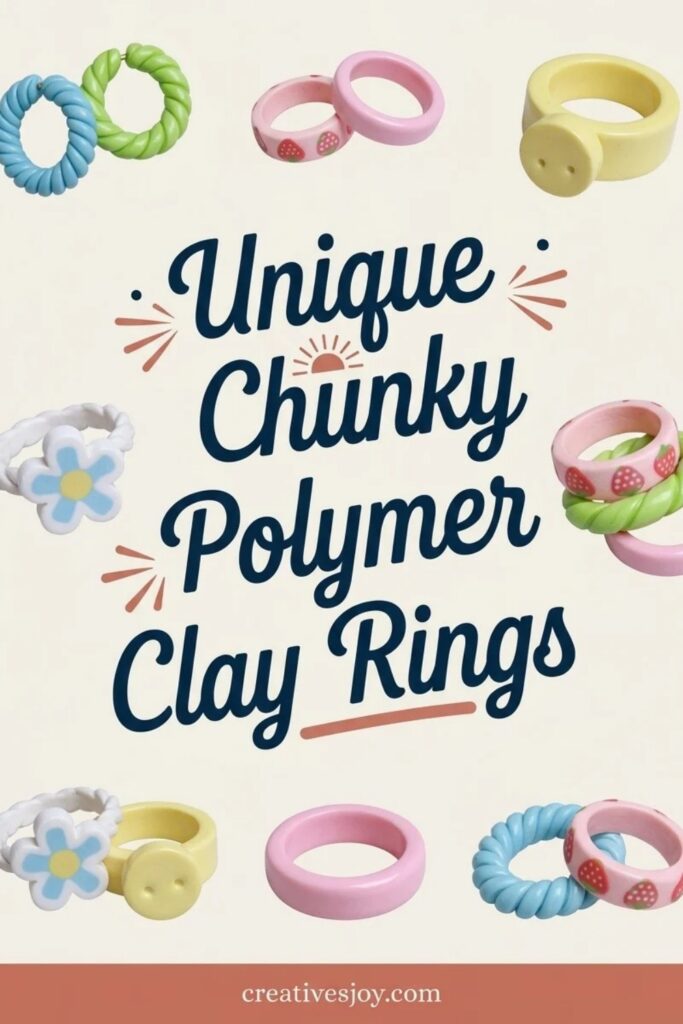
They’re meant to be mixed, stacked, and worn every day, serving as colorful punctuation for simple outfits or as a playful contrast to more formal looks. The charm comes from human touches: slight asymmetry, visible fingerprints smoothed into the surface, and the subtle depth of layered color. These rings feel personal rather than perfect, and that personality makes them memorable. Lightweight and bold, this set invites experimentation and brings a small, joyful accent to hands without overpowering them.
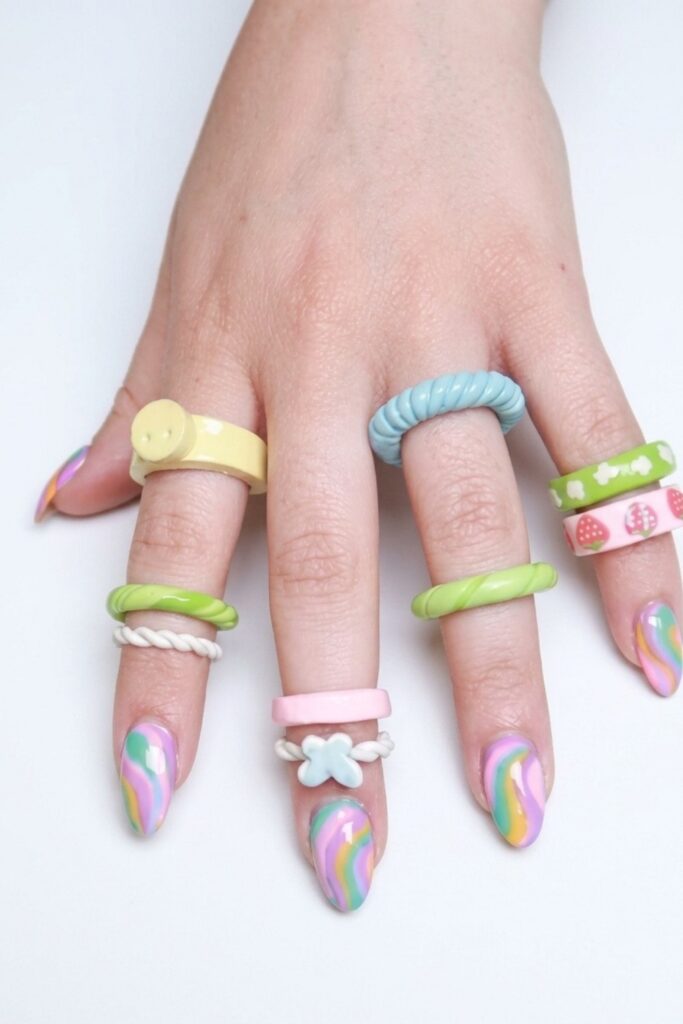
Unique Chunky Polymer Clay Rings
This tutorial explains how to make chunky polymer clay rings like the pastel, spring-style rings popular on social media. The process is broken into clear, beginner-friendly steps: shaping a band, adding texture or decorations, baking, and finishing. You can make multiple styles from the same basic techniques and customize colors, textures, and accents.
Design overview
- Chunky, wearable silhouettes that highlight color and small details.
- Variations include smooth bands, bubbly textured rings, face or cutout accents, cane-slice decoration, and twisted thin bands with tiny pendants.
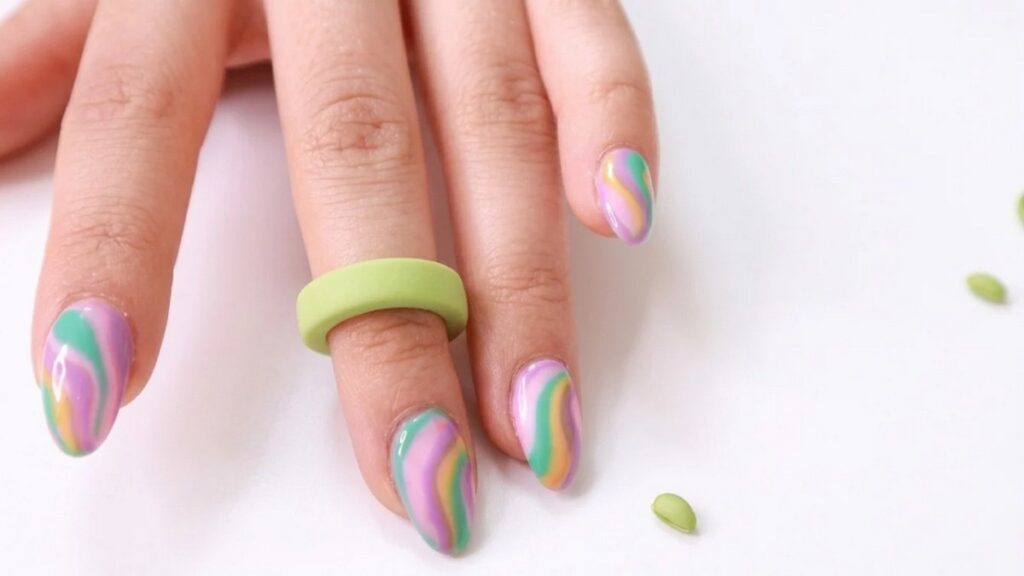
- Finishes range from matte handmade to glossy, glazed surfaces for a polished look.
Gather materials (why they matter)
Using suitable materials and keeping them clean gives predictable shaping, reliable adhesion, and durable results after baking. Quality polymer clay conditions smoothly and holds details; clean tools and surfaces reduce dust and lint that show on finished pieces. A few basic shaping and cutting tools let you create consistent rings and neat decorative elements without needing advanced equipment.
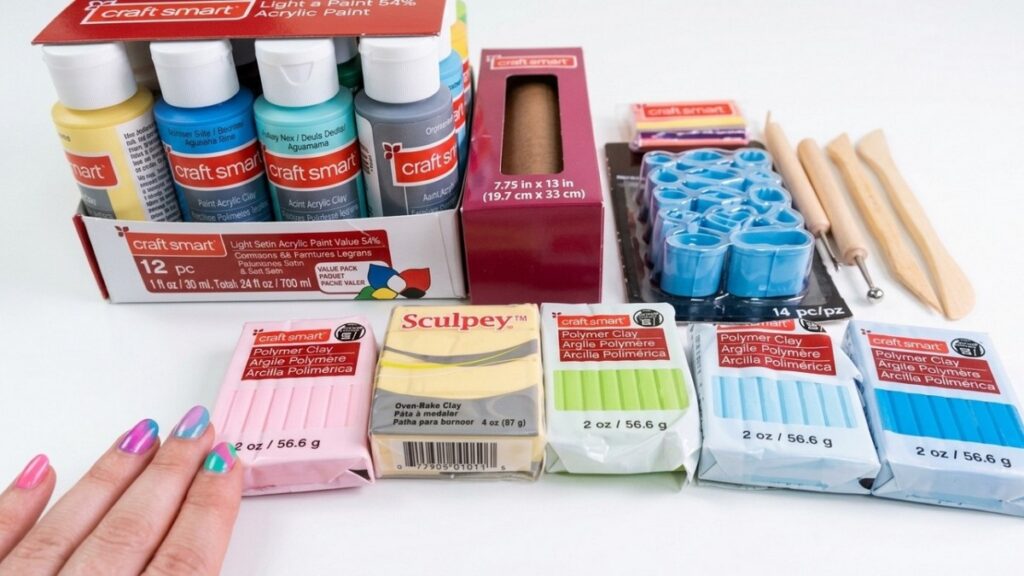
Materials & tools
- Polymer clay in assorted colors (pastels, white, translucent).
- Acrylic paints (optional) for added detail.
- Translucent liquid clay (e.g., liquid Sculpey) for securing cane slices.
- Small cookie cutters or circular cutters, needle tool, X-acto knife or craft blade.
- Balling tools and blending tools, small roller or conditioning tool.
- Rolling surface (glass tile or clay mat), ruler, marker or thin tube to size rings.
- Oven-safe tray, parchment paper, q-tips, isopropyl alcohol, glaze (varnish).
Important tips before starting
- Keep hands and workspace very clean; dust and fibers embed in clay and are hard to remove after baking.
- Condition clay by kneading until soft and even, but avoid overheating from overworking.
- Use a marker, highlighter, or a ring sizer to test fit rather than guessing—allow slight clearance for comfort.
- Score and gently press joint surfaces before baking to strengthen bonds.
- Follow manufacturer baking time and temperature exactly and allow full cooling before handling.
Pattern — Step-by-step Rounds
Each round is a self-contained ring style. Important action words are bolded to guide the main manipulations.
Round 1 — Simple Chunky Band
Purpose: Form a clean, uniform chunky ring base.
- Condition a generous piece of clay until soft and uniform.
- Roll into a smooth snake of consistent thickness.
- Wrap around a marker or tube sized to the finger, cut to length.
- Blend the ends together by pressing and smoothing with a blending tool or needle tool.
- Flatten inner and outer faces slightly for comfort and stability.
- Smooth seams with warm fingertips or a ball tool, avoiding overheating that makes clay too soft.
Round 2 — Bubbly Textured Ring
Purpose: Add tactile interest using repeated indentations.
- Form a uniform snake as in Round 1 and join ends into a ring.
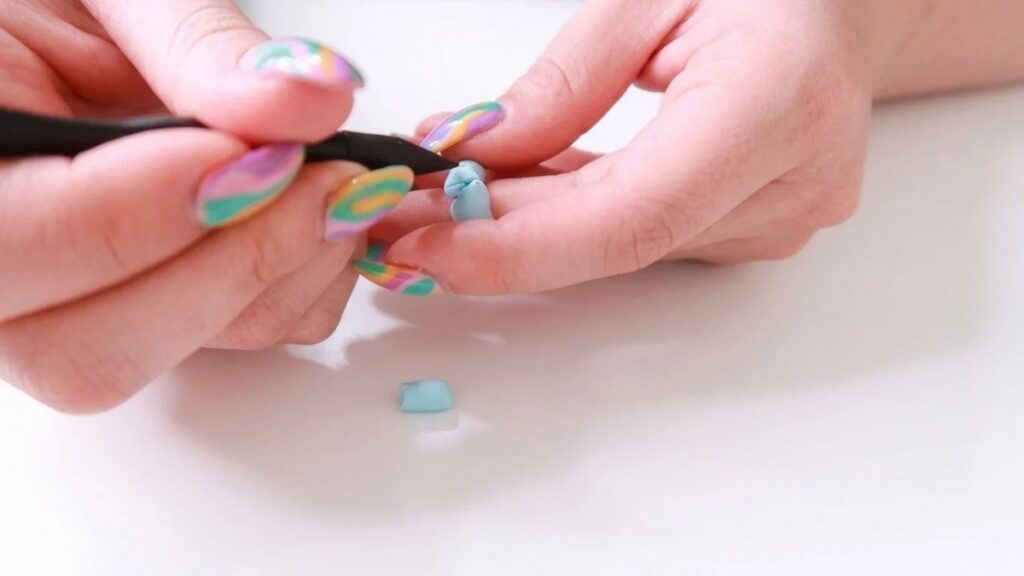
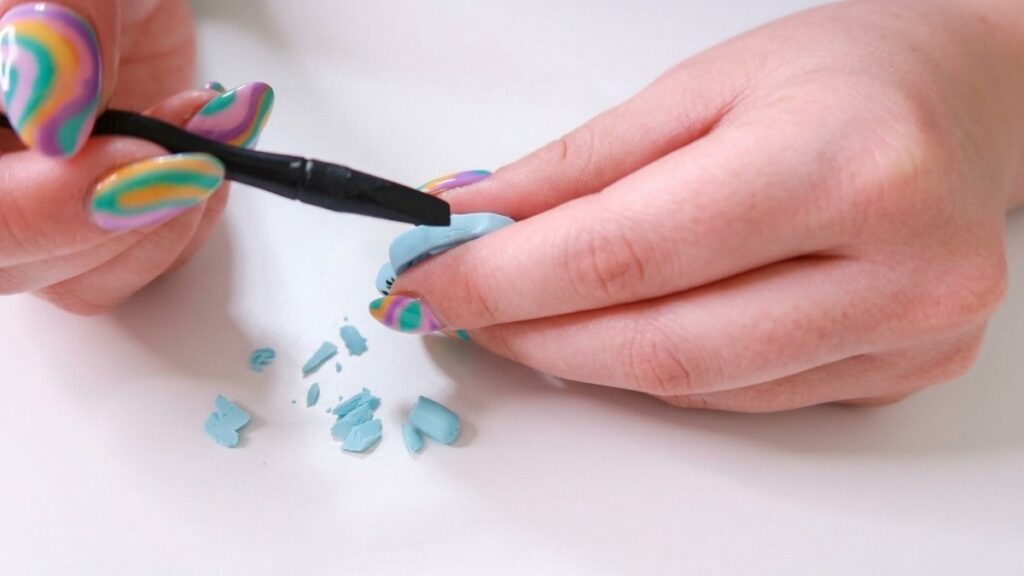
- Use a needle tool or small pointed tool to press small, evenly spaced indentations along the outer surface.
- Deepen marks by going over spots a few times where needed to achieve consistent texture.
- Refine any sharp edges with a blending tool before baking so dimples look intentional and neat.
Round 3 — Smiley Face or Cutout Accent Ring
Purpose: Create a focal decorative top on a chunky band.
- Make a thick band base following Round 1.
- Use a small circular cutter to press a shallow circle on the top for the face, or cut a small shape (heart/flower) separately.
- Form features: press balling tool dents for eyes and carve a smile with a needle tool.
- Attach any cutout accent by blending its base into the band surface so seams disappear.
- Check joins and smooth transitions carefully before baking.
Round 4 — Cane Slice Decoration with Liquid Clay
Purpose: Apply patterned cane slices cleanly without crushing them.
- Prepare the ring base and brush a thin layer of translucent liquid clay on the surface.
- Arrange cane slices onto the tacky liquid clay and press gently to adhere without distorting shapes.
- Optionally apply a very thin coat of liquid clay over the top to seal edges.
- Bake following the manufacturer instructions for both clay and liquid clay; ensure temperature is appropriate for both.
Round 5 — Twisted Thin Band with Pendant
Purpose: Make a delicate twisted band and add a tiny charm.
- Roll two equal thin snakes and twist them together evenly.
- Join ends to form a loop, blend seam smooth.
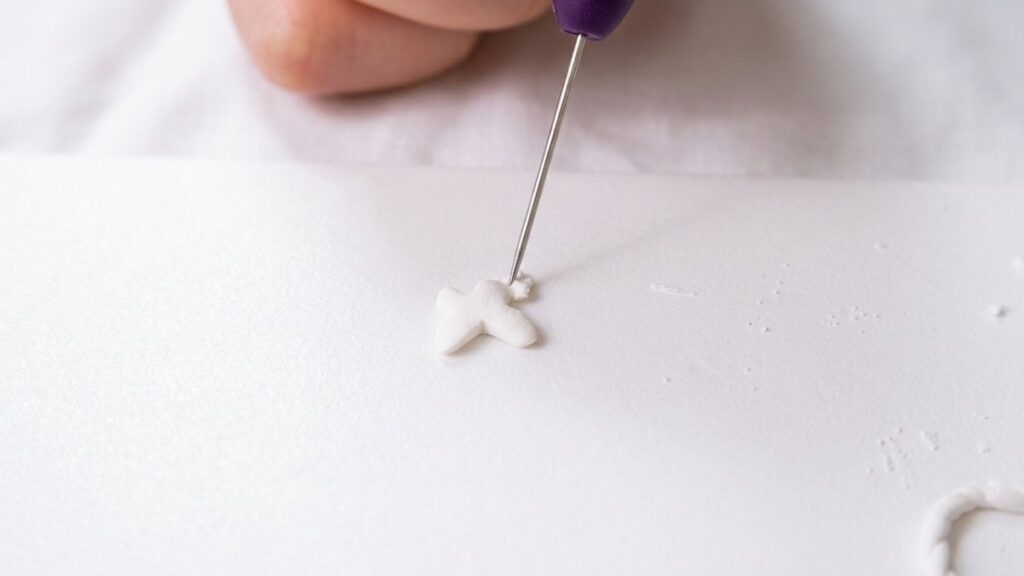
- Cut a tiny pendant shape from scrap clay (butterfly, heart) and smooth edges.
- Attach the pendant by scoring and pressing it into the band; refine detail with a needle tool.
Round 6 — Assembly, Baking, Cleaning & Glazing
Purpose: Finish rings so they are wearable and durable.
- Place finished rings on parchment on an oven-safe tray.
- Bake according to the polymer clay package instructions (time and temperature vary by brand).
- After cooling, clean colorful rings with a q-tip and isopropyl alcohol; use nail polish remover only on white-painted pieces to avoid color stripping.
- Paint details with acrylics if desired; allow full drying.
- Apply glaze in thin coats, letting each coat dry fully before adding another; two coats is typical for a glossy finish.
- Let rings cure and dry overnight before wearing or gifting.
Conclusion
These rounds offer clear, repeatable techniques for creating a wide range of polymer clay rings. Work cleanly, condition clay properly, and test fit sizes frequently to minimize rework. Personalize colors, textures, and tiny accents to make a collection of rings that reflect your style and skill level.