Craft Realistic Miniature Corn Cob Clay Project With Full Guide
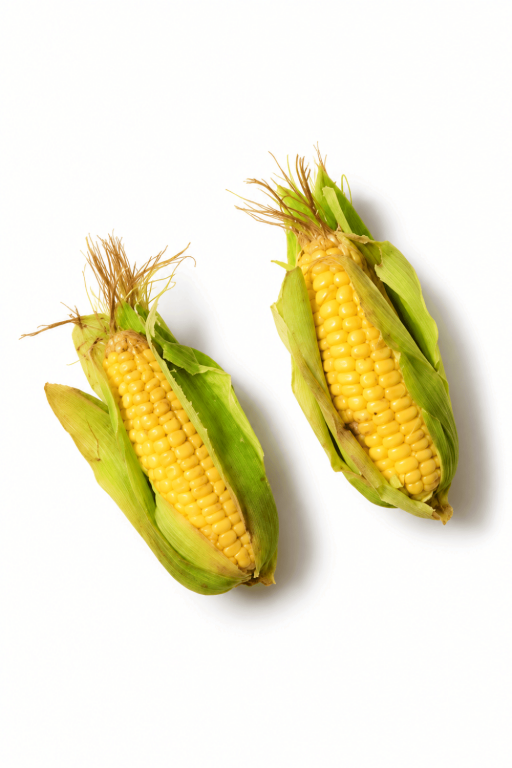
Make a realistic miniature corn cob from clay with this easy guide, perfect for beginners and anyone who enjoys simple and fun craft projects.
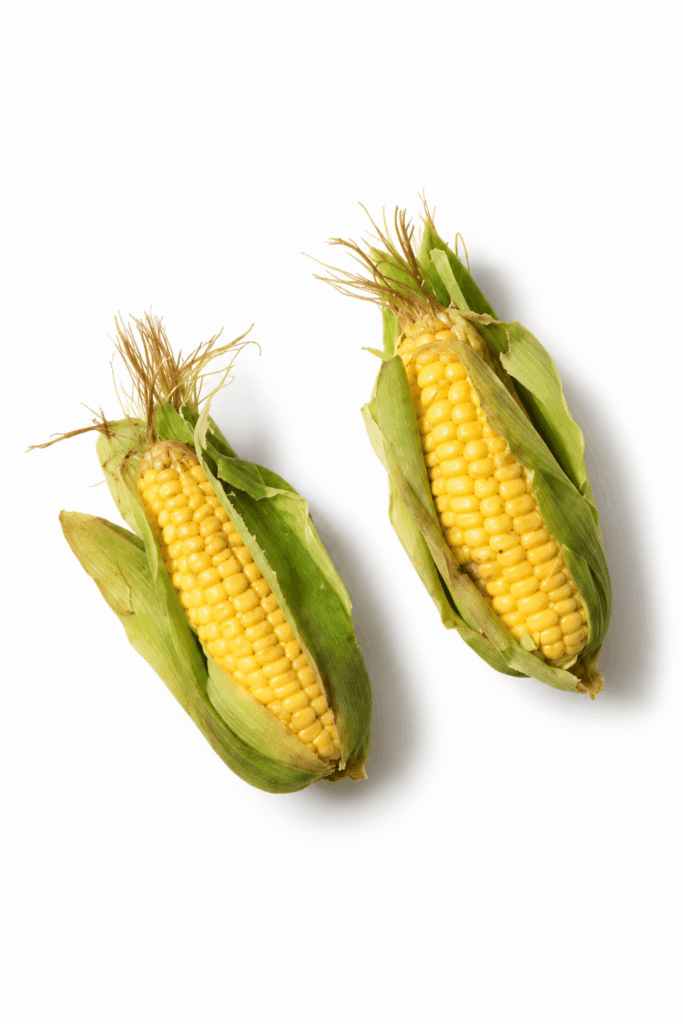
Small food models are a lovely way to turn simple clay into something cute and interesting. The Realistic Miniature Corn Cob Clay project shows a tiny piece of corn with bright yellow kernels, a natural shape, and small details that look close to real corn. Its cheerful color and neat appearance give it a fresh and playful look. This little clay vegetable is a nice choice for anyone who likes handmade food items and small decorations.
How To Craft Miniature Corn Cob with Clay: Step-by-Step Tutorial
The tiny corn cob has rows of rounded yellow kernels placed closely together. Each small piece adds detail and helps the finished item look like real corn. The outer green leaves can give it a more natural appearance. You can use this miniature for a dollhouse kitchen, a small food display, or a collection of clay vegetables. It can also be a sweet little gift for someone who loves tiny handmade items.
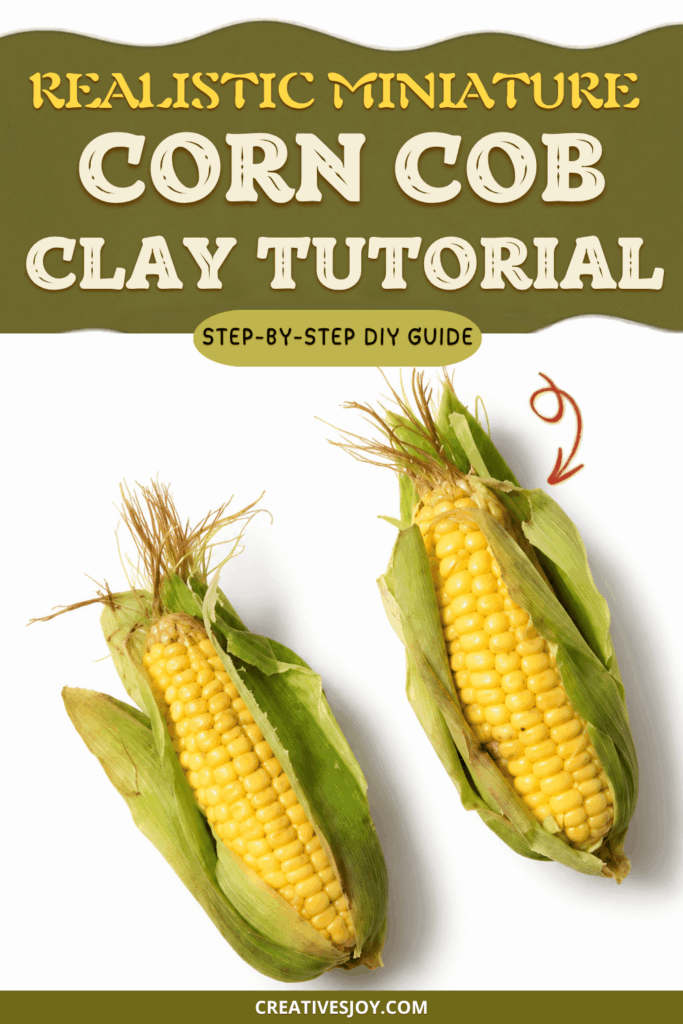
The process starts with shaping a small piece of clay into a corn cob. Tiny yellow clay pieces are then placed around the base to form the kernels. The rows need a little care so they look neat and even. Green clay can be shaped into thin leaves and attached near the bottom. Working on these small details is a fun way to practice using clay. Once finished, this adorable corn model adds a bright and cheerful touch to any miniature food collection.
Easy Polymer Clay Corn on the Cob Tutorial
Polymer clay offers an exciting and versatile way to bring charming miniatures to life. Corn on the cob is an iconic summer image, and making your own realistic version is easier than you might think. With this step-by-step guide, you’ll learn how to expertly blend clay colors, sculpt the recognizable kernels and leaves, and finish your piece with authentic painted details and corn silk threads. Whether you’re creating for a dollhouse, a themed accessory, or just want to practice your polymer clay skills, this tutorial will ensure your miniature corn is both cute and convincing.
Materials & Tools
Before you get started, gather the following:
- Polymer clay: Light yellow and three shades of green (dark, medium, light)
- Pasta machine (or rolling pin for flattening clay)
- Needle tool (a toothpick or pin also works)
- Cutting blade (a craft knife or even a clean razor blade)
- Thread (standard sewing thread for corn silk)
- Glue (clear craft glue or super glue)
- Acrylic paint
- Wet paintbrush (keep it damp for blending paint)
- Glaze (polymer clay glaze or clear nail polish)
- Oven (for baking clay—follow safety precautions and clay manufacturer’s instructions)
Part 1: Making the Leafy Husks
The leafy husk of corn gives it a distinctive look. By blending shades of green clay, you’ll achieve a lifelike, textured effect.
Step 1: Create a Faded Green Leaf Effect (Optional)
To make realistic leaves, you’ll want a smooth gradient between the different greens.
- Take the two darkest green clay shades. Flatten both using your pasta machine or rolling pin.
- Stack them together and fold, then roll out again. Repeat several times to blend the colors, always folding in the same direction.
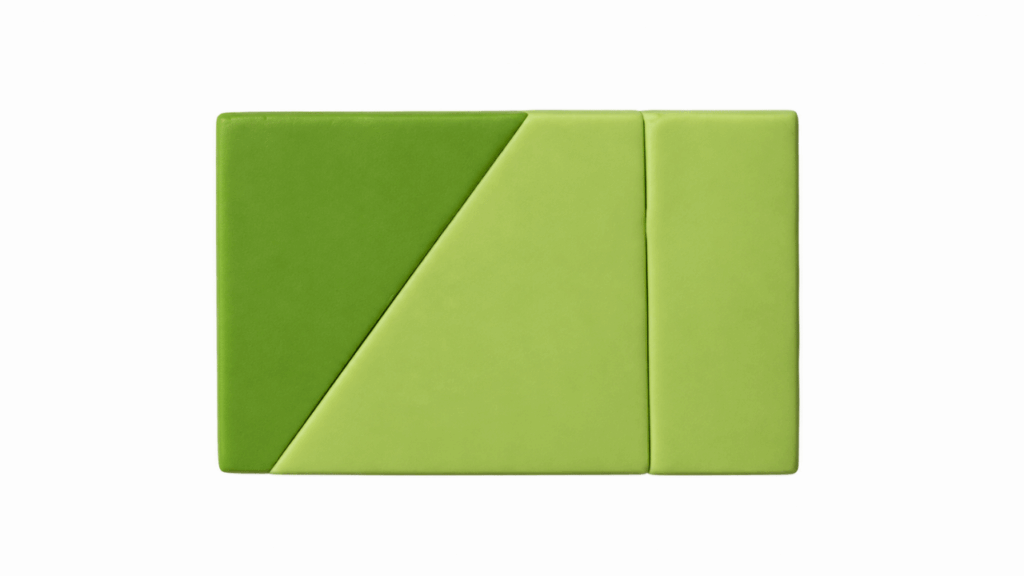
- For more dimension, add the lightest green clay as a thin sheet on top of your blended layer. This step is optional, but adds extra realism.
Tip: Don’t worry if the blend isn’t perfect; natural variation looks more realistic.
Step 2: Form the Cane
This step involves stacking your blended clay and rolling it into a log shape:
- Roll a sheet of the light green clay as thin as possible, using your pasta machine or rolling pin.
- Place this sheet on top of your blended green layer.
- Trim the edges, stack, and roll/stretch into a long, even cane (log).
Tip: The cane should be about ¼ inch thick, but adjust to fit the size of your miniature corn.
Step 3: Slice the Leaves
Cutting thin slices from the cane makes the individual leaves:
- Use your cutting blade to slice off thin pieces from the cane.
- Vary the shape and size of the slices—some wider, some narrow, some slightly curved. This variety creates a natural appearance.
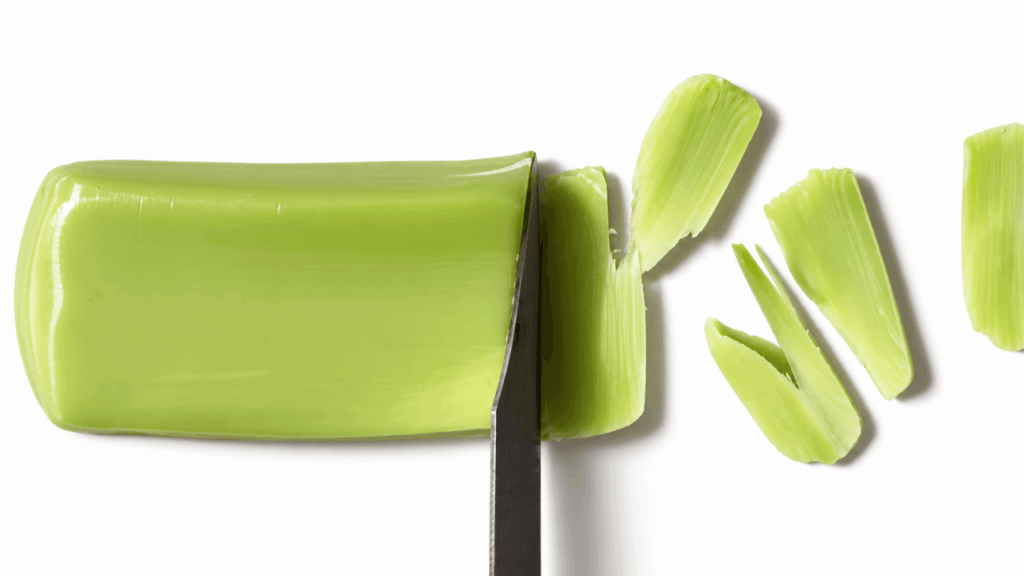
Tip: Slightly press or flatten slices with your fingers to add texture, making the ends pointed or ragged.
Part 2: Sculpting the Corn
Now, let’s create the main corn cob and add realistic kernels.
Step 1: Shape the Cob
- Take a piece of light yellow clay. Roll it in your palms to form an elongated oval or cylinder—the classic corn shape.
- Flatten one end ever-so-slightly if you want to add leaves later. The length can vary but aim for about 1–1½ inches for dollhouse size.
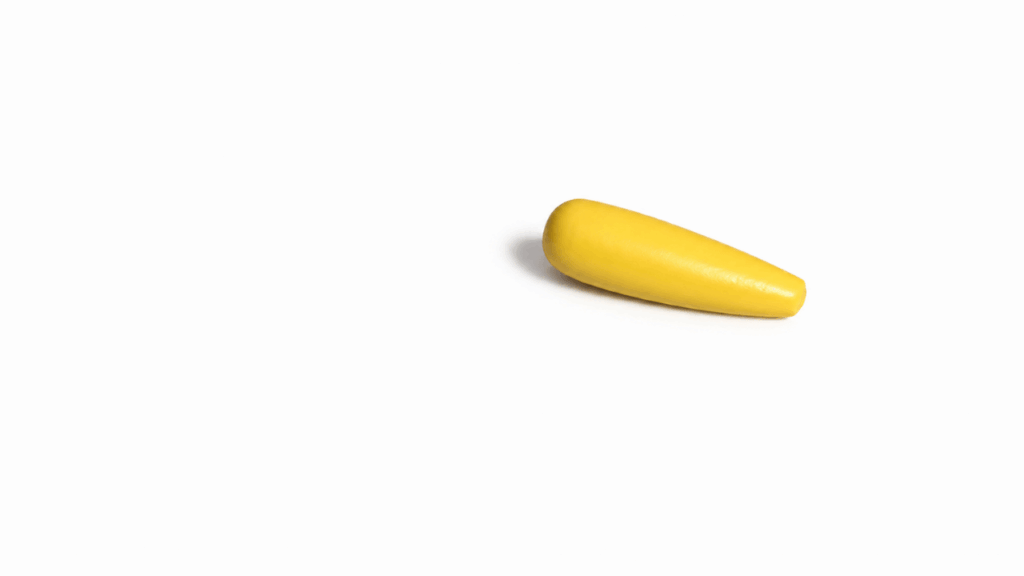
Tip: Slight surface imperfections are fine, since real corn isn’t perfectly straight!
Step 2: Add Kernel Texture
- Use a needle tool or toothpick to poke rows of little indents across the cob’s surface. (Try making the rows slightly uneven—real corn kernels aren’t in perfect lines.)
- Work your way from one end to the other until the whole cob is covered.
- For extra realism, slightly enlarge some of the indentations, or raise the edges so they look more like plump kernels.
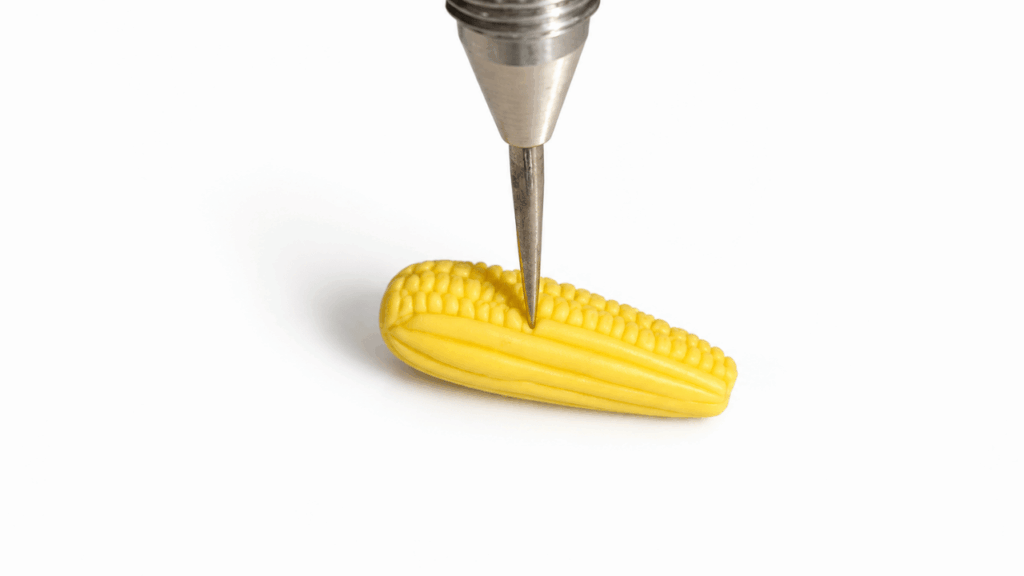
Tip: If you want, you can press tiny balls of clay into some indents for a more 3D look.
Part 3: Assemble, Bake, and Finish
It’s time to bring all the parts together and give your mini corn its finishing touches!
Step 1: Attach Leaves
- Arrange the green leaf slices around the base of the yellow cob.
- Press gently so the leaves stick, but keep the shape of the kernels visible.
- Let some leaves flare outward and overlap the cob to mimic a real husk.
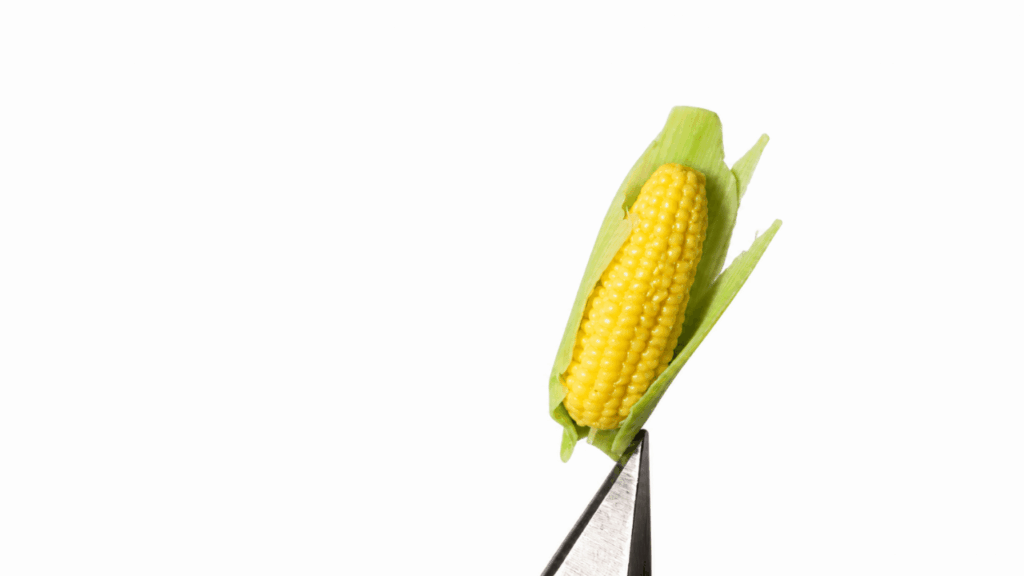
- Tip: Try layering several leaves, using darker green under lighter shades for depth.
Step 2: Bake
- Place your corn sculpture on a baking tray lined with parchment paper.
- Bake according to your polymer clay’s directions—typically at 265–275°F (130°C) for 15–30 minutes, depending on size.
- Allow your piece to cool completely before handling.
Safety note: Only use your oven for crafts if permitted; don’t bake clay with food.
Step 3: Add Corn Silk
Corn silk adds another layer of realism.
- Cut several short pieces of yellow or pale thread (about 1–2 cm each).
- Using a small dab of glue, attach the threads to the top of the cob, where the kernels meet. Cluster them for a bushy, natural look.
- Let the glue dry fully.
Tip: Use a toothpick to help position the threads if they’re fiddly.
Step 4: Paint for Realism
The right paint details will make your corn pop!
- Dampen your brush and pick up a tiny bit of acrylic paint—try gold, ochre, or a brighter yellow.
- Gently brush over the kernels, focusing on the tops for highlights and the sides for shadows.
- Use green acrylic paint (diluted slightly) to add depth to the leaves, brushing feathered strokes for texture.
- Optional: Add brown or beige shading near the base of the husk for a “summer dried” look.
Tip: Wipe off excess paint for soft, layered shading.
Step 5: Seal
Finish your piece with gloss:
- Once paint is dry, brush on a thin layer of polymer clay glaze or clear nail polish.
- This protects your creation and adds a subtle shine.
Tips & Troubleshooting
- No pasta machine? Use a smooth bottle or glass for rolling clay thin.
- Perfection not needed: Miniature corn is charming with irregular kernels and leaves.
- Thread tips: Use very little glue to avoid visible marks; opt for pale yellow or gold thread for realism.
- Blending leaves: Try pinching leaf slices or gently twisting for curls.
- Baking tips: Don’t bake too hot or too long, or clay may darken.
Creative Ideas
- Make several cobs for a tiny basket display!
- Attach eye pins to create corn charms for bracelets or necklaces.
- Paint husk leaves with metallic green or gold for a fanciful look.
- Use different clay colors to create “Indian corn” varieties.