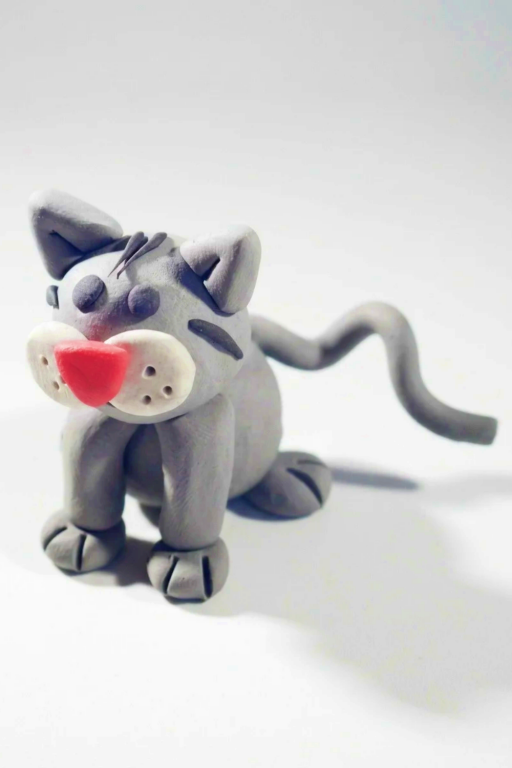
Simple Tips for Making Unique DIY Clay Cat Creations
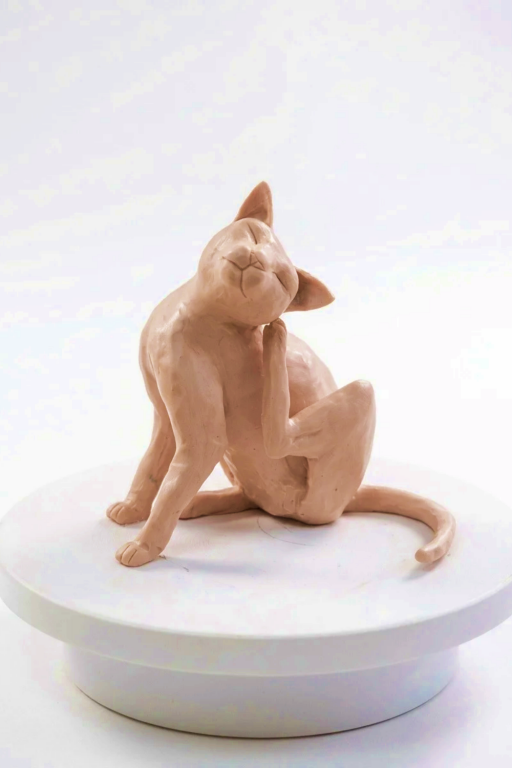
Create your own adorable DIY Clay Cat, a perfect project for pet lovers to craft unique decor, thoughtful gifts, or charming keepsakes with ease.
A cute and tiny clay cat, full of personality and charm, is the perfect result of this creative project! With soft fur-like details, expressive eyes, and maybe even a playful pose or a fun accessory, your handmade cat will be a unique and adorable decoration, gift, or keepsake. The best part? You can design it however you like, making each creation truly one of a kind and special to you.
Fun DIY Clay Cat Projects for Personalized Home Decor
This project is all about using clay to shape and sculpt a cat from start to finish. The process is surprisingly simple, even for beginners. You’ll mold the soft clay into the cat’s body, head, and features, adding details like ears, whiskers, and a curled tail. Whether you make it sleek and playful or fluffy and round, it’s your chance to bring your creative ideas to life. Once your design is ready, baking your creation in the oven makes it sturdy and long-lasting.
Sculpting a DIY Clay Cat is so rewarding because it’s both fun and easy, leaving you with a handmade creation you’ll adore. You can even craft multiple cats in different colors or positions for a whole collection! Whether you’re keeping it for yourself or giving it to someone who loves cats, this project is sure to bring a smile and brighten up any space.
Sculpt an Adorable Clay Cat
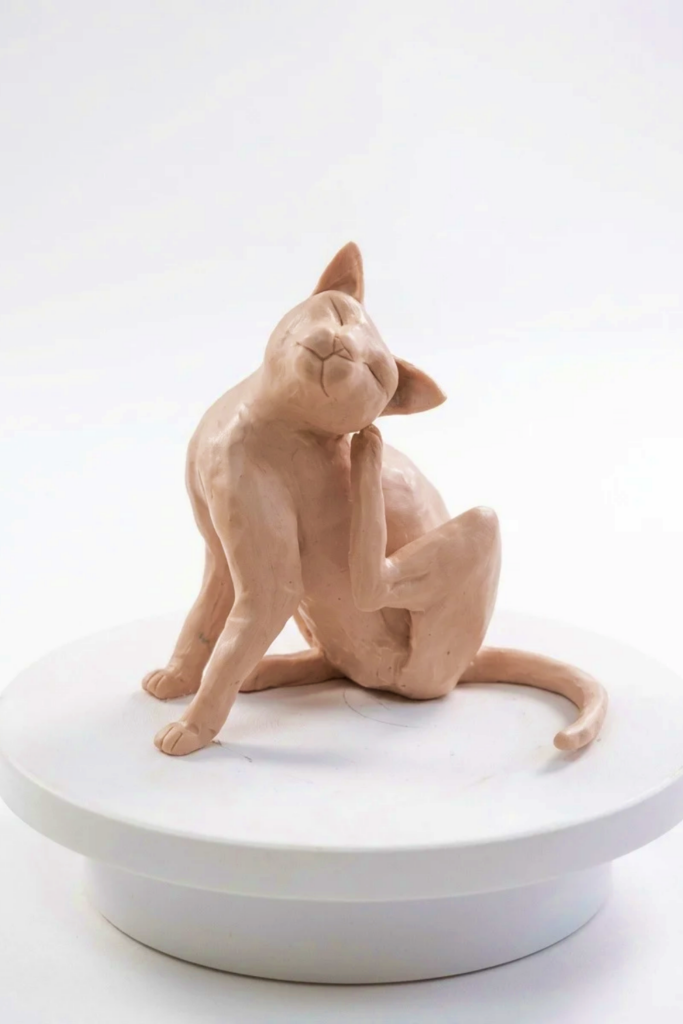
This tutorial describes how to sculpt a small polymer-clay figurine of a cat scratching itself, mounted on a shallow canvas base filled with plaster. The project introduces armature building using tie wire and screws, foil packing to reduce clay volume, and simple anatomical blocking to achieve a natural scratch pose. It is suitable for intermediate makers who can handle basic tools and follow baking or curing instructions for their chosen clay.
What You’ll Need
- Polymer clay (beige or chosen color) in sufficient quantity to cover the form.
- Plaster of Paris, mixed to pancake-batter consistency.
- Small round canvas or shallow panel to act as a base.
- Tie wire, coat hanger wire, and some 70 mm screws for anchoring the armature.
- Tape (clear preferred), aluminium foil, and pliers.
- Hobby knife, pin tool, small round brush, medium filbert brush, and dotting tool.
- Phillips head screwdriver, pencil, and a pdf template or reference images.
- Latex gloves, safety mask (for plaster), and a work mat.
Before You Begin
- Study reference images and the provided pdf template to mark anchor points accurately.
- Prepare a clean workspace and lay out tools in order of use.
- Mix plaster in small batches, wearing gloves and a mask; pour into the canvas and allow to self-level and fully cure.
- Mark screw positions through the template once the plaster is dry and secure screws to create fixed anchor points for the internal armature.
How to Make It
Step 1: Prepare the Materials
- Pour plaster into the canvas and let it level; wait until fully dry before proceeding.
- Mark positions for the 70 mm screws using the template and insert screws into the hardened plaster.
- Cut and bend tie wire or coat hanger wire to approximate arm lengths and limb orientations.
- Create two arm wires and one leg-scratch wire, ensuring each is long enough to anchor to the rear screw.
Step 2: Start the Project
- Wrap aluminium foil around the wire armature to bulk out volumes; roll foil into tight balls and pack into the torso and limb positions.
- Secure foil to wire with clear tape so polymer clay will adhere cleanly.
- Assemble the armature on the canvas by looping wire around screws and bending into the target pose; use pliers for firm bends.
- Confirm pose proportions before applying clay; adjust arm and leg angles for a convincing scratch gesture.
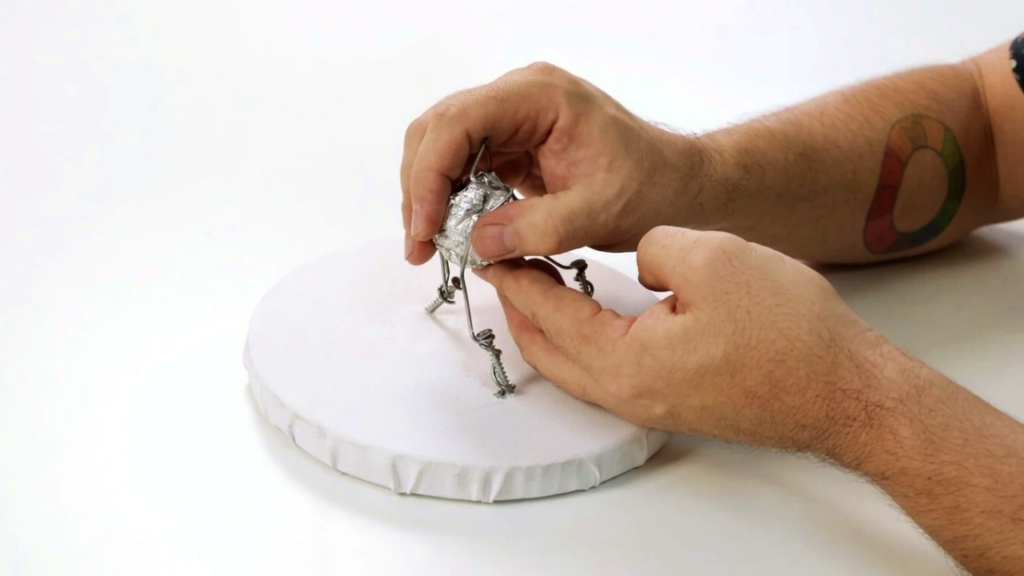
Step 3: Build the Main Part
- Condition polymer clay until soft and pliable, then begin packing clay onto the armature, starting with the arms and torso.
- Apply clay generously to avoid air pockets; press firmly so clay conforms to armature and foil core.
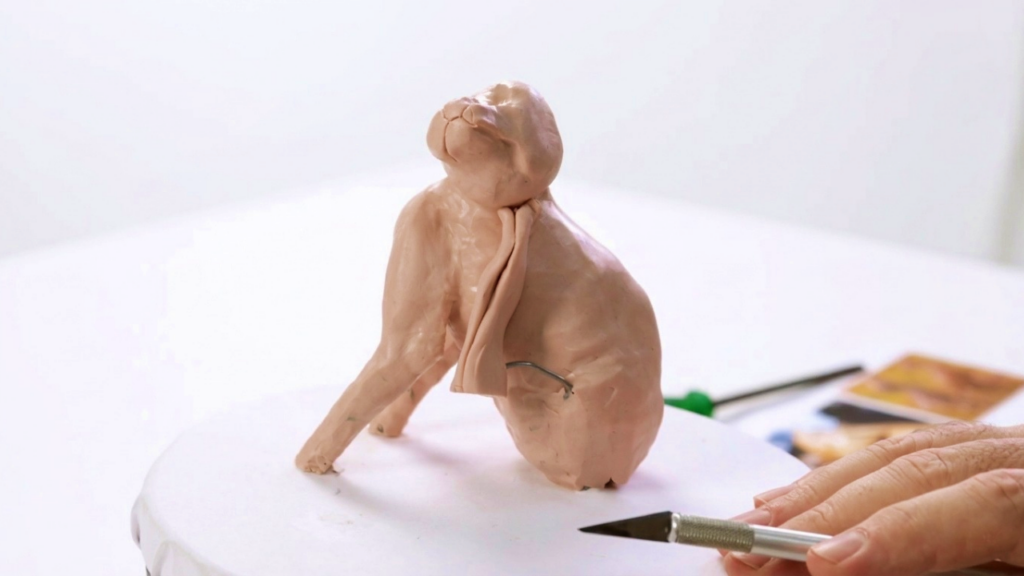
- Roughly shape the head and neck as a single mass and attach to the torso, blending seams with the palm or a smoothing tool.
- Add the upper leg volumes (tibia and femur) and the rear limb in a sausage shape, inserting toe separations with the tip of a blade.
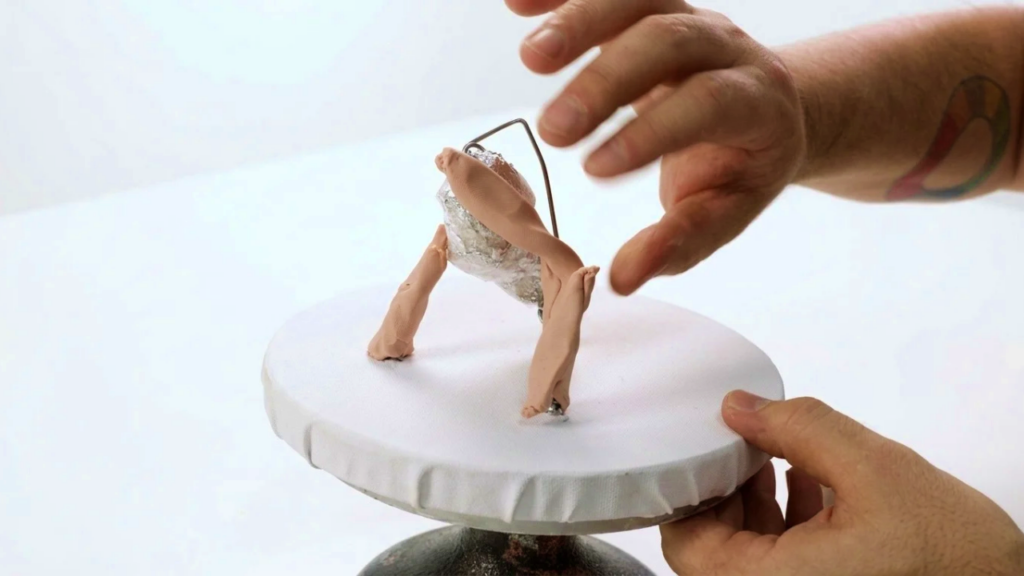
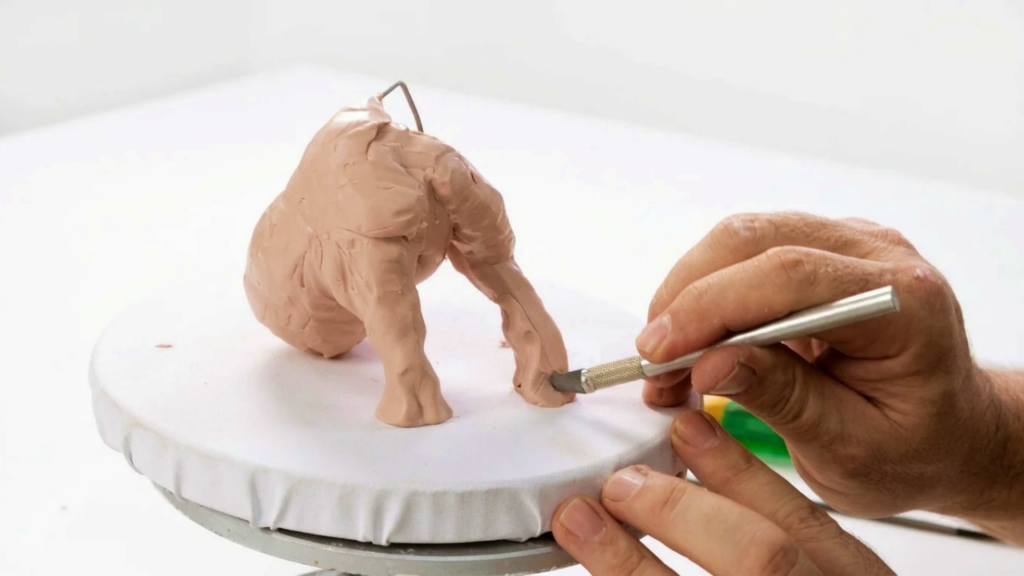
Step 4: Add the Details
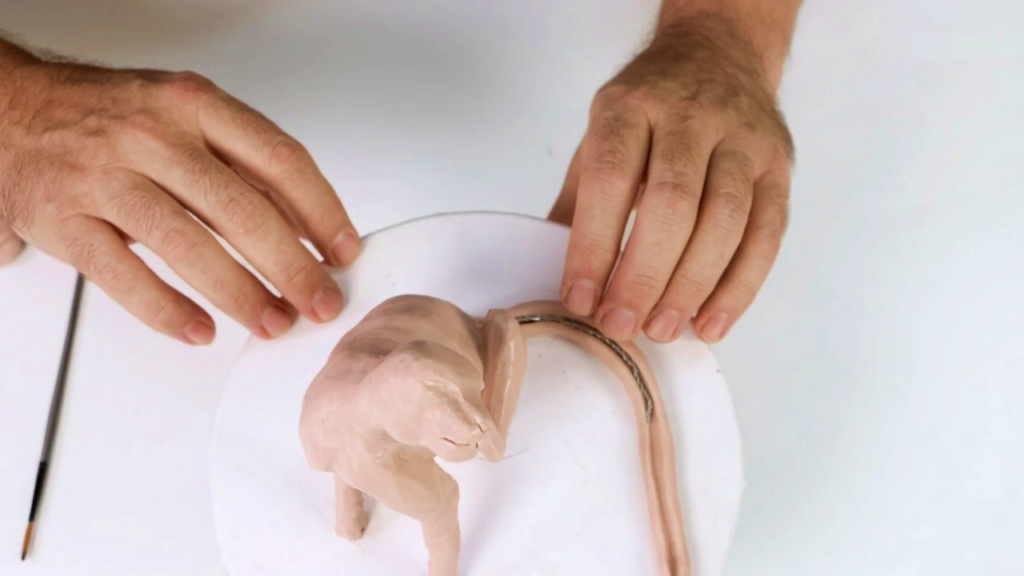
- Form the tail as a tapered sausage around a thin core wire for reinforcement; push the wire into the clay and smooth the seam.
- Carve the foot that scratches the head carefully from all angles, refining toes and pads with a hobby knife and pin tool.
- Sculpt the muzzle, nose, and closed eyes using a pin tool and dotting instrument; keep facial features simplified to read clearly.
- Create triangular, slightly concave ears and apply them to the head, smoothing edges with a brush handle to integrate them.
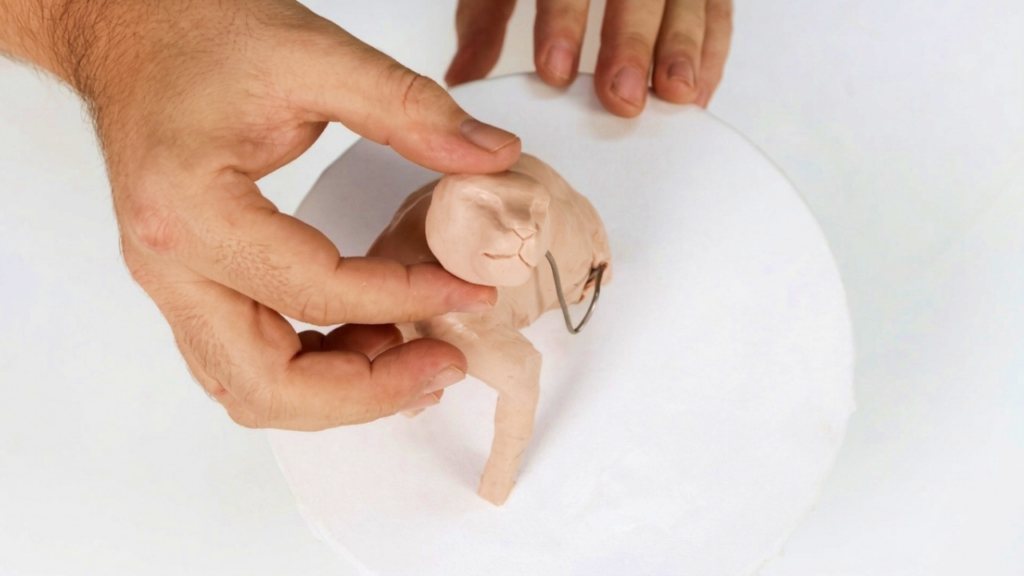
Step 5: Complete the Project
- Refine overall proportions and smooth surfaces with a filbert brush and your fingers, maintaining subtle anatomical cues without over-detailing.
- Check all thin elements for reinforcement; add extra wire or clay if needed to prevent breakage during baking.
- Bake or cure the polymer clay according to manufacturer instructions, taking care to support delicate parts on the baking surface.
- After cooling, gently sand any rough spots and unify surfaces with minimal texture to preserve the stylized, organic look.
Finishing Details
- Consider mounting the cured piece permanently to the canvas using epoxy or a strong adhesive so the sculpture becomes a stable display.
- Apply a satin or matte sealant to protect the surface; avoid glossy finishes if you want a natural fur-like appearance.
- If desired, add subtle paint accents to the nose, inner ears, or pads, keeping the palette limited for cohesion.
Helpful Tips
- Always check armature stability before adding clay; a secure skeleton prevents deformation during shaping and baking.
- Work in stages and allow short breaks to evaluate silhouette and balance from multiple angles.
- Use the pdf reference image frequently to keep proportions accurate and to replicate the intended pose.
- Keep thin parts slightly thicker than desired before baking; clay firms up and becomes more fragile when thin.
- Wear gloves while handling plaster and clean tools promptly to prevent clay contamination.
Your Finished Craft
The completed cat-scratching sculpture should capture a moment of natural behavior in a compact, displayable form. By using armature techniques, foil packing, and deliberate shaping, you will conserve material and create a stable, lifelike pose. This project teaches armature construction, proportion control, and restrained surface detailing—skills that translate to many other figurative sculpting projects. Display your piece on a shelf or give it as a handmade gift that celebrates both craft technique and playful subject matter.
Consider experimenting with slight pose variations, such as a yawning stretch or a paw raised in mid-scratch, to develop expressive range. Try different clay colors or limited painted patterns to suggest fur markings without overworking texture. If you plan to sell or gift multiple pieces, create a small template for consistent proportions and document armature measurements. For durability during shipping, wrap finished pieces with bubble wrap and affix them to a sturdy card to prevent movement. Practice making quick small studies focused on a single element—an ear, paw, or tail—so you can refine repeatable solutions. Finally, keep a project journal noting what worked and what failed; these notes accelerate learning and make future projects more efficient and satisfying. Enjoy the creative process.