Unique DIY Polymer Clay Spider Craft for Decorations
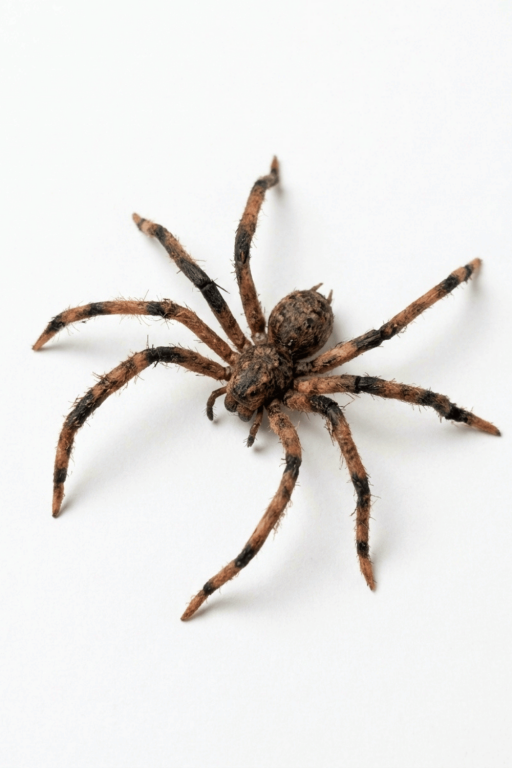
Make your own DIY Polymer Clay Spider Craft in no time with this fun and easy project that adds a playful touch to your seasonal decorations.
Spiders might not always be everyone’s favorite creatures, but they can be super fun to create in a craft project! If you enjoy hands-on activities and want something cute or spooky to make, this polymer clay project is a great choice. It’s simple, exciting, and perfect for making adorable little spiders to decorate your room, gift to friends, or even use as fun Halloween props. You don’t need to be an expert with clay to enjoy this, and the possibilities for creativity are endless.
DIY Polymer Clay Spider Craft You’ll Love to Make
Shaping a tiny spider is as fun as it sounds. You begin by rolling out simple shapes, like a round body, smaller pieces for the head, and of course, legs. Once you put it all together, you can add little details like big googly eyes, a smile, or even textured patterns to create your own unique spider. Whether you want something cute and colorful or slightly spooky and realistic, this project offers so much room to personalize and experiment.
Using polymer clay for this activity is easy and enjoyable. It’s soft to work with and hardens perfectly once baked, so your final spider creation will last a long time. From cheerful decorations to creepy-crawly minis, there’s so much to love about bringing spiders to life with your own hands. It’s an amazing way to explore your creative side and have fun with something new.
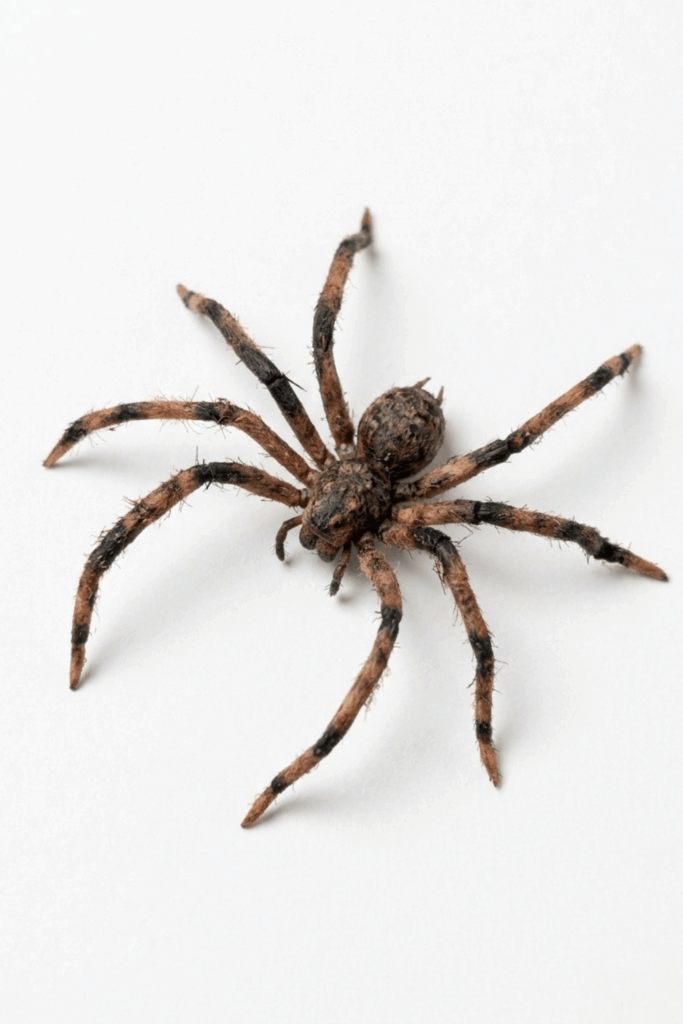
Simple Polymer‑Clay Spider
This pattern describes how to make a small, poseable polymer‑clay spider with thin wired legs and a flocked surface. It follows the exact sequence from the provided transcription: forming a two‑part body, adding small head/back details, preparing and covering wired legs, baking, attaching and securing legs with liquid clay, painting, applying flocking powder from Marino fibers, and final shading. The instructions target beginners and include practical, stepwise actions and key reminders.
Project Overview
- Two‑part body: abdomen + thorax/head with a small square head detail.
- Eight jointed legs built on thin wire armature (≈0.25 mm) and covered in clay.
- Flocked surface: Marino fibers converted to flocking powder applied with tacky glue, finished with layered acrylic paint.
Materials & Supplies
- Polymer clay (brown main color; optional light tan for highlights)
- Thin craft wire (~0.25 mm recommended) — cut into 8 pieces
- Liquid polymer clay (for bonding) or CA (super) glue for post‑bake fixes
- Acrylic paints: skin‑tone, medium brown, dark brown
- Aleene’s Tacky Glue (or white craft glue)
- Marino fibers (black/brown) or pre‑made flocking powder
- Small tools: needle tool or toothpick, small roller, sculpting tool, craft knife, scissors
- Wire cutters and small pliers
- Small paintbrushes (detail and small flat)
- Oven, oven‑safe tile or baking sheet, oven thermometer (recommended)
- Protective work surface (silicone mat or parchment) and paper towels
Preparation
- Clear a dust‑free, well‑lit work area and lay out tools in order of use.
- Keep clay colors separate to avoid contamination.
- Verify polymer clay baking temperature and time on package and have an oven thermometer ready.
- Cut eight equal wire lengths in advance so they’re ready when you cover legs.
Step‑by‑Step Detailed
Form the body
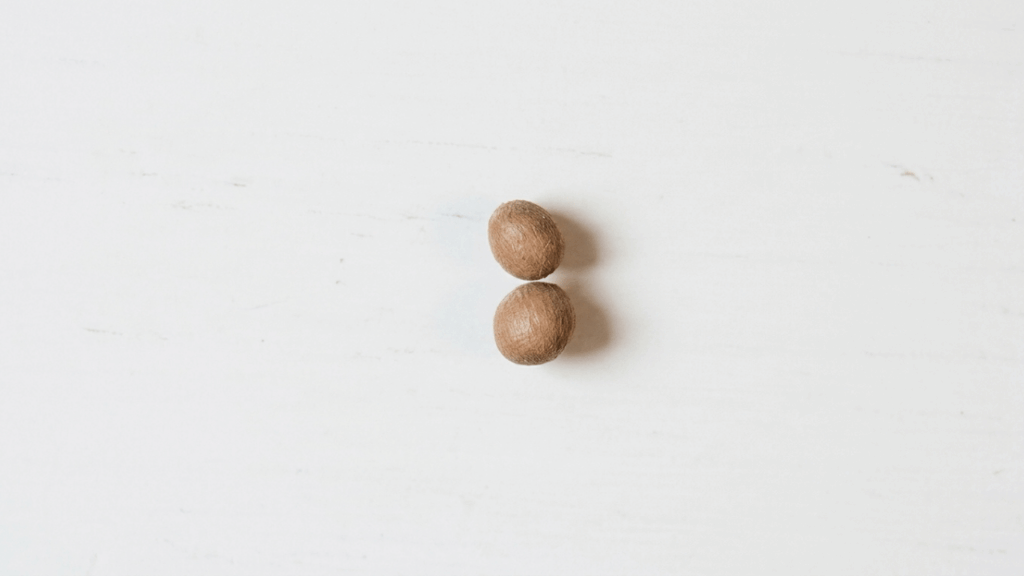
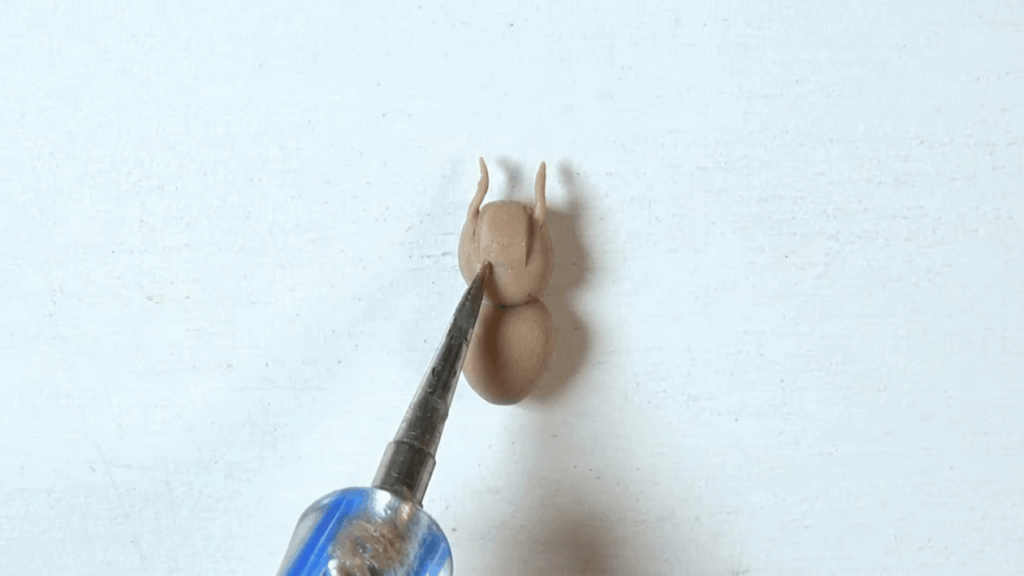
- Roll two balls of brown clay: one larger for the abdomen and one slightly smaller for the thorax/head.
- Flatten the contacting faces slightly so they sit flush.
- Press the two pieces together firmly and smooth the seam lightly with a fingertip or tool so they adhere seamlessly.
- Shape a small square and attach it to the front of the smaller ball to form the head detail; press and feather edges so it integrates.
Add small front and rear details
- Add a couple of very small front appendages/palps or short legs by rolling tiny clay pieces and pressing them near the head.
- Roll tiny cone shapes for rear hooks/spinneret‑like bumps and attach them to the back of the abdomen. Blend the bases carefully so they look like natural protrusions.
Prepare and cover the leg wires
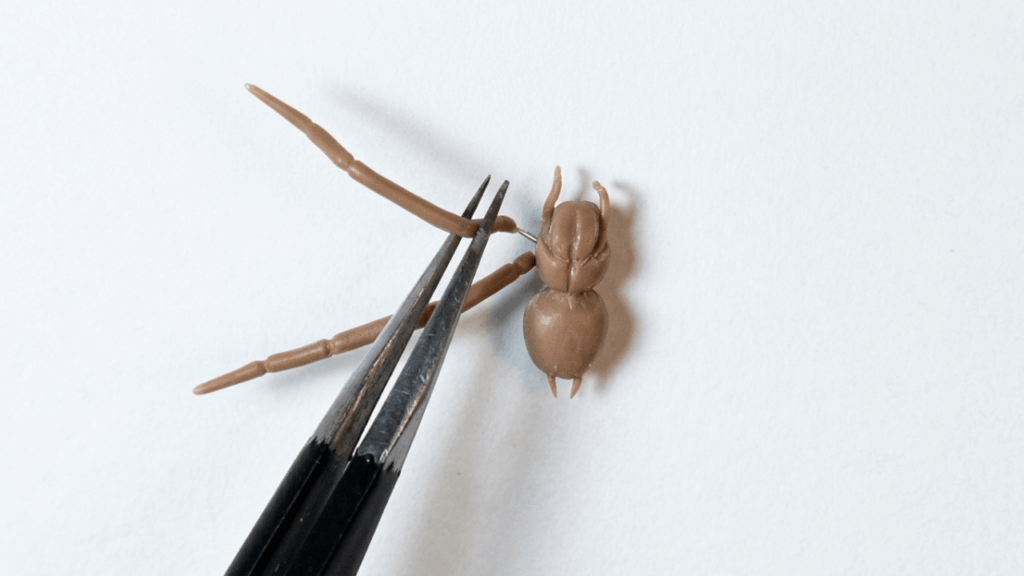
- Cut eight pieces of wire (≈0.25 mm as used in the transcription).
- Roll thin snakes of brown clay to wrap each wire; keep the clay layer thin and even for realistic leg proportions.
- Wrap each wire tightly in clay and smooth seams with a damp fingertip.
- Slightly roll the covered wire to round shapes and use a needle tool to add short transverse lines to suggest leg joints.
- Trim excess clay from the ends so wire inserts cleanly into the body.
Bake and check flexibility
- Place parts on an oven‑safe tile or sheet. Preheat and bake according to polymer clay manufacturer’s instructions (common ~130°C / 265°F — verify your brand). Bake for the recommended time relative to the thickest part.
- Allow to cool fully.
- After cooling, gently bend the wired legs to confirm the wire retains flexibility and does not break.
Attach legs and secure
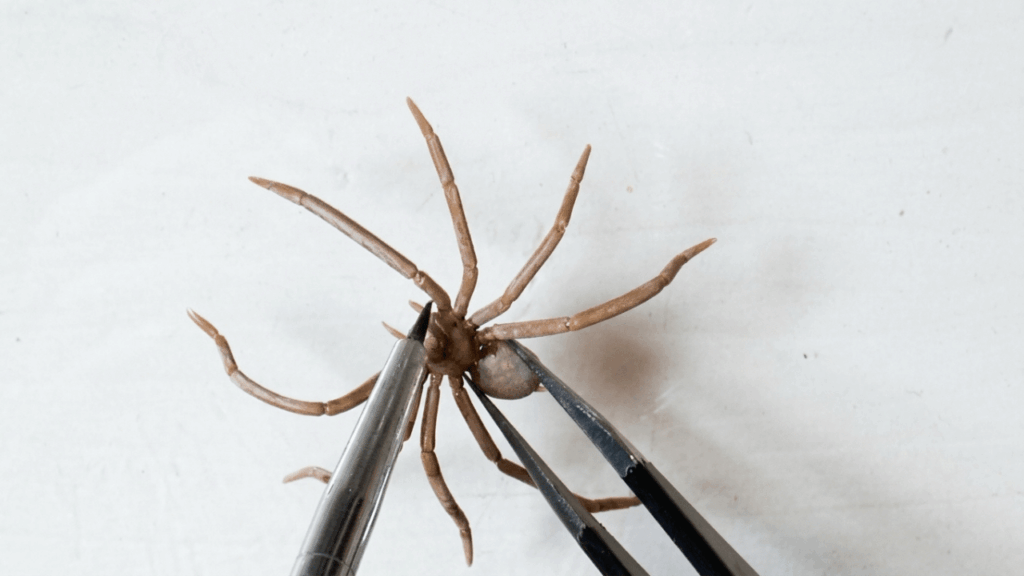
- Plan leg placement: four per side across the thorax/abdomen junction.
- Push each hooked or inner wire end into the body at chosen positions. Insert firmly to anchor the wire but avoid deforming the body.
- Apply a small amount of liquid polymer clay at each insertion point to fuse leg clay to body clay and prevent wire slip. (If you prefer, use CA glue sparingly after baking instead.)
- Adjust leg angles and symmetry now; final small pose tweaks can be done after full curing.
Base painting
- Once baked and cooled, roughly paint the spider with a base mix of skin‑tone and medium brown acrylics. Use thin layers to build color without obscuring texture.
- Use a dry‑brush technique to highlight raised textures and joint lines.
- Apply thin washes of medium brown into crevices for depth; blot excess immediately for natural gradation.
Make and apply flocking
- Cut Marino fibers into very short pieces and rub to create fine flocking powder (or use pre‑made flock). Work over a tray to catch excess fibers.
- Brush a thin, even coat of Aleene’s Tacky Glue where you want hair. Work in small sections so glue is tacky when flock is applied.
- Press the flocking powder into the tacky glue and allow to dry completely. Tap off loose fibers and reapply in sparse spots.
Final shading and finishing
- Apply dark brown acrylic paint to add shadows: under legs, around joints, and along segmentation to enhance realism.
- Trim stray fibers, glue strings, or minor clay imperfections with small scissors or a craft knife.
- If any legs are loose after finishing, secure with a very small drop of CA glue and allow full cure.
Finishing Instructions
- Allow all adhesives and paints to cure fully before handling or posing.
- Optionally seal lightly with a matte adhesive spray to reduce flock shedding—test on scrap first.
- Store the finished piece away from direct sunlight and excessive heat to preserve colors and flocking.
Tips & Techniques
- Keep leg clay covering thin and consistent for realistic, non‑bulky legs.
- Add segmentation lines with a needle tool before baking so paint and flock emphasize them.
- Use a toothpick or fine applicator for precise liquid clay or glue application to prevent visible residue.
- Work in stages (prepare wires → cover → attach → bake → paint → flock) to reduce warping and ease handling.
Common Problems & Solutions
- Wire visible through clay: rewrap with a slightly thicker or more even clay layer and smooth seams.
- Legs wobble after baking: ensure wires were inserted deeply; use liquid polymer clay at the base before baking or CA glue after baking.
- Flocking sheds: apply thinner glue coats and press flock into tacky glue; consider a light sealant after testing.
- Clay overbaked or burnt: always verify oven temp with a thermometer and follow manufacturer bake times.
Creative Ideas & Variations
- Scale changes: use thicker wire and more clay for larger decorative spiders or ultra‑thin wire for tiny charms.
- Color choices: try iridescent, metallic, or bright fantasy color schemes.
- Embellishments: add tiny beads for eyes, metallic accents, or pose legs dynamically for dioramas or photography.
- Texture swaps: use faux fur, velvet flock, or mixed fiber blends for different surface feels.
Final Result
A small, poseable polymer‑clay spider with eight wired, jointed legs and a textured flocked surface. Following these steps—body shaping, wiring and clay coverage, secure attachment, correct baking, layered painting, flock application, and final shading—produces a durable display piece suitable for photography or decorative use.