Adorable Polymer Clay Potato With A Lifelike Finish + Tutorial
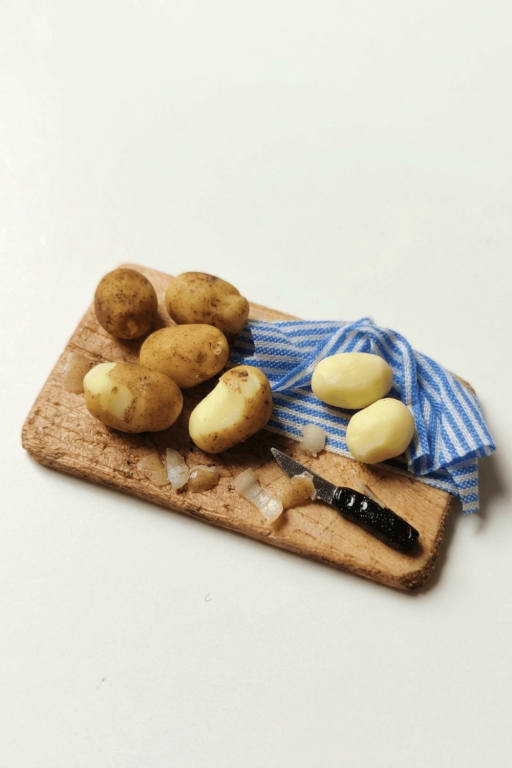
Shape a Polymer Clay Miniature Potato with tiny simple details and a natural look for your tiny kitchen, dollhouse shelf, or small food collection at home.
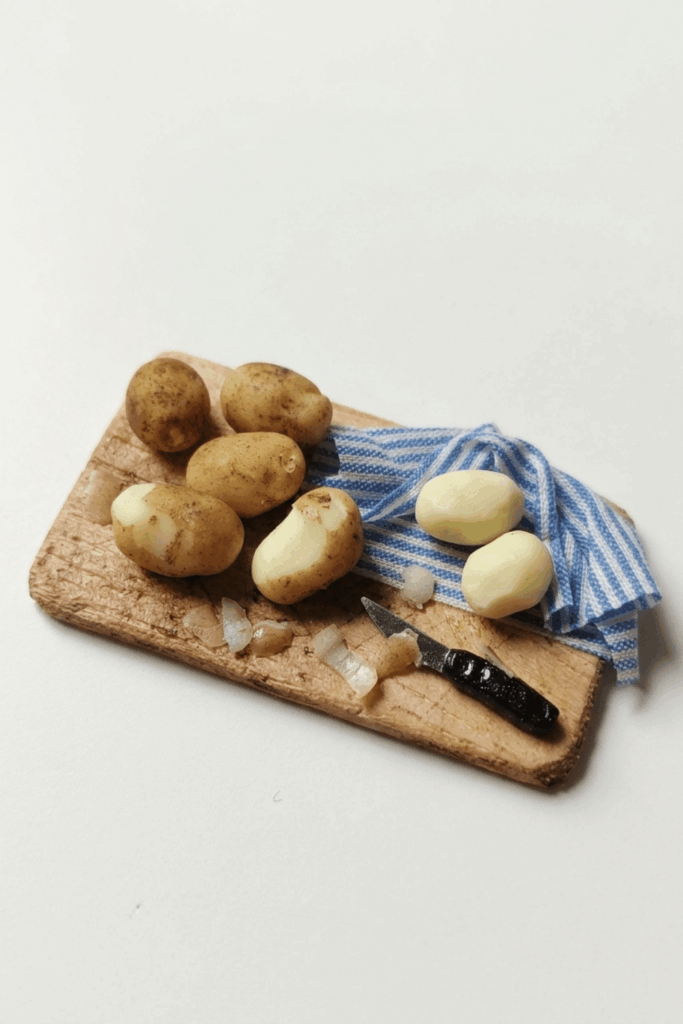
Add a little fun to your miniature food collection with a tiny potato that looks just like the real thing. The Polymer Clay Potato is a cute little model with a natural shape, warm brown color, and small surface details that give it a realistic appearance. Its simple style and tiny size turn an everyday vegetable into an interesting miniature piece.
Realistic Polymer Clay Miniature Potato DIY
One of its lovely features is the uneven, rounded body that closely resembles a real potato. Light brown and earthy shades help give it a fresh, natural look, while tiny marks and shallow dents add extra detail. Each potato can have a slightly different shape, so a group of them looks more realistic together. The smooth clay surface also helps the small details stand out clearly.
These miniature potatoes are a nice choice for decorating dollhouse kitchens, tiny food baskets, or small market displays. They can also be placed beside other clay vegetables to form a colorful food collection. Children and adults who love miniature items may appreciate these little models as decorative pieces or thoughtful gifts.
The potato begins with a small piece of polymer clay, gently shaped into an uneven oval. Tiny dents can be pressed into the surface, while brown pastel powder adds natural shading. Once the details are finished, the clay is baked according to its package instructions to help it hold its final form.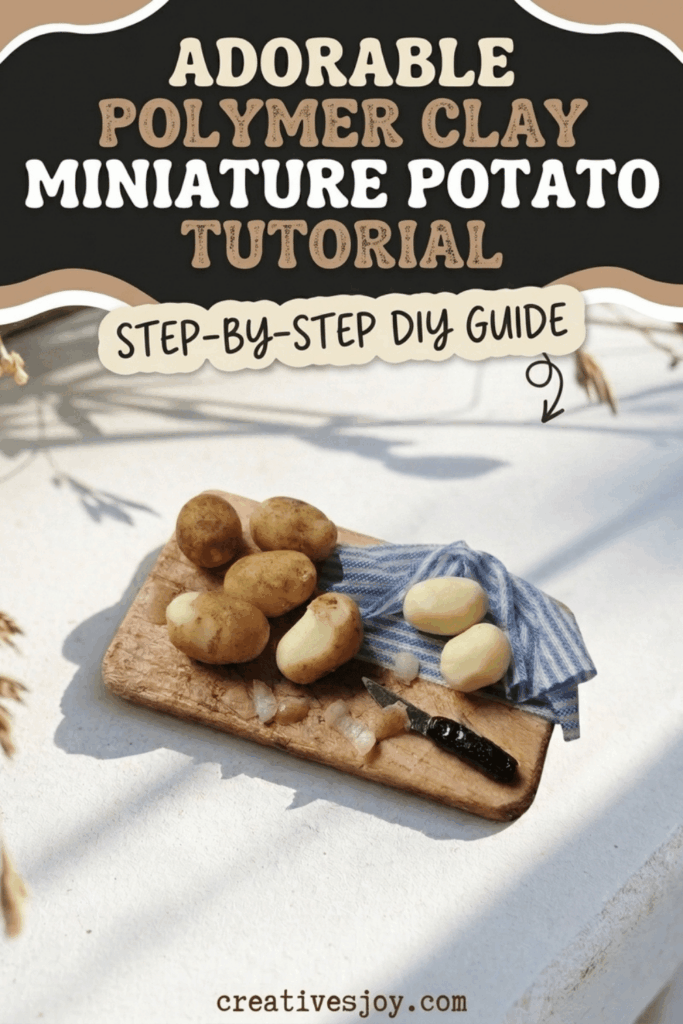
With its familiar shape and realistic finish, this small potato is a charming addition to any miniature kitchen scene.
Introduction to Miniature Potatoes
- Create realistic miniature potatoes using basic sculpting material and pastel chalks.
- Shape the correct internal color first.
- Layer pastel powder on the outside to build a realistic, textured potato skin.
- Bake the material to harden the shapes completely.
- Carve the hardened shapes with a blade to reveal the fresh, peeled potato color inside.
- Follow the detailed instructions below to complete this easy miniature food project.
Materials and Tools Required
Gather the exact supplies mentioned in the video before you begin crafting.
Materials:
- Sculpting material: Use a bakeable clay to shape the physical miniature.
- Mixed pastel shavings: Use a blend of light earthly tones to create the base skin color.
- Dark brown pastel: Use this specific color to add rough, dirt-like textures.
- Glaze: Use this clear liquid to seal the powder and protect the final project.
Tools:
- Basic cutting tool: Use this straight tool to chop the raw material into smaller chunks.
- Pointed detailing tool: Use this sharp tool to poke realistic holes and marks into the clay.
- Latex glove: Wear this to keep your hands clean and prevent fingerprint marks.
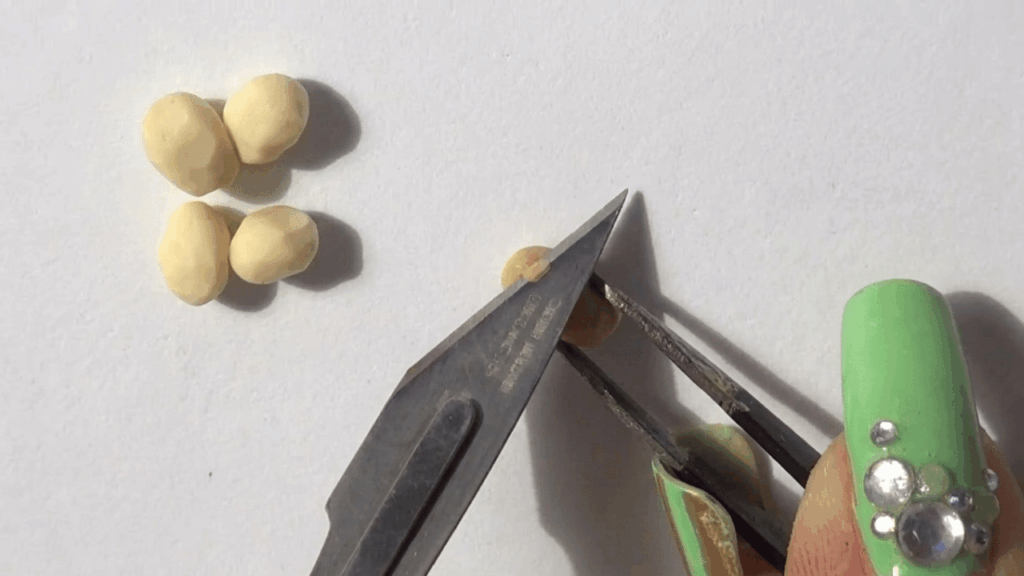
- X-Acto knife: Use this precision hobby blade to carve the pieces after you bake them.
Preparation and Shaping
Start the project by creating the core shape and the correct internal color for your miniatures.
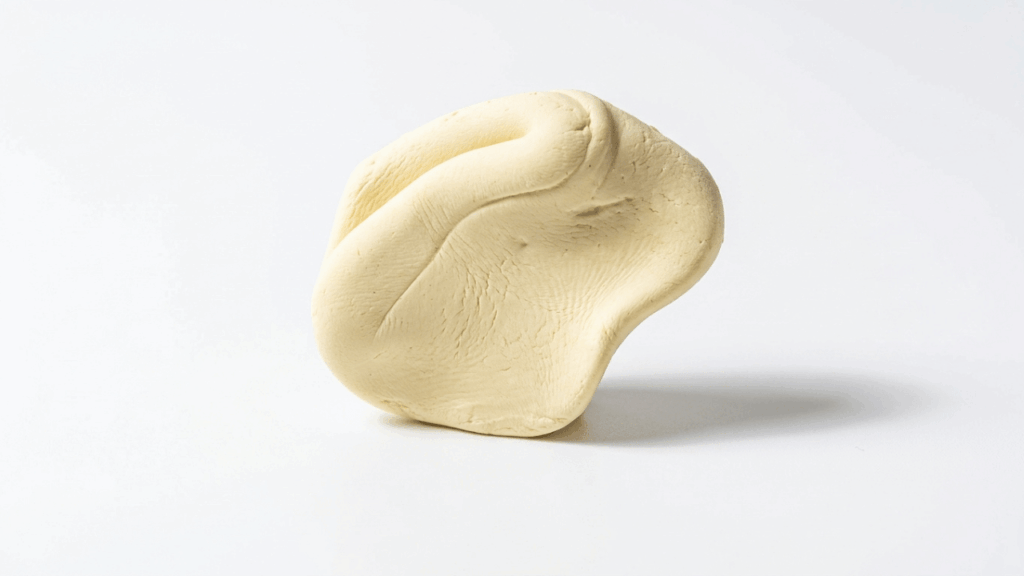
Mix the Base Color
- Select your raw sculpting material.
- Determine the exact color you want for the inside of the peeled potatoes.
- Mix the base colors together in your hands.
- Knead the material firmly to blend the colors.
- Continue mixing until you form a single, solid color with no streaks.
Roll and Cut the Material
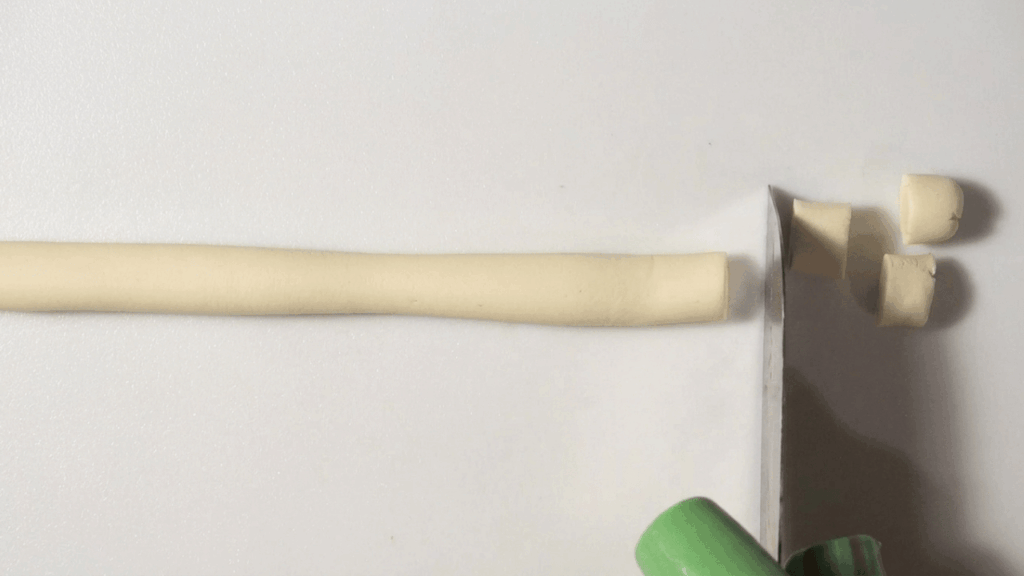
- Place the perfectly mixed material completely flat on your work surface.
- Roll the material out into a long, even shape.
- Take your basic cutting tool in your dominant hand.
- Cut the rolled material cleanly into small, distinct pieces.
- Keep the cut pieces relatively uniform in size to mimic natural potatoes.
Adding Color and Texture
Transform the plain pieces of material into realistic vegetables by applying dry pastel powders directly to the surface.
Apply the Base Color
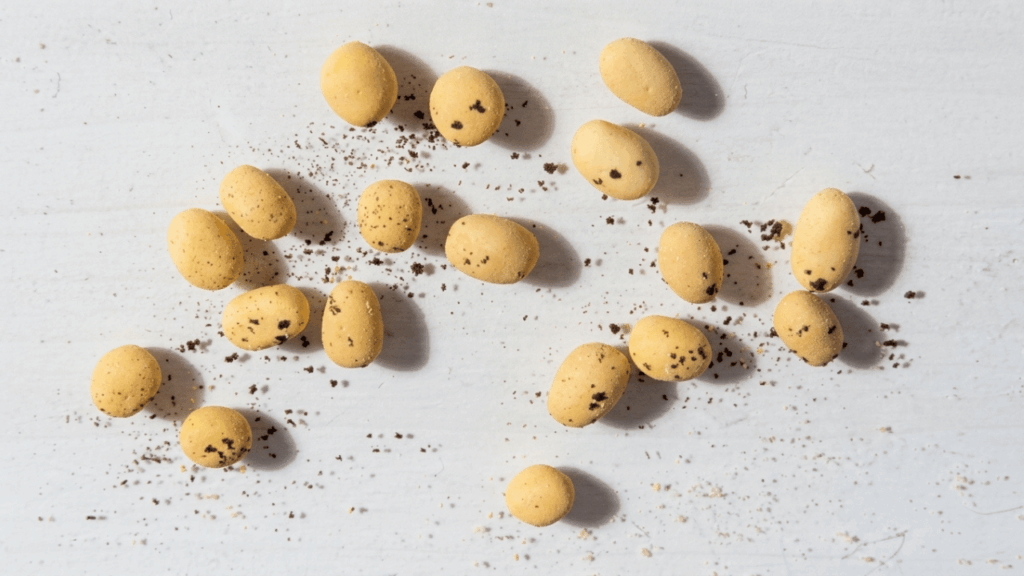
- Scrape your mixed pastels with a blade to create a pile of fine dry shavings.
- Pick up the small cut pieces of material.
- Put them directly into the mix of pastel shavings.
- Roll the pieces around in the powder.
- Coat the exterior completely to give them a natural base color.
3 Create Rough Textures
- Take your single stick of dark brown pastel.
- Scrape the stick to create fresh shavings of dark brown pastel.
- Add these dark brown shavings straight onto your miniature potatoes.
- Press the dark shavings lightly into the surface.
- Use this darker powder to make the miniature potatoes look much more rough and organic.
3:Add Fine Surface Details
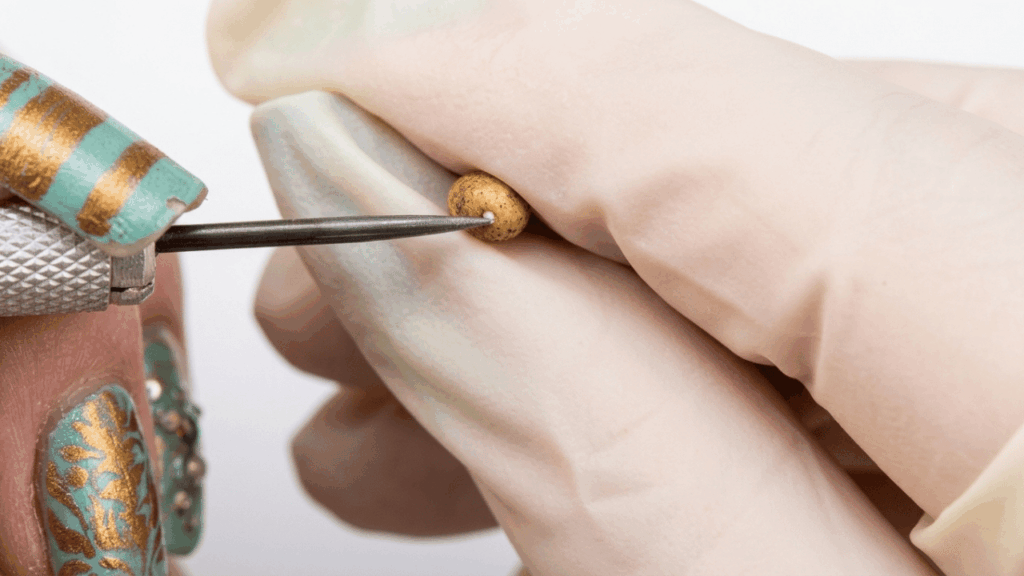
- Put a latex glove on your handling hand.
- Use the latex glove as a simple way to avoid leaving fingerprints on the soft exterior.
- Remember that you do not need to worry too much about fingerprints because you covered the material heavily in pastel powder.
- Pick up a single powdered potato piece.
- Hold a pointed detailing tool in your other hand.
- Press the pointed tool gently into the surface of the potato.
- Use the pointed tool to give each of the pieces more authentic physical details, like small divots and potato eyes.
2: Baking, Carving, and Finishing
Harden your sculpted pieces to prepare them for the final carving and sealing processes.
Bake the Miniatures
- Move the completely textured potatoes onto a safe baking dish.
- Bake the material in an oven according to the specific heating instructions for your chosen clay.
- Remove the pieces from the heat once they finish baking.
- Allow the pieces to cool down completely before you attempt to touch or carve them.
Carve with an X-Acto Knife
- Place a cooled, hardened potato onto your cutting mat.
- Hold the potato firmly in place.
- Take your sharp X-Acto knife.
- Align the blade against the edge of the potato.
- Use your X-Acto knife to cut off some small pieces directly from the miniature.
- Remove these outer chunks to expose the clean, perfectly mixed peeled potato color underneath the dark skin.
- Repeat this carving process on different edges to create a rough-chopped look.
: Seal the Project
- Prepare your liquid glaze.
- Brush the glaze evenly over the entire surface of the miniature.
- Cover the dry pastel powder completely to lock the loose shavings in place permanently.
- Coat the freshly carved sections to give the “peeled” sections a realistic moisture.
- Let the glaze air-dry completely.
- Finish the project and display your completed miniature potatoes