Mini Clay Bag Charms DIY Ideas for Keychains and Zippers
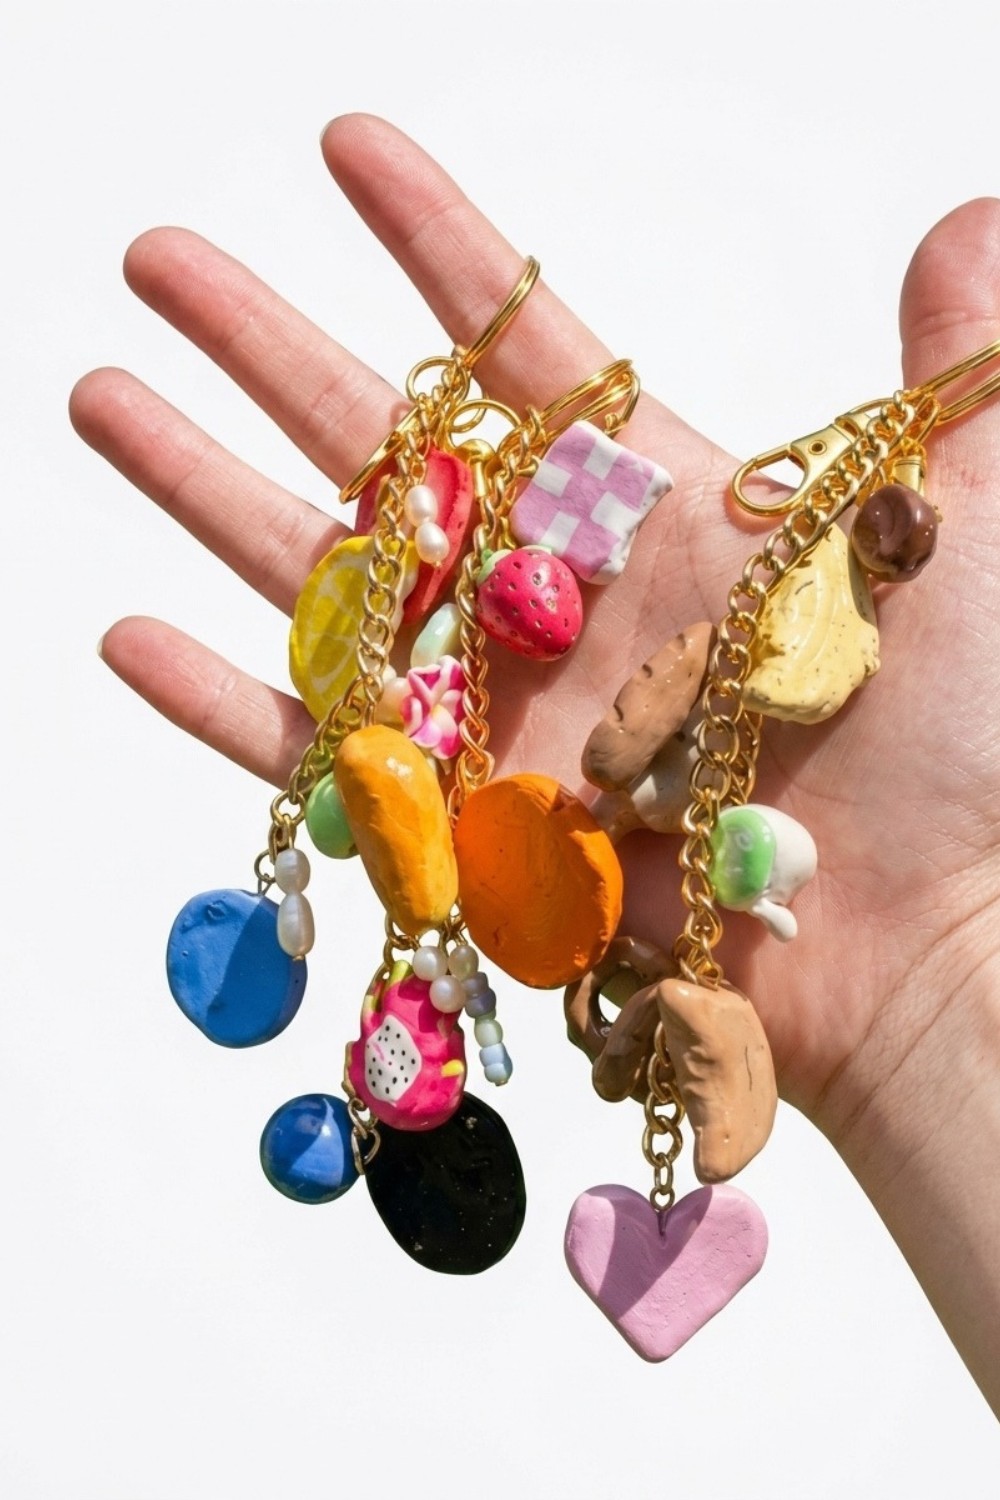
Find stylish Clay Bag Charms DIY Ideas that turn ordinary purses and keyrings into glossy miniature accents ideal for boutiques, gifts and listings.
A small cluster of tiny fruits and trinkets bounces against a canvas tote as someone passes a café, stealing a smile. Clay Bag Charms DIY Ideas surface in this video as compact, glossy accents—mini strawberries, citrus slices, a tiny baguette, and coffee-themed beads—arranged on short chains and key rings for a tidy, wearable look. The finished pieces read polished yet fun, with smooth edges, bright painted details, and a shiny topcoat that catches light in photos and markets.
Handmade Clay Bag Charms DIY Ideas for Market Sellers

Style leans playful and boutique-ready, fitting both casual day bags and curated gift shelves with a handcrafted vibe that still feels refined. Purpose is straightforward: add personality to keys and purses, serve as small gifts, or act as eye-catching extras for product displays. Character comes from the mix of miniature motifs and well-spaced charms that avoid clutter while offering visual story—foodie, fruit, and pearl accents play together without overwhelming.
What makes these charms interesting is the balance between tiny realistic details and a bold, glossy finish that reads modern in pictures and tactile in hand. They photograph cleanly for listings, travel easily, and suit a range of buyers looking for affordable, stylish extras. Overall, these Clay Bag Charms DIY Ideas offer a neat, market-friendly accessory that turns ordinary bags into small statements.
Cute Clay Bag Charms DIY Ideas
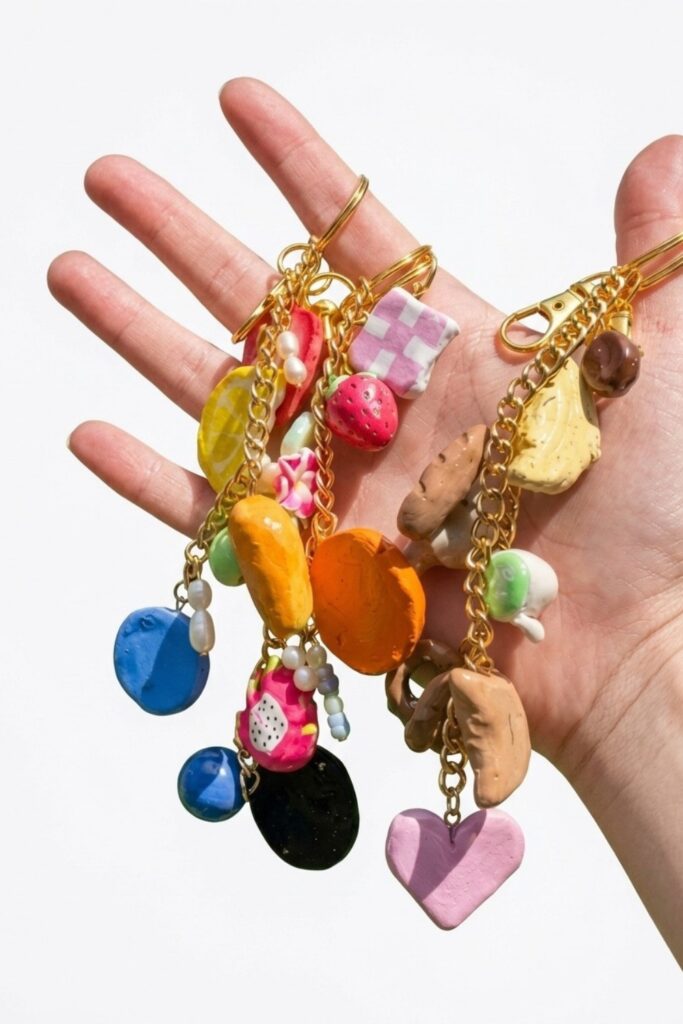
This tutorial shows how to make trendy clay bag charms using both polymer and air-dry clay, plus simple jewelry findings. The process covers shaping, adding eye pins, baking or drying, painting, sealing, and assembling onto chains and key rings. Follow each step slowly to get neat, durable charms even if you are a complete beginner.
Design summary
- Cute fruit, food, and simple shape charms paired with beads for playful bag or purse accents.
- Mix of baked polymer clay and hand-painted air-dry clay gives varied textures and finishes.
- Assembled onto short chain segments with spaced charms and bead dangles for balanced visual appeal.
Gather Materials — why they matter
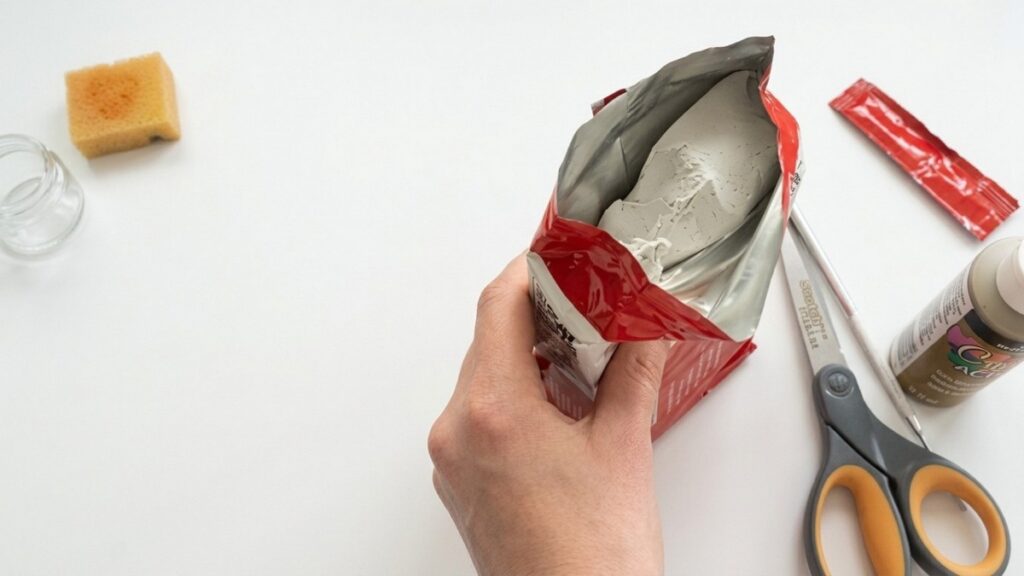
Choosing appropriate clay types, tools, and findings affects both the look and longevity of your charms. Polymer clay gives firm, bake-hardened pieces that hold fine detail, while air-dry clay is easy to work with and doesn’t need an oven. Good-quality eye pins, jump rings, and chain make assembly easier and reduce the chance of failures in use. Proper tools (sharp blade, reliable pliers) save time and produce cleaner results.
Materials & Tools
- Polymer clay (various colors)
- Air-dry clay block
- Eye pins, head pins, jump rings, short chain segments, key rings
- Small pliers (round-nose and flat-nose) and wire cutters
- Sharp craft knife or blade, cutting surface or tile
- Small paintbrushes, acrylic paints, rubbing alcohol, Q-tips
- UV resin or clear glaze (optional) and gloves if using resin
- Oven and oven thermometer for polymer clay curing
- Sandpaper or fine files for finishing
Important tips before starting
- Condition clay by kneading until soft and even; do not overheat polymer clay when conditioning.
- Keep work surface clean to avoid dust or fibers embedding in clay.
- Use an oven thermometer when baking polymer clay to maintain correct temperature.
- When using resin, wear gloves and work in a ventilated area; follow safety instructions on the product.
Pattern — step-by-step instructions
1. Prepare your workspace and condition clay
- Clear a flat, clean area and gather tools within reach.
- Condition each clay color by warming and kneading until pliable and uniform. Even conditioning prevents cracks and uneven surfaces.
- If you don’t have a rolling pin, use a smooth cylindrical object (paint container works) to roll clay evenly.
2. Roll out clay and cut charm shapes
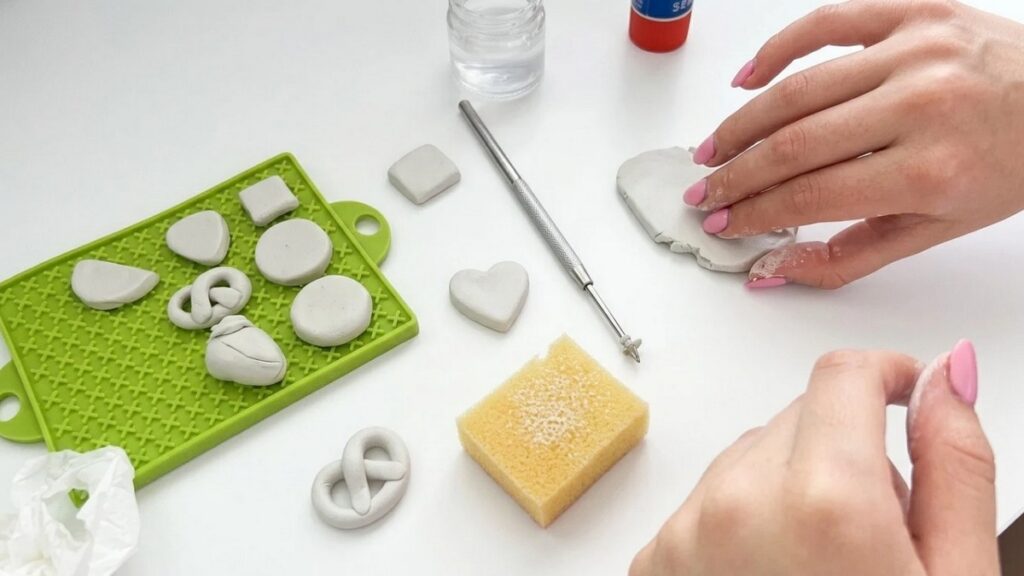
- Roll out pieces of clay to a thickness that will create a sturdy charm (about 3–6 mm). Thicker charms hold eye pins better and survive handling.
- Use a sharp blade to cut shapes such as strawberries, citrus slices, baguettes, or simple circles. Keep edges slightly thick so they don’t break.
- Smooth edges with a damp sponge or fingertip for air-dry clay; for polymer clay, smooth lightly to avoid leaving fingerprints.
3. Insert eye pins and prepare for baking/drying
- Choose the appropriate eye pin length: trim with cutters so the pin does not poke through the opposite side, but leave enough stem to secure inside the clay (about half the thickness).
- Push the eye pin gently into the clay; for polymer pieces you can remove and replace the pin after baking if preferred, but inserting before baking helps the pin seat firmly.
- For air-dry clay pieces, insert pins carefully and let the clay dry fully (often 24–48 hours depending on thickness) before heavy handling.
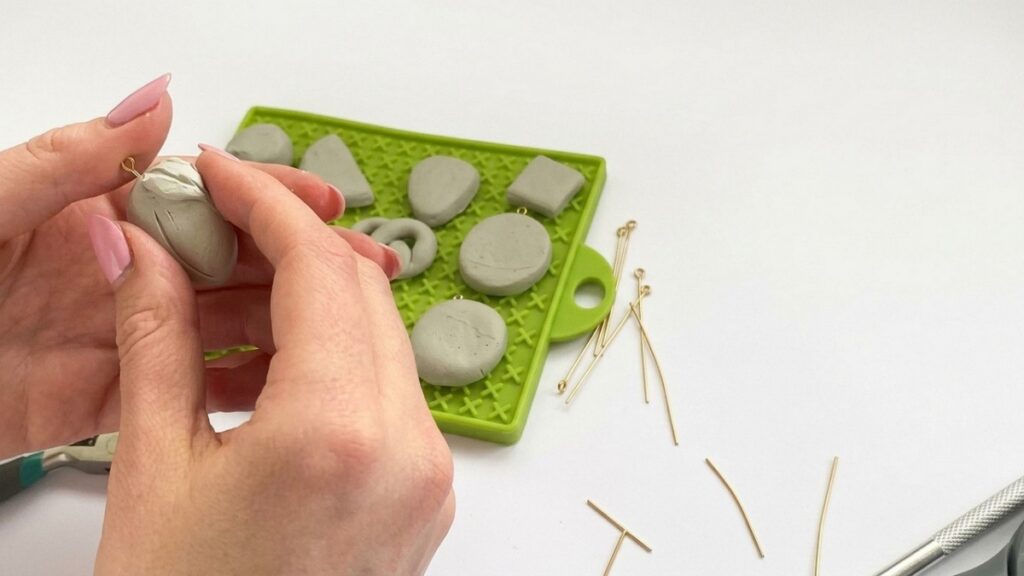
4. Bake polymer clay or fully dry air-dry clay
- For polymer clay, place pieces on an oven-safe tile and bake according to the manufacturer’s instructions. Use an oven thermometer to confirm temperature; common ranges are 265–275°F (129–135°C).
- Allow polymer pieces to cool completely on the baking surface before touching.
- For air-dry clay, place charms on a breathable surface and leave to cure fully; dry time depends on thickness, typically 1–3 days.
5. Clean, paint, and detail the charms
- Wipe baked clay pieces with rubbing alcohol on a Q-tip to remove dust and fingerprints.
- Apply a base coat of white paint when colors need brighter coverage, then paint your details with small brushes. Thin layers of paint prevent streaking and drying issues.
- Let paint dry thoroughly before moving to sealing.
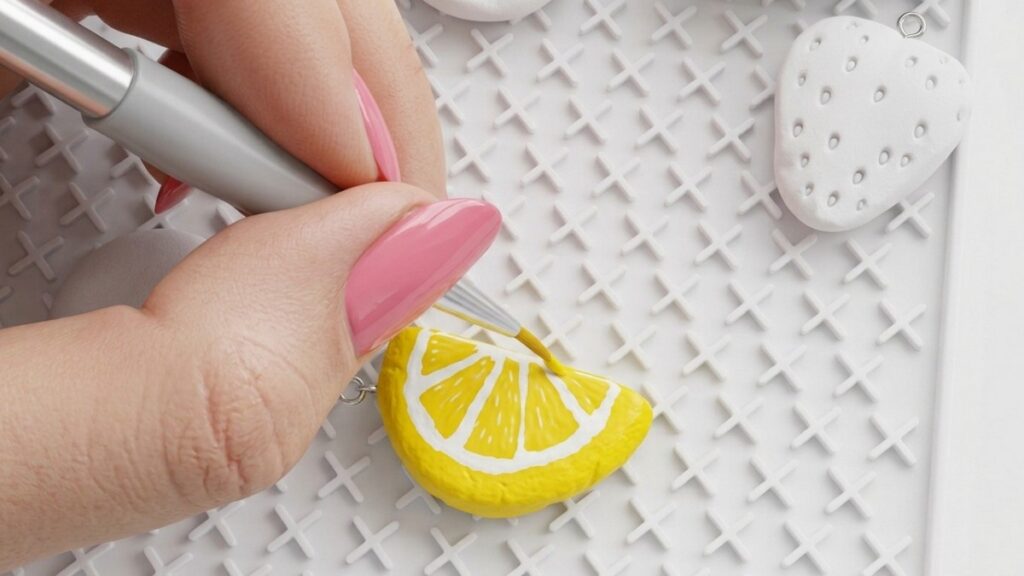
6. Seal and glaze (optional)
- Apply UV resin or a clear glaze for a glossy finish. If using UV resin, wear gloves, avoid skin contact, and cure under a proper UV lamp or direct sunlight per product instructions. Note: some UV resins can take longer in sunlight; a lamp is faster and more consistent.
- For a satin finish, use matte sealer instead. Allow finish to cure fully.
7. Make bead dangles and loops
- For bead dangles, thread beads onto head pins or a short length of wire and trim leaving 4–6 mm above the bead.
- Form a loop with round-nose pliers: grip the end, bend the wire 90 degrees, trim, and wrap into a loop. Make sure loops are closed tightly so beads don’t slip off.
- If you struggle to form loops with thin wire, use a flathead pin and bend the end into a small wrapped loop as a secure alternative.
8. Assemble the keychain
- Cut a short chain segment about 3–5 inches long depending on desired length; attach one end to a key ring with a jump ring.
- Open jump rings with two pliers (twist open, don’t pull apart) and attach charms spaced evenly along the chain. Test each jump ring closure by squeezing it back tight so nothing will slip out.
- Add bead dangles between charms for variety. Adjust spacing visually until balanced.
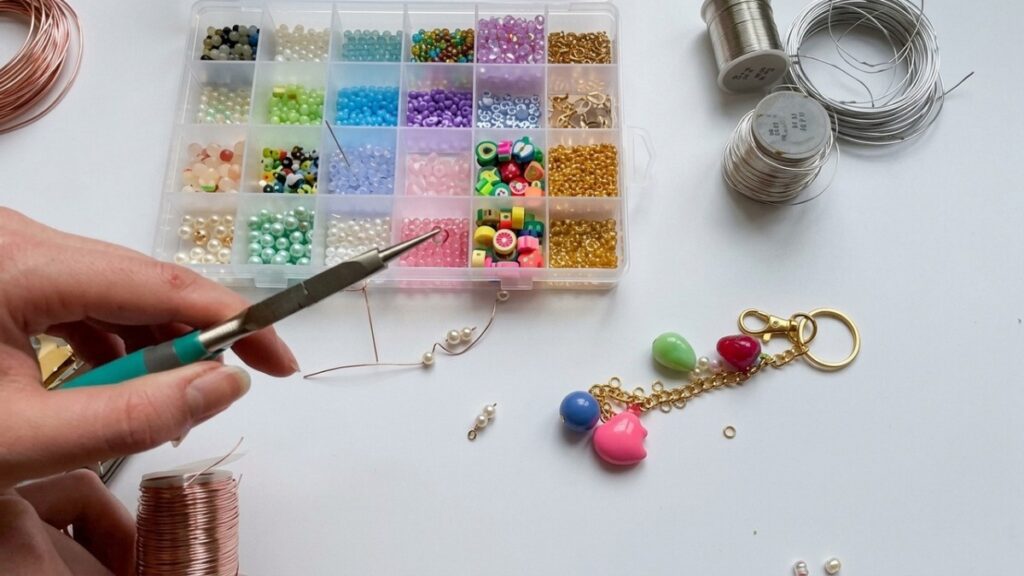
9. Final checks and finishing touches
- Inspect all connections: ensure eye pins are secure in clay, jump rings are closed, and resin or paint has cured.
- Lightly sand any rough edges on cooled charms if needed and touch up paint after sanding.
- Test the assembled charm by gently tugging each attachment to confirm stability.
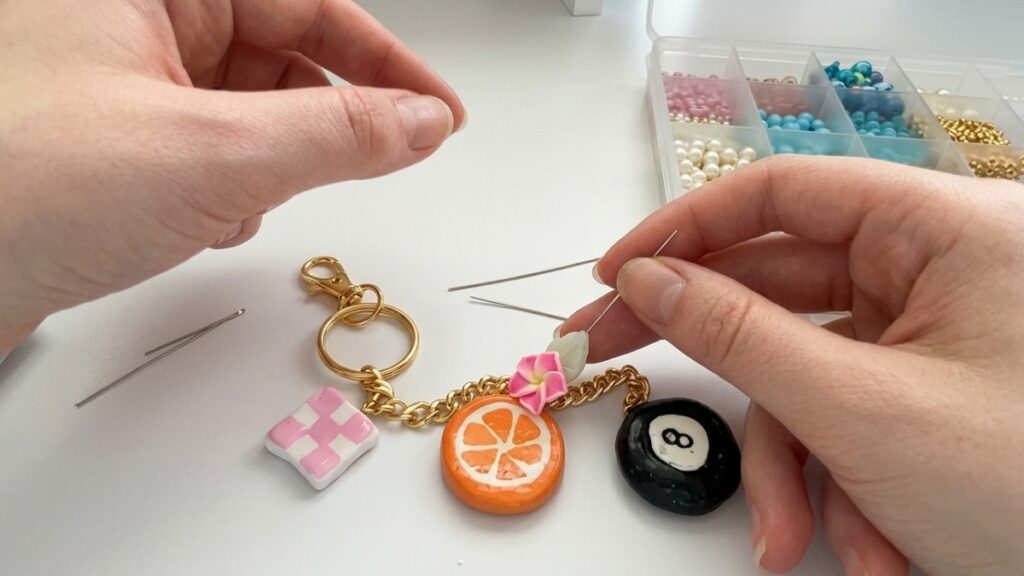
Conclusion
These bag charms combine simple clay shaping, painting, and basic jewelry assembly to create eye-catching accessories. Work in small batches to practice different shapes and finishes, and keep spare pins and jump rings on hand for quick repairs. Over time you’ll refine sizes, spacing, and finishing techniques to make charms that hold up well to everyday use.