Easy Polymer Clay Keyring DIY with Simple Tools
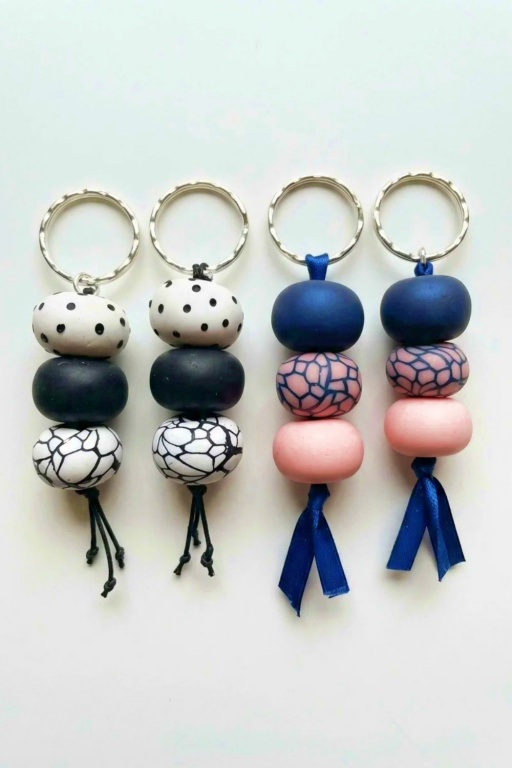
Create a personalized polymer clay keyring with this easy DIY guide. Make cute, stylish keychains perfect for gifts or everyday use.
Creating your own accessories with polymer clay is a creative and rewarding activity, and making a keyring through this DIY project is a perfect example. Polymer clay is a flexible and colorful material that is easy to work with, even for beginners. With just a few steps, you can mold, bake, and assemble a custom keyring that reflects your unique style and personality.
Polymer Clay Keyring DIY Step-by-Step for Complete Beginners

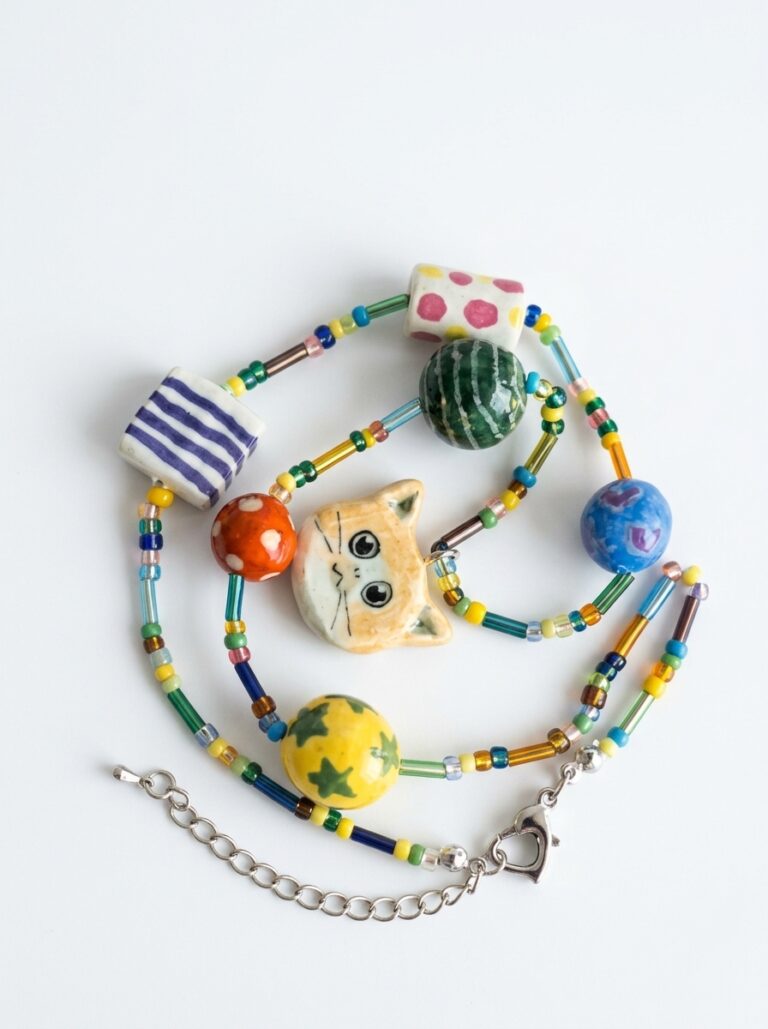
You’ll shape the clay into any design you like. It could be a simple heart or star, a tiny animal, or even an abstract shape with swirled colors. Polymer clay is ideal for experimenting with different patterns and textures, so you’re free to get as creative as you want. After shaping your piece, it is baked in an oven, which hardens the clay and gives it a long-lasting finish. Attaching a keyring or clasp completes your new accessory and makes it ready to use.
Polymer clay keyrings are not only stylish but also practical. They make great gifts for friends and family, allowing you to customize designs based on their favorite colors or interests. These handmade pieces are lightweight, durable, and easy to take with you everywhere. This project is both fun and functional—a small but meaningful way to explore your creativity while crafting something you’ll use every day.
Project Details
- Output: Multiple beads suitable for keyrings — includes mosaic cane beads, single-color beads, and black-and-white dotted beads.
- Style: Modern, graphic look using contrasting colors and mixed textures.
- Skill level: Beginner to intermediate; basic clay conditioning and rolling skills required.
- Time: Prep and forming vary; baking times per clay instructions (transcript: 40 minutes at 110 degrees on a DIY rack).

Creative Polymer Clay Keyring DIY
Create uniform polymer clay beads using a mix of mosaic cane, single-color beads, and textured dotted beads, then assemble them into stylish keyrings. This tutorial covers conditioning and cutting clay, forming beads, baking, optional sanding/polishing, stringing with cord or ribbon, and final hardware assembly.
Materials & Supplies
- Polymer clay in chosen colors (for mosaic cane and single-color beads)
- Black clay for dotted details (or alternative contrast color)
- Black cord and navy ribbon for stringing
- Jump rings and spring rings for hardware assembly
- Eye pins or head pins (optional, if using bead holes)
- Gloss/polish materials (optional: sanding paper, buffing compound)
Tools & Equipment
- Pasta machine or roller for even clay sheets
- Cutting blade / scalpel for cutting shapes and cane slices
- Dotting tool (totally pen) for attaching tiny dots and marking positions
- DIY baking rack (or suitable oven-safe rack)
- Oven set to your clay’s recommended temperature (transcript uses 110 degrees)
- Sandpaper / sanding pads and polisher for finishing (optional)
- Pliers for opening jump rings and closing hardware.
Preparation
- Condition all clay colors by warming and kneading, or run them through a pasta machine until smooth and even.
- Decide bead thickness and set your pasta machine/roller to that thickness to keep all beads consistent.
- Prepare your mosaic cane in advance (the video references a separate tutorial — follow that for cane construction).
- Lay out tools and your DIY baking rack so you can move from forming to baking without losing bead shapes.
Step-by-Step Detailed
Follow these steps closely. Important actions are bolded.
Uniform bead sizing
- Roll clay to one consistent thickness using a pasta machine or roller—this ensures all beads have the same diameter and profile.
- Cut out bead shapes from the rolled sheet using your cutter or blade; keep each piece the same height for uniform beads.
Mosaic cane beads
- Prepare and condition your mosaic cane (see referenced mosaic cane tutorial if needed).
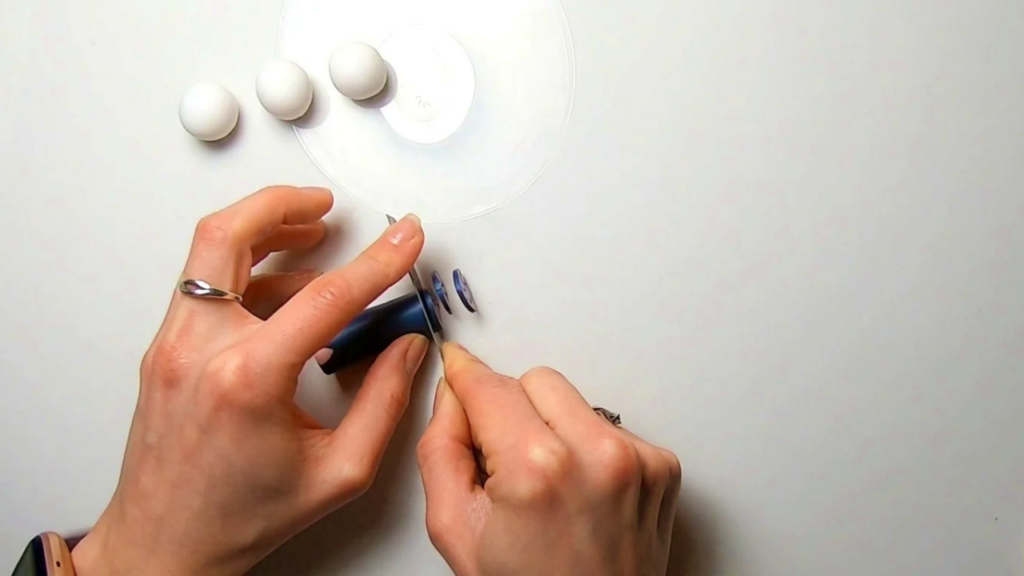
- Slice the cane into pieces of equal thickness to create patterned bead faces.
- Wrap slices around a core (if making round beads) or form flat mosaic tiles depending on bead style.
- Smooth seams and shape into bead forms, ensuring consistent roundness or intended profile.

Single-color beads
- Form simple one-color beads by rolling conditioned clay into spheres or your chosen shape.
- Compress and refine to remove fingerprints and ensure smooth surfaces before adding details or baking.
Dotted black-and-white beads
- Cut small black clay pieces into tiny bits for dot application.
- Roll each tiny piece between fingertips into small spheres.
- Attach dots to the bead surface using a dotting tool (referred to as a totally pen); press gently and evenly to secure each dot without distorting the bead.
- Vary dot placement to create different patterns—uniform grids or scattered dots both work.

General bead finishing before bake
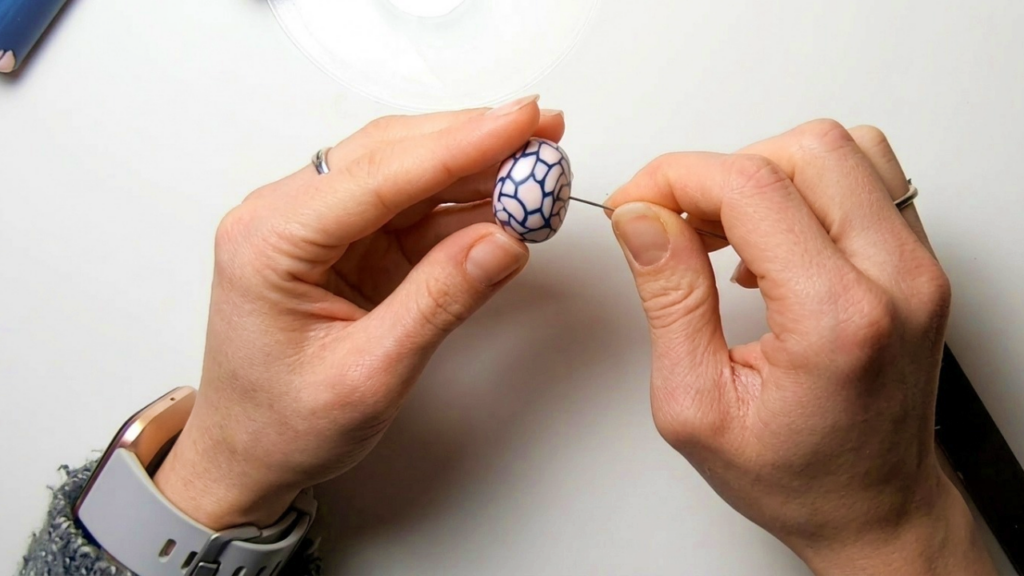
- Inspect each bead for dust or loose fibers; remove any visible debris with a small brush or compressed air.
- Refine bead shapes again to ensure smooth, consistent edges and surfaces ready for baking.
Baking
- Place beads on a DIY rack to allow even heat exposure (prevents flat spots).
- Bake following your clay manufacturer’s instructions; the transcript bakes beads for 40 minutes at 110 degrees (confirm units/temperature for your specific clay).
- Let beads cool completely on the rack before touching to avoid warping.
Optional sanding and polishing
- Sand beads progressively with finer grit sandpaper if you find dust or fibers embedded after baking. Start with a moderate grit and finish with a fine grit for a smooth result.
- Polish or buff beads to achieve desired sheen—matte, satin, or glossy—using buffing cloths or polishing compounds. This step is optional but useful for professional-looking beads.


Stringing and assembly
- Cut lengths of black cord and navy ribbon appropriate for your keyring design.
- Thread beads onto cord or ribbon in your chosen sequence or pattern.
- Secure ends with knots, crimps, or bead tips as needed to keep beads from sliding.
- Attach jump rings and spring rings using pliers to connect the bead strand to keyring hardware.

Finishing Instructions
- Double-check knots and crimps for security; apply a small dab of jewelry glue to knots if extra durability is required.
- Ensure all metal hardware is closed tightly with pliers to prevent loss of beads.
- Inspect final keyring for rough edges or loose bits; do any final sanding or polishing before gifting or selling.
Tips & Techniques
- Use a pasta machine to guarantee consistent sheet thickness and uniform bead sizes.
- Work in batches: form beads in groups to streamline baking and finishing.
- Keep tiny dot pieces organized in a tray—this prevents loss and speeds application.
- Test-bake one bead if trying a new clay or finish to confirm baking settings and polish behavior.
Common Problems & Solutions
- Dots flattening: press gently when attaching and avoid overworking the bead surface.
- Embedded dust/fibers: sand lightly after baking and polish; keep workspace clean during forming.
- Warped beads after bake: allow full cooling on a flat rack and ensure beads are fully supported during baking.
Creative Ideas & Variations
- Mix mosaic cane slices with solid-color spacer beads for contrast.
- Alternate cord with ribbon segments for layered texture on the keyring.
- Create thematic palettes (monochrome, pastel, neon) to suit different markets or gift recipients.
Final Result
A set of coordinated polymer clay keyrings featuring uniformly sized mosaic, single-color, and dotted beads with clean finishes and secure hardware. With consistent thickness, careful dot application, and optional sanding/polishing, the beads present a professional, wearable look ideal for gifting, selling, or everyday use.