Easy DIY Polymer Clay Pansy Flowers Project for Beginners
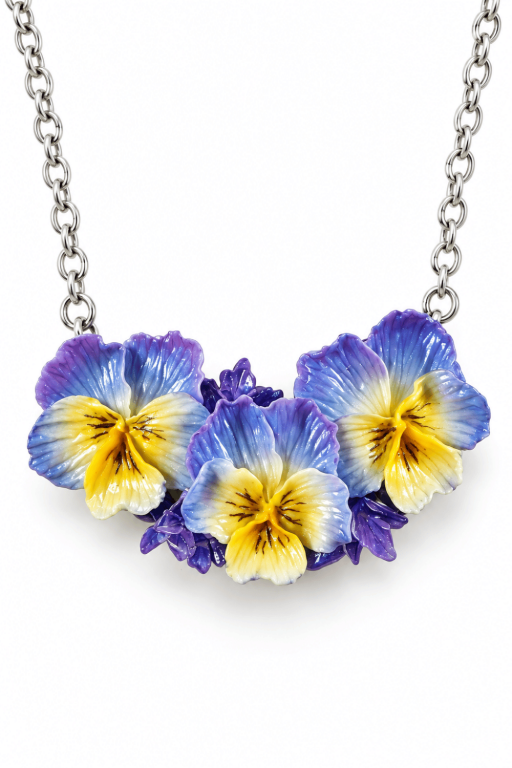
Learn how to sculpt vibrant DIY Polymer Clay Pansy Flowers with ease and bring a touch of elegance to your handmade projects.
Not everyone has the time or space to care for real flowers, but crafting your own polymer clay pansy flowers is a great alternative. This creative project lets you enjoy the beauty of nature without the upkeep. These miniature pansy flowers capture the charm of real blooms while lasting much longer. Perfect for home décor, gifts, or accessories, they bring a colorful and cheerful vibe to any space.
DIY Polymer Clay Pansy Flowers for Handmade Decor
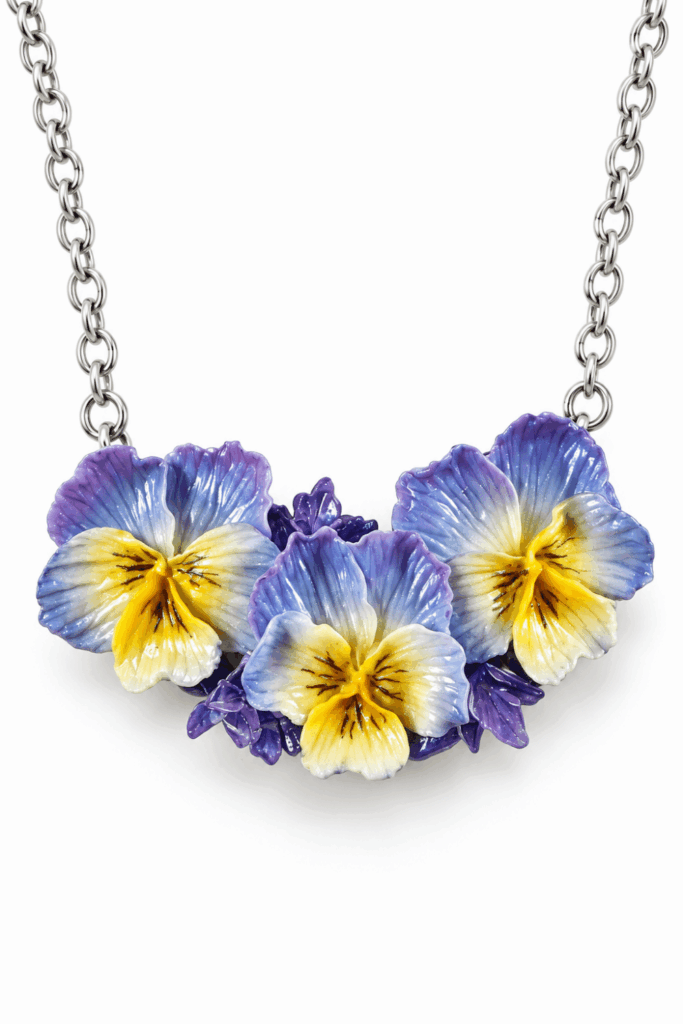
Pansies are known for their delicate appearance and lovely colors, and you can recreate these details with clay in your own way. Whether you prefer soft pastels or bold, vibrant shades, shaping each petal allows for fun customization. You can make small clusters of flowers for decoration or single blooms for jewelry like necklaces or earrings. Their lifelike design and versatility make them a fun and satisfying craft for all skill levels.
Polymer clay is easy to mold and work with, making it the ideal material for this project. Once shaped and baked, your pansy flowers become lightweight and durable, ready to be used however you like. Whether you’re new to crafting or looking for a relaxing activity, this DIY project adds a touch of creativity and beauty to your day. It’s the perfect way to enjoy florals without needing to water them.
DIY Polymer Clay Pansy Flowers
This pattern shows how to create delicate pansy flowers from polymer clay using a color‑fading technique. The method combines layered clay blending on a pasta machine, repeated folding and rolling to achieve gradients, petal shaping, texturing, partial prebaking, assembly on a clay base, painted vein details, and pearlescent highlighting for a realistic, dimensional finish.
Project Overview
- Goal: make realistic miniature pansies with soft color transitions and textured petals.
- Outcome: individual pansy flowers assembled on a clay base, optionally embellished with small nuggets (tanzanite) and mica/Pearl X highlights.
- Time: moderate — blending and cutting require patience; allow time for baking and finishing.
- Skill level: beginner‑intermediate (basic pasta‑machine and polymer‑clay handling recommended).
Materials & Supplies
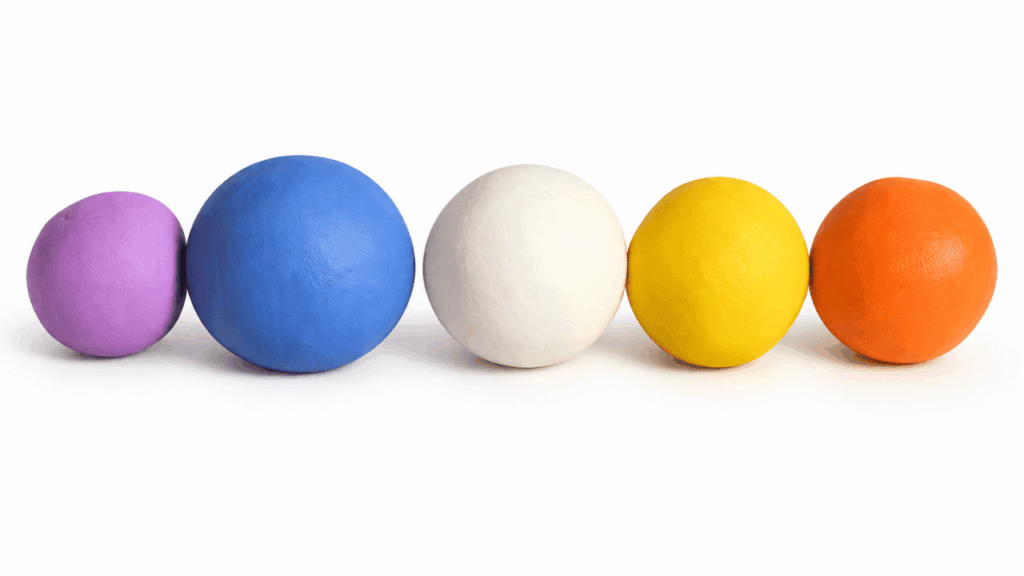
- Polymer clay in several colors (choose at least two contrasting/complimentary shades for fading).
- Pasta machine (for conditioning and creating uniform sheets).
- Razor blade or craft knife and cutting surface.
- Dotting tools and fingers for smoothing and texturing.
- Small paintbrush and dark purplish acrylic paint for flower veins.
- Pearl X pigments or mica powder (or eyeshadow as an alternative).
- Small clay base pieces for mounting flowers.
- Optional small nuggets (e.g., tanzanite) or tiny clay centers.
- Oven and baking surface—follow polymer clay manufacturer instructions.
- Work mat, tweezers, and clean workspace.
Preparation
- Condition each clay color until soft and consistent.
- Choose the color sequence you want for your gradient (light-to-dark or bi‑tone).
- Set pasta machine to a medium‑thin setting; ensure it’s clean and free of debris.
- Arrange tools within reach: cutters, dotting tool, razor, brush, pigments.
Step‑by‑Step Detailed
Create the fading effect
- Lay out the different colors of clay in strips side by side.
- Feed the layered strips through the pasta machine to form a sheet.
- Fold the sheet, then roll through the pasta machine again.
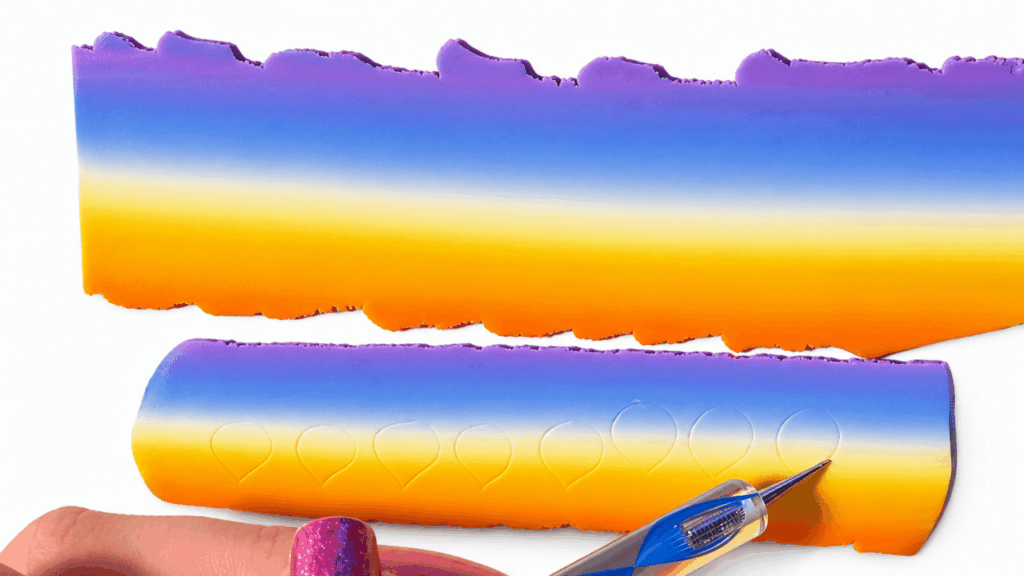
- Repeat the folding and rolling several times until the colors blend into a smooth gradient.
- Repeat these steps to refine the fade: place, roll, fold, and roll again until satisfied.
- Aim for even transitions—more passes yield a subtler blend.
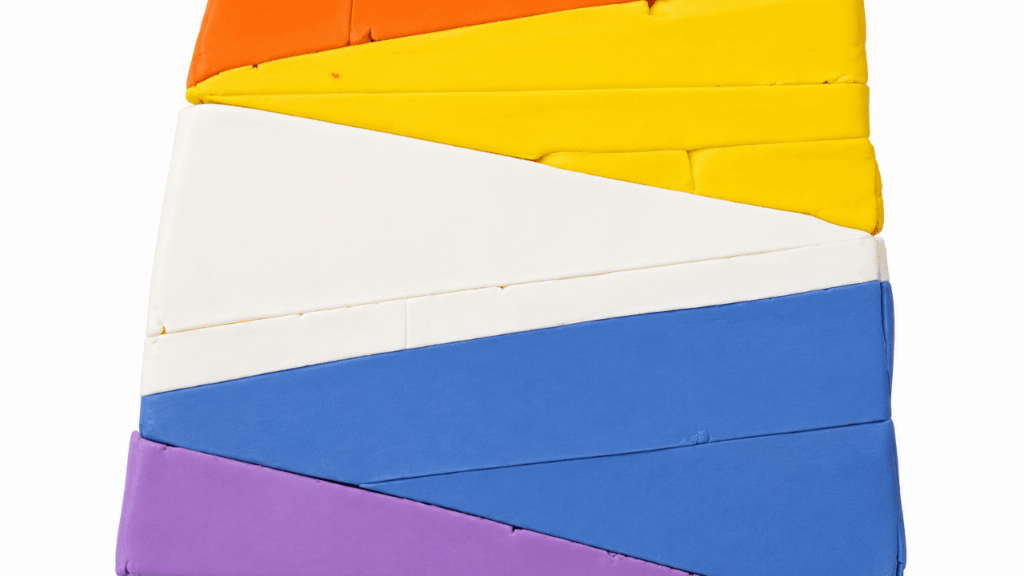
Narrow one side for smaller petals
- Modify the gradient sheet for small petals:
- Make half of the blended sheet more narrow so the colors concentrate and produce tighter transitions.
- This helps create smaller petal pieces with closer color proximity, suitable for pansy petal scale.
Sketch and cut petals
- Cut petal shapes from the gradient sheet:
- Sketch petal outlines lightly on the sheet or use a petal template.
- Cut out five petals per flower—typical pansies have five petals (two upper, two lateral, one bottom).
- Arrange cuts to use the most attractive color variations for each part of the flower.
Refine petal edges and texture
- Smooth and texture each petal:
- Use your fingers to smooth edges and remove any blade marks.
- Use a dotting tool to add subtle surface texture, pressing lightly to create the natural irregularities of a real petal.
- Check each petal for consistent thickness; thin edges look more natural.
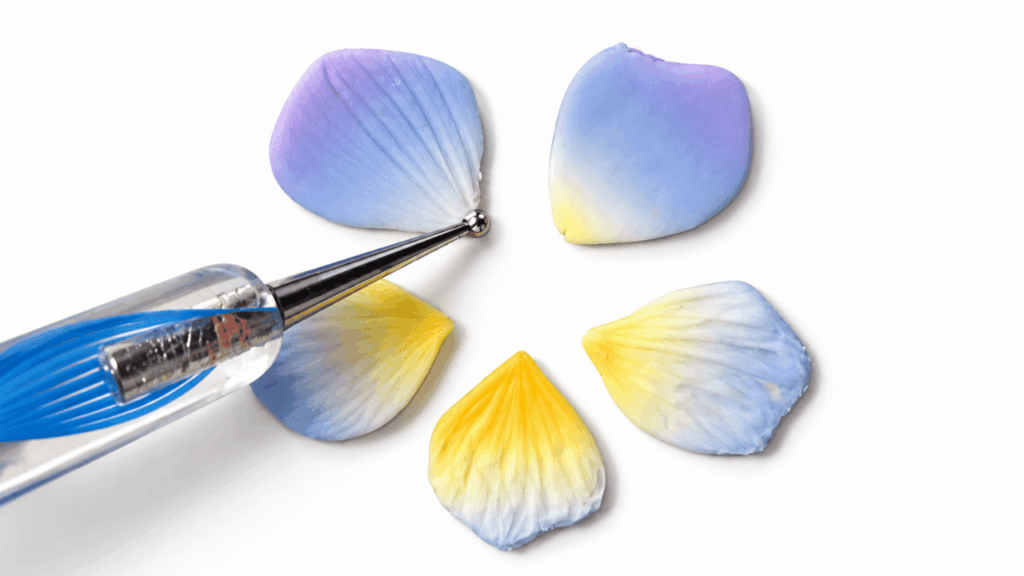
Assemble each flower
- Put petals together into a cohesive pansy:
- Arrange the five petals in the typical pansy layout: two upper petals, two lateral petals slightly overlapping, and one larger bottom petal.
- Gently press at the meeting points to secure without flattening texture.
- Refine the overall silhouette to ensure natural overlap and depth.

Pre‑bake flowers (optional step in workflow)
- Stabilize petals before base assembly:
- Pre‑bake the assembled flowers according to polymer clay manufacturer recommendations to firm them up before mounting.
- Prebaking prevents distortion when attaching to a clay base and allows easier handling for detailed center work.
Create and glue to base
- Mount flowers on a clay base:
- Prepare a small clay base piece sized for your pansy cluster.
- Position and attach the pre‑baked (or raw, if preferred) pansies onto the base, pressing gently so they adhere.
- Add small nuggets (optional) such as tanzanite or tiny clay beads to the flower centers for sparkle.
Paint center veins
- Add fine line details:
- Using a dark purplish acrylic paint, paint slender veins radiating from the flower center along the petals to mimic pansy lines.
- Keep lines thin and tapered for a natural look; less is more—you can always add more pigment if needed.
Apply pearlescent highlights
- Final shimmer and depth:
- Dust Pearl X pigments or mica powder lightly over selected areas to give petals a soft sheen.
- If mica powders are unavailable, use eyeshadow as a substitute to achieve similar luminous effects.
- Blend pigment softly with a dry brush for a subtle glow.
Finishing Instructions
- Complete final baking:
- If any raw clay remains or if pigments/paint require curing, bake the assembled piece following the polymer clay and paint product instructions (ensure heat safety for added materials).
- After cooling, if desired, seal with a thin matte varnish to protect pigments while preserving a natural petal appearance; use gloss selectively on stones/nuggets for sparkle.
Tips & Techniques
- Repeat blending: more passes through the pasta machine equal smoother gradients.
- Work with thin sheets for natural petal translucency.
- Use contrasting color placements so veins and pigments read well against the base color.
- For symmetry, cut multiple petals at once by stacking sheets or using a template.
- When applying Pearl X or mica, use a very light hand—build up layers gradually.
Common Problems & Solutions
- Grainy fade or harsh lines: add more folding and rolling passes; warm clay slightly to improve blending.
- Petal edges rough after cutting: smooth with a fingertip dipped lightly in a bit of cornstarch or use a soft brush.
- Petals warp during baking: prebake flattened petals on a flat tile or use a mild heat‑resistant weight around edges to keep shape.
- Paint bleeding into clay: allow clay to cool and cure fully before painting; thin acrylics help control flow.
Creative Ideas & Variations
- Create multicolored pansies by layering three or more shades in the gradient.
- Make miniature bouquets by arranging several pansies on a single base with clay leaves.
- Replace painted veins with ultra‑fine ink or pen for sharper lines (test compatibility).
- Use metallic mica for a more dramatic, iridescent pansy suitable for jewelry.
Final Result
A collection of delicate pansy flowers featuring smooth color fades, five‑petal assemblies with textured surfaces, painted central veins, optional tanzanite accents, and pearlescent highlights. The finished pieces are versatile for jewelry, embellishments, or miniature floral displays—finished to a natural, luminous look with durable polymer clay stability.