DIY Polymer Clay Dog Project for Cute Mini Sculptures
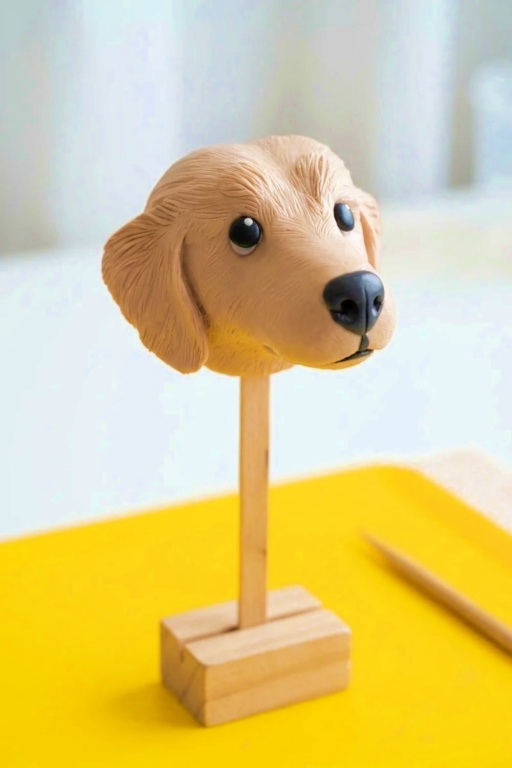
Discover how to craft a charming DIY Polymer Clay Dog with this simple guide, perfect for personalized gifts or adding fun decor to your space.
Creating a polymer clay dog is a delightful DIY project that anyone can enjoy, whether you’re a beginner or an experienced crafter. The idea is simple—you mold your own tiny dog from clay, customizing its appearance to match your favorite breed or give it a playful, one-of-a-kind look. It’s a fun way to explore your creativity while crafting something adorable.
Adorable DIY Polymer Clay Dog Figurines You Can Make
Using polymer clay, you start by shaping the basic parts of the dog: its body, head, legs, ears, and tail. You can keep the design simple or play around with details like spots, fur patterns, or even a tiny collar. The clay is easy to work with and comes in a variety of colors, so you can mix shades to match real-life dogs or create a cartoonish style. Once your clay dog is ready, it’s baked in the oven to harden, leaving you with a durable little sculpture.
Your finished dog isn’t just cute—it’s versatile! It can be displayed on a shelf, used as a charm, gifted to a pet lover, or even kept as a reminder of your own furry friend. This project is not only relaxing but also gives you something personal and creative to cherish. Crafting a polymer clay dog is more than just making art—it’s capturing the joy and character of man’s best friend in a tiny, handmade creation.
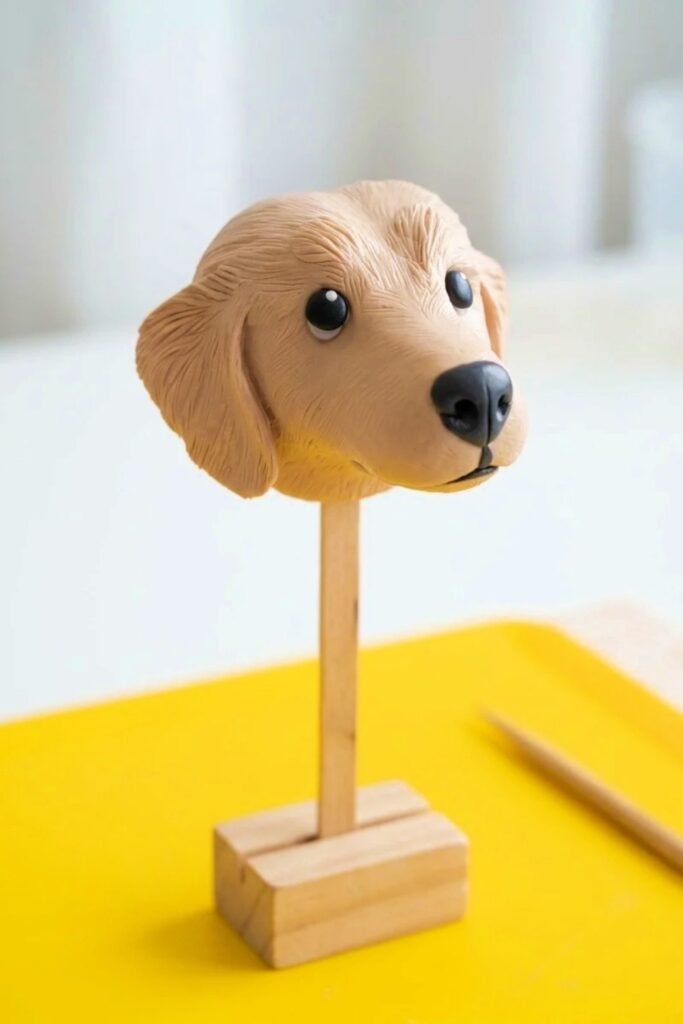
Clay Doggie (Polymer Clay Tutorial)
Create an adorable polymer clay dog head using simple armature, color mixing, shaping, and texturing techniques. This tutorial guides you from color blending to final detailing so you can sculpt a realistic and expressive dog face. The project is beginner-friendly and emphasizes patient, incremental shaping for best results.
Supplies
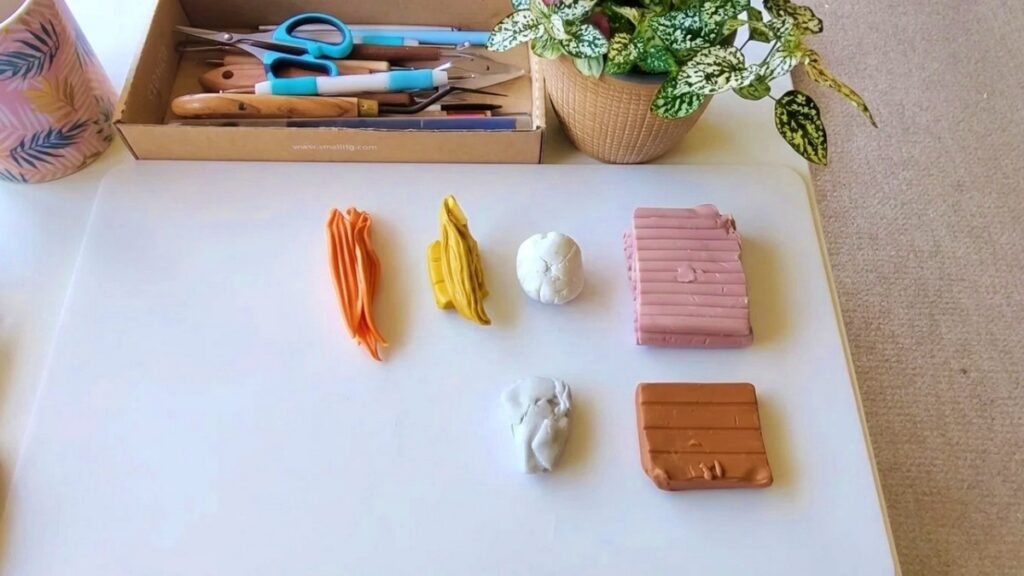
- Polymer clay in beige, bronze, orange, and a touch of gold
- Aluminum foil for armature filler
- Soft work surface or nonstick mat
- Baking tray and oven (follow clay brand instructions)
Tools
- Blade or craft knife for cutting and trimming
- Wooden handle tool or paintbrush handle for shaping and smoothing
- Needle or pointed tool for fine lines and hair texture
- Ball-ended sculpting tools for smoothing and creating rounded forms
- Small brushes for surface cleaning and pastel application (optional)
Instructions
1: Mix and Prepare Colors
- Condition each clay color by kneading until soft and pliable.
- Combine beige as your main color with small amounts of bronze and orange to achieve natural fur tones; add a little gold for warm highlights.
- Use a clay press or fold-and-roll technique to blend colors evenly until you obtain subtle marbling or consistent hue depending on desired effect.
- Form multiple small portions of mixed colors for different parts: main head, ears, eyebrows, and small highlights.
2: Build the Armature and Basic Head Shape
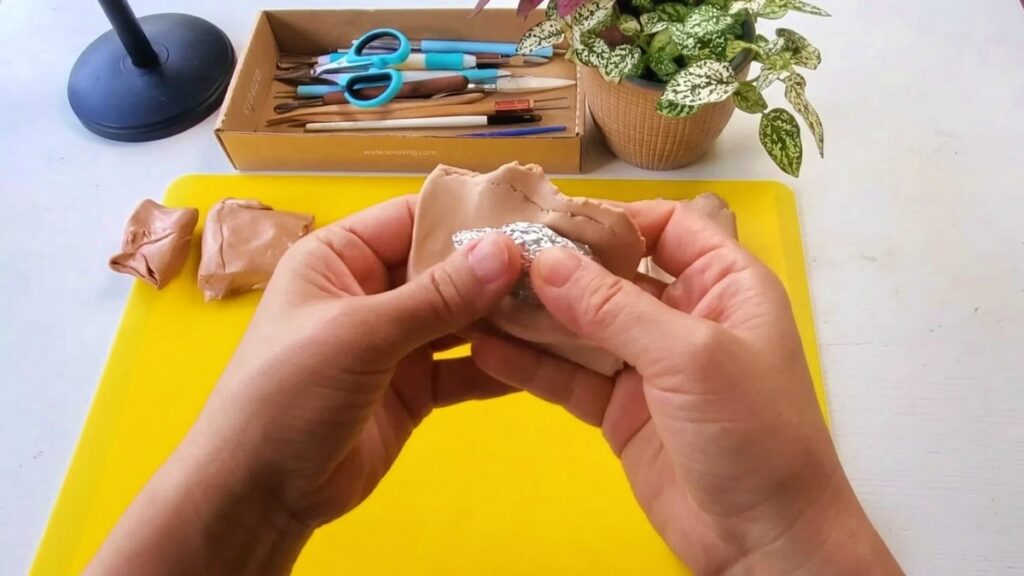
- Crumple a small ball of aluminum foil to create a lightweight internal filler that reduces baking time and clay usage.
- Cover the foil with a generous layer of conditioned beige clay; smooth seams carefully to form a rounded base.
- Observe the reference shape: a larger circle for the cranium and a smaller circle for the muzzle; attach and blend the two forms seamlessly.
- Gently refine the overall silhouette with fingers and a ball tool to achieve natural proportions before adding facial features.
3: Sculpt the Mouth, Muzzle, and Eyes
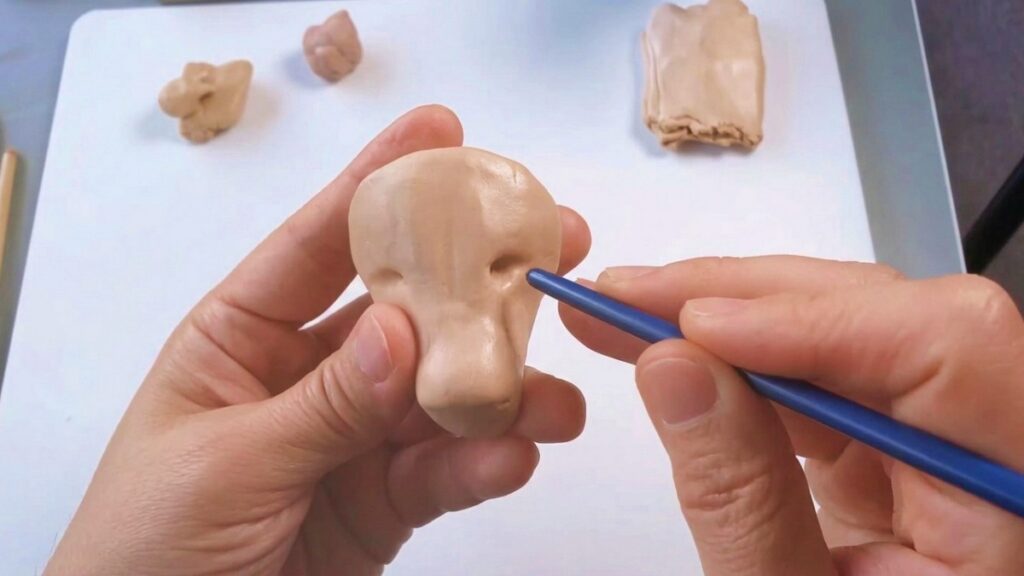
- Cut and shape clay pieces to form the muzzle structure; place foil where necessary to maintain hollow areas or to reduce volume.
- Use the handle of a brush to press back clay and create recessed areas, such as the mouth lines and subtle cheek hollows.
- Sculpt a shallow “Y” shape beneath where the nose will sit to define the philtrum and mouth division, smoothing edges to avoid sharp seams.
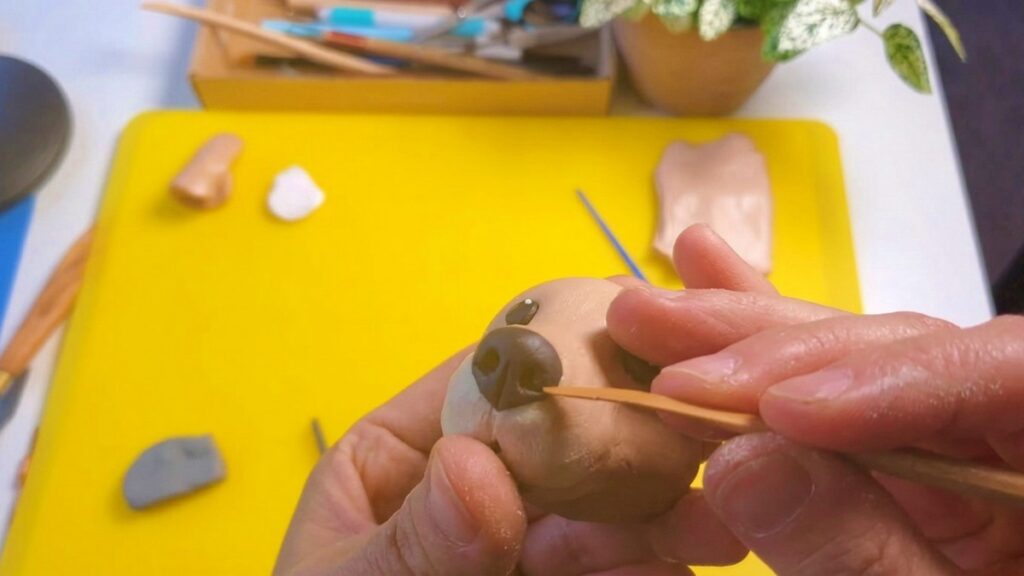
- For eyes, place small white clay discs for sclera, then add smaller black pupils centered to convey expression; leave a tiny white speck on each pupil for a reflective highlight.
- Blend surrounding clay smoothly to integrate the eyes naturally into the face without visible seams.
4: Form the Nose and Refine Head Volume
- Shape the nose roughly like a heart and position it on the muzzle; make a shallow vertical cut in the center and define two small nostrils at each side.
- Add small amounts of clay around the cheeks and jawline to build out volume until the head reads accurately from multiple angles.
- Continuously compare both sides for symmetry; make small incremental additions rather than large corrective changes.
- Use the ball tool and wooden handle to contour and create convincing muscle and fat pads typical of the chosen breed.
5: Create Ears, Eyebrows, and Hair Texture
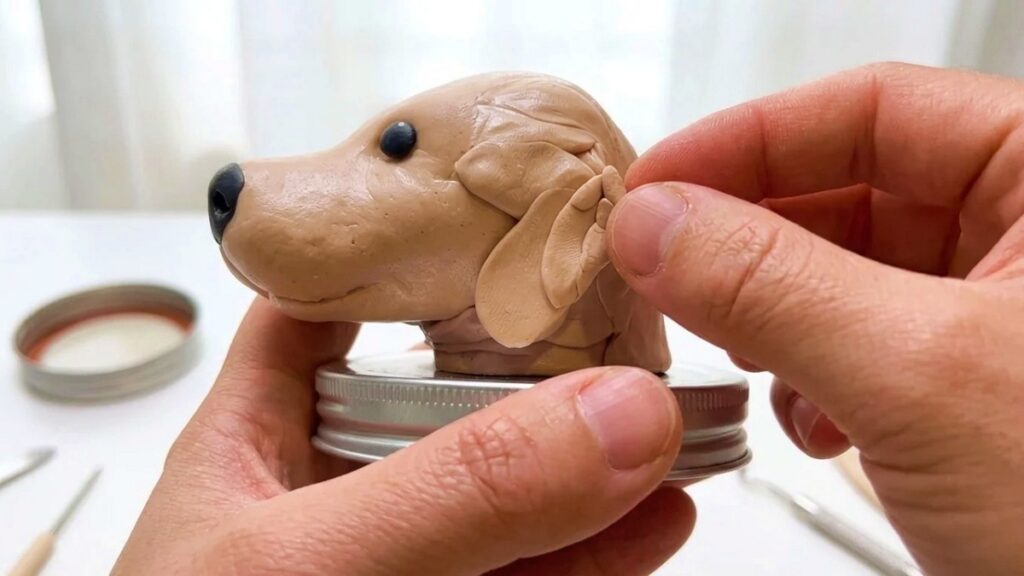
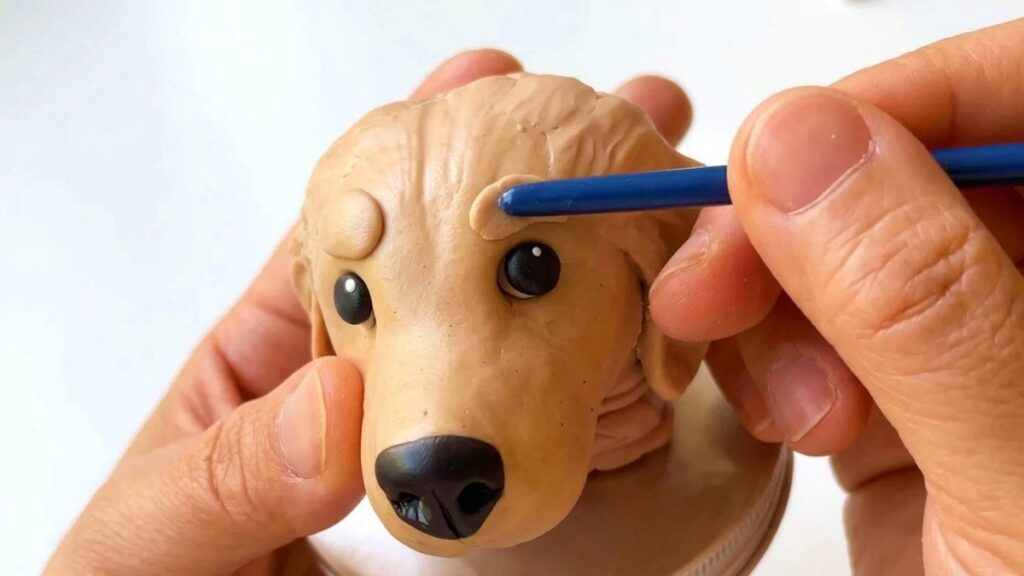
- Add clay to form ears by building tapered triangular shapes; attach at the appropriate positions and blend the bases into the head.
- Roll tiny strips of clay and press them into place above the eyes for raised eyebrow shapes; integrate softly to maintain natural transitions.
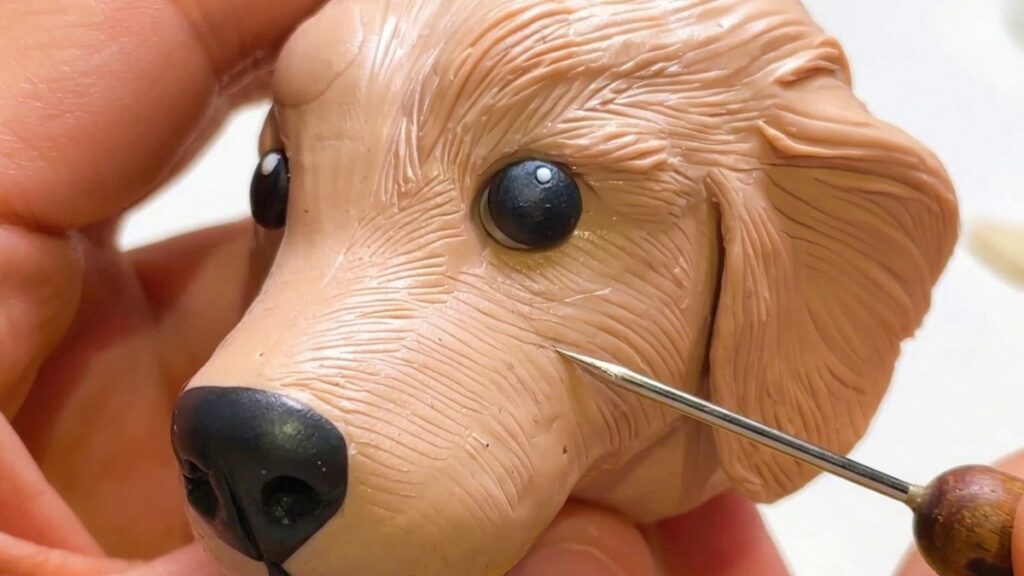
- Use a pointed tool to carve hair direction lines that follow natural growth: outward from the forehead, around the cheeks, and along the ears.
- Work in layers: first create main hair clumps, then add finer lines to suggest fur texture. Patience yields realism.
Finishing
- Inspect the sculpt for any finger marks, stray seams, or unintended lumps; refine with smoothing tools and careful blending.
- Bake the piece according to the polymer clay manufacturer’s instructions. Use a consistent oven temperature and place the sculpture on a ceramic tile or baking sheet for even heat distribution.
- Allow the sculpture to cool completely before handling further to avoid fingerprints or deformation.
Tips
- Keep pieces small and work iteratively; adding tiny amounts of clay increments gives you control over the final form.
- Use aluminum foil armature to save clay and reduce oven bake time, minimizing potential internal cracking.
- Clean tools and fingers frequently to prevent color contamination during blending and detailing.
- Practice expressions by varying pupil placement and eyebrow angles to create happy, curious, or sleepy looks.
Variations
- Change breed by altering head proportions: shorter muzzle for pugs, longer for collies, rounder for spaniels.
- Add accessories like a tiny collar, bow, or tag made from contrasting clay to personalize your doggie.
- Make a full figurine by extending the technique to build a neck and simple torso; attach limbs using small foil cores for structure.
Final Result
By following these steps you will create a charming and expressive polymer clay dog head with realistic texture and natural coloration. The project reinforces fundamental sculpting skills: color mixing, armature use, incremental shaping, and surface texturing. With practice, you can replicate different breeds and expressions and expand to full figures or accessory items. Happy sculpting, and enjoy bringing your clay doggie to life!