DIY Polymer Clay Keychains for Cute Handmade Creations
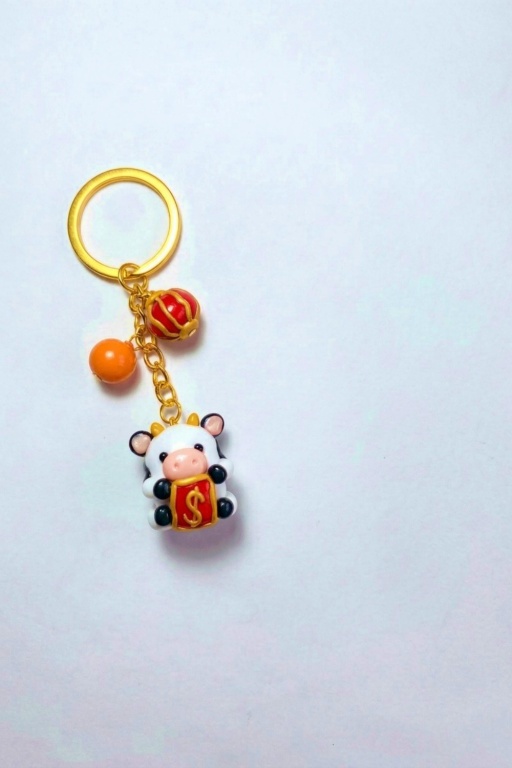
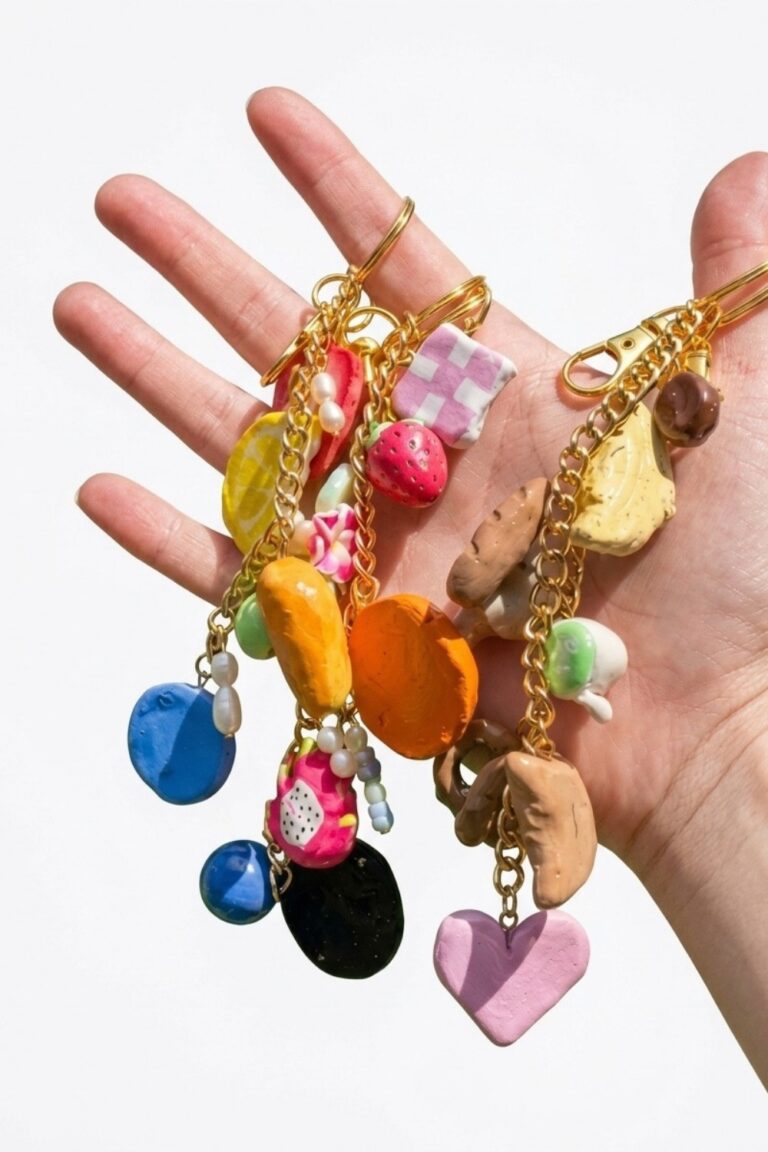
Try this Polymer Clay Keychain Creation idea to make a cute handmade keychain with simple clay techniques, creative details, and easy steps.
Have you ever wondered how to turn a simple craft material into something both creative and useful? Making keychains with polymer clay is an enjoyable project that blends design and functionality. It’s a chance to craft something unique while learning a new skill that’s both easy and rewarding. No matter your age or experience level, this hands-on activity is perfect for spending a relaxing afternoon or creating personalized gifts for loved ones.
How to Make a Polymer Clay Keychain: Easy Craft Idea
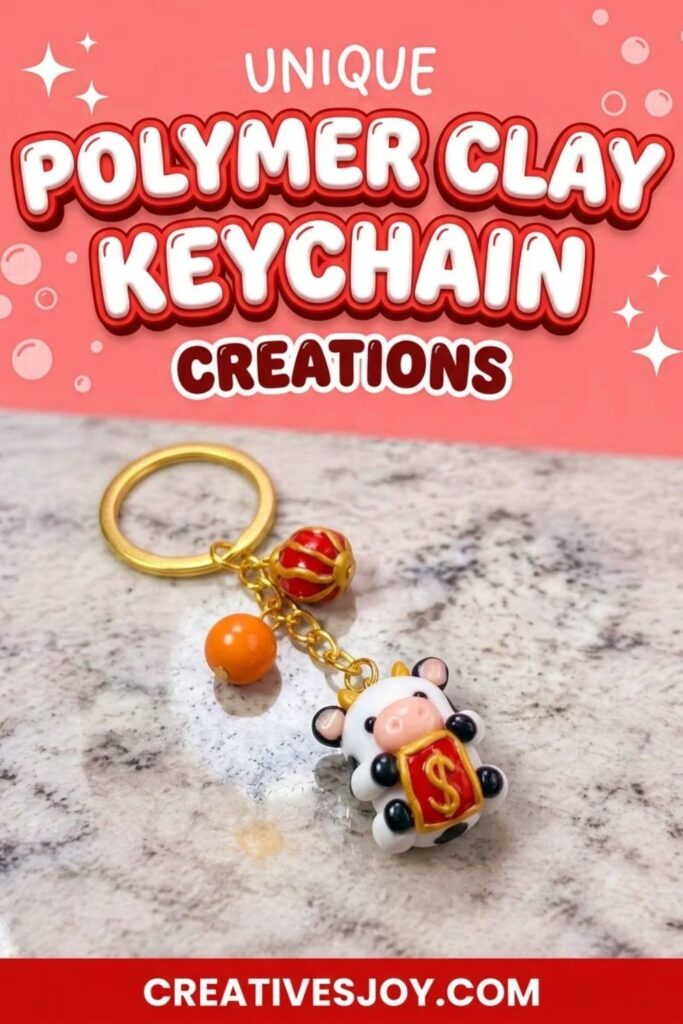
One of the fascinating aspects of this craft is how limitless the possibilities are. Polymer clay comes in so many colors and can be shaped into anything you envision—quirky little characters, elegant patterns, or even designs inspired by nature. You can make them bold and colorful, minimalist and chic, or completely one-of-a-kind. The clay is soft and easy to work with, and after hardening in the oven, it becomes sturdy, ready to brighten up your bag or keyring.
What’s especially great about this project is how much personality and charm you can add to the finished item. Every keychain you make reflects your style, mood, or creativity, making it special and meaningful. Plus, seeing something you’ve made in your daily life—whether it’s holding your keys or decorating your backpack—adds a small but cheerful touch to your routine. It’s a simple way to make your crafting time memorable and useful!
Measurements and Specifications
- Orange charm: about 18–22 mm diameter
- Lantern: 15–25 mm height
- Ox body: 25–30 mm length
- Red packet: approximately 12 x 18 mm
- Eye pins: 20–25 mm length recommended
Choose proportions that leave room to insert eye pins without disrupting details.
Getting Everything Ready
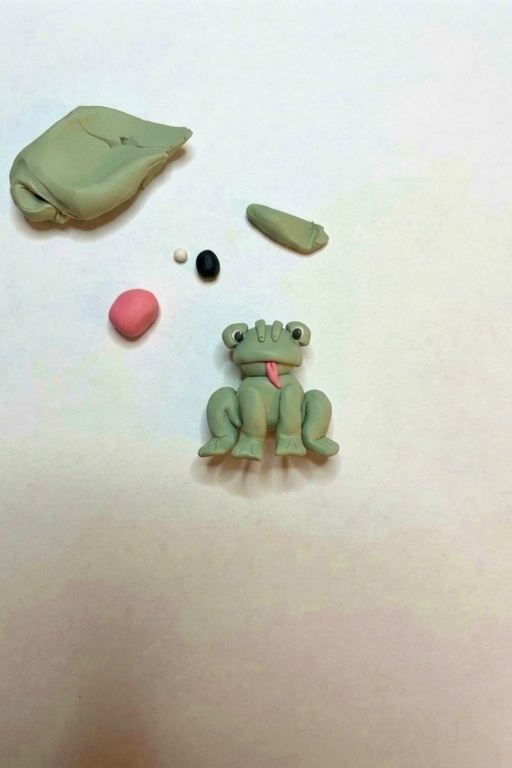
- Condition clay by warming between fingers or through a pasta roller until soft and pliable.
- Work on a clean, non-porous surface; use baking paper to prevent sticking.
- Pre-cut small portions for each charm and arrange tools within reach.
- Preheat oven to the temperature recommended by your clay brand; verify with an oven thermometer.
DIY Polymer Clay Keychain Creations
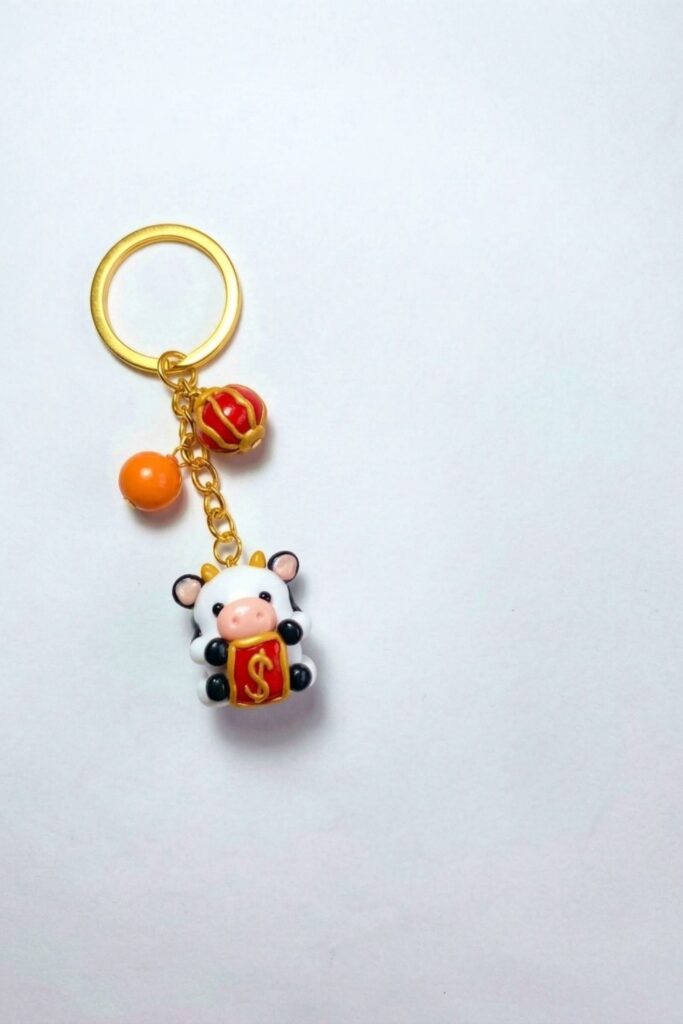
This pattern shows how to make a Chinese New Year themed keychain featuring an orange charm, a red lantern, a cute ox (cow) charm, and a red packet (angpau). The set is designed to be lightweight, durable, and suitable for gifting or personal use. Follow the steps below for preparation, modeling, baking, assembly, finishing touches, and optional creative variations. Important words and tools are bolded for quick reference.
Supplies and Equipment
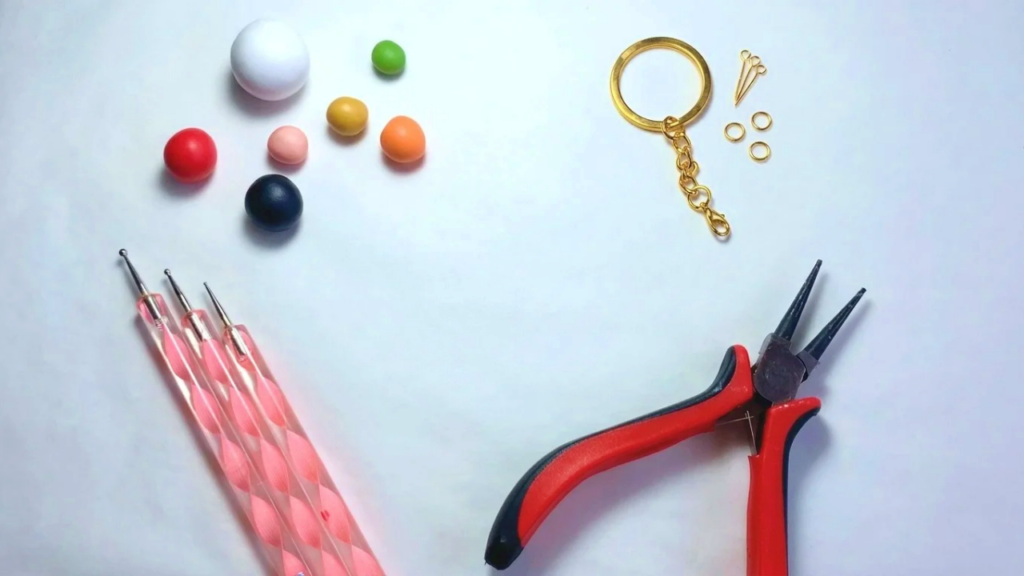
- Polymer clay: orange, green, red, gold, white, black, light pink
- Clay conditioning tool or pasta roller
- Blade or craft knife
- Toothbrush (for texture)
- Needle tool or toothpick
- Dotting tools (small and larger)
- Rolling pin
- Eye pins
- Jump rings and keychain hardware
- Liquid clay (to secure eye pins)
- Oven and baking plate (follow manufacturer instructions)
- Glossy varnish (optional)
- Baking paper or ceramic tile
- Tweezers, scissors, small cutters
Making Instructions
Step 1: Orange Charm
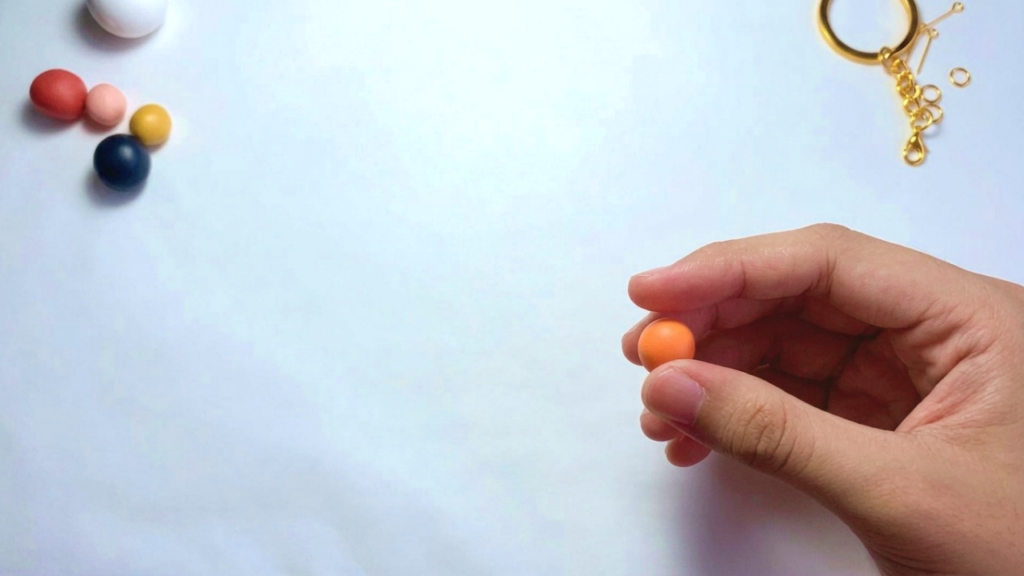
- Roll orange clay into a smooth sphere of the desired size.
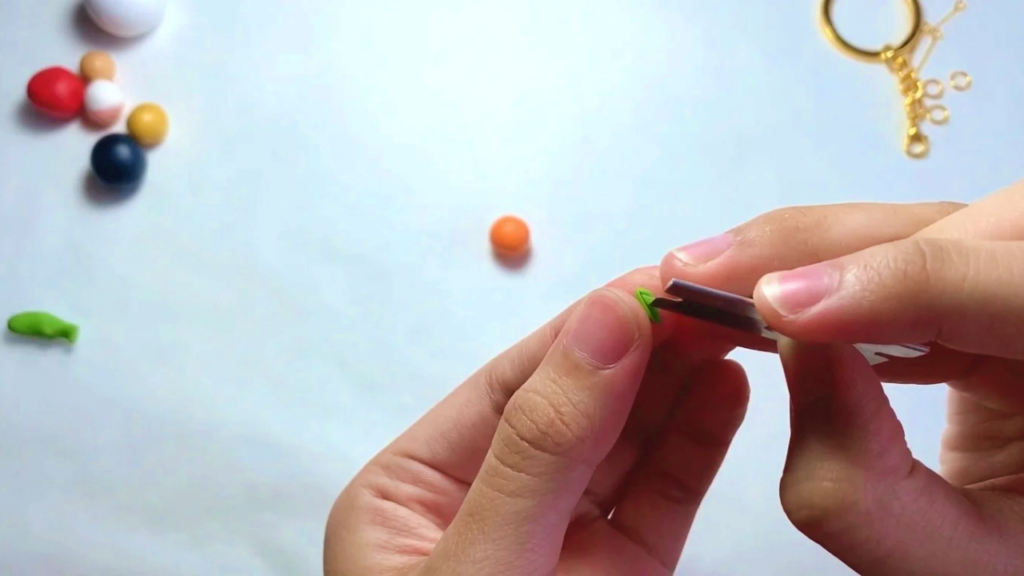
- Form a small green leaf and attach at the top.
- Use a blade to carve leaf veins.
- Brush the surface with a toothbrush to add citrus texture.
- Make a small indentation for the eye pin, dip the pin in liquid clay, and insert partway to secure before baking.
Step 2: Lantern
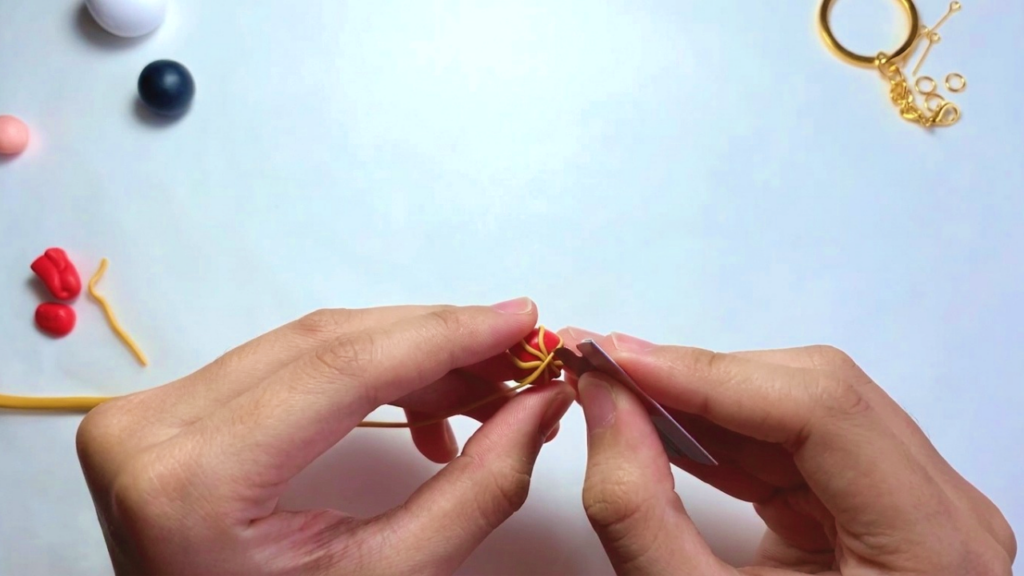
- Shape red clay into a round or slightly oval lantern body.
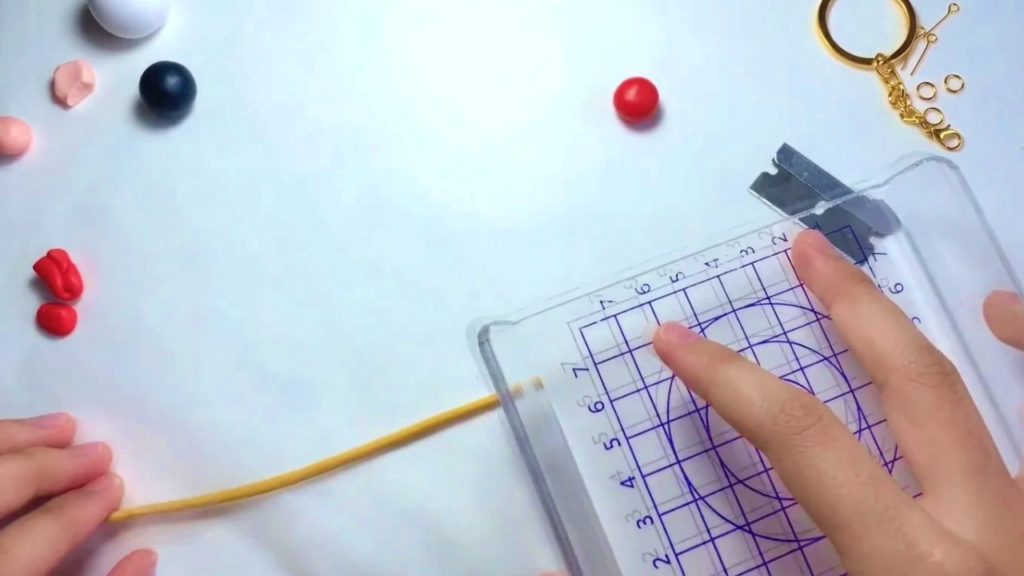
- Roll thin strings of gold clay for vertical and horizontal details.
- Use a needle tool to mark the top and bottom center points.
- Cut and flatten two small gold discs for the cap pieces and attach them.
- Secure an eye pin at the top with liquid clay so it remains stable when hung.
Step 3: Ox (Cow) Charm
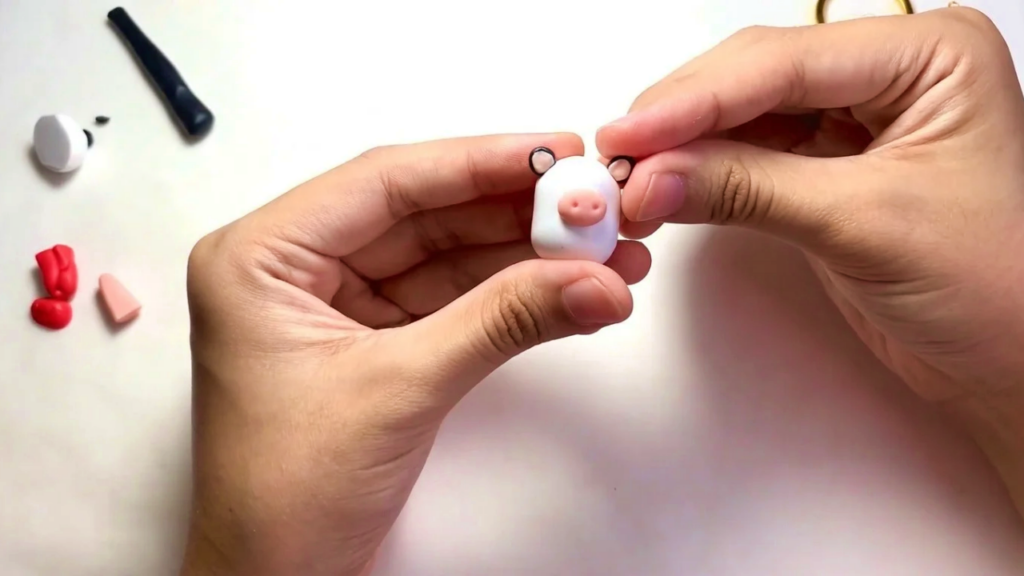
- Form a white sphere for the body; flatten and roll the center to shape.
- Create ears from black clay teardrops and add light pink inner ear discs.
- Sculpt a light pink oval for the nose and make nostrils with a dotting tool.
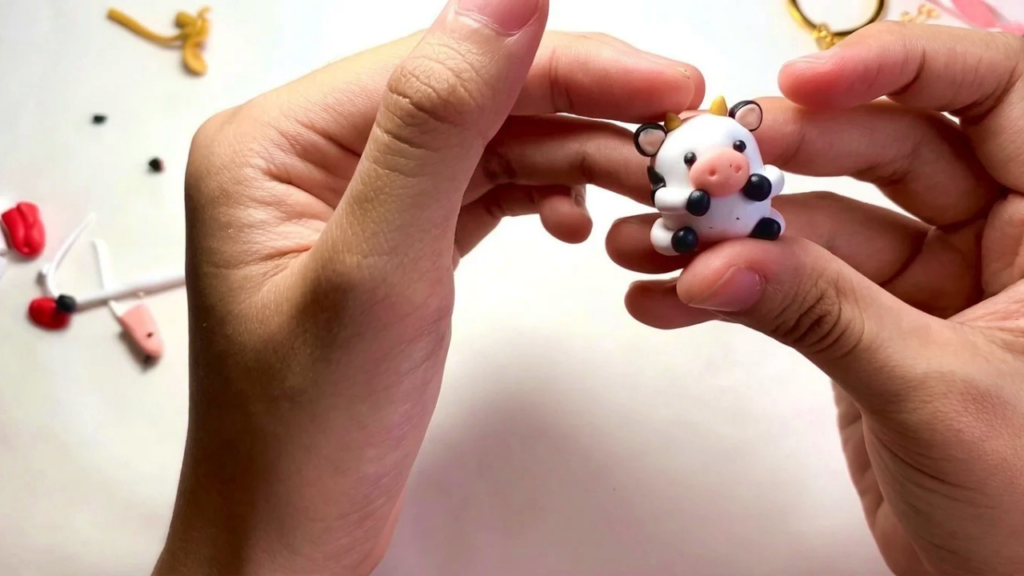
- Roll white clay into cylinders for forelimbs and hindlimbs, shape, and attach.
- Make hooves from flattened black discs and attach to limb ends.
- Craft a small black tail tip and a thin white tail base, then attach to the rear.
- Add black patches for fur by flattening and placing small black pieces.
- Roll tiny black spheres for eyes, mark positions with a dotting tool, and attach.
- Form two small gold horns and attach above the face.
- Insert an eye pin into the top or back of the body and secure with liquid clay.
Step 4: Red Packet (Angpau)
- Roll red clay flat and cut into a small rectangle sized to fit between the ox’s forelimbs.
- Add thin gold strings around the edges as a border.
- Optionally, sculpt a small gold symbol such as initials or a motif and attach to the front.
- Position the red packet between the ox’s limbs and press lightly so it stays in place after baking.
Step 5: Final Prep for Baking
- Ensure all eye pins are secured with liquid clay and not touching the baking surface.
- Place charms on baking paper spaced apart to allow even baking.
- Bake according to manufacturer instructions — commonly 110–130°C (230–265°F) for 15–30 minutes, adjusting time for thickness.
- Let pieces cool completely on a heat-resistant surface before handling.
Assembly
- Optionally apply a thin coat of glossy varnish to each charm for shine and protection; allow to dry fully.
- Open jump rings with pliers, attach each charm’s eye pin loop, and close rings securely.
- Attach charms to a main keychain ring, arranging them for a balanced look.
Final Touches
- Inspect charms for loose bits or small imperfections and glue or re-attach if needed.
- Consider a second thin varnish coat for extra durability.
- Ensure every jump ring is closed tightly to prevent charms from slipping off.
Tips for Better Results
- Thoroughly condition clay to prevent cracking during baking.
- Keep charms small and uniform thickness to promote even baking.
- Use contrasting colors to make features stand out.
- Practice textures and small details on scrap clay before committing to final pieces.
Troubleshooting
- Cracks after baking: sand gently, fill with matching clay or glue, and if safe for your clay brand, re-bake a short time to set repairs.
- Bent or loose eye pins: remove and replace with a new pin, secure with liquid clay, and spot-bake if recommended.
- Uneven baking: confirm oven temperature with an oven thermometer and avoid overcrowding the baking surface.
Creative Variations
- Replace the ox with another zodiac animal while keeping the lantern and orange for a cohesive set.
- Personalize the red packet with initials, a character, or a small motif.
- Experiment with metallic or translucent clay for unique visual effects.
- Add small beads or tassels to the keychain for extra movement and flair.