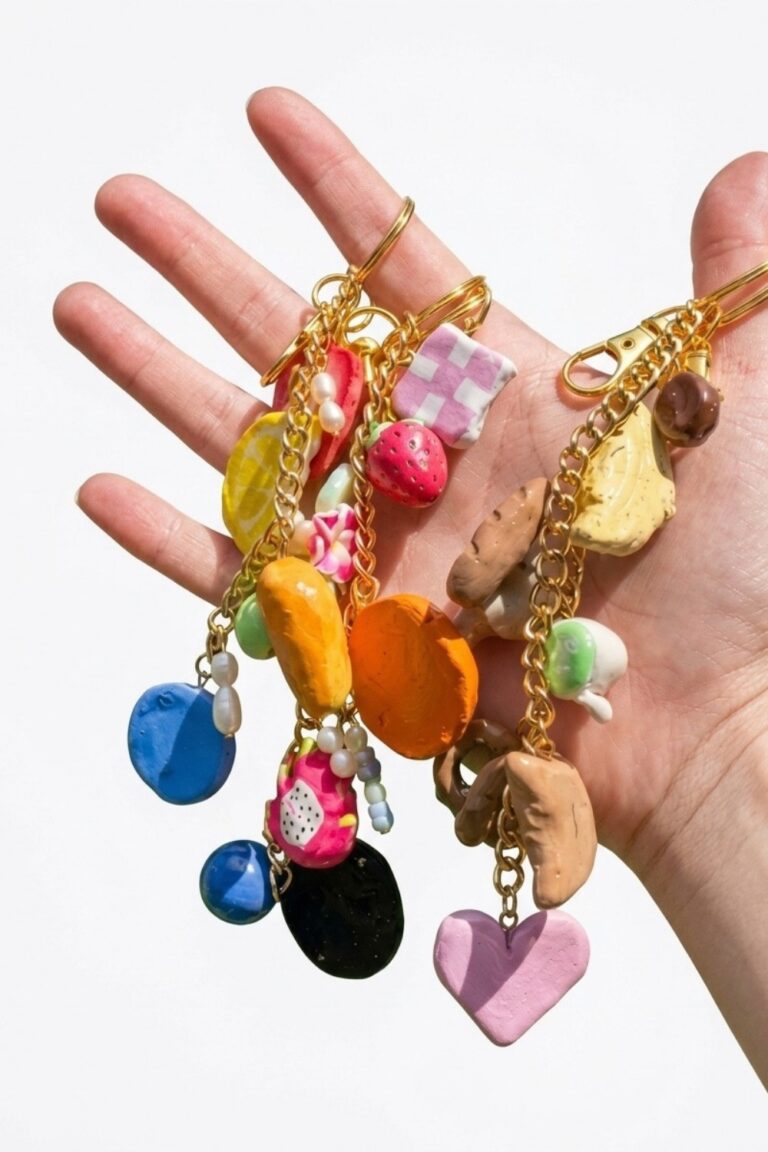
How to Sculpt an Adorable DIY Polymer Clay Polar Bear
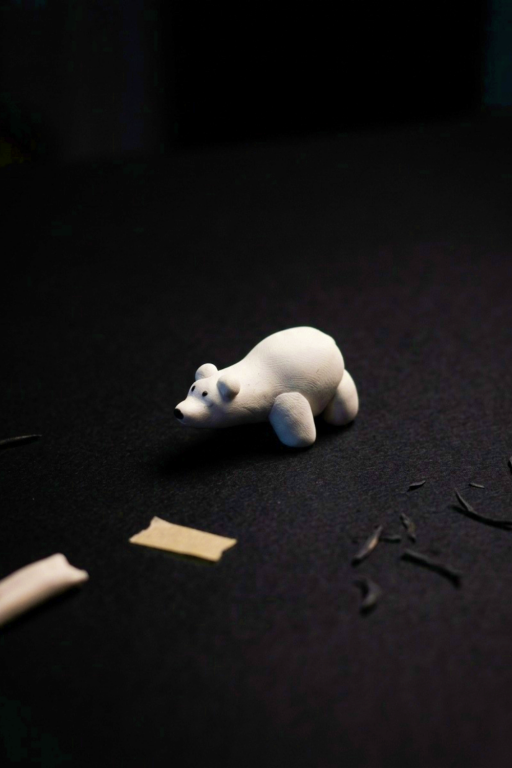
Craft an adorable DIY Polymer Clay Polar Bear with this fun and easy steps for creating charming decor or heartfelt handmade gifts.
If you love cute animals and enjoy hands-on activities, you’ll absolutely adore creating a miniature polar bear from polymer clay! This project is simple, fun, and perfect for anyone who wants to explore their creative side. Whether you’re an experienced crafter or trying this type of project for the first time, you’ll be surprised by how easy it is to sculpt a tiny polar bear full of charm and personality.
Easy DIY Polymer Clay Polar Bear Guide for All Ages
Using soft and easy-to-mold polymer clay, you’ll shape your little bear’s body, legs, and face step by step. You can add adorable details like small paws, a tiny black nose, and playful expressions. The best part is that you can customize it however you like—add a scarf, a fishing rod, or even make it look like it’s standing on a snowy base. Once you’re happy with your design, baking the clay in the oven will harden it into a durable keepsake.
Making a DIY polar bear is a creative and enjoyable way to spend your time. Aside from being fun, the final piece is something you can proudly display, give as a thoughtful gift, or use as a little winter-themed decoration. It’s a simple project that anyone can try and offers a rewarding result you’ll love.
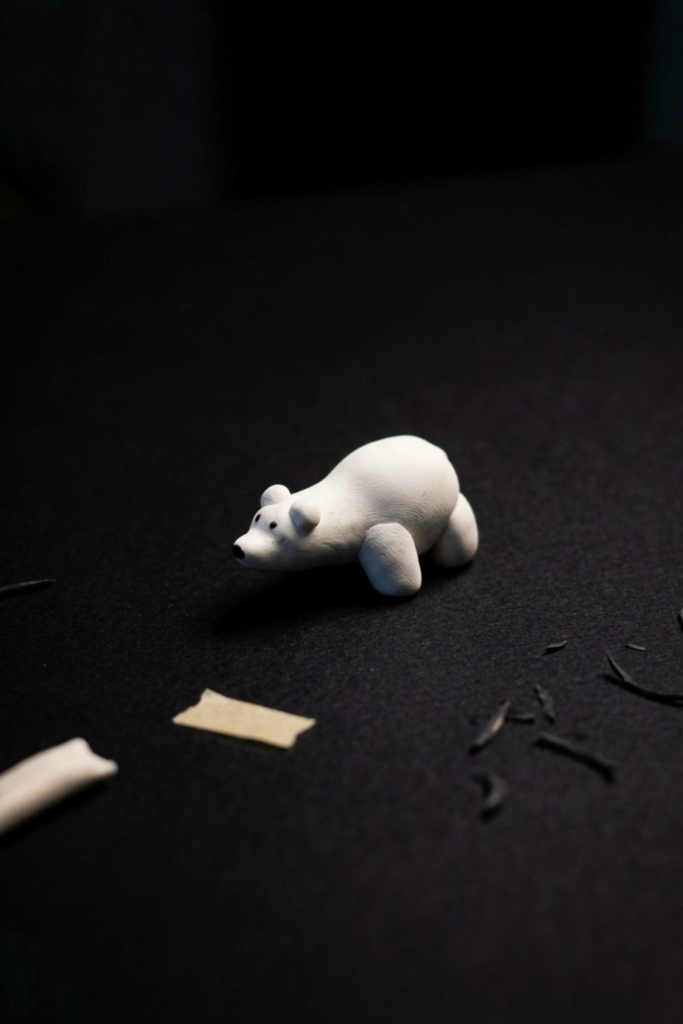
Simple Polymer Clay Polar Bear
This project guides you through making a small, stylized polar bear figure from polymer clay suitable as a keychain or small ornament. The design emphasizes simple shapes and minimal detailing so beginners can achieve a clean, charming result quickly. You will practice shaping, proportion, attaching small features, and reinforcing thin parts for durability during baking.
What You’ll Need
- White polymer clay (main bulk of the figure)
- Small amount of black polymer clay (eyes and nose)
- Knife or razor blade for cutting and shaping
- Toothpick or small wooden stick for detailing and optionally for making a keychain hole
- Clean fingers and a protected work surface (cover with nonstick mat or paper)
- Oven and baking tray suitable for polymer clay (follow clay brand instructions)
- Optional: small eye pin and key ring if making a keychain
Before You Begin
- Wash your hands and cover your work area to avoid stains and fiber pickup.
- Condition the white clay by kneading until soft and pliable; start with brighter colors first to avoid contamination.
- Plan proportions: a drop-shaped body with a squeezed head will create the characteristic polar bear nose and silhouette.
- Keep reference in view and decide whether you will make a pendant, keychain, or display figure so you can add a hole or eye pin before baking.
How to Make It
Step 1: Prepare the Materials
- Condition the white clay thoroughly so it is homogenous and easy to shape.
- Separate a tiny piece of black clay and set aside for nose and eyes.
- Prepare your tools: knife for cutting, toothpick for detailing, and an optional eye pin if you plan to hang the piece.
- Preheat your oven to the temperature recommended for your polymer clay brand; verify with an oven thermometer if possible.
Step 2: Start the Project
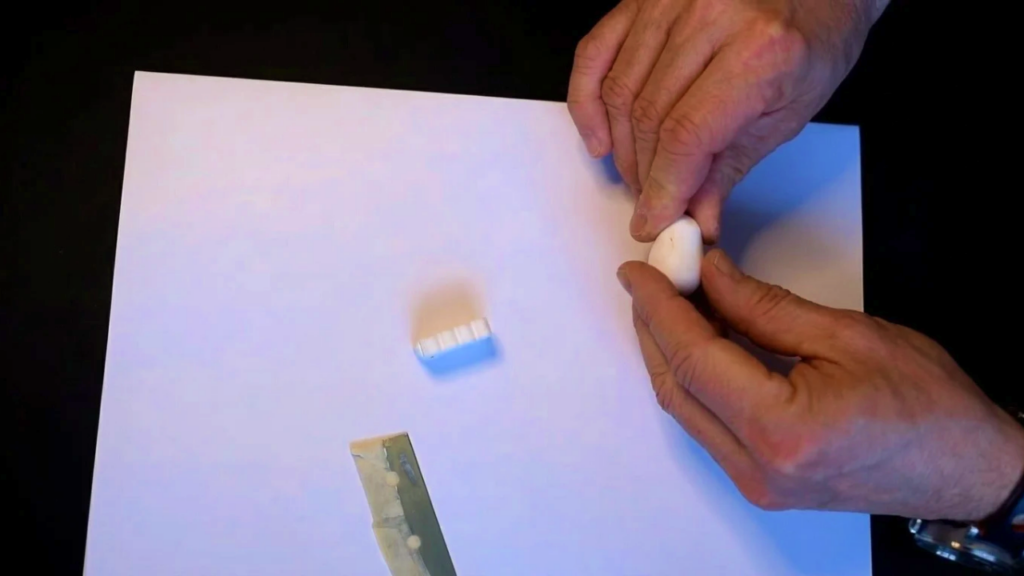
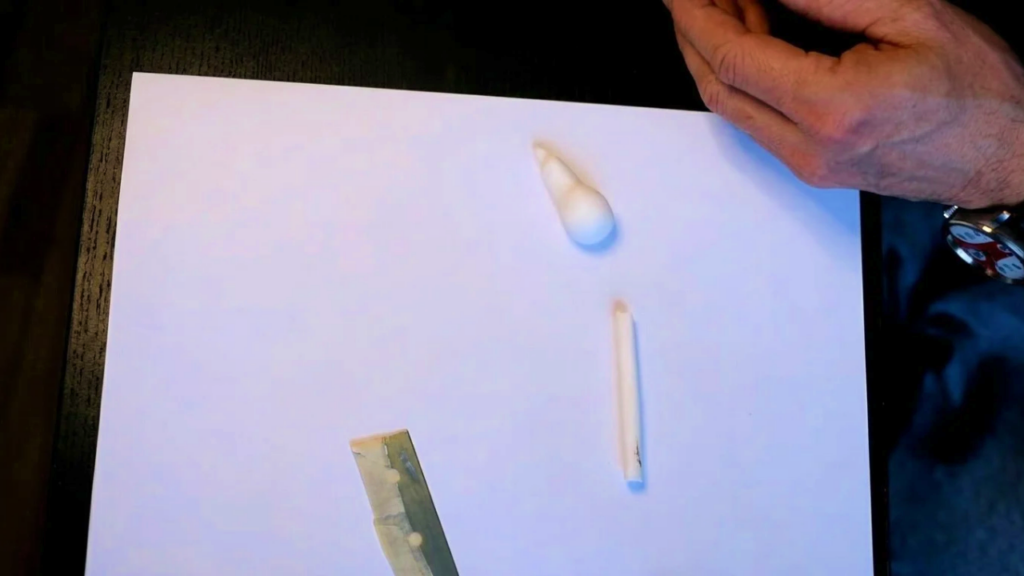
- Roll a generous ball of white clay and shape it into a drop form for the body, rounded at the back and slightly pointed toward the head.
- Pinch or gently squeeze the narrow end to begin forming the snout and nose area.
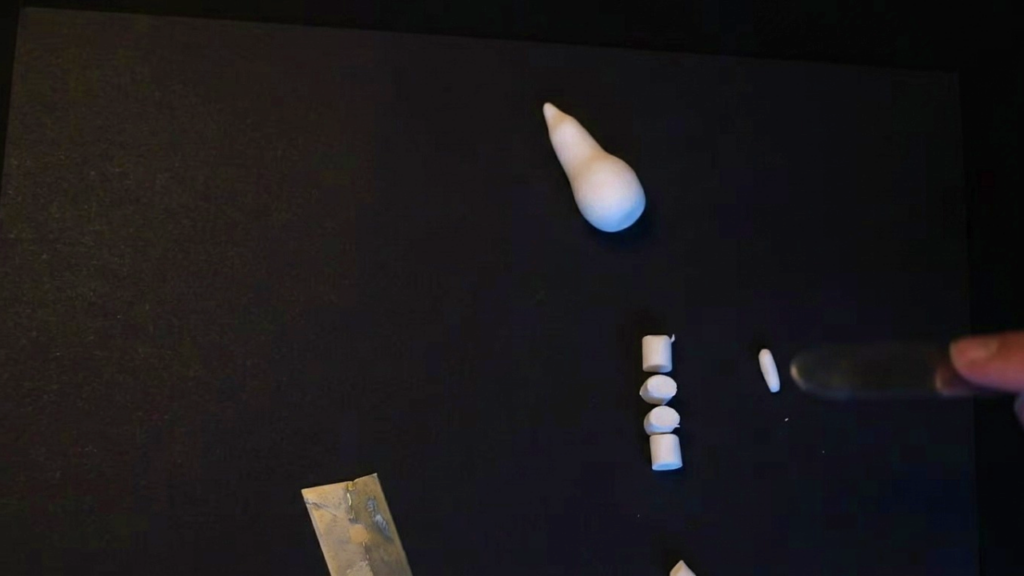
- Shape two smaller white balls for front and rear legs; keep proportions similar so the figure reads as balanced.
- Position the body and place the leg blocks roughly to visualize stance before permanently attaching.
Step 3: Build the Main Part
- Attach the front legs by pressing the two small cylinders into the front underside of the body; blend seams lightly to secure.
- Attach the back feet by placing the two flattened paw shapes at the rear underside; press so the bear sits stably.
- Roll two small triangular ear pieces and prepare to attach them to the top of the head later.
- If creating a keychain, use a toothpick to make a shallow hole through the top center of the head or insert an eye pin now, ensuring it will remain visible after baking.
Step 4: Add the Details
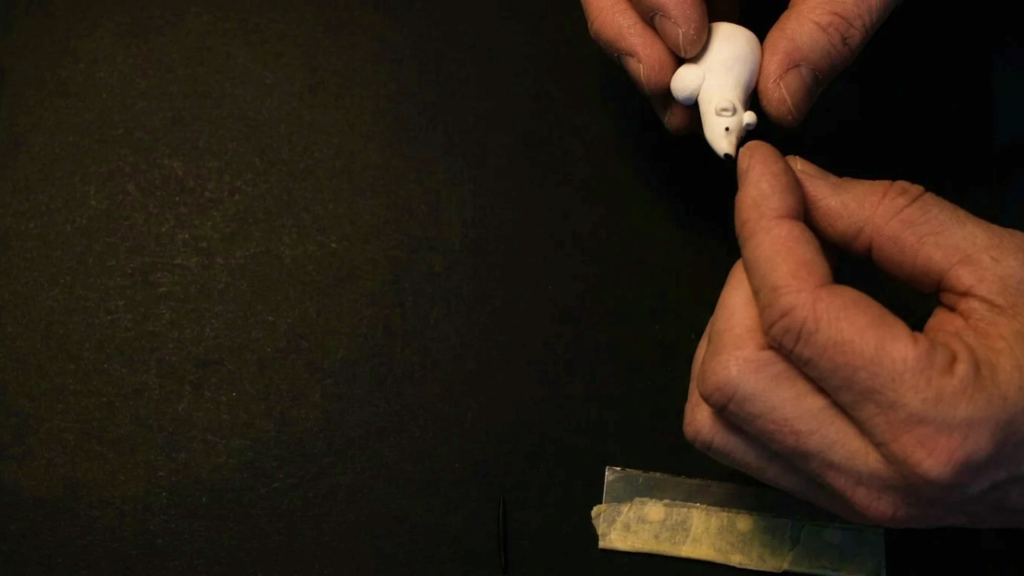
- Form a tiny roll of black clay slightly larger than the eye dots for the nose and place it at the tip of the snout; press gently to secure.
- Roll two or four minute black dots for eyes and place them above the cheeks at an even spacing for a symmetrical expression.
- Shape and attach the ears: flatten the triangular pieces slightly, add a shallow central indentation to create curvature, and press them onto the head.
- Use the knife or toothpick to add simple toe lines on each paw and a small mouth line beneath the nose to suggest a face without overworking details.
Step 5: Complete the Project
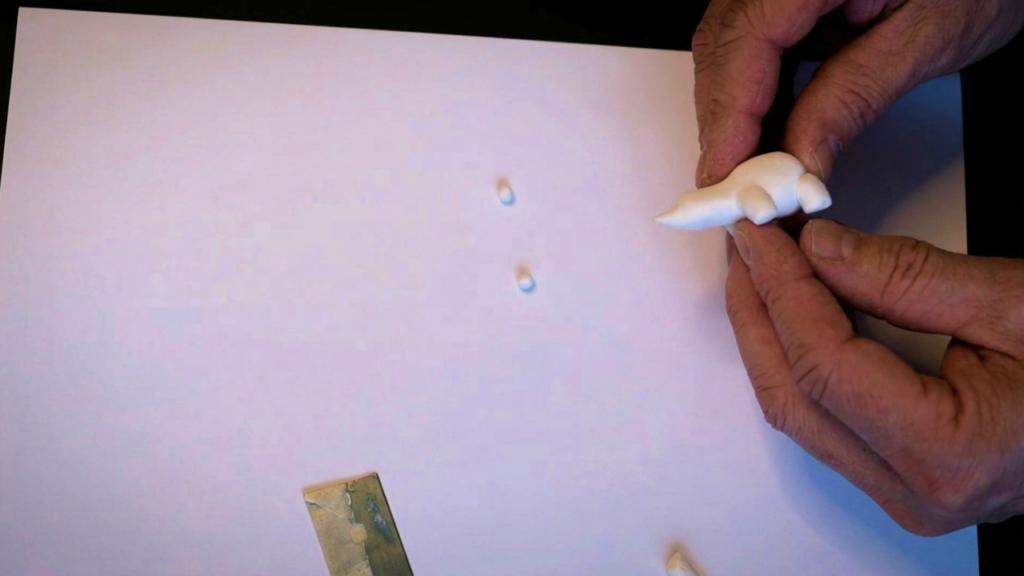
- Add a short tapered tail at the rear by attaching a small conical piece and smoothing the join.
- Inspect thin elements (ears, tail) and reinforce internally with a tiny wire or keep them slightly thicker than final desired size to avoid fragility after baking.
- Smooth fingerprints and seams with a fingertip or soft brush, keeping surfaces subtly rounded and avoiding sharp edges.
- Bake the assembled piece following your clay manufacturer’s temperature and time recommendations; allow to cool completely before handling.
Finishing Details
- After baking, sand any rough spots very lightly with fine-grit sandpaper and clean the piece of dust.
- Attach an eye pin and key ring if you did not insert one before baking; use a small amount of strong adhesive if needed.
- For a natural look, use a matte or satin sealant suited to polymer clay; avoid high-gloss finishes unless you want a shiny charm.
Helpful Tips
- Work from light to dark colors to reduce contamination; always wash hands when switching colors.
- Keep the body proportions simple: a single large volume with smaller attached limbs reads more clearly than many small parts.
- If the clay feels too soft to hold shape, chill it briefly in the refrigerator for five to ten minutes before refining details.
- Preserve symmetry by placing eyes and ears while the head is still soft, and check alignment from multiple angles as you work.
- If making multiple bears, create a quick template for body and head volumes to ensure consistent results.
Your Finished Craft
The completed polar bear should be a charming, compact figure with a recognizable drop-shaped body, defined snout, and minimal facial features. This project emphasizes simplicity, portability, and quick execution while teaching essential polymer clay techniques: conditioning, basic armature thinking (thickness and reinforcement), proportion control, and minimal surface detailing. Use this process to explore variations in pose, color accents, or accessory additions like scarves or tiny painted details to give each bear a distinct personality. Enjoy creating and consider making a small series to refine your approach and speed.