Mini Clay DIY Bead Bracelet Ideas for Little Wrists
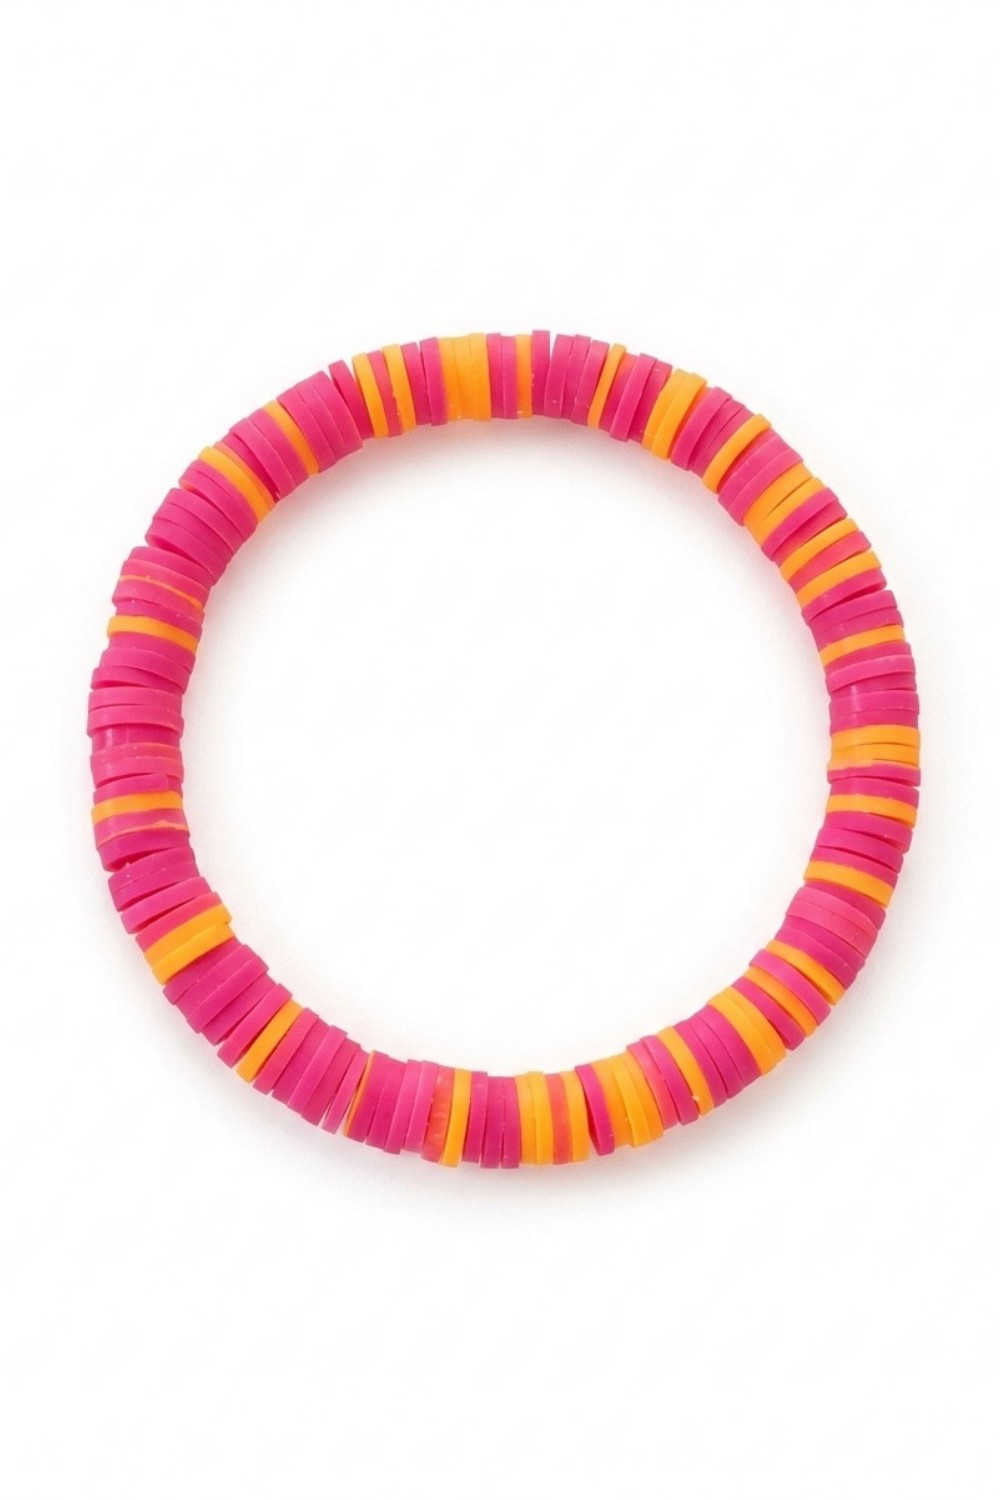
Brighten accessories with Clay Bead Bracelet Ideas that pair cheerful charm motifs with refined finishes for sellable kids wristwear and gift sets.
A quiet evening of sorting charms and colors turned into a bright stack of playful bracelets ready for a local vendor shelf. These Clay Bead Bracelet Ideas highlight small-scale charm bracelets that feel joyful and intentional, each piece balancing cheerful color mixes with a single whimsical focal bead.
Trendy Clay Bead Bracelet Ideas for Boutique Shelves
Finished bracelets read as kid-friendly accessories with a strong, casual character—think tiny frogs, unicorn heads, smiley faces, paw prints, mushrooms, and hearts set amid soft palettes of turquoise, purple, lime, and white. Sizes skew toward children’s wrists, yet the variety in colorways and charm choices gives each bracelet a distinct personality, from bold and energetic to softly sweet.
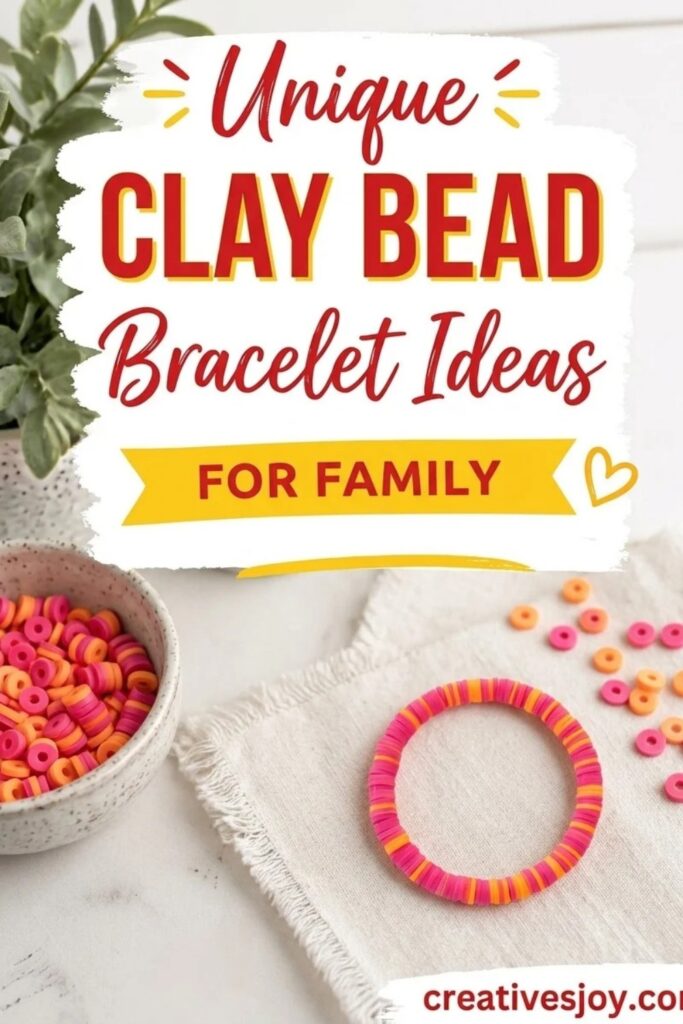
What makes them interesting is their approachable, collectible vibe: inexpensive enough for impulse buys or party favors, but varied enough that kids can choose favorites or mix-and-match sets. The overall look is informal and handmade without feeling rough—colors pop, focal charms stand out, and the finished pieces read as playful keepsakes rather than mass-produced trinkets.
Perfect for market stalls, small boutiques, or birthday-goodie giveaways, these bracelets deliver instant, wearable fun. They feel personal, easy to gift, and visually appealing on display, making them a strong example of accessible, character-driven jewelry that’s designed to charm a young audience.
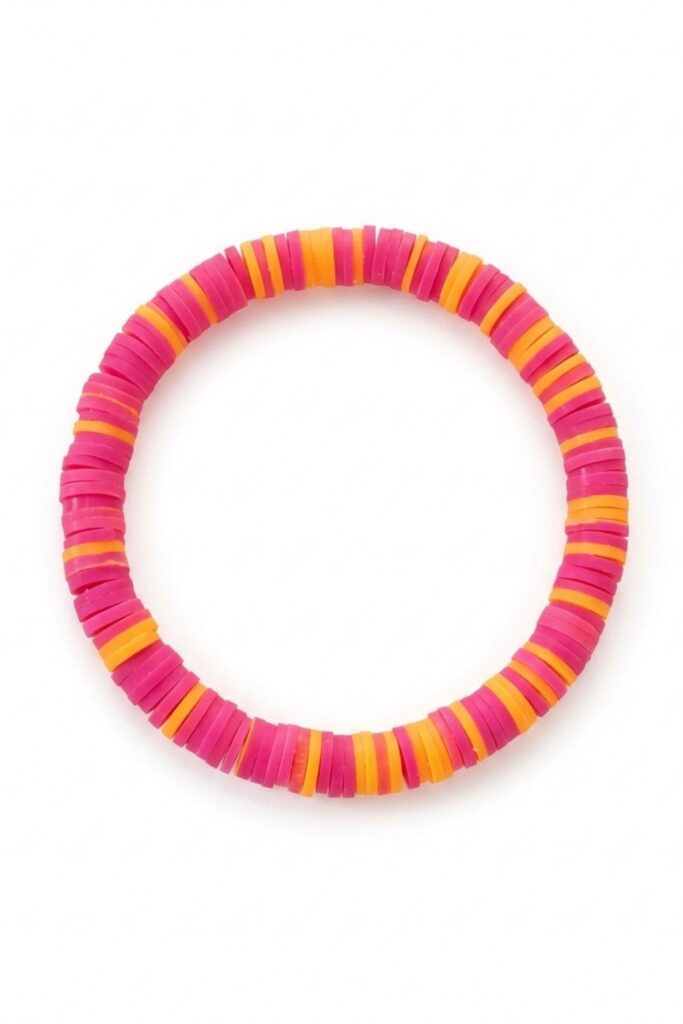
Unique Clay Bead Bracelet Ideas for Family
This easy wooden bead spinner bracelet method is perfect for beginners who want quick, polished results. Follow the clear steps to use the spinner, load colors, add accents, and finish secure knots for market-quality bracelets.
Design summary
- A compact bracelet made with three color strands and optional pearls or charms.
- Finished look is tidy and photogenic with consistent bead spacing and a neat knot closure.
Gather Materials — why they matter
Choosing the right materials and tools makes the process smooth and the finished bracelet durable. Quality beads and strong cord reduce breakage while an appropriate spinner and hook speed up stringing and keep bead alignment consistent. Small investments in tools also save time and produce a more professional result.
Materials and tools
- Polymer or wooden beads in chosen colors
- Stretch cord or beading thread suitable for bracelets
- Wooden bead spinner (two-piece bowl) with removable hook
- Small hook needle (or included spinner hook)
- Scissors and small sharp snippers
- Optional pearls, charms, or metal spacer beads
- Ruler or bracelet sizing mandrel
- Clear drying jewelry glue (optional for security)
Important tips before starting
- Make sure the bead hole size fits your cord or needle to avoid snagging.
- Keep bead quantities moderate in the bowl; too many makes loading harder.
- Test the spinner direction with the hook before adding many beads.
- Work in good light and use a shallow bowl to see color placement.
- If using stretch cord, leave a little extra when measuring to allow for knots and trimming.
Pattern and Step-by-Step Instructions
Preparing the spinner and hook
- Place the two spinner pieces together on a flat surface so the bowl spins freely.
- Attach the hook to the spinner rim. Ensure the hook sits securely but not so tight it resists sliding.
- Check the hook shape. If it is open (not a full circle), note that beads will slide on more easily. An open hook saves time when loading beads.
Adding colors to the bowl
- Choose three strands of color for a balanced look. Consistent color order produces a repeatable pattern.
- Pour a moderate amount of each color into the bowl so beads can move freely but don’t pile up.
- Arrange colors in separate zones in the bowl if you want predictable color runs when the spinner spins.
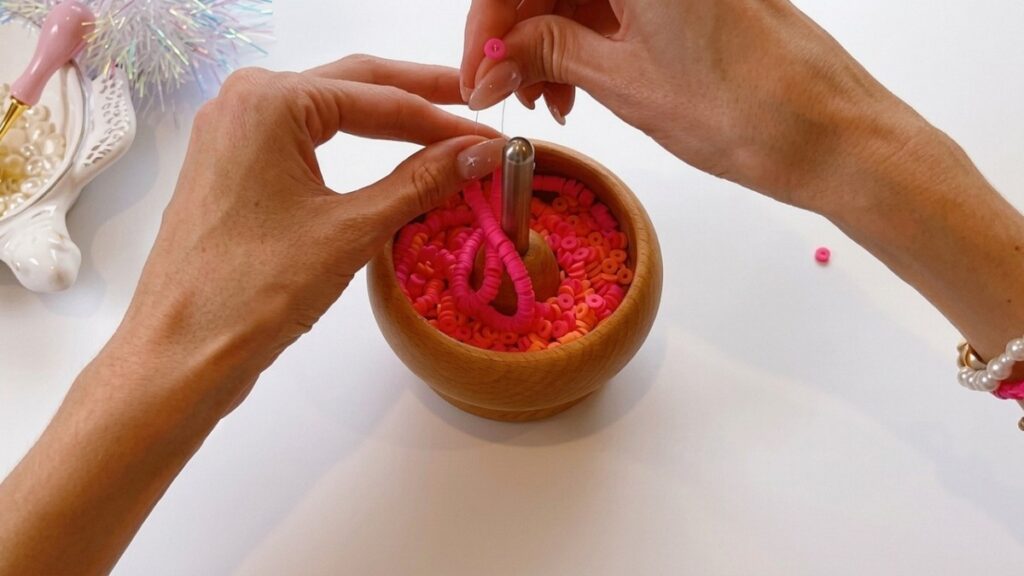
Threading the hook and positioning
- Cut a length of cord; for a 6.5 inch bracelet, start with about 12 inches of cord to allow for knots.
- Slide the cord onto the hook. If the hook is open, slide it in so the cord rests securely and will not slip off easily.
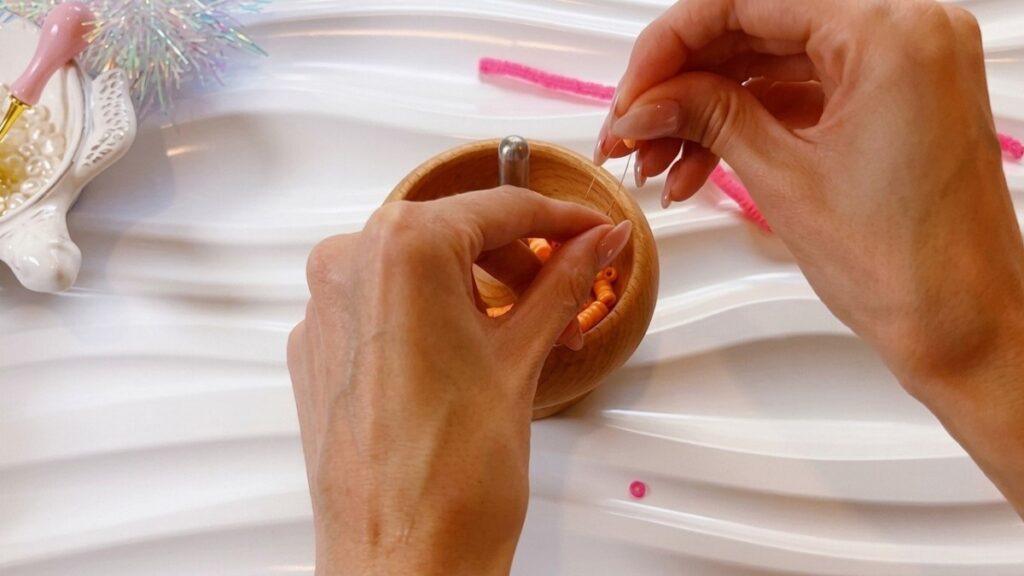
- Hold the needle so it points either left or right and note that your spinner direction must be opposite to the needle point for proper pickup. Right-pointing needle = spin bowl counterclockwise; left-pointing needle = spin bowl clockwise.
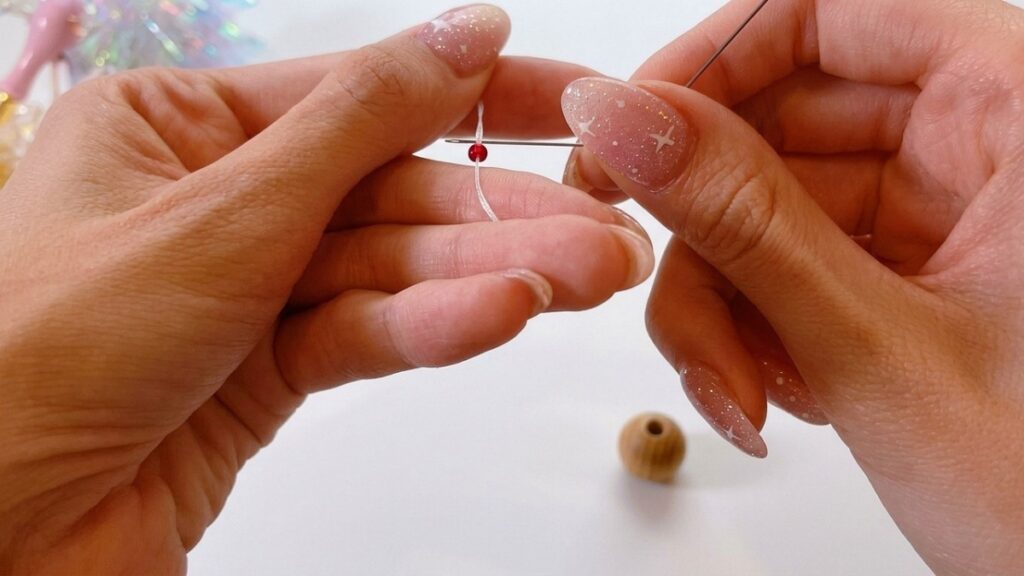
Spinning and picking up beads
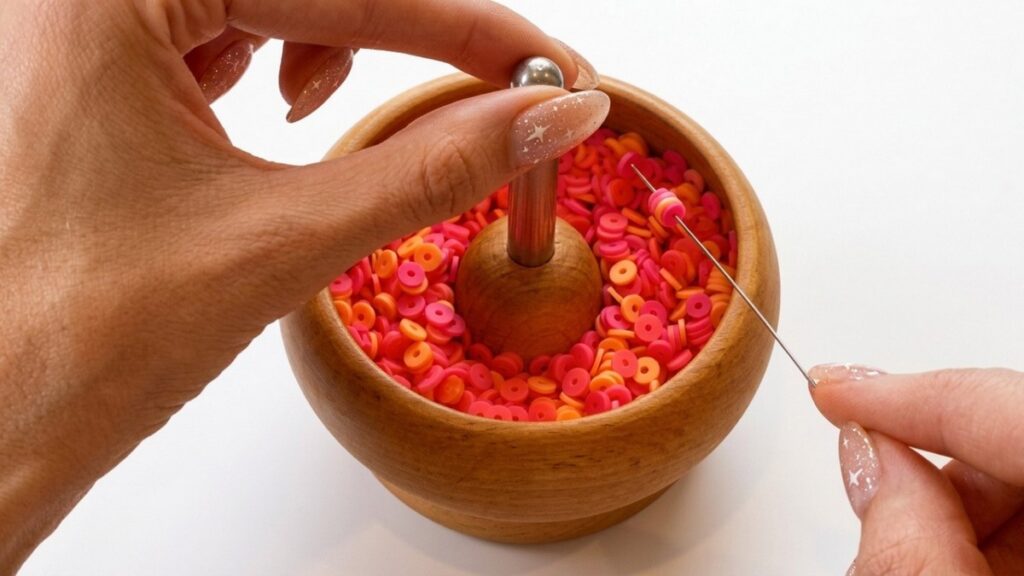
- Start the spinner with a smooth, steady motion. Keep the needle near the bowl rim but do not scrape the bottom.
- Rest the needle gently on the bowl so it skims the beads and picks them up one by one. Avoid digging the needle or applying heavy pressure.
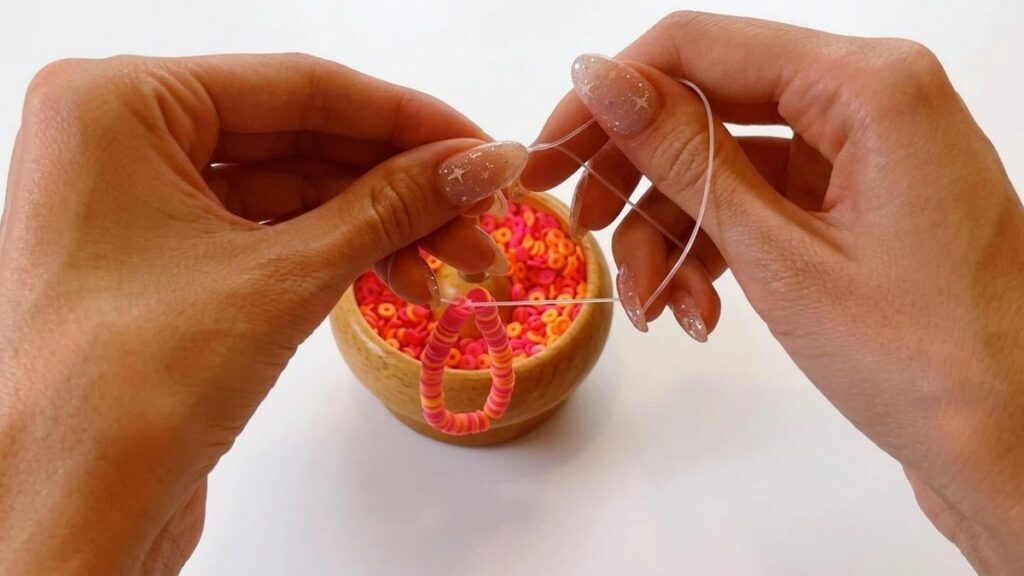
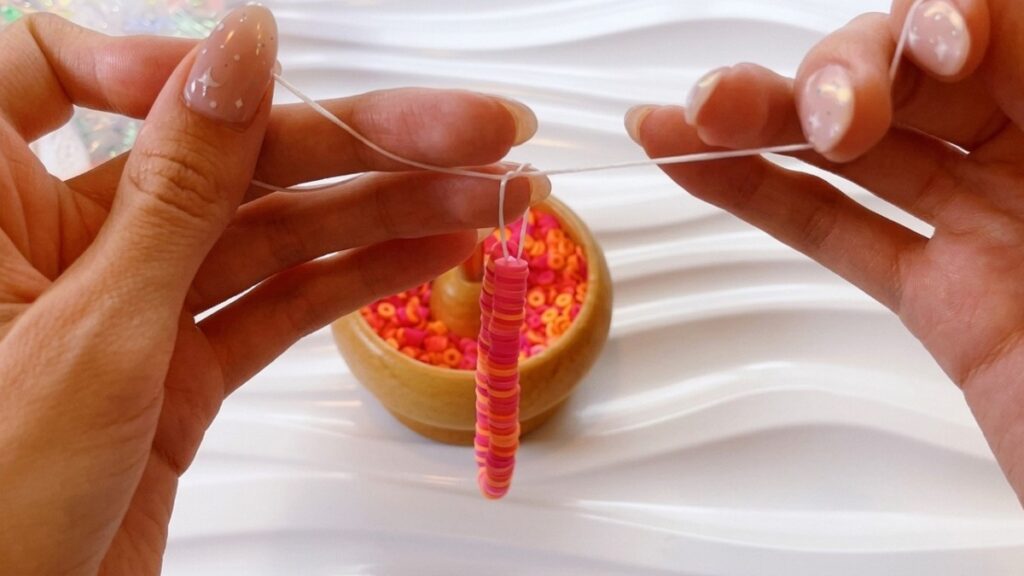
- Watch the bead flow; when you have a good amount on the cord, slide them down to create the bracelet line.
- Repeat spinning and sliding until you reach a length slightly shorter than your target so you can finish with beads added by hand if needed.
Adding pearls or focal accents
- When you have most of the bracelet filled, stop spinning and position the cord so you can add pearls or charms.
- Slide any special beads on by hand for precise placement. Place focal beads near the center for a balanced look.
- If a bead is hard to position, spin a few gentle rounds to adjust spacing before continuing.
Measuring and final adjustments
- Measure the beaded cord around your sizing mandrel or wrist to reach the desired length; for business pieces aim for about 6.5 inches unless specifying otherwise.
- If you are short a few beads, add them by hand rather than overfilling the bowl. A short, deliberate adjustment keeps the pattern consistent.
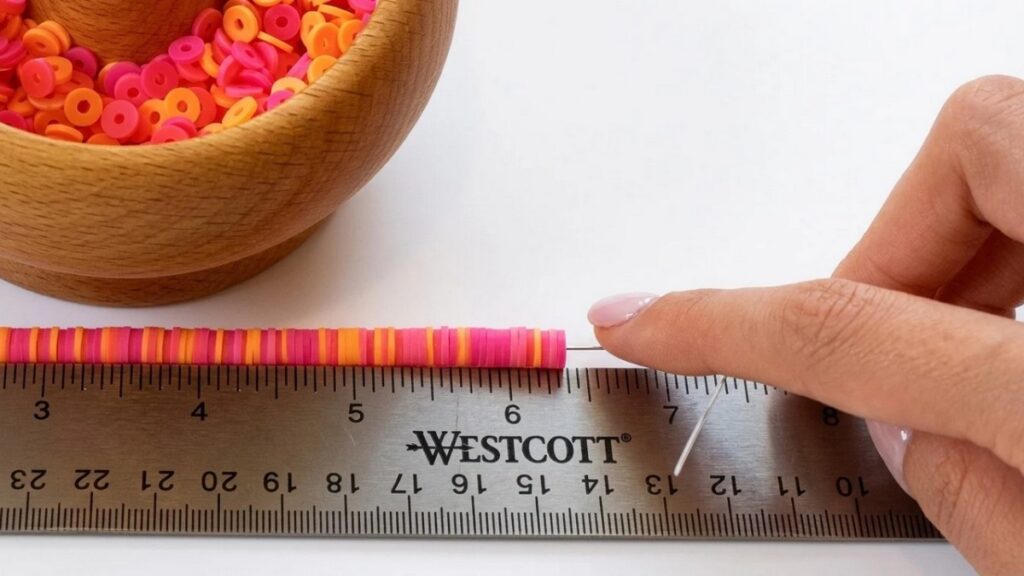
Knotting and finishing
- Begin with a surgeon’s knot: cross the two cord ends to form an X, pass one end through the loop twice, then pull tight. This double pass locks tension better than a single knot.
- Repeat the surgeon’s knot once more so the knot sequence is double, double.
- Finish with a final basic knot (single) to complete the set. Knot sequence should be double, double, then single for a secure hold.
- Trim excess cord close to the knot, leaving a small tail. Optionally apply a tiny drop of clear jewelry glue to the knot for added security. Allow glue to dry fully.
Final shaping and checking
- Stretch the bracelet gently to even out bead spacing.
- Inspect the knot and bead placement. Ensure no bead rubs awkwardly on the knot or that any charm hangs off-center.
- If using stretch cord, give it a light tug to confirm the knot holds before trimming fully.
Conclusion
This technique produces tidy, fast bracelets suitable for gift-giving or small-batch selling with minimal tools and time. Practice the spinner direction and knot sequence to speed up production and achieve consistent results. Keep a small kit of backups for cords, hooks, and spare beads to streamline assembly for multiple pieces.