DIY Miniature Clementines with Polymer Clay for Cute Tiny Decor
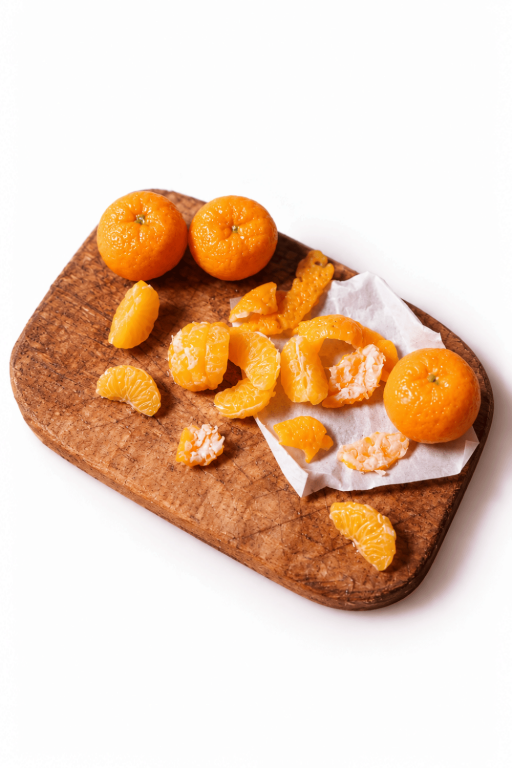
Make realistic-looking DIY Miniature Clementines with Polymer Clay using easy techniques for a polished finish and lifelike fruity vibes.
Crafting miniature fruit is a simple but fun way to get creative, and this project will guide you through making tiny, realistic clementines. Whether you’re passionate about handmade art or just looking for a playful DIY activity, this is sure to spark your interest. The result is adorable and lifelike mini clementines that can be used as decorations, charms, or even gifts. It’s a wonderful combination of creativity and the satisfaction of shaping something small and detailed.
How to Craft DIY Miniature Clementines with Polymer Clay Fast
With polymer clay, you’ll fashion these little citrus fruits by shaping the clay into tiny orange spheres and adding realistic texture using simple tools like a toothpick or a needle. You can further enhance them by carefully blending colors to give the peel a natural look. If you want to add extra charm, you can even include tiny green stems or leaves for a fresh, finished touch. The process is straightforward, therapeutic, and fun no matter your experience level.
These realistic mini clementines are perfect for sprucing up a craft collection, personalizing accessories, or gifting to someone who appreciates handmade items. They capture the cheerful, vibrant feel of the real fruit and are sure to bring a smile to anyone who sees them. Dive into this lovely project and see how rewarding it can be to create such tiny treasures with your own hands.
Miniature Clementines Made with Polymer Clay
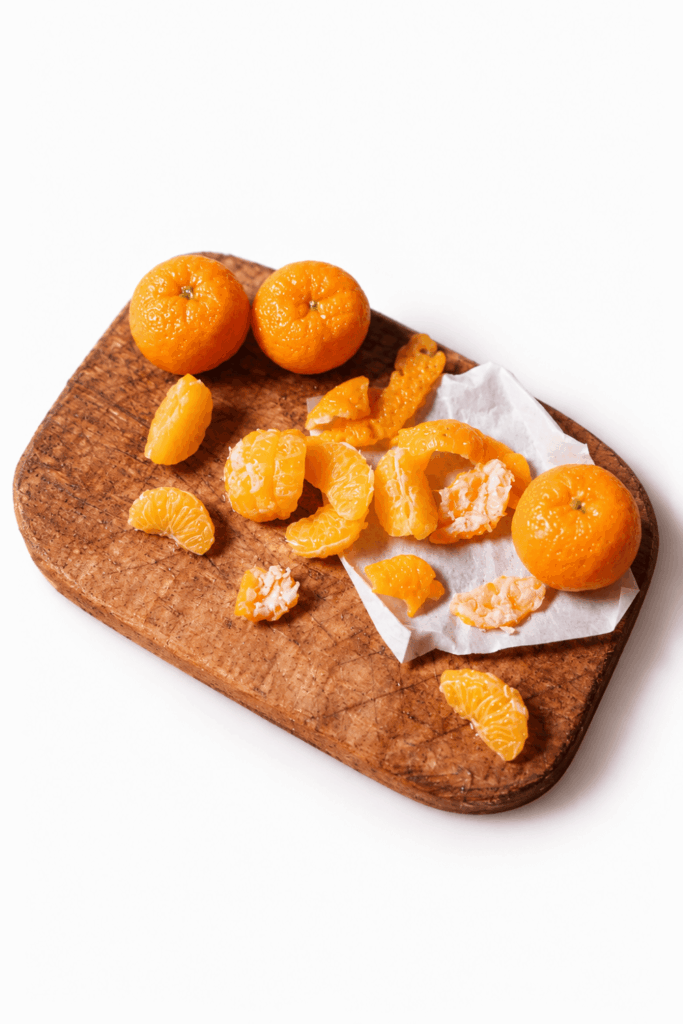
This project shows how to make realistic miniature clementine (or satsuma) wedges and whole clementines from polymer clay. The finished pieces include textured citrus wedges with white inner pith, a matching peel section, and small whole fruits with tiny green bits. The steps focus on building a simple color cane, reducing it, cutting wedges, adding inside and outside texture, assembling pieces for realism, and finishing with baking and a glaze seal.
Materials and tools
- Clay colors: orange, yellow, translucent
- Clay colors for second layer: white female and white cernet
- Additional clay: opaque orange, green clay
- Tools and supplies: needle tool, sandpaper
- General actions mentioned: roll out a sheet, cut pieces, stack and roll, squish and press, build a cane, cut wedges, stick pieces together
- Finishing: bake, seal with glaze
Make the colored sheets for the wedge cane
Step 1 — Mix and prepare the two color layers
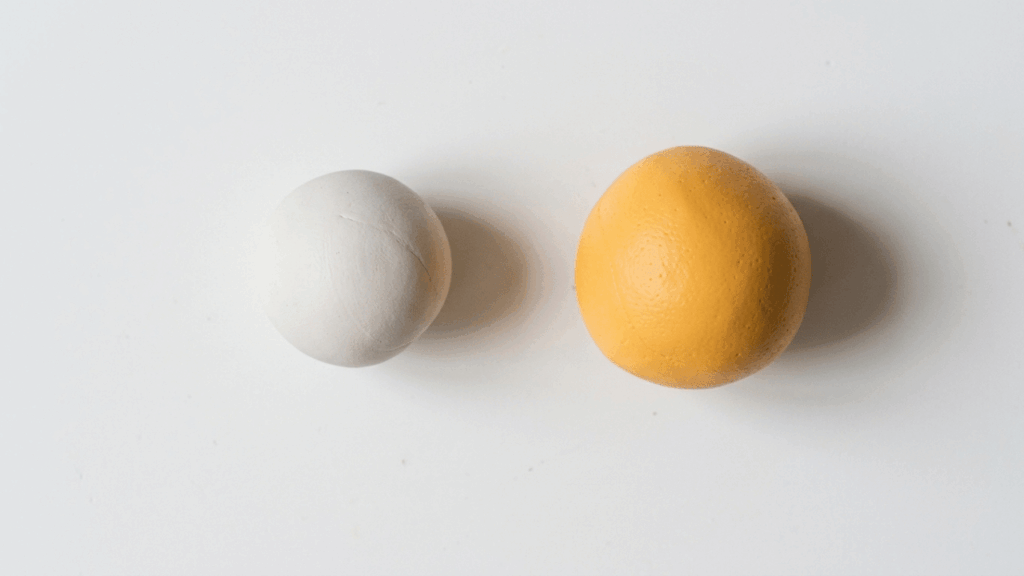
- Mix your first color by combining orange, yellow, and translucent clay until the color is even.
- Mix your second color using white female and white cernet so the white is not 100% opaque; this gives a slightly translucent white layer.
- Roll out a sheet of each mixed color. The sheets should be large enough to cut multiple wedge segments from.
Step 2 — Cut pieces from the sheets
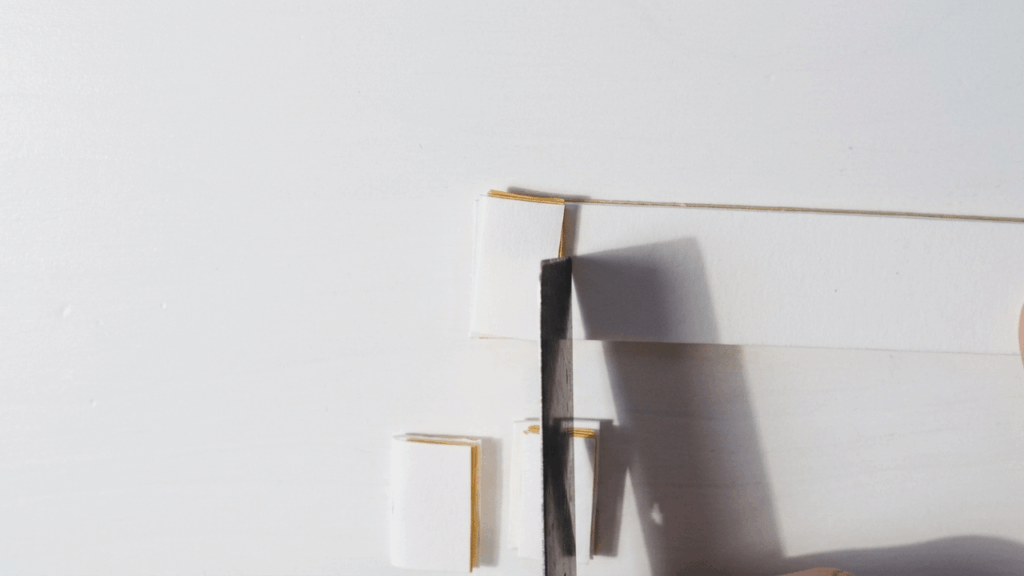
- Cut pieces from both the orange sheet and the white sheet to the shapes shown in the video (triangular or wedge-shaped pieces that will form segments inside the cane).
- Make sure the orange pieces are thicker than the white pieces, as the orange forms the fruit flesh and the white forms the thin inner pith layer.
Build the citrus cane and reduce it
Step 1 — Stack and assemble the pieces into a cane
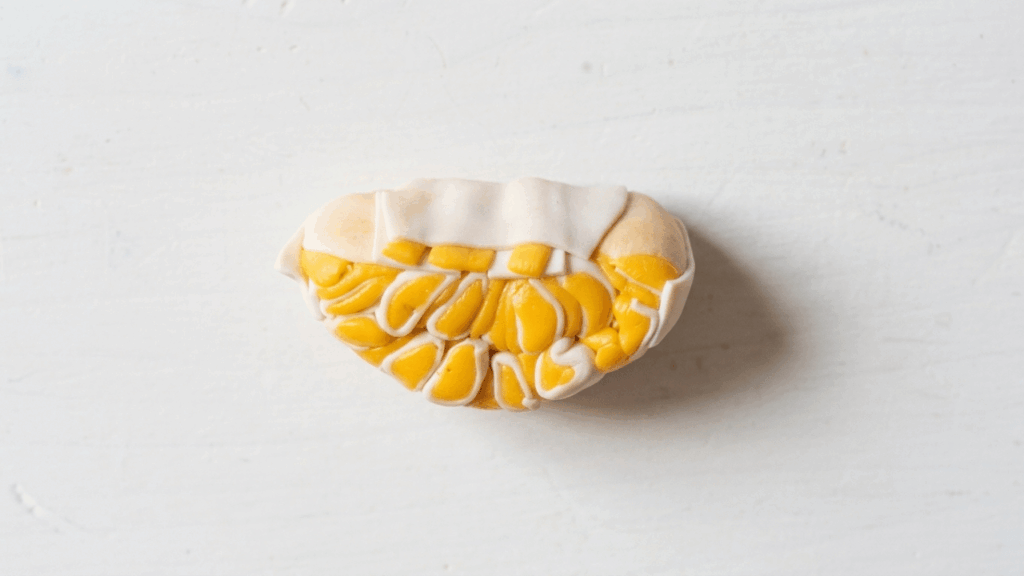
- Arrange the orange and white pieces together to form a stacked cane pattern that reads like a cross section of a citrus wedge.
- Build up your cane by adding pieces until the cane reaches the desired size. The video notes that the cane does not need to be perfectly neat — a slightly irregular cane works well for realistic texture.
Step 2 — Reduce the cane size
- Reduce the cane by squishing and pressing the sides all the way around. This compresses and shortens the cane while maintaining the layered cross section.
- Rotate and press evenly so the design reduces uniformly; continue until the cane is small enough to produce multiple wedges.
Cut and texture the wedges
Step 1 — Slice wedges from the reduced cane
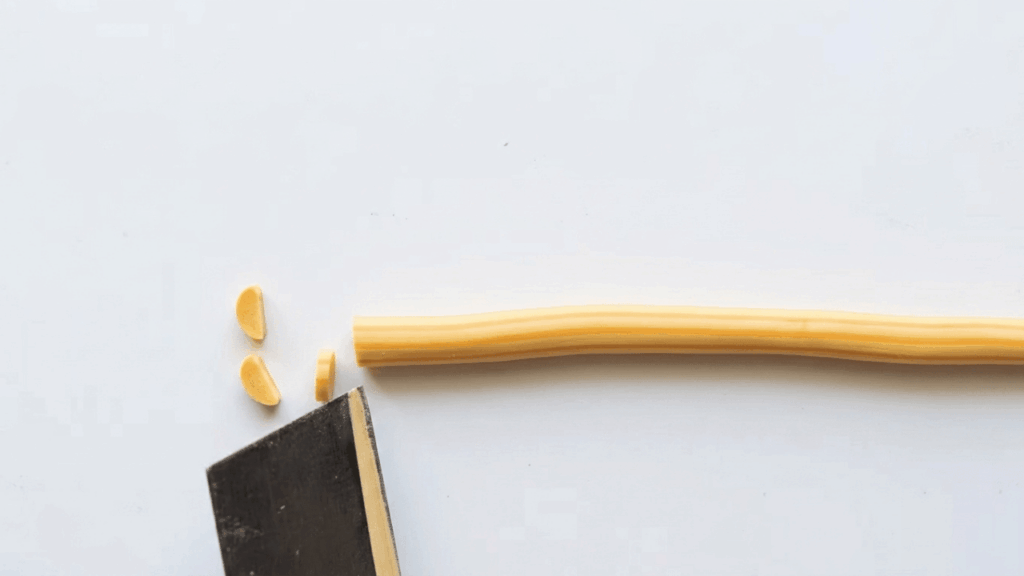
- Cut out the wedges from the reduced cane. Each slice becomes a miniature clementine wedge.
- Make as many wedge slices as you need for your set.
Step 2 — Add inner texture to each wedge
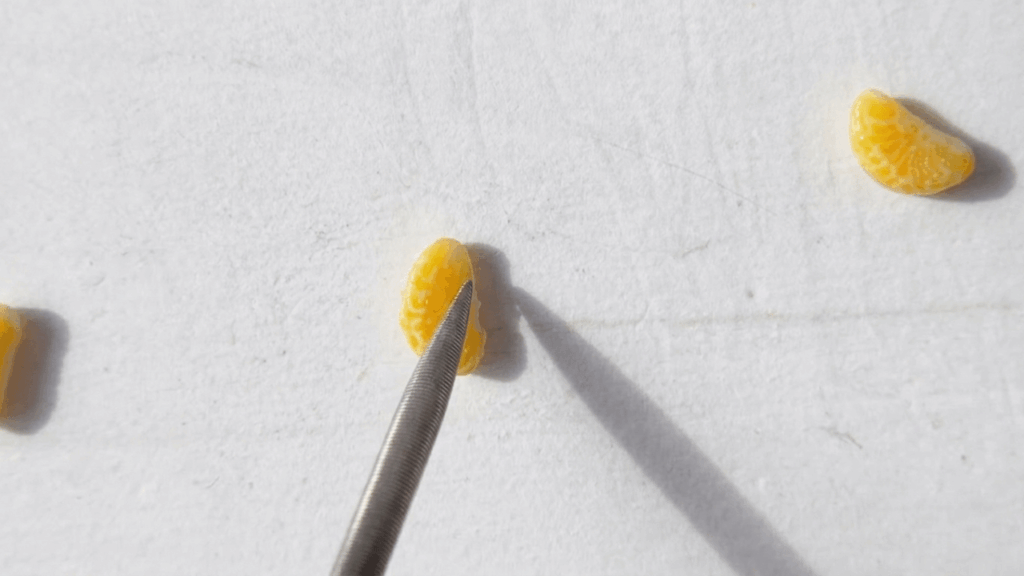
- Use the needle tool to add texture on the inside of each wedge. Create small lines or tiny irregular indentations to mimic the segmented fruit flesh.
- Work gently and vary the marks so each wedge looks slightly different and more natural.
Step 3 — Add outside texture where needed
- If a wedge needs a pebbled outer surface, use sandpaper to subtly texture the outer edge where peel would be visible.
- Hold the wedge securely and work lightly so you create a fine, realistic texture rather than removing too much clay.
Assemble wedges for extra realism
Step 1 — Group wedges together
- For a realistic miniature scene, stick some wedges together as the video shows. Combine two or three wedges to form a small cluster or a partial fruit.
- Press the wedges gently where they meet so they adhere without losing their individual textures.
Step 2 — Refine connections
- Smooth any seams or blend junctions lightly with your fingers if needed, but keep visible separations so the wedge edges remain distinct.
- Reapply small needle-tool marks or sandpaper texture after joining if any texture was lost.
Make the peel piece
Step 1 — Prepare the peel layers
- Roll out a piece of white and a piece of opaque orange clay.
- Stack the white sheet and the opaque orange sheet on top of each other.
Step 2 — Roll the combined sheets
- Roll the stacked sheets together to make a thin layered sheet for the peel. This creates the white inner pith with the orange outer skin in one piece.
Step 3 — Texture the peel
- For the inside surface of the peel, use the needle tool to add small irregular marks to represent the pith.
- For the outside of the peel, use sandpaper to texture the orange surface so it looks slightly pebbled like real citrus skin.
Create whole clementines
Step 1 — Form the basic fruit shape
- Roll out small balls of the opaque orange clay to form whole clementines.
- Keep the size consistent if making a set.
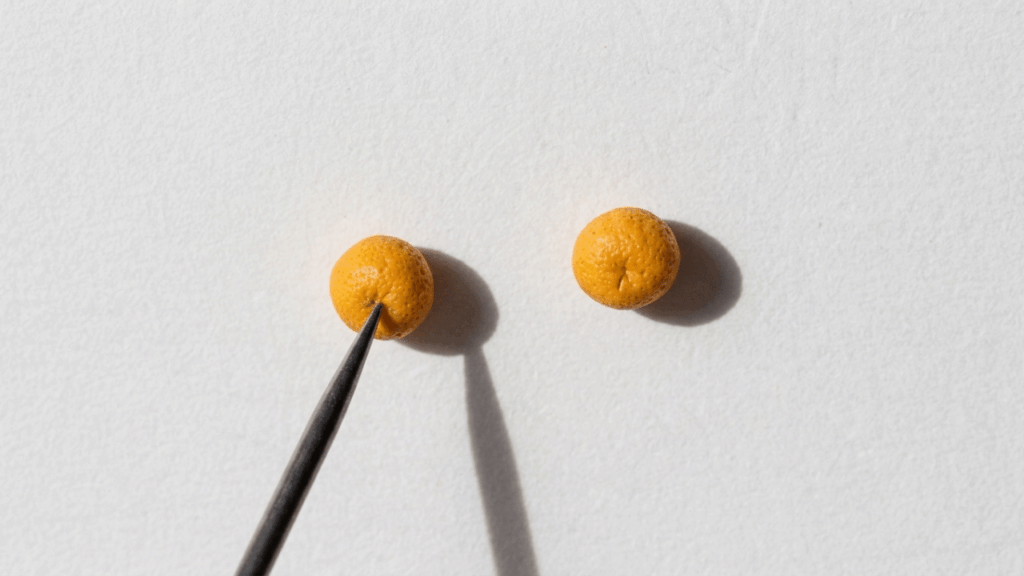
Step 2 — Texture and detail the whole fruit
- Add surface texture to the whole ball using sandpaper to achieve the subtle bumpy rind typical of clementines.
- Use the needle tool to create a couple of faint lines on the fruit to suggest natural segments.
Step 3 — Add small green details
- Add tiny any pieces of green clay (small dots or short thin bits) to the top of the fruit to represent remnants of stems or leaf bits. Press them lightly into place.
Bake and finish
Step 1 — Bake the pieces
- Bake all of your finished wedges, peel pieces, and whole clementines according to your clay’s instructions (the video simply notes to bake as a final step).
- Allow the baked pieces to cool completely before applying finish.
Step 2 — Seal with glaze
- After baking and cooling, seal with glaze to protect the surfaces and set the pastel or textured appearance. The video ends by instructing to glaze and notes that glazing completes the project.
Final notes and simple tips
- The video emphasizes that the cane does not need to be perfectly neat — a slightly irregular cane produces more realistic wedges after reduction.
- Keep the orange thicker than the white in the initial sheets so the wedge has a proper balance of flesh and pith.
- Use the needle tool for inside texture and sandpaper for the peel texture to achieve a convincing miniature look.
- Sticking wedges together adds realism—combine small groups to suggest a partially peeled or partially separated fruit.
- Finish by baking everything and sealing with glaze so your miniatures are durable and display-ready.