Easy DIY Clay Frog Craft You Can Make Quickly
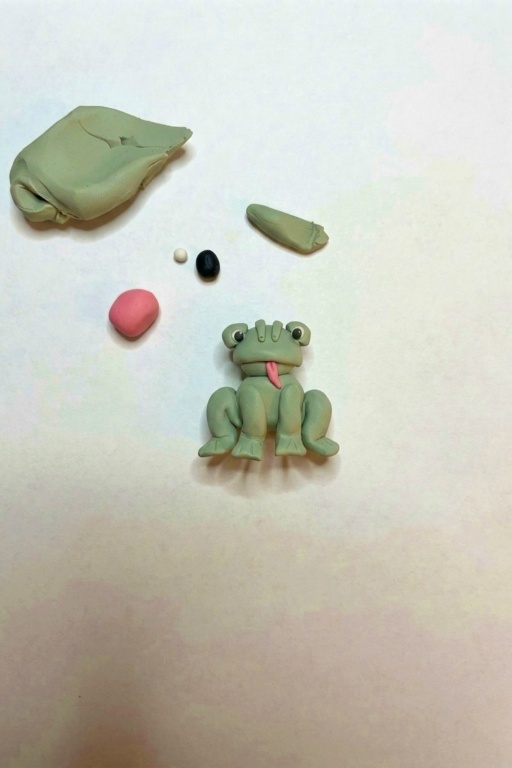
Jump into creativity with our guide on crafting a charming DIY Frog from Clay, perfect for all skill levels and ideal for adding personality to any space.
Frogs have a playful and quirky charm that makes them perfect for creative projects. Designing your own frog with clay brings that charm to life in a way that’s fun and satisfying. It’s a simple idea that can make anyone smile, a delightful little companion to brighten up a desk, shelf, or workspace. This project is both creative and approachable, making it perfect for all ages.
Creative DIY Frog from Clay Design Ideas
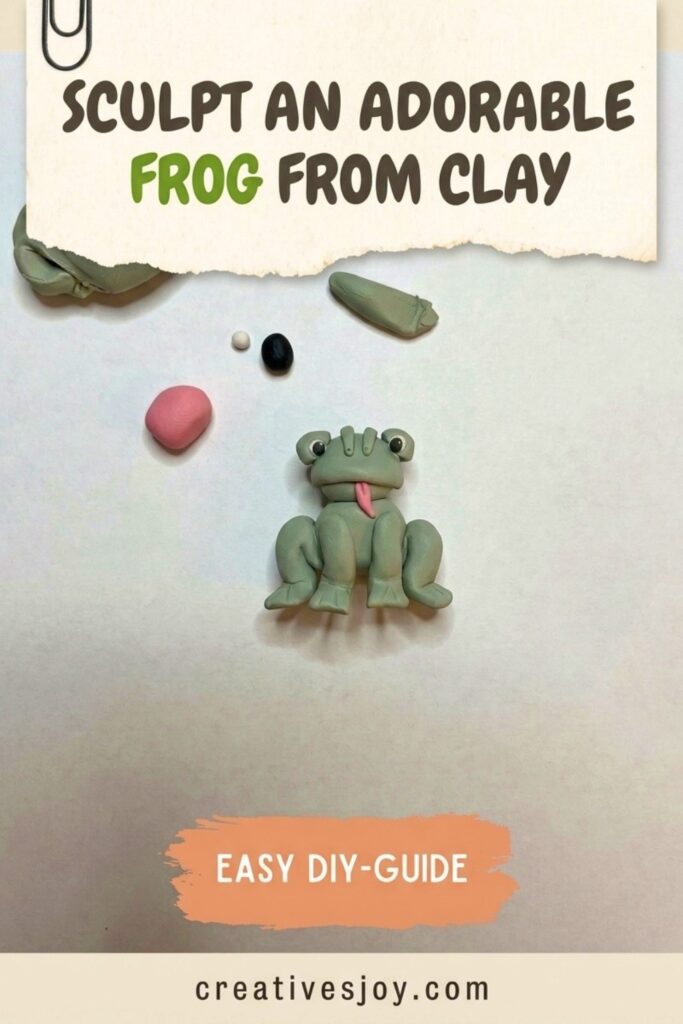
A clay frog has a certain whimsical appeal that’s hard to resist. Its round eyes, cheerful expression, and tiny features come together to form something adorable and heartwarming. You can even customize the design with different colors or add tiny details to give it personality. The result is a cute and fun piece that feels truly unique. Whether it’s meant as decoration, a keepsake, or a small gift, this project has a special charm that people instantly love.
This type of DIY creation isn’t just about the final product, it’s about enjoying the process of bringing an idea to life. A friendly clay frog can liven up any corner or add a splash of joy wherever it’s placed. Plus, it’s small enough to fit anywhere, making it an ideal handmade addition to your day or someone else’s. It’s a simple way to turn a fun idea into something delightful and memorable.
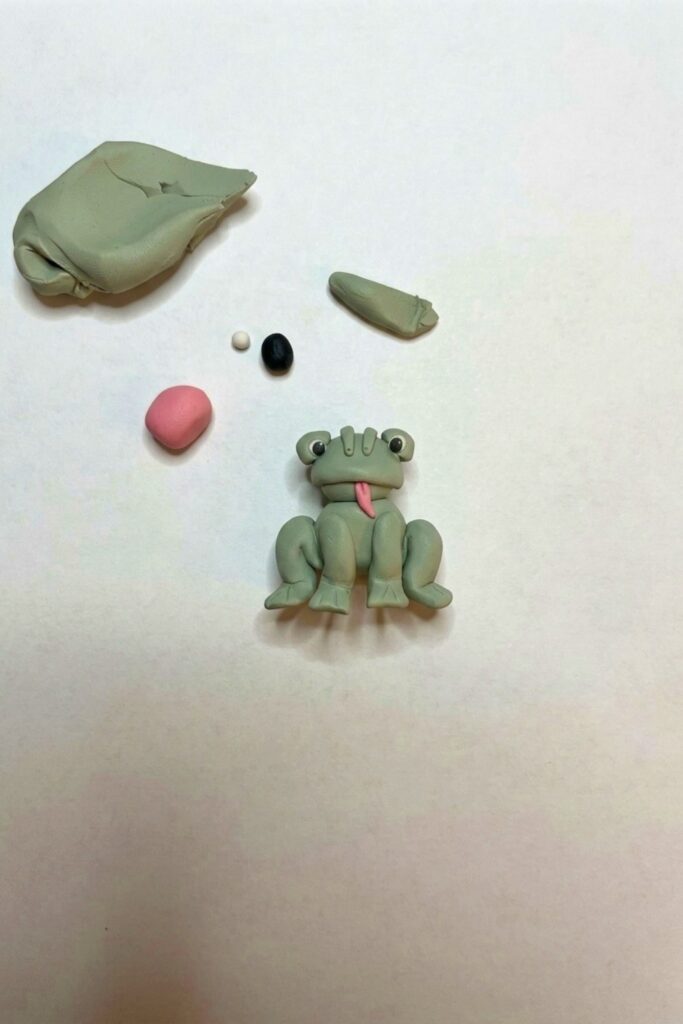
Sculpt an Adorable Frog from Clay
Create a cute miniature frog sculpture from polymer clay. This step-by-step guide follows Elizabeth’s tutorial to sculpt a round-bodied frog with expressive eyes, webbed feet, and subtle facial details. The finished piece is ideal as a charm, magnet, or small desk decoration.
Materials & Supplies
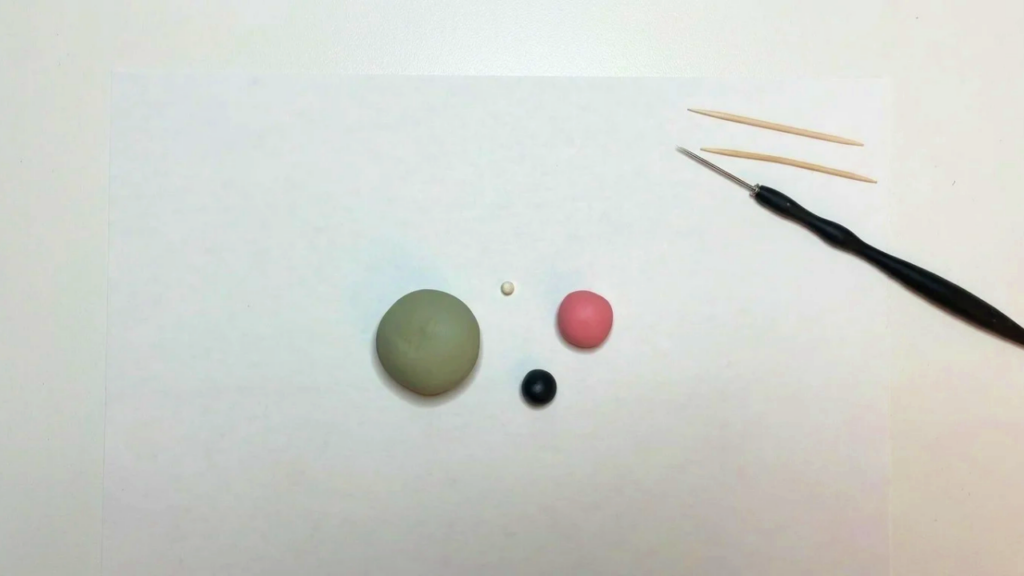
- Polymer clay: green (main), pink (tongue/blush), black (eye pupils, nostrils), white (eye whites)
- Work mat or scrap paper to protect tabletop
- Optional: varnish or gloss for finish
Tools & Equipment
- Potter’s needle or toothpick (for flicks, nostrils, and lines)
- Silicone dowel tool, pen tip, or smoothing tool (for smoothing and indents)
- Pencil or round tool (for testing and pressing holes if needed)
- Fingernails/fingers for shaping and pinching
- Oven for baking polymer clay (follow manufacturer’s instructions)
Project Details
- Skill level: Beginner
- Time: ~30–60 minutes (plus baking)
- Outcome: Small, rounded frog with segmented webbed feet and glossy or matte finish depending on varnish choice
Preparation
- Warm and condition clay until soft and pliable to avoid cracking in the oven.
- Set tools and materials within reach on your work mat.
- Decide proportions: body size relative to head and leg length.
Step-by-Step Detailed
Form the Main Body
- Roll a thumb-sized amount of green clay into a smooth ball.
- Press between thumb and index finger to create a slightly flattened, rounded body.
- Smooth edges by tapping around the piece; remove small debris with a toothpick and resmooth or leave for character.
Form and Attach the Head
- Take roughly two-thirds the amount used for the body and roll into a smaller ball.
- Press and smooth sides by tapping.
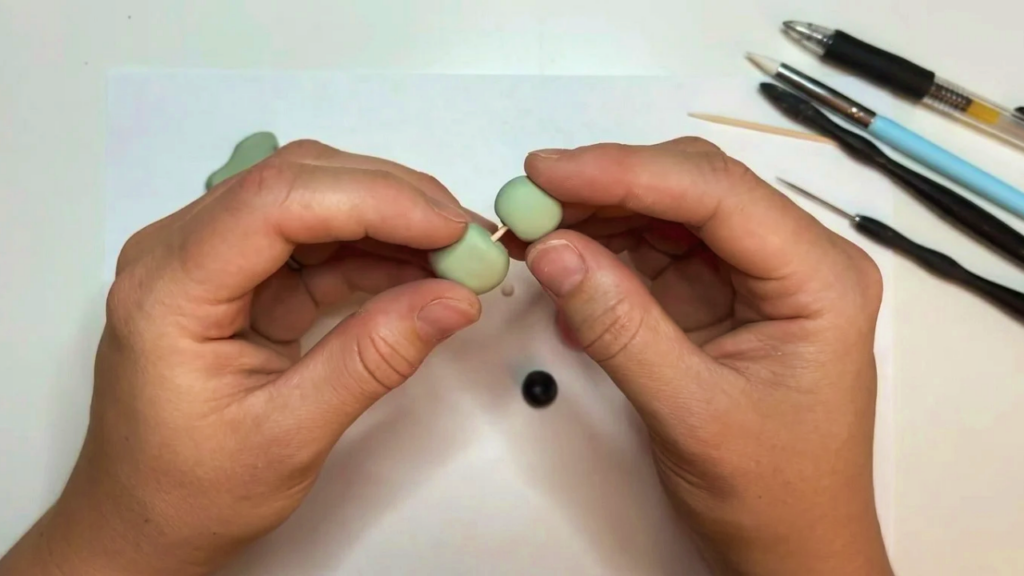
- Position the head next to the body and press at the base with your thumb to create a slight curve where head meets body.
- Use a toothpick to size and split contact so about half of the toothpick rests in the body and half in the head; press in with a twist to avoid over-smushing.
- Ensure the toothpick does not poke through the other side, and press very slightly to secure.
Create the Mouth Ring
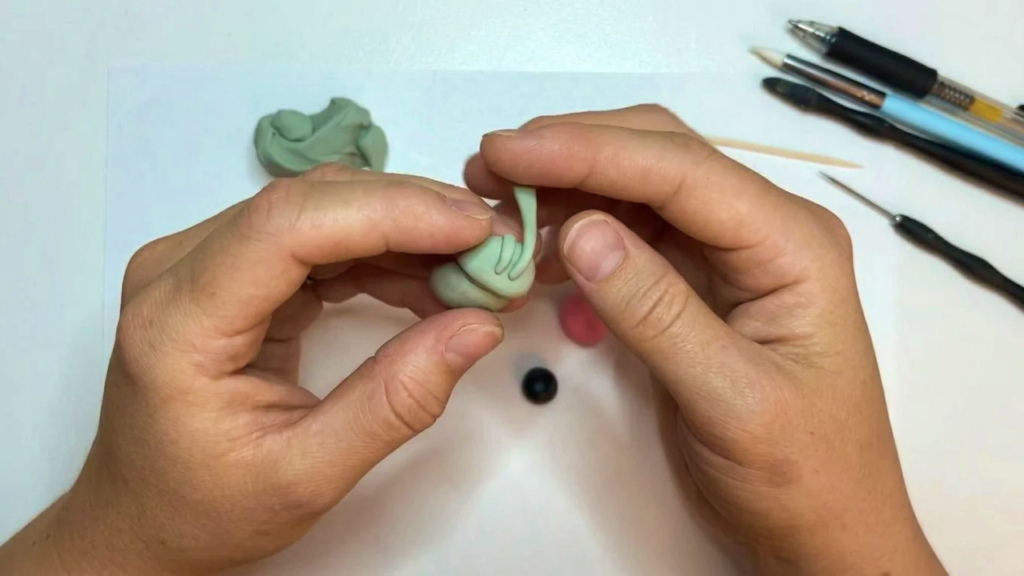
- Roll a fat snake of green and press between fingers to flatten slightly into a thin ring.
- Place the flattened snake around the front of the head like a “ring of Saturn” forming the frog’s mouth area.
- Smooth the top portion with fingers or a silicone dowel tool; correct any pushed-down areas by smoothing.
Add the Eye Strips
- Roll a slender snake (about pea-sized thickness) and smooth one end.
- Set it slightly offset on the top of the face, pull down over the edge, and break off.
- Repeat for the other side, placing two strips symmetrically across the face to form raised eyelid-like ridges.
Make Eye Bulbs
- Mix clay equal to the two top strips combined, split for both eyes.
- Roll into balls, then shape into a drop/teardrop form and flatten slightly.
- Position each beside the previously placed strips and smooth into place.
- Use a silicone dowel or pen tip to make a small junction indent for each eye.
Form Legs (Front)
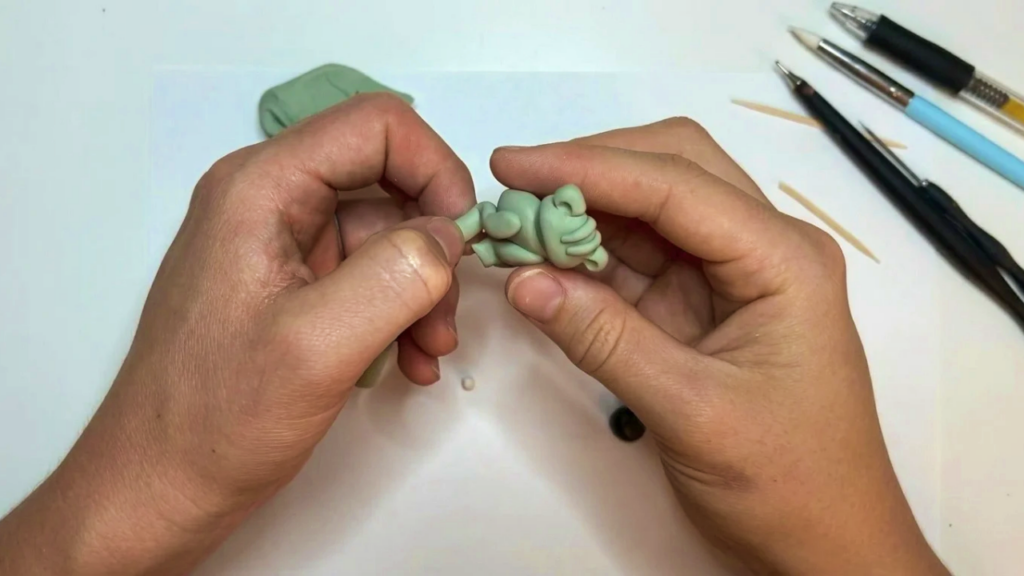
- Roll a generous ball of green clay and then roll it into leg shapes on the work surface, pressing evenly.
- Size legs to proportion with the body; smooth uneven ends and slightly flatten the base.
- Attach one leg at the face edge, tapping to smooth the seam, then bend the toe end and make a small cut with your fingernail to define toe separation.
- Smooth edges by rolling between fingers and match the other leg symmetrically.
Create Webbed Front Feet
- Press the base of each foot down and pull slightly to create a flattened, triangular webbed shape.
- Pinch sides with fingers to enhance triangular form for both front feet.
- Adjust placement so feet don’t collide while sculpting.
Form the Back Body & Legs
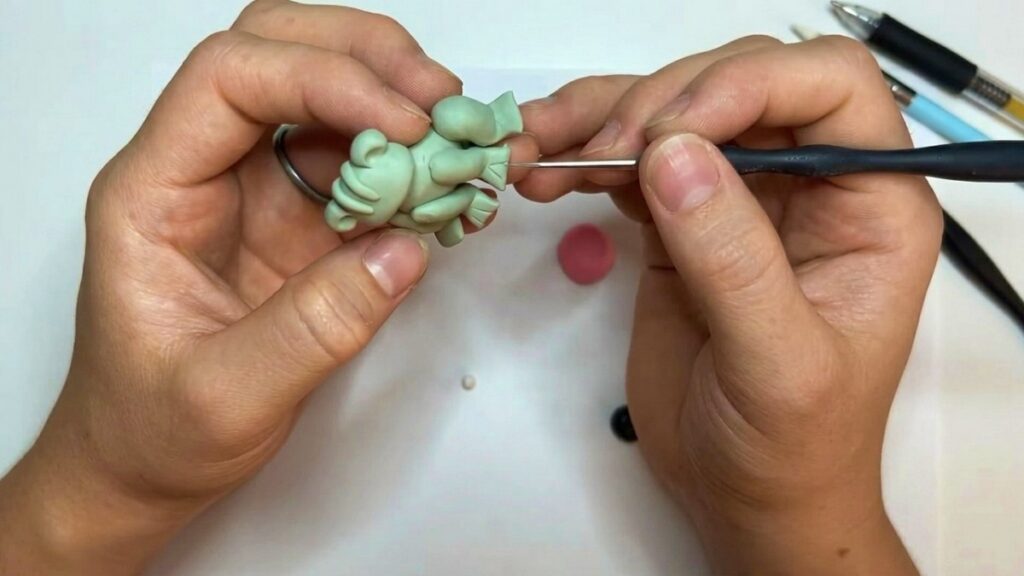
- Roll another snakeof clay and attach along the base of the frog, pressing and folding up about two-thirds to form the belly/back base.
- Locate where back feet should sit, fold over, and cut off to size.
- Flatten and pinch the cut portions into triangular webbed shapes; place and smooth into position.
Refine Segmentation and Texture
- Use a toothpick or potter’s needle to draw subtle lines at the edges of the feet or along limb joints for definition.
- If nails accidentally scrape the surface, smooth immediately with fingers or a dowel tool.
Add Eye Whites and Pupils
- Take white clay about an eighth of the eye size; split into two and roll into even small balls.
- Insert white discs into eye indents and press gently.
- Make two small black balls for pupils, flatten slightly and place atop the white discs—adjust shape to be slightly rounded as needed.
- For a sparkle, add minuscule white flicks to the pupils with a tiny dab of white.
Add Nostrils and Tongue
- Use a potter’s needle to add tiny nostril dots on either side of the face.
- Roll a small pink snake, flatten the tip and place as a subtle tongue or blush strip at the mouth; press and optionally indent with the needle.
Sign & Final Checks
- Smooth any remaining seams and ensure all bits are secure.
- Sign the back of the frog if desired.
Finishing Instructions
- Bake the frog according to the polymer clay manufacturer’s temperature and time guidelines.
- Let cool completely before handling.
- Optionally apply a thin coat of gloss or matte varnish to protect and finish — gloss will emphasize a wet amphibian look.
Tips & Techniques
- Warm and condition clay well for easier smoothing.
- Use the toothpick trick for embedding support without over-compressing the body.
- Rotate the piece rather than dragging tools to keep edges clean.
- Make small adjustments while clay is soft; corrections post-bake are harder.
Common Problems & Solutions
- Head or limbs detach:
- Solution: reattach with a bit of liquid clay or glue, then re-bake following instructions.
- Fingerprint or scrape marks:
- Solution: smooth immediately with a dowel tool or fingertip; if baked, sand lightly and re-gloss.
- Eyes look uneven:
- Solution: adjust whites and pupils while clay is soft; press gently to re-center.
Creative Ideas & Variations
- Change color schemes (bright neon, spotted, or pastel).
- Add tiny patterns on the back (spots or stripes) before baking.
- Make a set of frogs in varying sizes or a small pond scene on a base.
Final Result
A small, charming frog with defined webbed feet, expressive raised eyes, subtle mouth ring, and tiny details like nostrils and tongue. Properly baked and finished, this mini frog is sturdy and display-ready — perfect for gifting or adding to a miniature collection.