DIY Candy Apple & Funnel Cake With Polymer Clay for Beginners
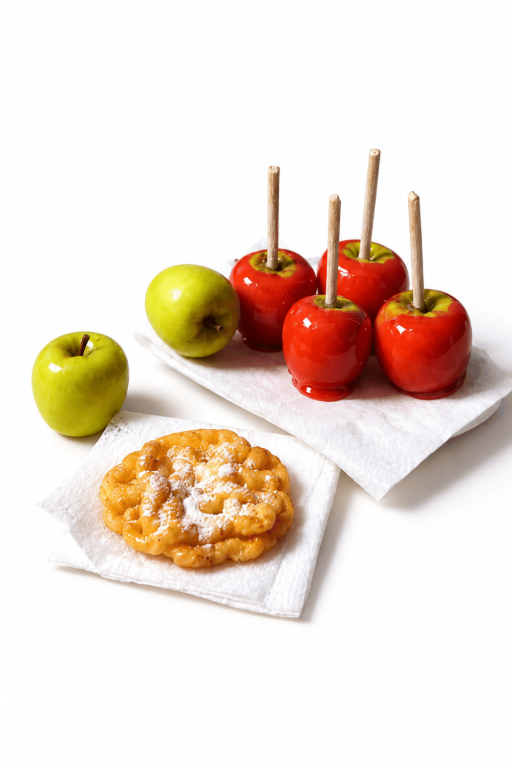
Build DIY Candy Apple and Funnel Cake With Polymer Clay and make fun, realistic treats that are easy to make.
Creating miniature food designs is a fun and exciting way to explore your creative side, and this project lets you make tiny, tasty-looking treats with ease! Perfect for anyone who loves arts and crafts, you’ll learn how to recreate classic carnival-themed goodies like candy apples and funnel cakes using polymer clay. These adorable miniature pieces look nearly good enough to eat and make unique decorations, accessories, or gifts to brighten someone’s day.
Cute DIY Candy Apple & Funnel Cake With Polymer Clay You Can Make
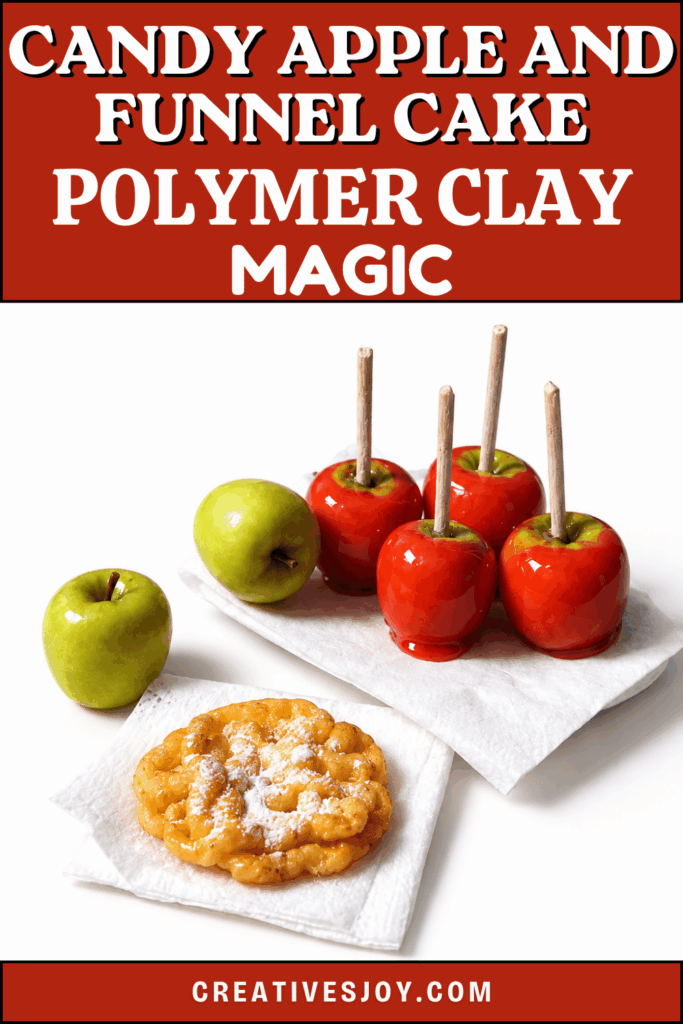
Using soft polymer clay, you can craft delightful little candy apples complete with shiny coatings and realistic wooden sticks. The funnel cakes offer a different kind of challenge, where you’ll shape clay into swirly, lace-like patterns to match the iconic design of the treat. With added details—like powdered sugar for the funnel cakes or vibrant colors for the candy apple coating—these tiny replicas will look amazingly lifelike. Best of all, the steps are simple to follow and beginner-friendly, so you can jump right in and start creating!
This is the perfect project to capture the charm of fairground food and bring it to life in miniature form. It’s an enjoyable way to get creative while crafting something cute and whimsical. Plus, these small designs can be used for anything from decorations to delightful gifts for loved ones. Try it yourself, and see how easy it is to make these carnival-inspired creations.
Candy Apple and Funnel Cake Polymer Clay Magic
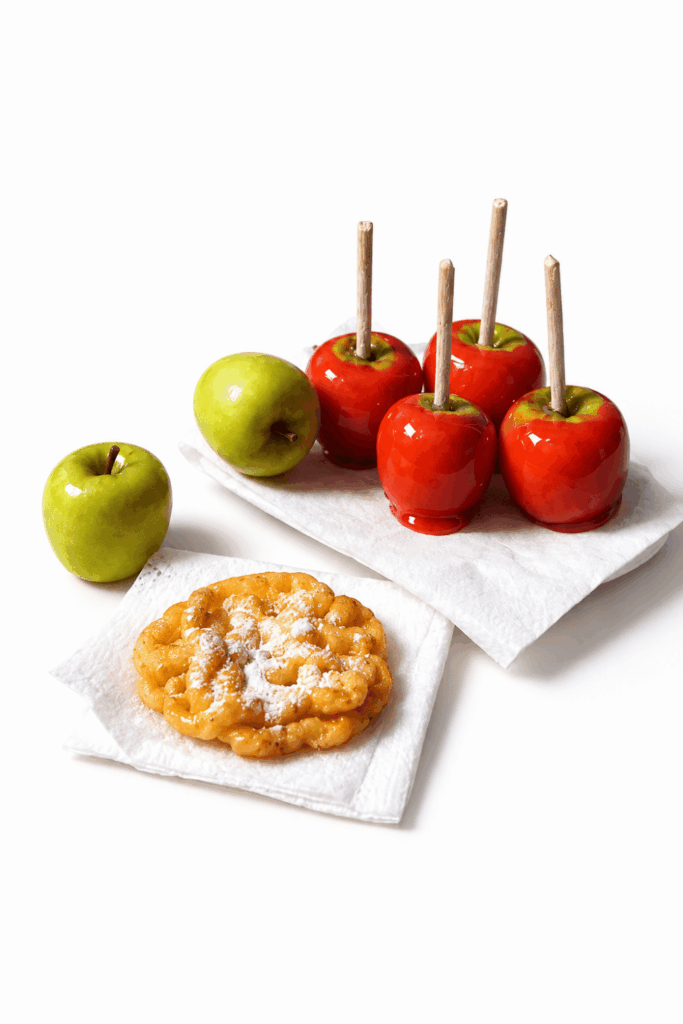
This project guides you step by step to create miniature candy apples and a simple funnel cake from polymer clay. The finished miniatures include glossy red candy apples on sticks (with optional brown stems and realistic color variation) and a textured funnel‑cake piece finished with powdered‑sugar shading and a matte seal. Instructions follow the exact sequence shown in the video: preparing and coloring the apple bases, forming and baking, dipping in a candy coating while warm, finishing the sticks, then shaping, texturing, baking, and sealing the funnel cake.
Materials and tools
- Polymer clay colors: champagne, white, yellow, translucent, brown
- Scrap clay (for shaping and small details)
- Fimo Deco Gel
- Soft pastels: red, brown, green, white
- Container for rolling clay pieces in pastel
- Headpins (for apple sticks) or plain sticks
- Shaping tools: pointed dotting tool, needle tool
- Toothbrush (for texture)
- Liquid clay
- White acrylic paint and a small brush
- Knife / blade
- Oven for baking polymer clay
- Matte glaze (to seal pastel)
- Small work surface and protective paper
Make the candy apples
Step 1 — Prepare the base apple clay
- Mix small amounts of champagne, white, yellow, and translucent clay together to create the base color for your apples.
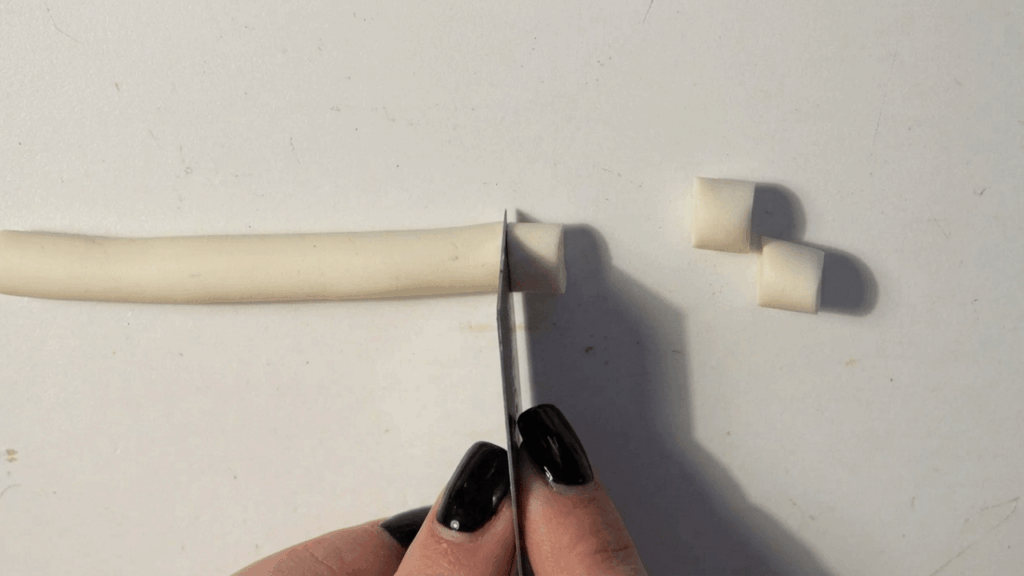
- Cut the mixed clay into pieces roughly the size you want each finished apple to be. The video shows cutting multiple pieces so you can make a set.
Step 2 — Add pastel color and shape the apples
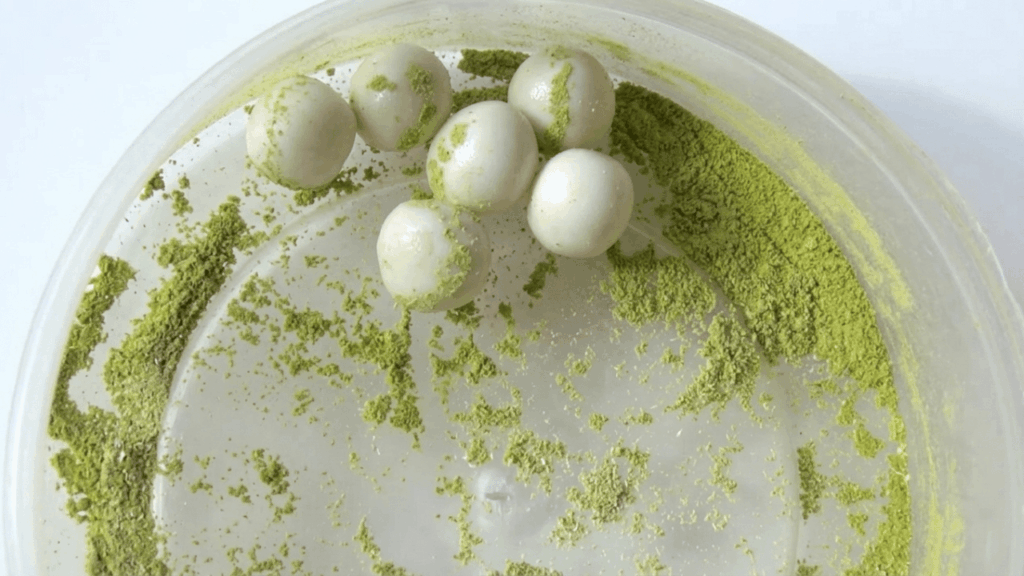
- Place the cut clay pieces into a container with pastel so the pastel powder will coat the clay surfaces as you handle them.
- Roll each piece between your fingers until the pastel transfers evenly and the surface takes on a subtle color tone. This gives natural-looking variation rather than a flat single color.
- Shape each piece into an apple form with your fingers: round and slightly flattened at the top and bottom so the apple looks realistic when finished.
Step 3 — Form the top and bottom dimples
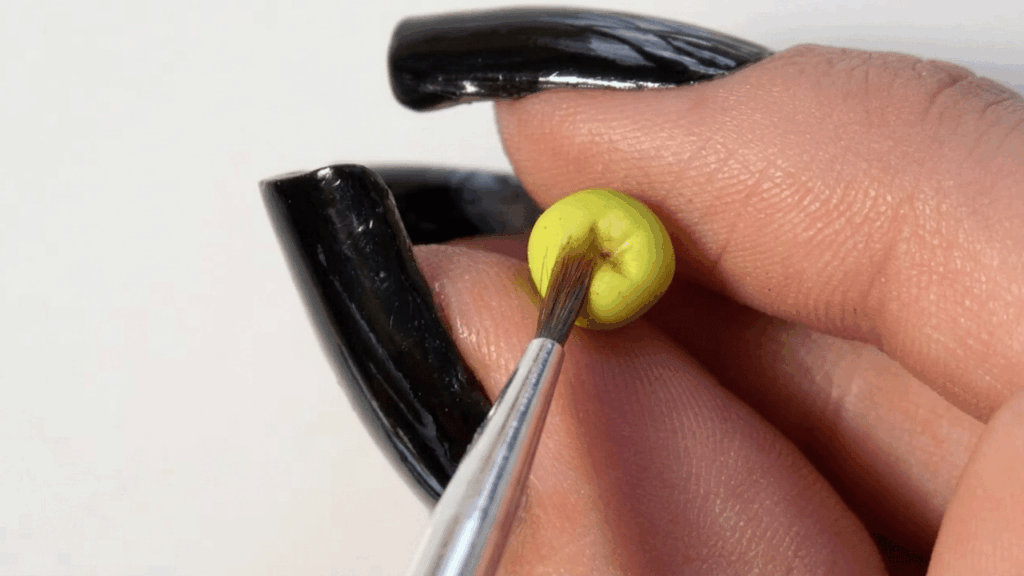
- Use a pointed dotting tool and a needle tool to make small dimples at the top and bottom of each apple. These dimples mimic where a stem and blossom would naturally sit.
- Lightly dust and blend brown and green pastel onto the apple surfaces for additional color variation and a more lifelike appearance.
Step 4 — Make and pre‑bake stems (optional)
- Roll a thin snake of brown clay to form tiny stems.
- Pre‑bake the thin brown stem pieces on their own for a short time so they hold their shape when attached later. The video pre‑bakes stems before adding them to the apples.
- If you want a small base detail at the bottom of the apple (a calyx or blossom remnant), place a small piece of unbaked clay at the bottom before the first bake.
Step 5 — Add sticks for candy apples
- If you are making candy apples on sticks, insert headpins into the top dimple of each apple so they will have a firm stick for dipping and display.
- Ensure headpins are centered and straight so the apple sits evenly.
Step 6 — First bake the apples
- Place the prepared apples (with or without stems attached) into the oven and bake them following the clay manufacturer’s guidelines. The video bakes the apples before the candy coating stage.
- Bake while you prepare the candy coating mixture.
Step 7 — Prepare the candy coating
- Mix Fimo Deco Gel with red pastel and some translucent (pastel or translucent clay/powder) to create a glossy red candy coating mixture. Mix until the color is even and ready for dipping.
Step 8 — Dip apples while warm and build layers
- Remove the baked apples one at a time while they are still warm from the oven.
- Dip each warm apple into the red Deco Gel mixture to coat the surface. Dipping while warm helps reduce runny dripping and creates a smoother coating.
- Return the freshly dipped apple to the oven to harden the first layer of the coating.
- After the first layer has set, apply a thinner second coat for extra gloss and evenness, then bake again to fully cure the coating.
Step 9 — Attach pre‑baked stems and finish sticks
- Attach the pre‑baked brown stems to the top dimples of apples if you prepared stems earlier. Press gently to secure any small connection; if required use a small dab of unbaked clay and bake briefly to set (the video shows stems pre‑baked then added).
- Paint headpins or plain sticks white with acrylic paint to create classic candy‑apple sticks. Allow paint to dry fully before handling.
Make the funnel cake
Step 1 — Form the dough ropes
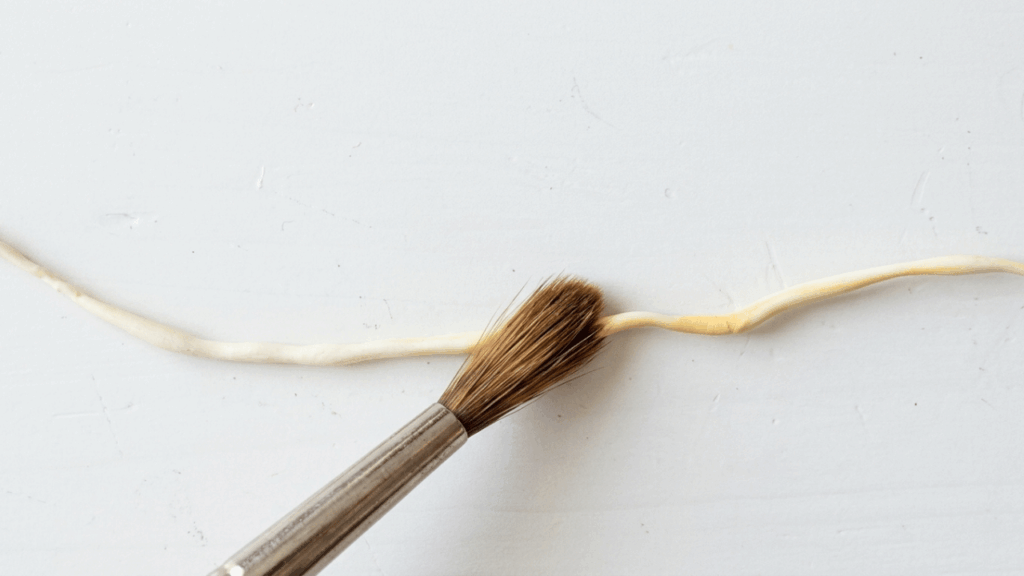
- Take a light dough‑colored clay and roll it into multiple thin snake‑like ropes. These ropes will simulate the fried dough strands of the funnel cake.
Step 2 — Arrange the funnel‑cake shape
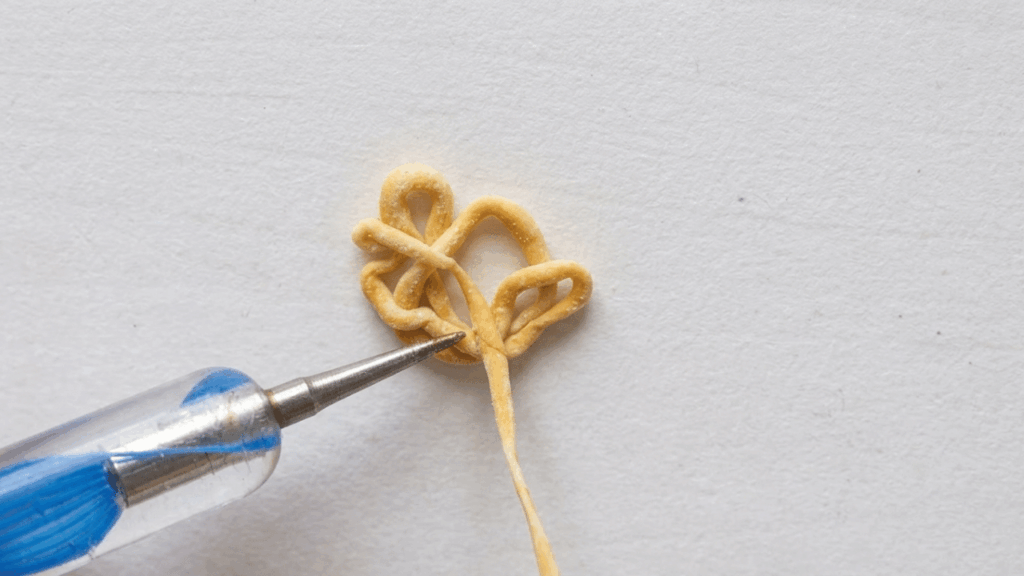
- Arrange the thin clay ropes into an overlapping, looping pattern to form the funnel cake structure. Layer ropes over one another to achieve a compact, realistic look.
Step 3 — Add shading and texture
- Use soft pastels to add shading to the funnel cake: apply light brown where the cake would be crisp or darker, and white where you want highlights.
- Create surface texture with a toothbrush by gently flicking or brushing to produce a subtle roughness. Use a pointed dotting tool or needle tool to add small details and irregularities that mimic fried dough.
Step 4 — Add liquid clay highlights and bake
- Apply a small amount of liquid clay to areas where you want a slightly glossy or fried‑looking highlight, and lightly dust a bit of white pastel for powdered sugar effect.
- Bake the funnel cake according to the polymer clay instructions to cure both clay and any liquid clay additions.
Step 5 — Seal the pastel shading
- After baking and cooling, seal the pastel with a matte glaze to lock in the shading and protect the surface from smudging.
- Allow the matte glaze to dry completely before moving or displaying the funnel cake.
Final assembly and tips
- Work in the sequence shown: prepare and shape apples → pre‑bake → dip while warm for smooth coating → bake layers → finish sticks and stems. For the funnel cake: shape → texture → bake → seal.
- Dipping apples while warm is an important step mentioned in the video to reduce dripping and get a cleaner candy coating.
- Use pre‑baked stems to keep thin stem shapes from deforming when attached.
- Apply thinner second coats of the Deco Gel for a neat final layer and bake between coats to set them.
- Let paints and glazes dry fully before handling so finishes stay clean and glossy or matte as intended.