Unique DIY Polymer Clay Mini Fish Idea to Try Today
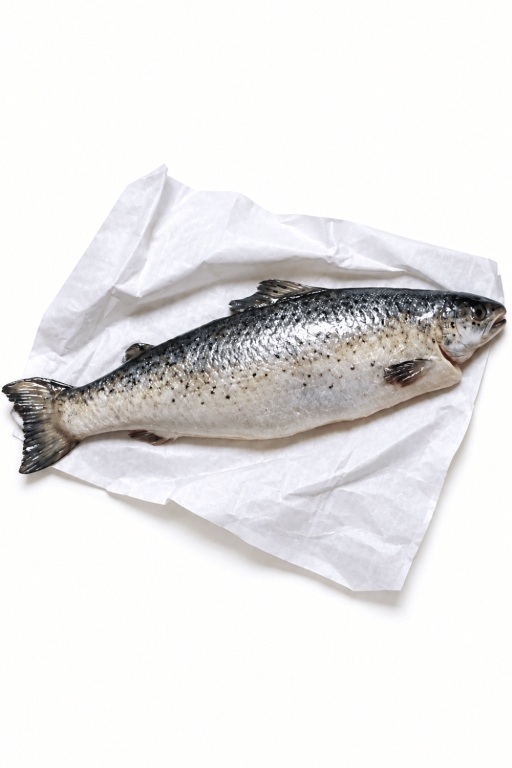
Follow this fun tutorial to make DIY Polymer Clay Mini Fish and enjoy crafting intricate, professional-looking miniatures with easy-to-follow steps.
Creating tiny, adorable creatures with your own hands is a delightful way to spend your time, and turning colorful clay into a mini fish is no exception! This fun craft project is perfect for people of all ages who love experimenting with small, creative designs. Whether you’re making decorations, charms, or just want to try your hand at something new, this idea sparks joy and brings out your artistic side.
DIY Polymer Clay Mini Fish for Coastal-Themed Crafts
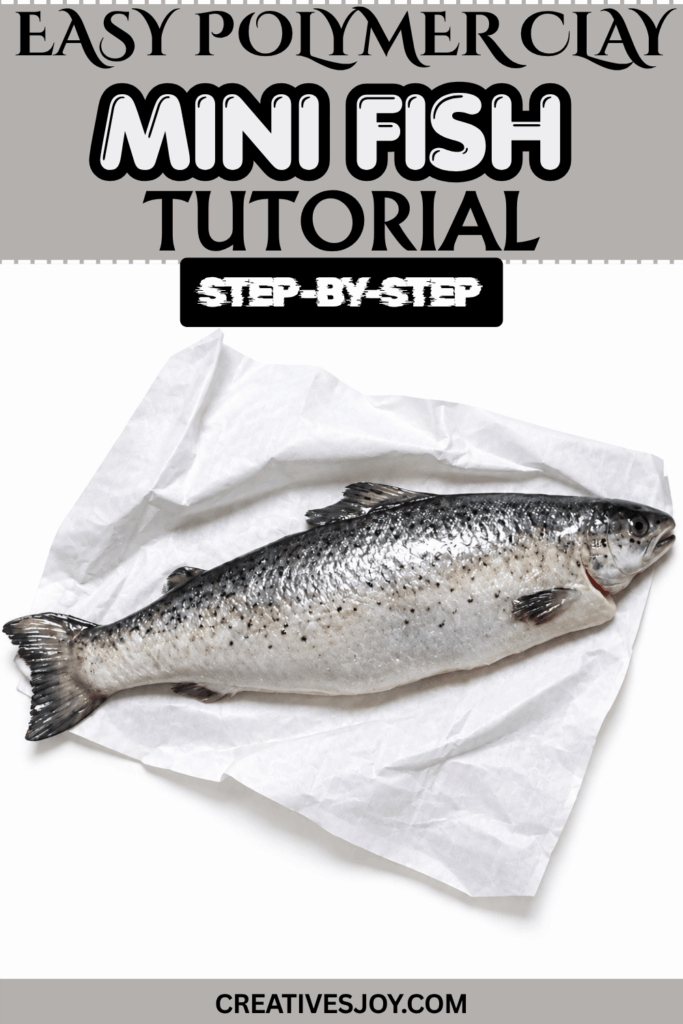
Using polymer clay to craft a mini fish allows you to get as creative as you want. You can make a simple design or go all out, adding intricate patterns, tiny scales, or even a playful smile to your fish. It’s a joy to see how these little creations come together, and it’s surprisingly easy to customize them with different colors or shapes. The small size adds extra charm, making these tiny fish perfect for keychains, fridge magnets, or decorations for your desk or shelf.
Beyond the fun of the process, this project is a fantastic activity to enjoy on your own or with loved ones. It’s simple to start with just a few materials, and the results are always rewarding. Whether you want to add something cute to your collection or give a handmade gift to someone special, these tiny clay creations are sure to bring smiles and brighten anyone’s day.
Easy Polymer Clay Mini Fish
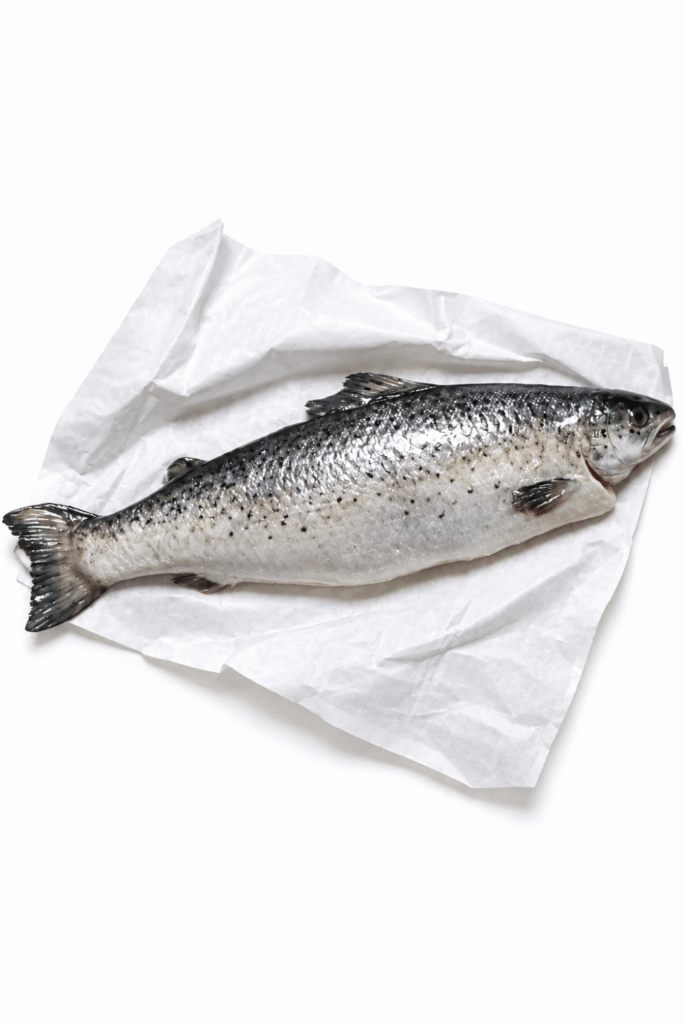
This project shows how to make a miniature salmon fish. The finished piece is a small, textured fish with thin translucent fins, a painted body with shading, a glossy eye, and a reflective glaze. Follow the steps in order: shape the base, add surface texture, cut and texture the fins, add the eye and tail, bake, paint, and seal.
Materials and tools
- Salmon cane or a piece of plain white polymer clay (conditioned)
- Needle tools
- Dotting tools
- X‑Acto knife (the video removes the blade for a handle)
- Translucent material (used for thin fin slices)
- Pale yellowish pastel
- Black acrylic paint
- Fimo Deco Gel
- Acrylic paints (white, green and gray shades)
- Pearlex pigment in pearl white (mixed into glaze)
- Gloss/glaze (glass glaze or similar)
- Optional: pearly white acrylic paint or eyeshadow for fins and eye
- Scissors or blade for cutting
- Brushes for painting and mica application
Shaping the base
Step 1 — Form the body
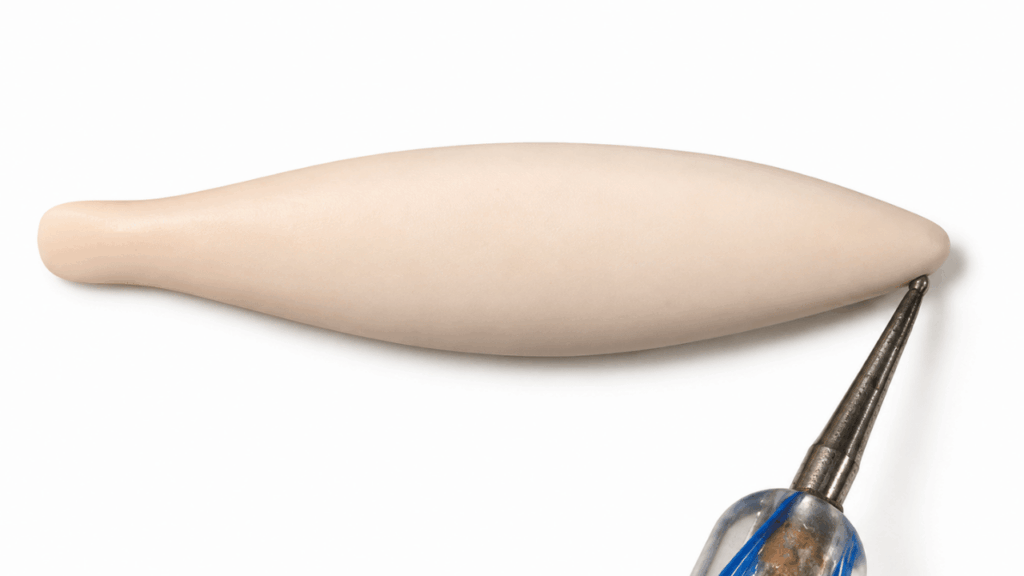
- Take a piece of the salmon cane and use your fingers to give it the basic fish shape.
- If you do not want to use the cane, use a piece of plain white clay and shape it the same way.
- Smooth and refine the shape with your fingers so it reads as a small fish body.
Step 2 — Add small details
- Use needle tools, dotting tools, and an X‑Acto knife to add the small surface details you want on the body.
- Work around the shape to create any sculpted lines or markings before adding texture.
Adding surface texture
Step 1 — Create texture with the X‑Acto handle
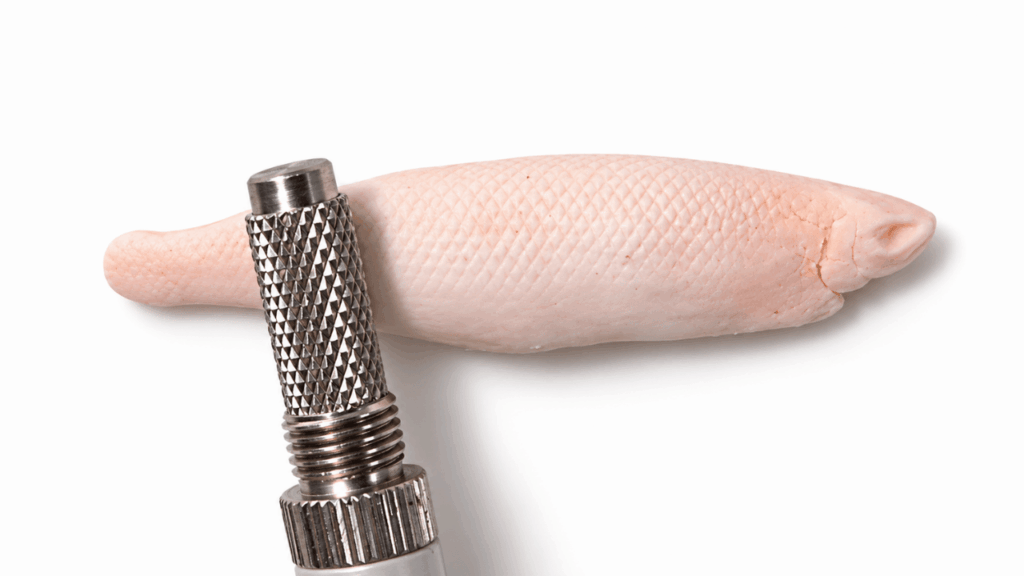
- Remove the blade from an X‑Acto knife and use the handle or bladeless tool as a texture tool.
- Press and drag lightly to create the fish’s textured surface, repeating until you are happy with the look.
Make and attach fins
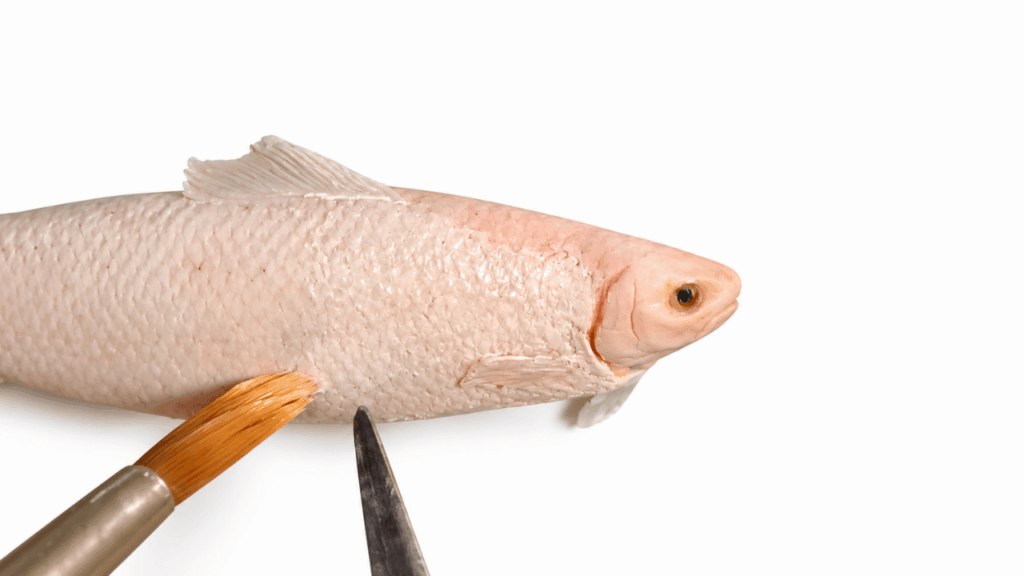
Step 1 — Cut thin fin slices
- Cut very thin slices from the translucent material for the fins.
- Shape each slice into the fin forms you want (pectoral, dorsal, etc.).
Step 2 — Texture the fins
- Use a needle tool to add fine texture lines on each translucent fin piece.
- Attach the fins to the fish body in the desired positions, blending gently so they sit flush.
Add the tail and eyes
Step 1 — Tail
- The video does not show the tail step in detail but shows the tail present before baking.
- Form and attach a tail so it integrates with the body; ensure it is secured and shaped before proceeding.
Step 2 — Prepare the eye before baking
- Right before baking, apply a pale yellowish pastel where the eye will be.
- Make a small black dot over that pastel with black acrylic paint for the pupil.
- Let the black paint dry, then add a dab of Fimo Deco Gel on top of the eye area.
- These steps are done before baking so the eye detail is set into the piece.
Bake
Step 1 — Bake the piece
- Bake the fish piece after you have added the pastel, black dot, and Fimo Deco Gel on the eye.
- (The video proceeds from this point to post‑bake painting; follow your usual polymer clay baking practice.)
Painting after baking
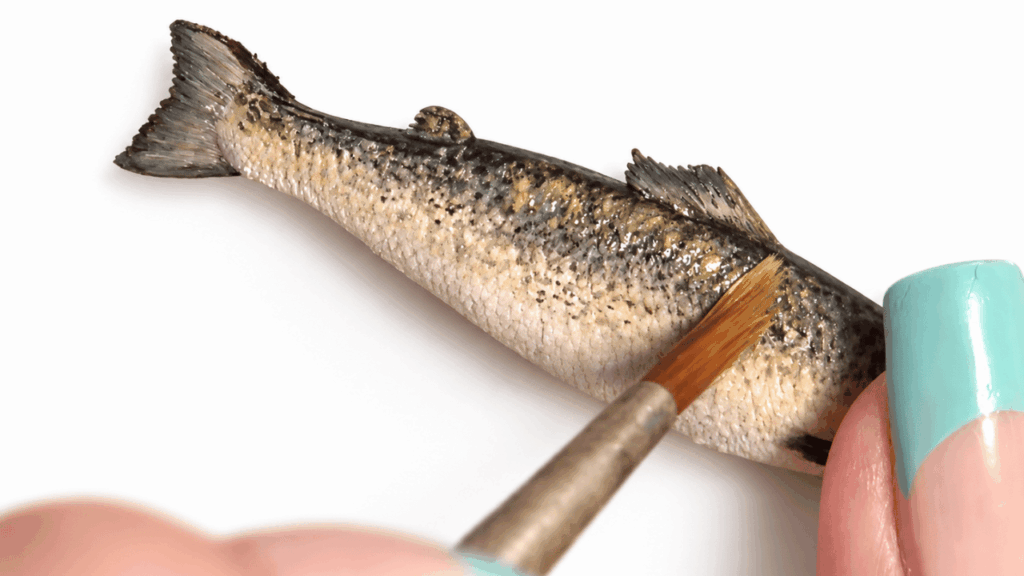
Step 1 — Base coat and shading
- After baking and cooling, paint the fish with acrylic paint.
- Start with white acrylic paint on the entire fish except the fins.
- Add shading using green and gray shades to build depth and realism.
Step 2 — Eye and fin highlights
- For the eye and fins you can use a pearly white acrylic paint or a pearly eyeshadow to add subtle highlights if desired.
Glaze and finish
Step 1 — Prepare the glaze
- Mix Pearlex pigment in pearl white into your glaze to give the body a more reflective look.
- For fins and eye highlights, the creator used plain glass glaze without pigment.
Step 2 — Seal the piece
- Brush the pearl‑pigment glaze over the fish body for a reflective finish.
- Apply plain glaze to the fins and eye as shown to finish the look.
- Allow the glaze to dry fully.
Tips
- Use very thin translucent slices for delicate, natural-looking fins.
- The X‑Acto handle (blade removed) makes a good texture tool for fine surface marks.
- Apply the eye details before baking and seal with Deco Gel so the eye reads well after baking.
- Mixing pearlex into the glaze gives a subtle reflective sheen for a lifelike finish.