DIY Polymer Clay Ring Ideas to Spark Creativity
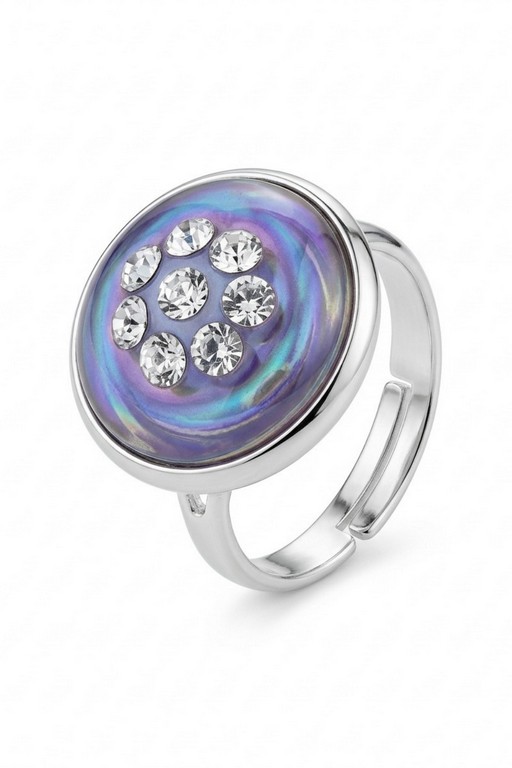
Make stunning, one-of-a-kind jewelry with DIY Polymer Clay Ring Ideas that effortlessly showcase your unique style and personality.
Creating personalized rings with polymer clay is a fun and creative DIY project that lets you design wearable art effortlessly. This simple craft allows you to mold clay into stylish, colorful rings that suit your personal taste. Whether you enjoy bold, statement pieces or minimalist designs, this project is perfect for adding a personal touch to your accessories. Plus, polymer clay’s versatility gives you the freedom to experiment with different patterns, colors, and textures, making it an exciting and enjoyable activity for both beginners and experienced crafters.
Unique DIY Polymer Clay Ring Ideas for Beginners
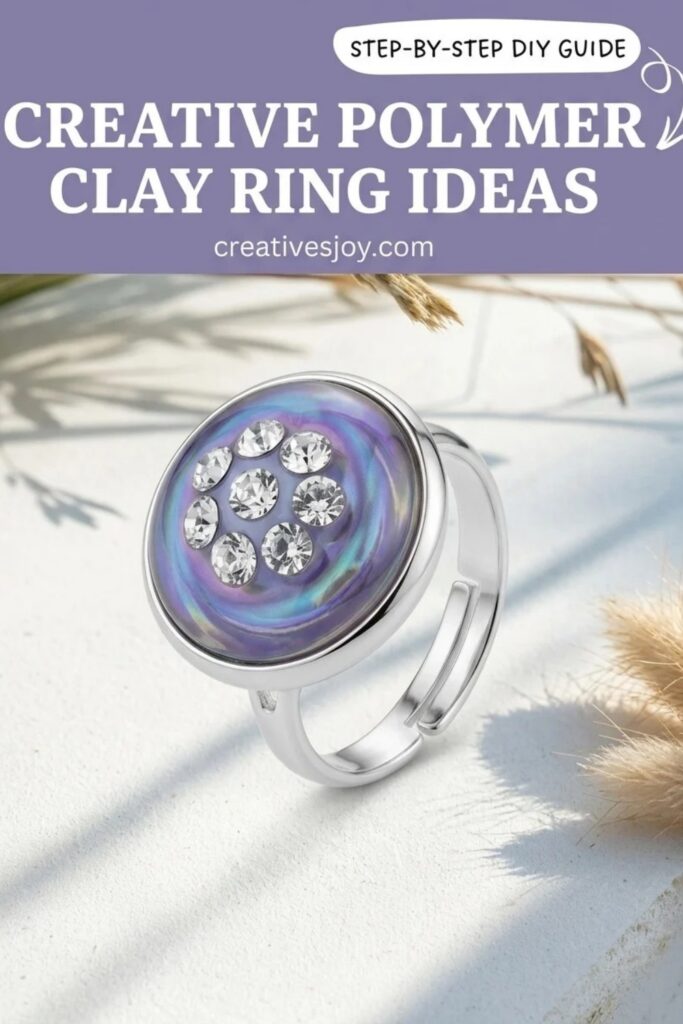
What makes this project especially interesting is the flexibility it offers. You can craft rings in any style—add playful swirls, delicate floral designs, or even a marble effect. Polymer clay is lightweight, easy to work with, and only requires baking in a regular oven to harden into a durable product. Using techniques like color blending, stamping, or embedding small beads can give your rings a professional and unique finish. The process is quick, budget-friendly, and doesn’t need advanced tools, so it’s accessible to everyone.
These simple DIY polymer clay ring ideas are perfect for personal use, thoughtful handmade gifts, or even jump-starting a small craft business. Each ring is a reflection of your creativity, and the crafting process is both enjoyable and rewarding. By the end, you’ll not only have stylish rings but also a memorable experience of making something truly one-of-a-kind.
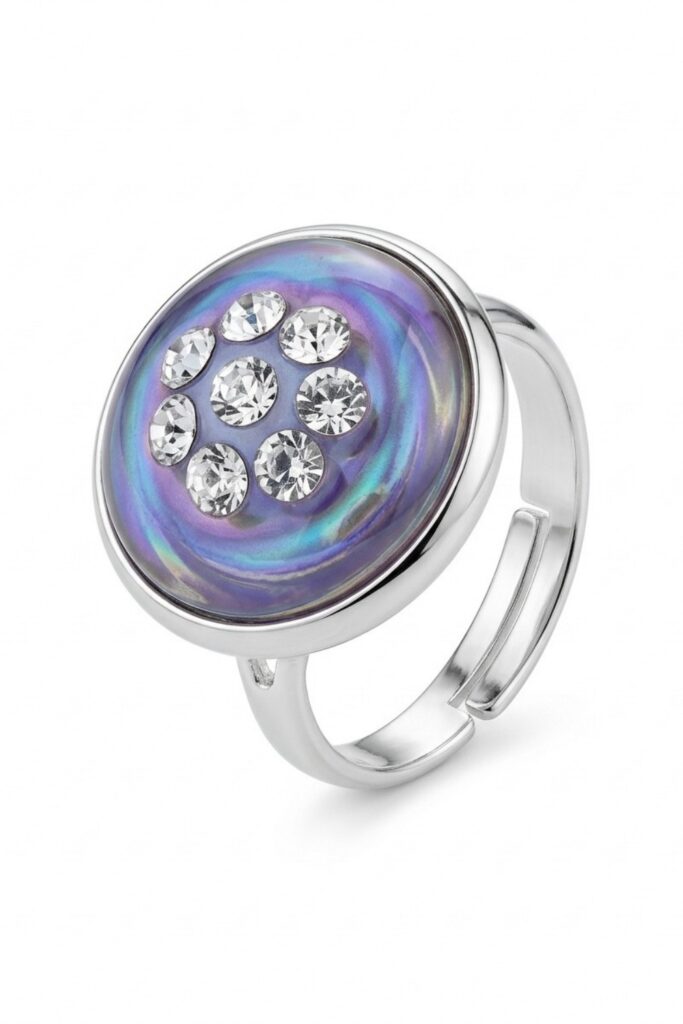
DeCoRe Two‑Part Epoxy Clay Cosmic Ring
What Are We Making?
- A decorative ring using DeCoRe two‑part epoxy clay as the base and Swarovski cosmic ring plus crystal chatons embedded around the edge.
- The epoxy clay acts both as sculpting material and adhesive — no baking required. Finished piece cures at room temperature and is wearable after 24 hours.
Materials at a Glance
- DeCoRe two‑part epoxy clay (one kit contains Part A and Part B).
- Swarovski Cosmic Ring (ring setting) sized for your project.
- Swarovski crystal chatons (size(s) of your choice).
- Magic Pick (or similar wax/adhesive picker) with sticky pad for handling chatons.
- Isopropyl alcohol and a lint‑free cloth (for wiping residue).
- Disposable gloves (rubber or nitrile).
Tools You’ll Need
- Small work surface (tile, scrap paper, or tray).
- Scissors or utility knife to open pouch.
- Small scale or eyeballing method to match equal parts A & B.
- Timer or watch (to track kneading and working time).
- Clean fingertip or non‑sticky tool for final pressing and smoothing.
- Sealing pouch or zip bag to store unused material.
Things to Know Before Starting
- DeCoRe is a two‑part epoxy clay: mix equal parts Part A and Part B to activate curing. Curing begins only after mixing.
- Knead the mixed clay thoroughly for about 4–5 minutes until color is uniform with no striations — this ensures an even cure and consistent strength.
- You have roughly 30 minutes of workable time after mixing for placing chatons and shaping — plan placements before you start.
- If either component is stiff, soften it for a few seconds (4–5 sec) in the microwave before mixing; do not overheat.
- Wear gloves when mixing and placing stones to avoid contaminating the clay and to protect skin.
- Cure the finished piece upright for 24 hours; avoid moving it during this time.
Let’s Get Started
Step 1: Get Ready
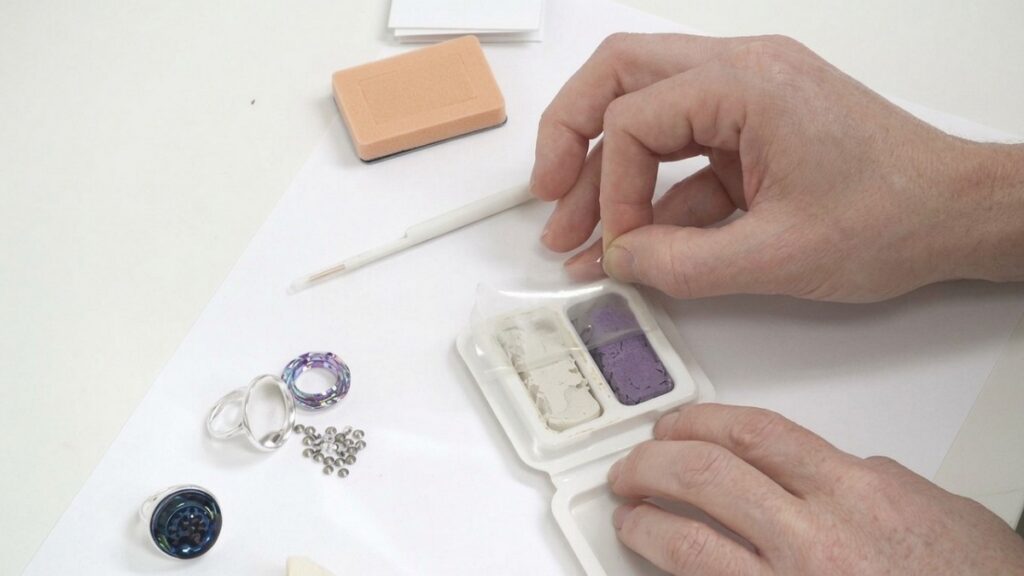
- Open the pouch and read the included instructions.
- Tear back the corner of the sealed pouch and take out small, equal amounts of Part A and Part B.
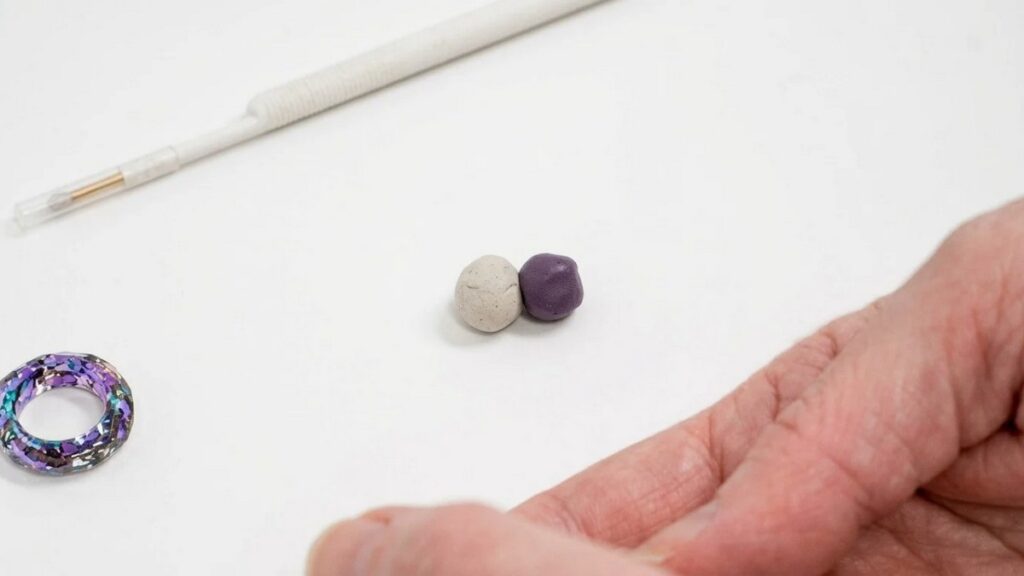
- Form two balls of roughly equal size — use a scale if you want precision, or eyeball and adjust by pinching off excess.
- Re‑seal the pouch with any unused clay to keep it fresh.
Step 2: Mix & Condition the Clay
- Put on gloves.
- Squish the two balls together and begin kneading.
- Mix thoroughly for at least 4 minutes until the color is completely even and there are no streaks.
- Keep folding and squishing so Part A and Part B fully blend — this step is essential for a complete cure.
- If you notice one ball was larger, remove excess and store the surplus back in the pouch before mixing.
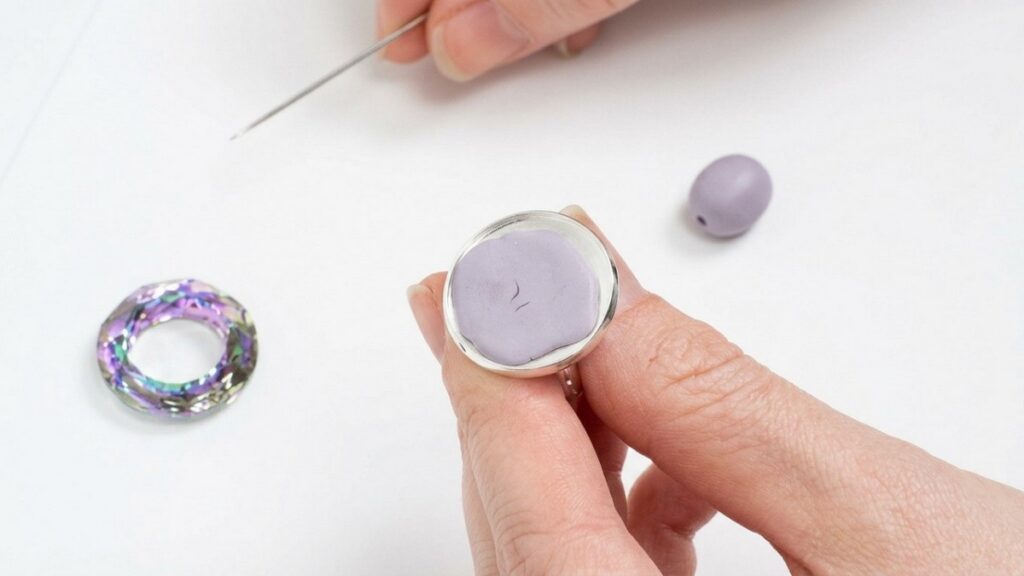
Step 3: Form the Ring Base
- Pinch off a small amount of the mixed clay and lightly squish it flat into a round disc sized to fit inside the cosmic ring setting.
- Press the clay disc into the ring base so it adheres — DeCoRe bonds to most surfaces, so you don’t need additional adhesives.
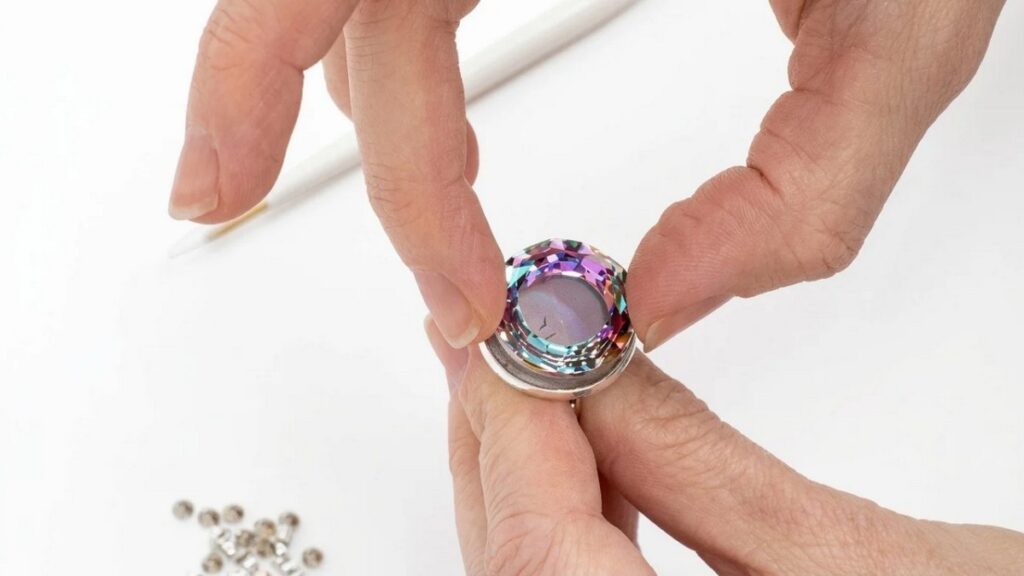
- Remold any excess to tidy the edges, then press the cosmic ring onto the clay center and flatten gently so the clay fills the inner cavity and is level with the ring edge.
- Wipe any clay residue from the ring with a clean cloth or isopropyl alcohol on a lint‑free wipe (avoid contaminating the clay surface).
Step 4: Place the Crystal Chatons
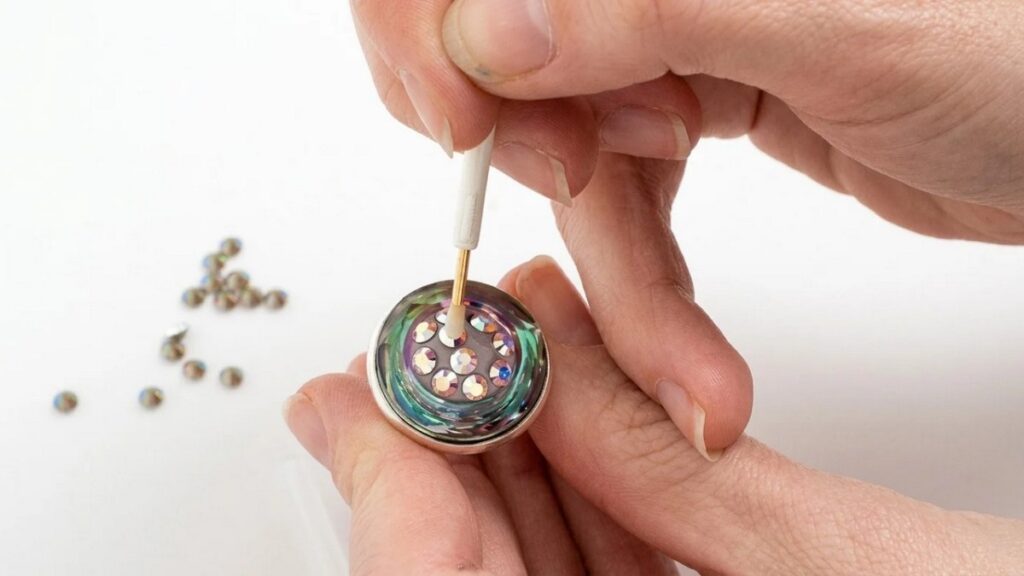
- Prepare your Magic Pick:
- Remove the protective tip and “charge” the rubber tip by rolling it lightly on the supplied sticky pad so it picks up chatons easily.
- Positioning chatons:
- Pick up a chaton and place it into the clay along the ring edge.
- Press the edge of the chaton so it sits just slightly under the clay’s surface — this ensures the stone won’t fall out after curing.
- Place chatons closely together but avoid overlapping facets; they should just touch, not overlap, to ensure each stone adheres properly.
- Continue around the ring edge:
- Work methodically; you have about 30 minutes of working time, so place stones carefully rather than rushing.
- If a stone isn’t seated properly, use the edge of the Magic Pick or a clean tool to nudge it; you can remove and reposition a stone within the work window.
- Fill gaps:
- For small gaps at the end of a row, place single stones in the middle or adjust nearby stones slightly to achieve an even border.
Step 5: Final Pressing & Curing
- Final smoothing:
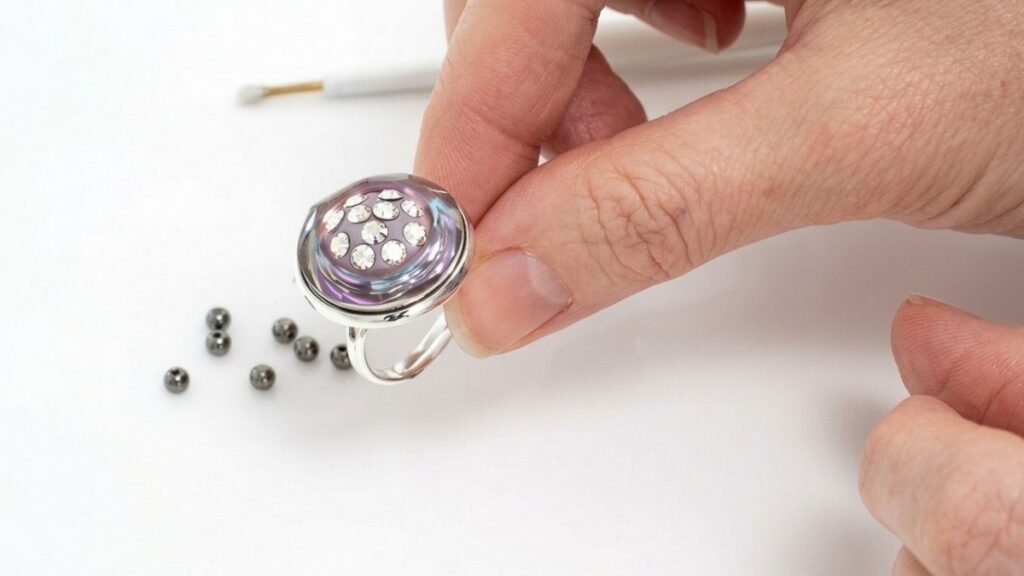
- Use a fingertip that’s clean and free of clay residue (or a non‑sticky tool) to press each chaton gently so it’s firmly embedded and level.
- Smooth any visible seams of clay but avoid excess handling near stones to keep them aligned.
- Cure:
- Place your ring upright in a stable spot where it won’t be disturbed.
- Let the piece cure for 24 hours at room temperature; do not accelerate with heat.
- After curing, verify stones are secure and the clay has hardened fully.
Easy Finishing Tips
- Test the Magic Pick’s tack on a scrap stone before placing precious chatons.
- Keep a clean workspace — oily or dirty fingers reduce adhesion.
- Work in small batches if you plan multiple rings so you don’t exceed workable time.
- Store unused Part A and B sealed in the pouch to extend shelf life.
Common Beginner Mistakes
- Uneven mixing: insufficient kneading leads to incomplete curing and soft spots.
- Overheating components when softening: microwave only a few seconds and check often.
- Overlapping chatons: this prevents full contact with clay and can cause stones to fall out.
- Moving the piece during cure: shifting can misalign stones or dent the clay.
Ways to Personalize It
- Mix small amounts of pigment or metallic powder into the epoxy clay before forming the base for custom colors or shimmer.
- Use a mix of chaton sizes or colors to create gradients or focal accents.
- Add small metal beads or micro pavé elements alongside chatons for texture.
Final Look
- The finished ring should have a smooth clay base with chatons seated securely just beneath the clay edge, a neat overall appearance, and full cure after 24 hours. Enjoy wearing or gifting your handmade, no‑bake Swarovski cosmic ring!