
How to Create Heishi Beads Polymer Clay Jewelry With Easy Steps
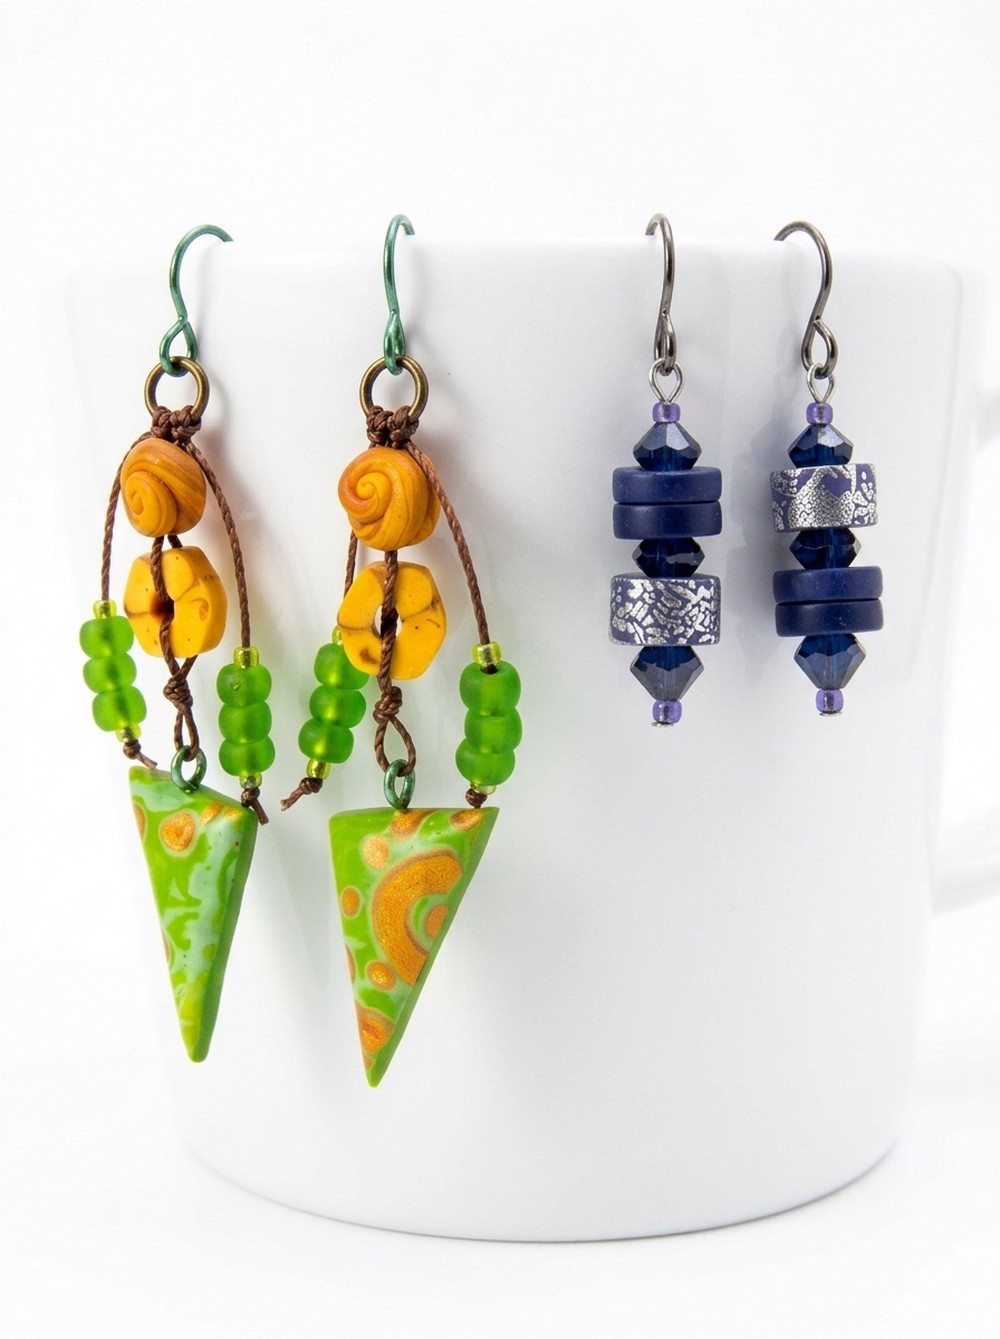
Heishi Beads Polymer Clay offers a simple way to make colorful and stylish jewelry, perfect for adding a unique touch to your accessories collection.
Creating jewelry at home is a fun and creative way to express your personal style. With Heishi Beads Polymer Clay, you can craft colorful, flat disc-shaped beads that are perfect for making trendy necklaces, bracelets, and earrings. These beads are easy to make using polymer clay, which is known for its smooth texture and wide range of colors. This project is beginner-friendly and lets you design one-of-a-kind pieces that suit your taste.
Easy DIY Heishi Beads Polymer Clay Accessories

After shaping and slicing the clay into thin, disc-like pieces, you bake them until they harden. Then, you can string them together or mix them with other beads for unique patterns and designs. What makes them so interesting is their versatility—you can experiment with bold color combinations, stack them for layered effects, or create simple, elegant pieces. They’re lightweight and durable, so they’re comfortable to wear and last a long time.
Not only are these beads fun to make, but they also give you a chance to create personalized gifts for friends or family. Whether you’re making playful jewelry with bright colors or something more subdued and classy, these handmade beads will bring your accessories to life. Working on this project is a relaxing way to spend time, and the finished results will be beautiful pieces you’ll love to wear or share.
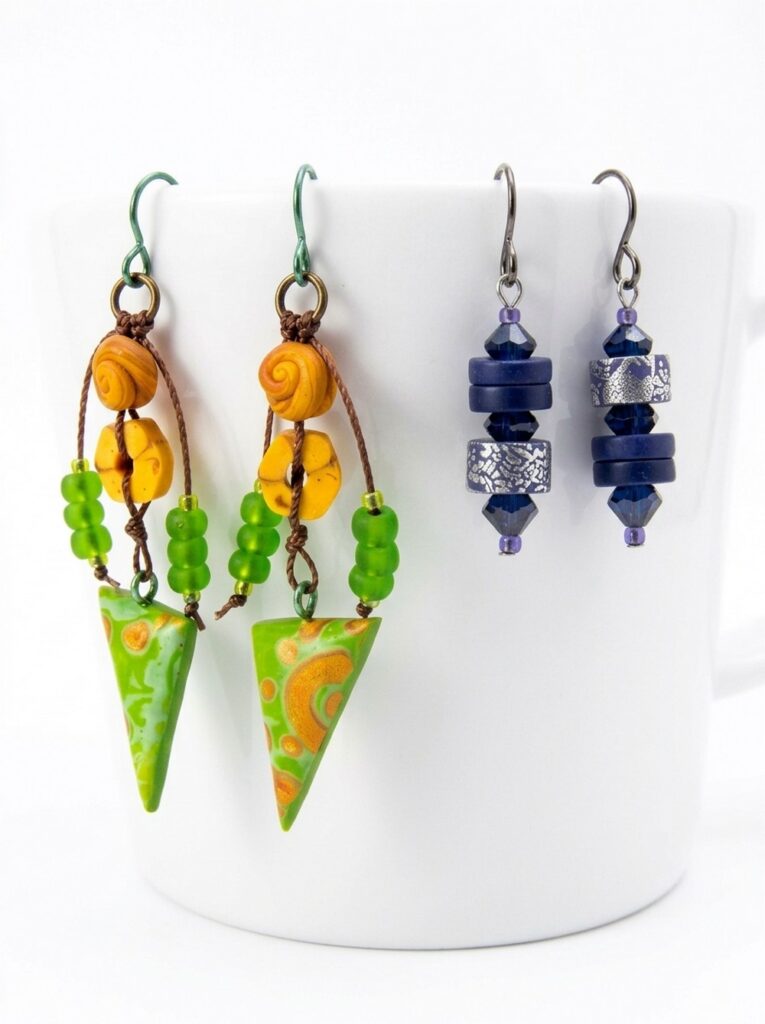
Polymer Clay Macaroni / Heishi Beads
What Are We Making?
You will make hollow “macaroni” or heishi-style polymer clay beads using two methods: an extruder (with a ClayCore adapter for a hollow center) and a fully handmade method (wrapping thin sheets around a mandrel). Finished beads can be used for earrings, necklaces, bracelets, or mixed-media pieces.
Materials at a Glance
- Polymer clay (various colors, translucent and metallic as desired)
- Small scraps for surface decoration (metal leaf, mica, contrasting clays)
- Renaissance Wax or clear satin/gloss varnish (optional)
- Threading material: beading wire, cord, or ear wires for final assembly
Tools You’ll Need
- Clay extruder + profiles and a ClayCore Extruder Adapter (for hollow beads)
- Pasta machine or roller to condition and flatten clay
- Wooden skewers, knitting needles, or metal mandrel for shaping holes
- Sharp craft knife or scalpel, small scissors
- Double-ended knitting needle, ball tools, or smoothing tools for seams
- Small sandpaper or files, hot water jug for cutting baked tubes
- Sticky tape (Sellotape) for dust removal, small brushes for cleaning
- Oven and baking surface (follow clay brand instructions)
Things to Know Before Starting
- Cleanliness is crucial: dust and lint show on beads and spoil glazing/polishing. Use scrap-clay or sticky tape to remove dust from work surfaces.
- When using an extruder adapter, leave space inside the barrel — do NOT screw fully down or you may jam/damage the extruder.
- Wall thickness matters: too thin and beads are fragile; too thick and they’re heavy. Aim for a sturdy wall that still fits your intended cord.
- Some clays include oils or release agents; wipe extruder threads to avoid contamination (especially with white clay).
- Bake according to the clay manufacturer and allow full cooling before cutting or handling brittle pieces.
Let’s Get Started
Step 1: Get Ready
- Condition clay through the pasta machine or by kneading until soft and even.
- Prepare color blends or gradients by chopping and mixing small blobs if you want variegated beads.
- Clean your workboard with a blob of scrap clay or use sticky tape to remove dust and metal leaf flakes.
- Fit extruder profile and ClayCore adapter; check the adapter is centered and there’s clearance in the barrel.
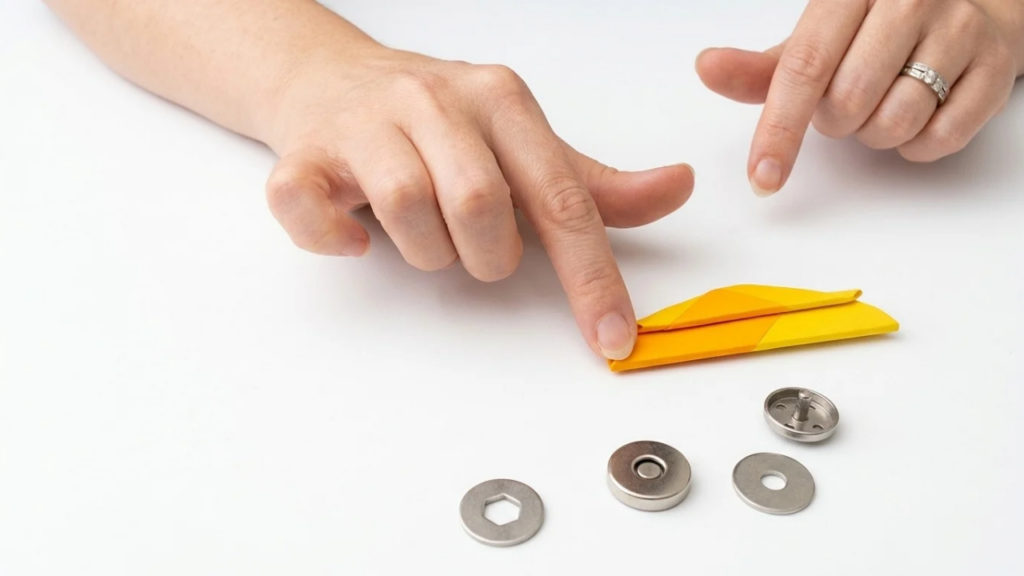
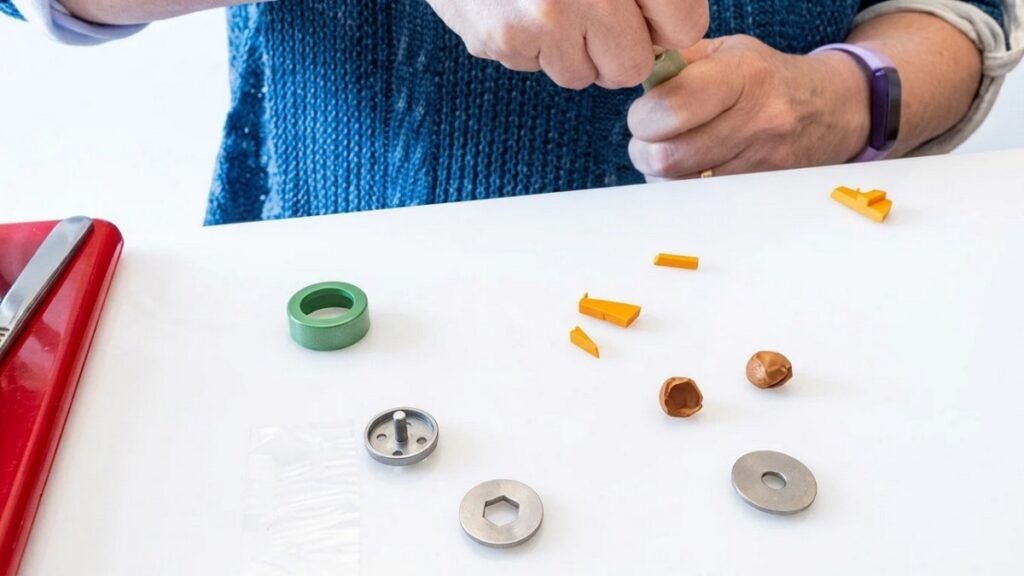
Step 2: Make the First Part (Extruder Method)
- Load mixed clay into the extruder barrel, squashing irregular pieces so they mash uniformly when pushed.
- Begin extruding slowly: twist a little, wait for the clay to ooze, then continue — don’t force it to avoid pinching hands.
- Keep the adapter a bit retracted; allow a short gap so the adapter won’t be crushed when screwing.
- Cut the extruded tube into workable lengths, leaving a pin (from adapter) centered in the tube for a hollow core.
- Smooth gently but don’t over-squash the tube or you’ll close the hole; aim for consistent wall thickness.
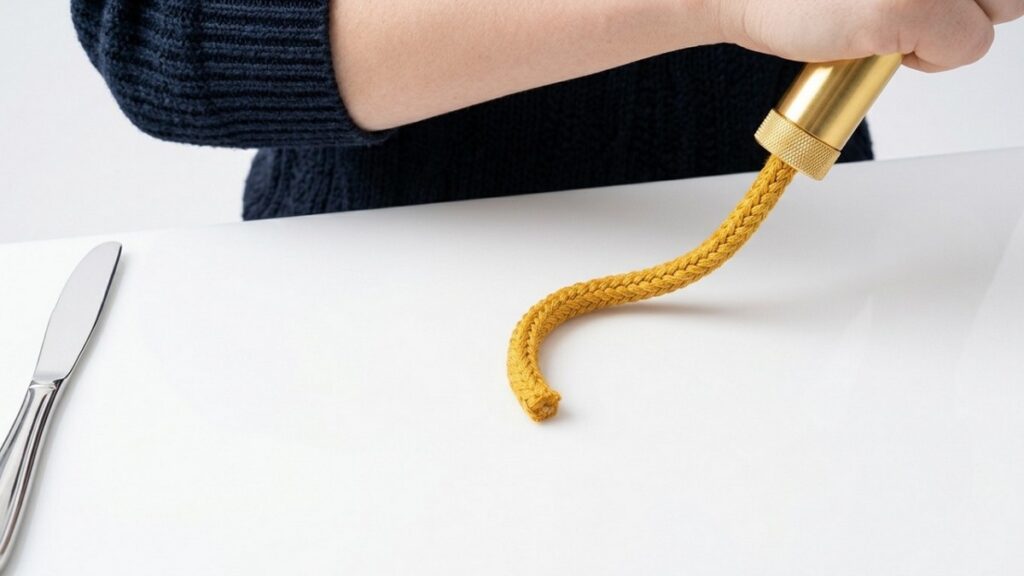
Step 3: Make the First Part (By-Hand Method)
- Flatten a thin sheet on a moderate pasta machine setting for the desired wall thickness.
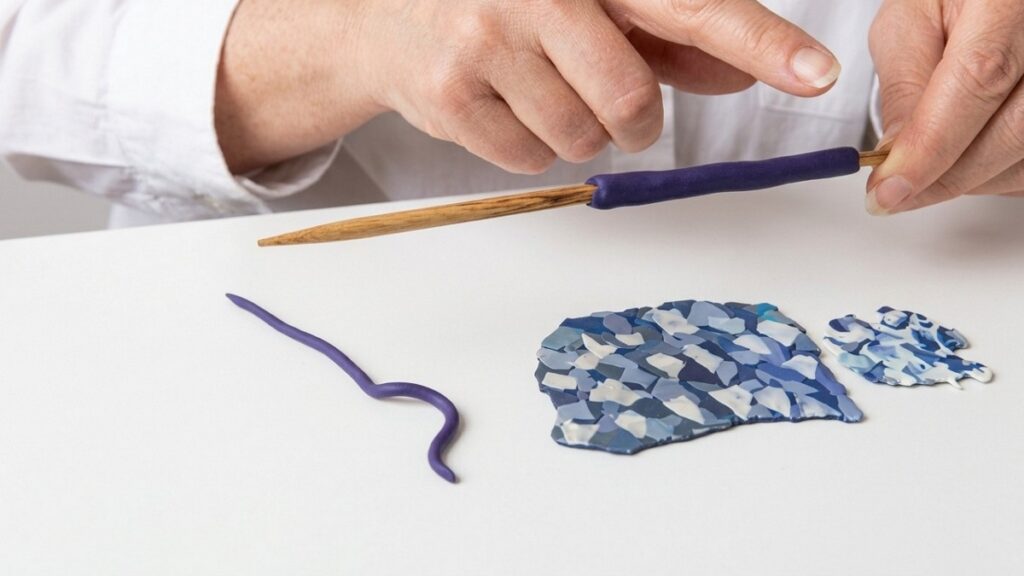
- Cut straight strips and wrap them around a clean skewer or mandrel, lightly overlapping.
- Mark the seam by letting the wrapped sheet just touch the opposite end — unwrap and cut along that faint line for even lengths.
- Press and smooth the seam from one side to the other with a double-ended knitting needle or ball tool, ensuring the inner wall is solid (no gaps).
- Roll the wrapped tube gently with your fingers (on the clay, not the mandrel) to even the surface and maintain the hole.
Step 4: Continue the Pattern & Add Texture
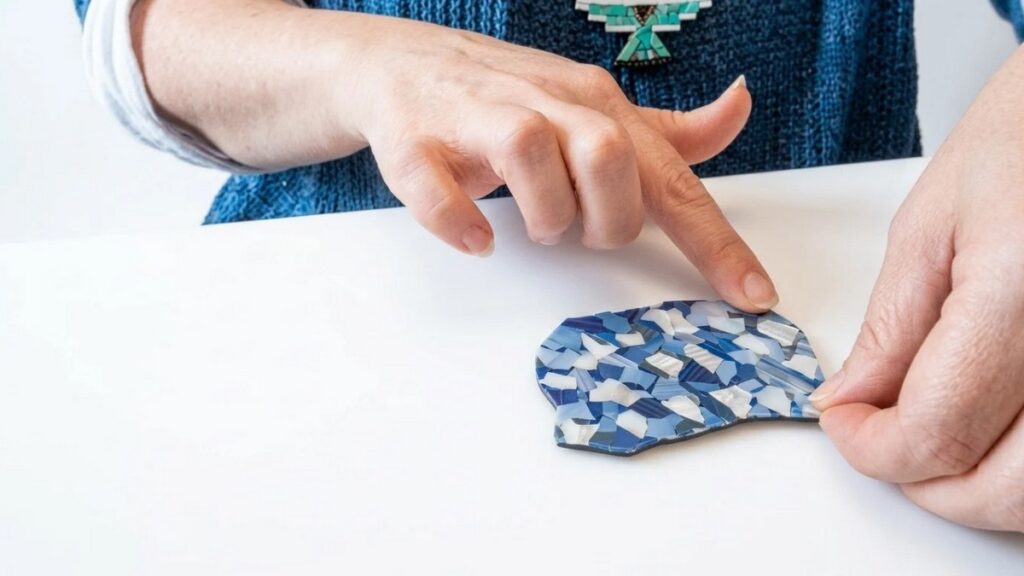
- Add surface decoration by tearing small bits of a decorated surface sheet or scraps and press them lightly onto the tube — tearing often joins better than cutting.
- Mix in mica, metal leaf, or thin canes for pattern variation; blend edges so the surface polishes consistently after baking.
- Decide whether to curl tubes slightly for curly beads or keep straight for classic heishi shapes.
Step 5: Bake, Cut & Finish
- Bake long tubes on a flat baking surface per clay manufacturer instructions.
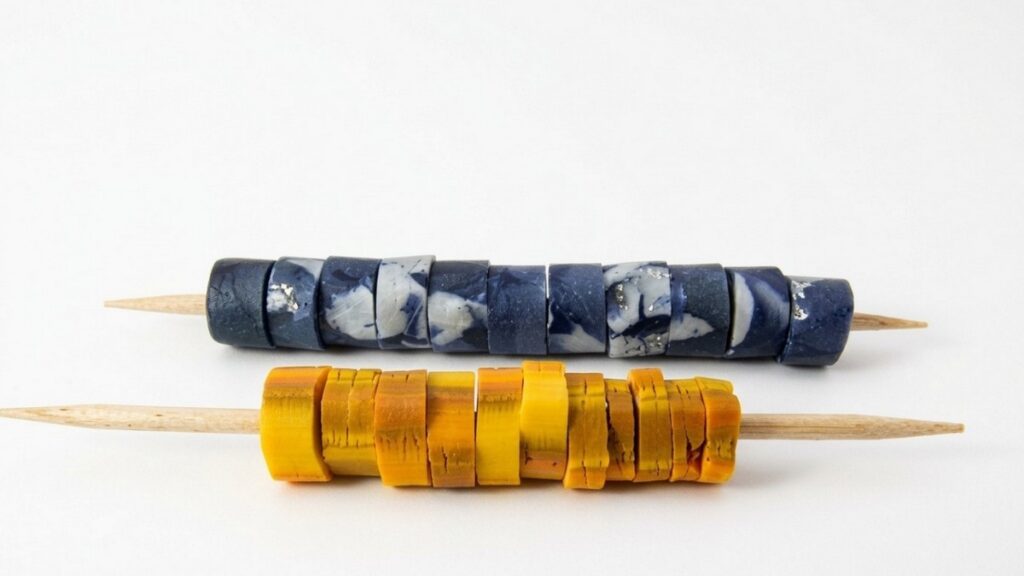
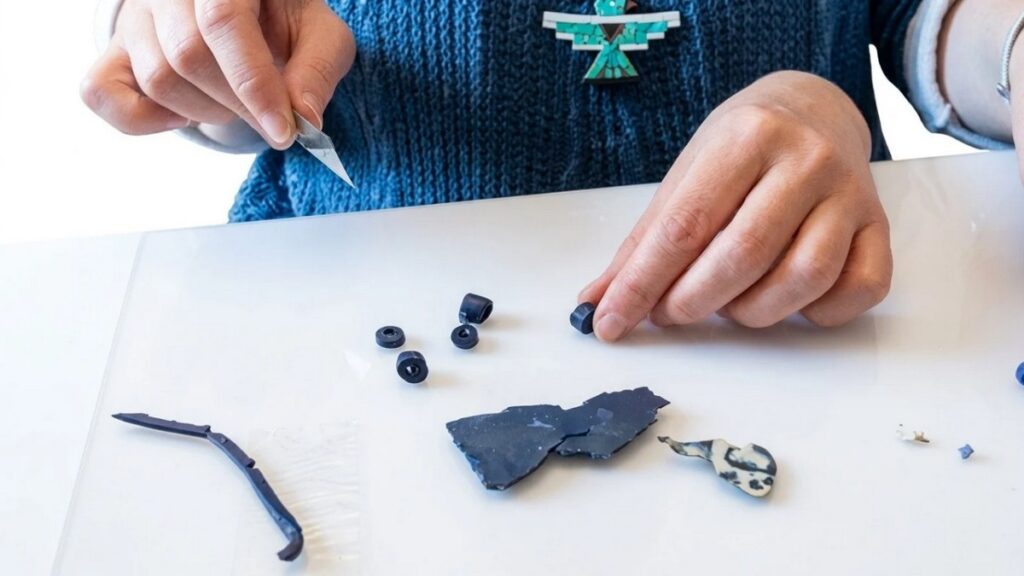
- After cooling, soften the baked tubes briefly in hot (near-boiling) water for a few minutes — this reduces brittleness and gives a much cleaner cut.
- Cut beads to width with a sharp scalpel while warm; alternate reheating as they get harder to slice.
- Sand lightly to remove rough edges, polish surfaces, and apply Renaissance Wax or varnish for luster. For pearl or metallic beads, a light wax really boosts the sparkle.
Easy Finishing Tips
- Use sticky tape to lift dust off your board and sheets before wrapping.
- Wipe extruder threads regularly to remove oil which can transfer to clay.
- Cut long pieces after baking (rather than raw) to avoid crushing and to make sanding/polishing more efficient.
- Use hot water to soften baked tubes for neat slicing and less chipping.
Common Beginner Mistakes
- Screwing extruder fully when adapter is in place — can jam or damage tools.
- Pressing on the mandrel while rolling — this enlarges the bead hole unintentionally.
- Making walls too thin — causes fragile beads that break when cut.
- Cutting raw tubes into beads — raw pieces are easily distorted and hard to sand neatly.
Ways to Personalize It
- Create Skinner blends or gradients for ombré bead sets.
- Add canes, mica, metal leaf, pearl powders, or embedded microbeads for texture and shimmer.
- Vary bead lengths to mix macaroni with classic heishi spacers in jewelry designs.
- Curl or twist tubes before baking for playful organic shapes.
Final Look
The final beads should present consistent inner holes, smooth outer walls, and cohesive color/texture across a set. Sanded and waxed beads will display depth and shine; strung as earrings, bracelets, or necklaces they make attractive, handmade jewelry components. With practice, extrusion and hand techniques will let you produce both uniform and uniquely organic bead styles for versatile designs.