Spooky DIY Realistic Bloody Eyeball Clay for Halloween Decor
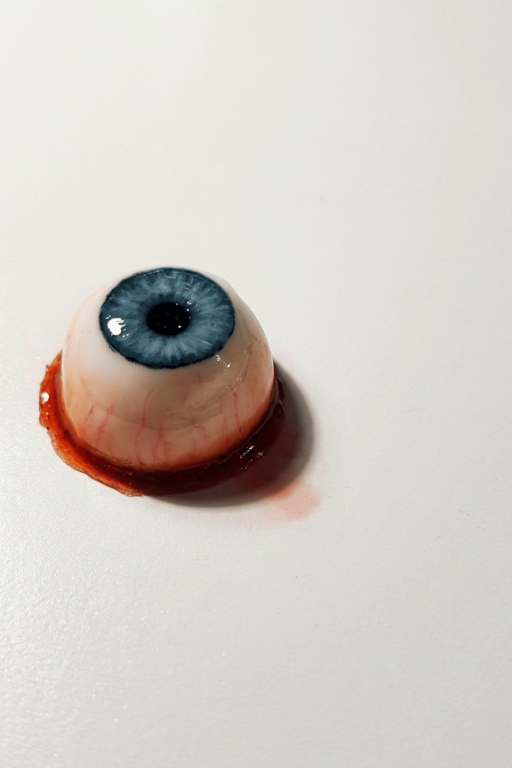
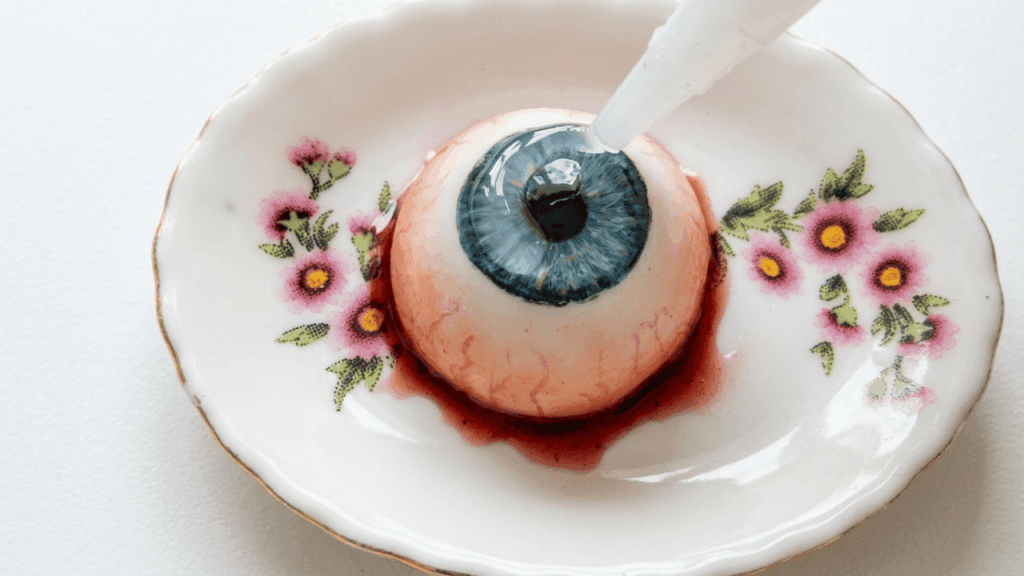
A single eerie eye can turn an ordinary Halloween corner into something unforgettable. DIY Realistic Bloody Eyeball Clay is a striking idea for anyone who loves spooky decorations with lifelike details. Its rounded white surface, bold iris, dark pupil, and thin red veins give it the unsettling appearance of an actual eyeball. Small touches of crimson around the edges add a dramatic, horror-inspired finish.
DIY Realistic Bloody Eyeball Clay With Creepy Vein Details
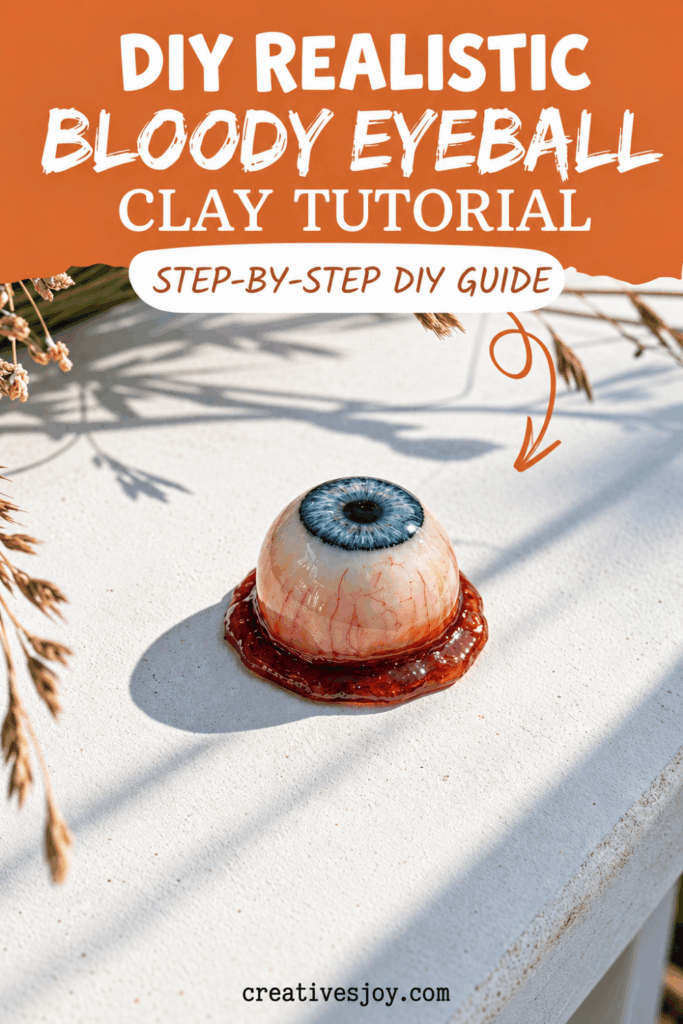
The process begins with a smooth ball of clay shaped into an even sphere. A carefully placed colored circle forms the iris, while a tiny black center adds depth. Fine red lines can then spread across the white area in uneven directions, just like natural blood vessels. Gentle shading helps the colors look less flat, and a glossy coating gives the surface a wet, glassy shine.
This unusual piece fits nicely into Halloween table settings, haunted house displays, creepy jars, and themed photo backgrounds. It can also sit beside miniature pumpkins or fake cobwebs for a playful fright throughout the spooky season. The best part is how much personality comes from such a small object. Each eye can have its own color, vein placement, and expression, so no two finished pieces need to look exactly alike.
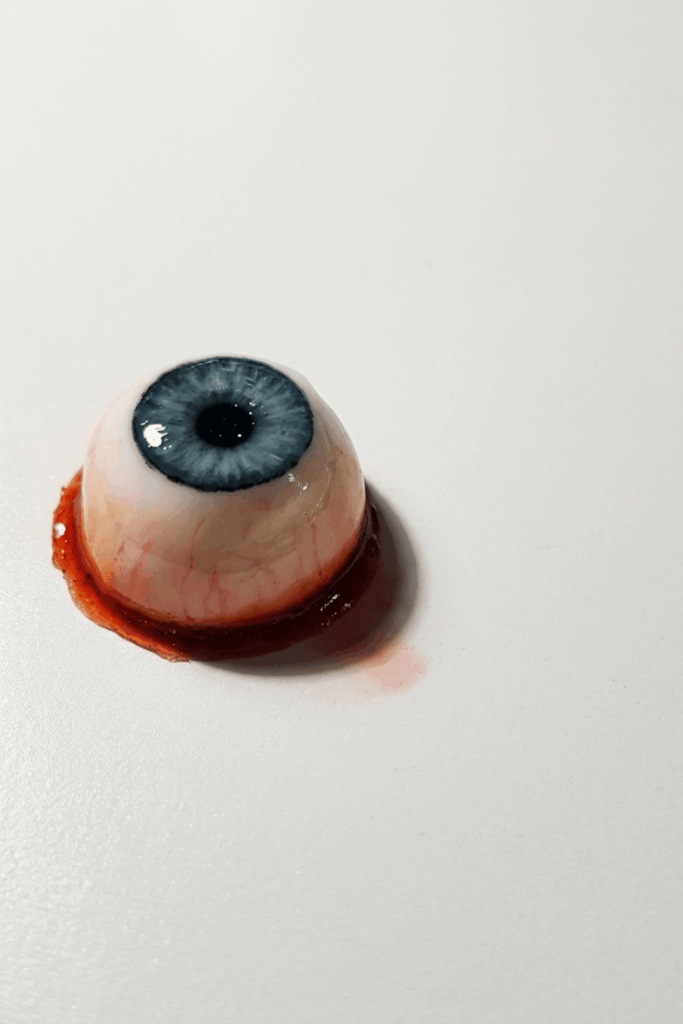
DIY Realistic Bloody Eyeball Clay
Get ready to create something creepy yet fascinating! Using polymer clay, you can craft a small, realistic-looking bloody eyeball that’s perfect for Halloween decorations, spooky projects, or just for fun. This tutorial covers everything you need to make an eyeball with incredible details—like a domed white sclera, a lifelike colored iris and pupil, and thin red veins that give it an eerie touch. Once finished, you’ll add wet-looking blood effects and a glossy finish to make it look even more realistic. It’s a fun way to experiment with polymer clay and create a truly eerie piece of art.
Materials and tools
- White polymer clay (not completely stark white; the video mixes “CID and Fimo”)
- Translucent polymer clay (optional, to mix in)
- Polymer clay in iris color (or acrylic paint for the iris)
- Large ball tool (to flatten the top of the dome)
- Needle or similar fine tool (for veins and texture)
- Red pastel (for surrounding redness and veins)
- Black and red pastel (to mix into blood with Deco gel)
- Acrylic paint (for iris details and any fine painted details)
- Fimo Deco Gel (or similar clear gel for blood and gloss effects)
- Glaze (to seal the baked piece)
Prepare the eyeball base
Shape the dome
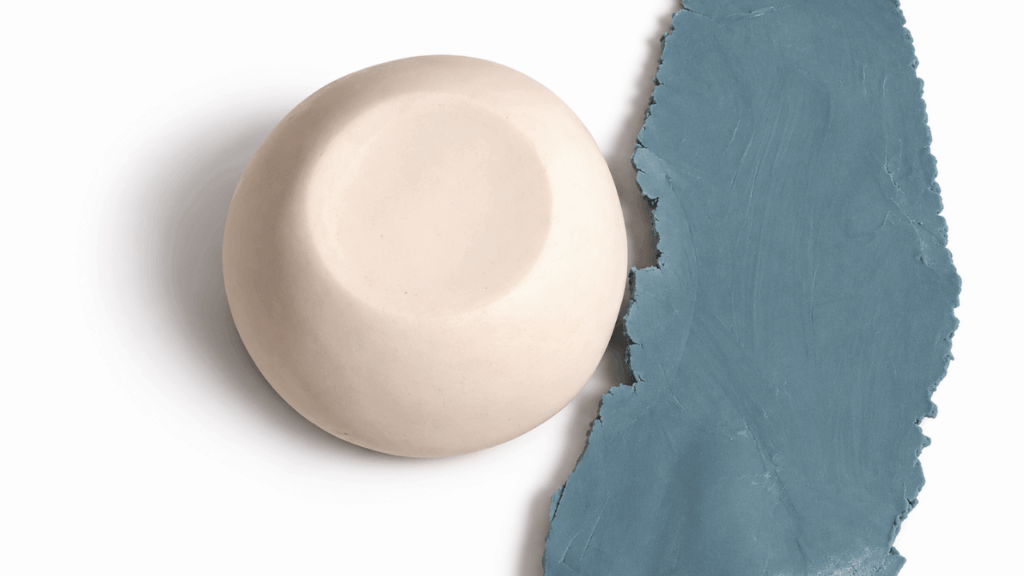
- Take a piece of white polymer clay and form it into a smooth dome shape for the eyeball.
- The clay should not be completely white; the video uses a mix between CID and Fimo and mentions you can mix in some translucent to soften the color.
- Smooth the dome so it is even and round.
Flatten the top for the iris
- Use a large ball tool to flatten the top of the dome slightly. This creates the area where the iris and pupil will sit.
- Work gently so the dome keeps its rounded form while the top becomes a shallow flat spot.
Make a base for the iris and pupil
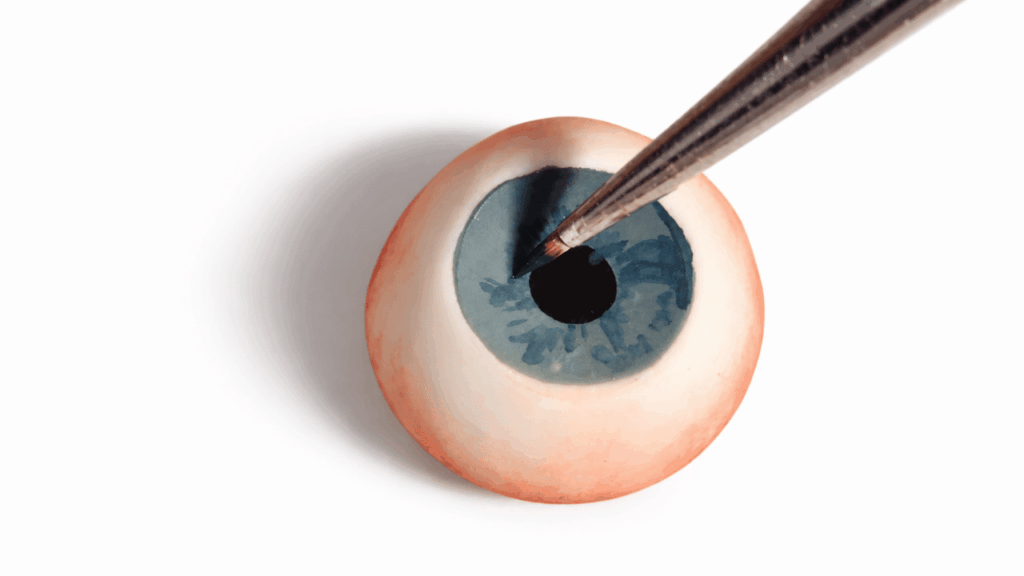
- Use polymer clay to form a small base for the iris and pupil (a slightly recessed or raised circle where the iris will be placed).
- Refine its edges so it reads clearly as the eye’s center.
Add redness and pre‑bake
Apply red pastel around the eye
- Lightly brush red pastel around the edge of the iris area to create initial redness around the eye.
- Use a light hand so the color looks natural; you will build veins later.
Pre‑bake the piece
- After adding the red pastel, bake the piece for 5 to 10 minutes (as stated in the video).
- Pre‑baking helps set the base and preserves the texture you added before painting and final details.
Paint the iris and add details
Paint the iris and pupil
- After pre‑baking, use acrylic paint to paint the iris and pupil details.
- The video maker chose a bluish color for the iris because their eyes are blue, but you may choose any color.
- Paint fine radial strokes or other iris details with a small brush to make the iris look realistic.
Add veins
- To create veins, use a needle or fine tool and a tiny bit of red (pastel or paint).
- Just barely touch the surface to lay down faint, thin lines—do not press hard.
- Use very small amounts of red so the veins are visible but not overdone.
Make and apply the blood effect
Mix the blood
- Mix Fimo Deco Gel with red and black pastel to create a bloody, colored gel.
- Adjust the mix so it looks like the desired shade of blood.
Apply blood and gloss
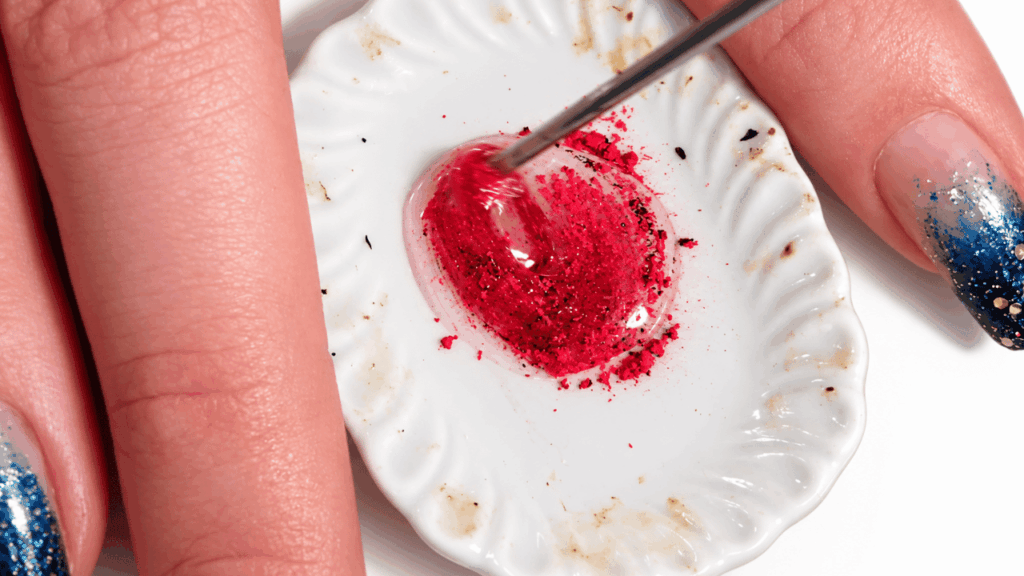
- Apply the mixed gel where you want wet blood to appear (for example, around the eye or pooling at the eyelid).
- Finish off by brushing Fimo Deco Gel on top of areas that need extra shine and wet appearance.
Final bake and seal
Bake after applying Deco Gel
- Once you have applied the Deco Gel blood and gloss, bake the piece again to cure the gel and any remaining raw clay components (the video indicates a bake after applying Deco Gel).
Seal with glaze
- After baking and cooling, seal the finished eyeball with glaze to protect the surface and enhance shine.
- Let the glaze dry completely before handling.
Tips and important details
- Use slight, controlled touches with red pastel and fine tools so veins look natural.
- Pre‑baking after adding red pastel helps preserve the base textures before painting.
- Fimo Deco Gel serves both as the blood medium (when mixed with pastels) and as a final glossy layer.
- Seal the finished piece with glaze for protection and extra shine.
Conclusion
Once complete, your bloody eyeball will look incredibly realistic with its vivid details and glossy finish. Whether for spooky decorations, art projects, or just a touch of creepy creativity, this eerie craft is sure to impress. It’s a fun way to explore polymer clay and bring your imagination to life!