Cute DIY Mini Clay Hot Dog Project Perfect for Miniature Displays
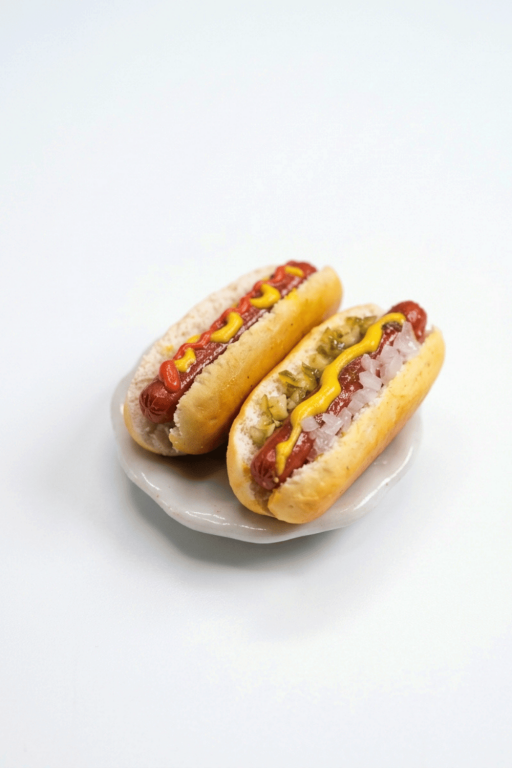
Follow this step-by-step tutorial to create a DIY Mini Clay Hot Dog and add a polished, realistic touch to your miniature food collection.
Creating tiny versions of everyday objects can be incredibly fun, and a mini clay hot dog is no exception. This simple DIY project lets you bring a playful and creative twist to one of the world’s favorite foods. Its charm lies in how surprisingly delightful it is to see something so familiar turned into a pocket-sized decoration. Whether you’re into craft projects or just love tiny things, this idea is sure to pique your interest and make you smile.
Creative DIY Mini Clay Hot Dog Craft Project
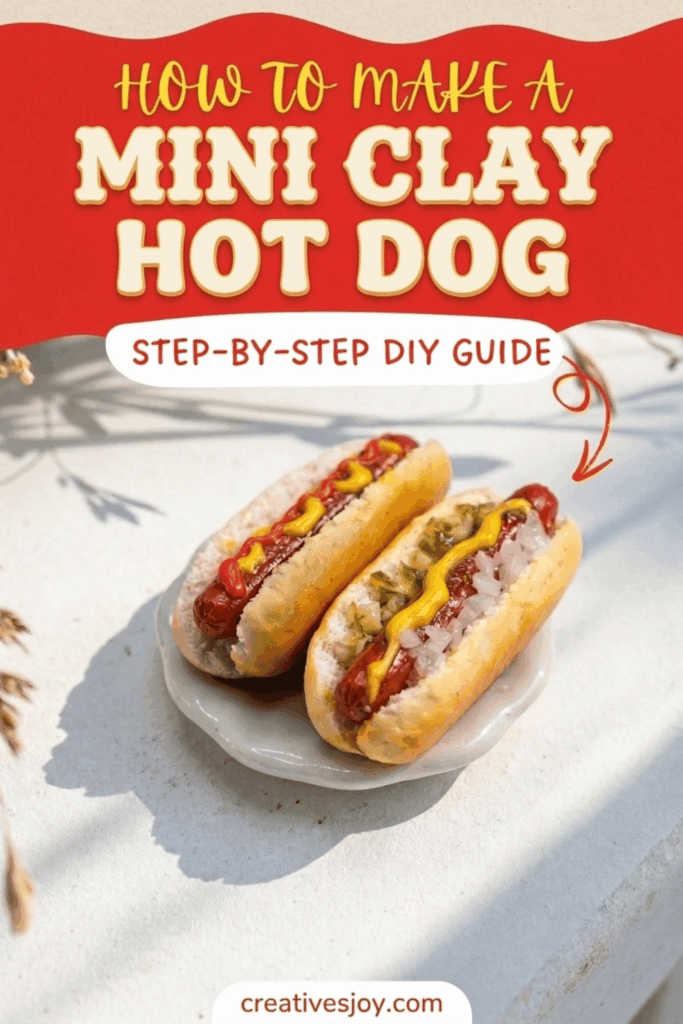
A mini clay hot dog is perfect as a quirky desk decoration, a unique gift, or even as a part of your miniature collection. Its small size and vibrant design add a cheerful pop to any space while highlighting your creative side. Pronounced enjoyment comes when you realize how much personality this little piece can bring to life. It’s all about taking something simple and turning it into something fun and completely unique to you.
This project is not only charming but also versatile. You can display it, use it as a cute keychain, or gift it to someone who loves playful designs. Plus, it’s a wonderful way to share your love for food in an unexpected and artistic way. Tiny, relatable, and undeniably fun, this mini clay hot dog is a crafty idea worth trying.
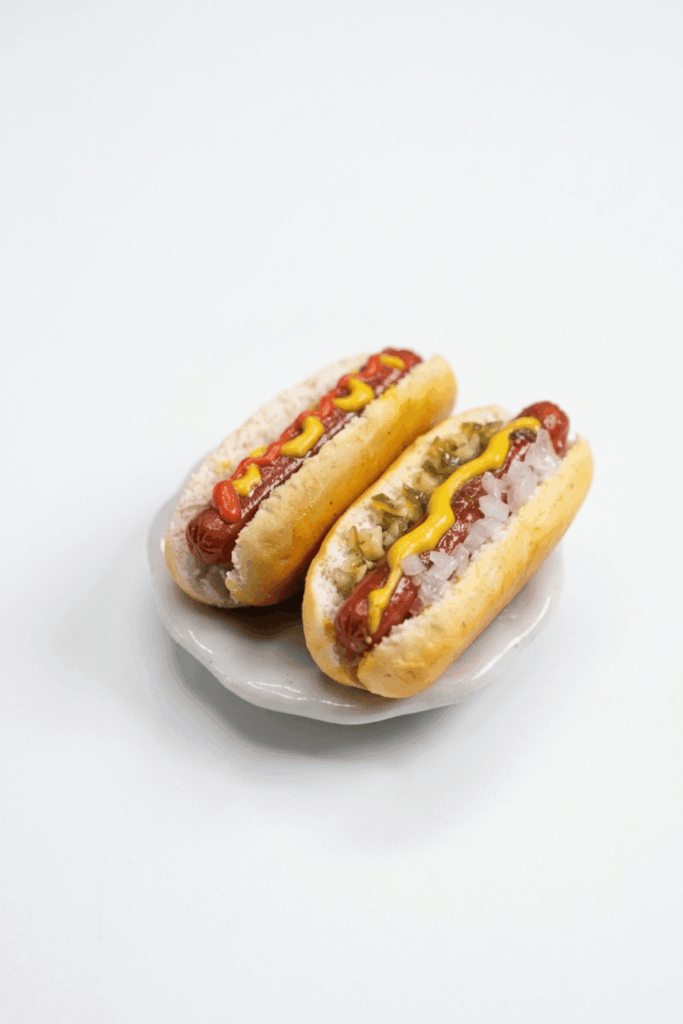
How to DIY Mini Clay Hot Dog Project
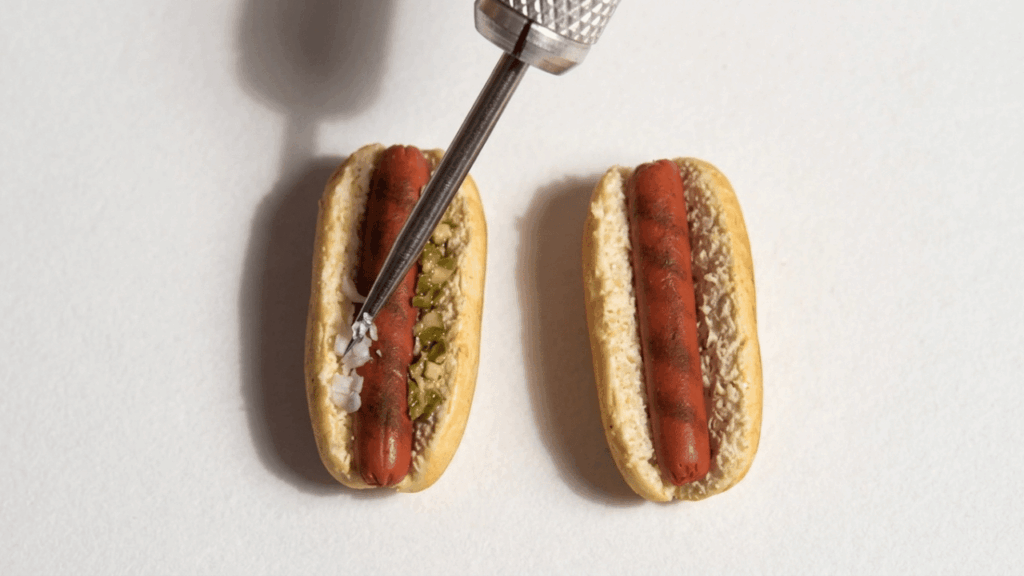
This project makes a set of simple clay hot dogs. The finished pieces have soft beige buns, brownish-red sausages with grill marks, chopped pickle bits, white onion slices, and small dots or lines of ketchup and mustard. After baking you seal the pieces with glaze for a finished look.
Materials and tools
- Light beige clay (for the buns)
- Soft pastels (for shading the buns)
- Brownish-red clay (for the sausage/hot dog)
- Dark brown pastel (for grill marks)
- Pickle cane from scrap clay (or a mixture of green, yellow, and translucent clay)
- White clay (for the onions)
- White clay and pastels (used to create ketchup and mustard colors)
- Glaze (to seal the finished pieces)
- Container of scrap clay (where the pickle cane was stored)
Making instructions
Make the buns
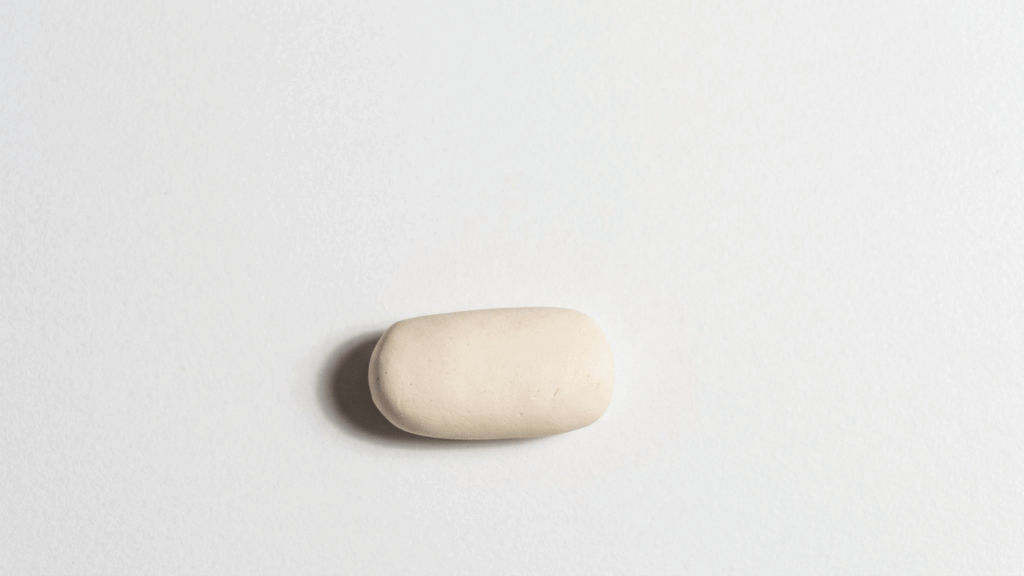
Prepare the base bun shape
- Take a piece of light beige clay for each bun you want to make.
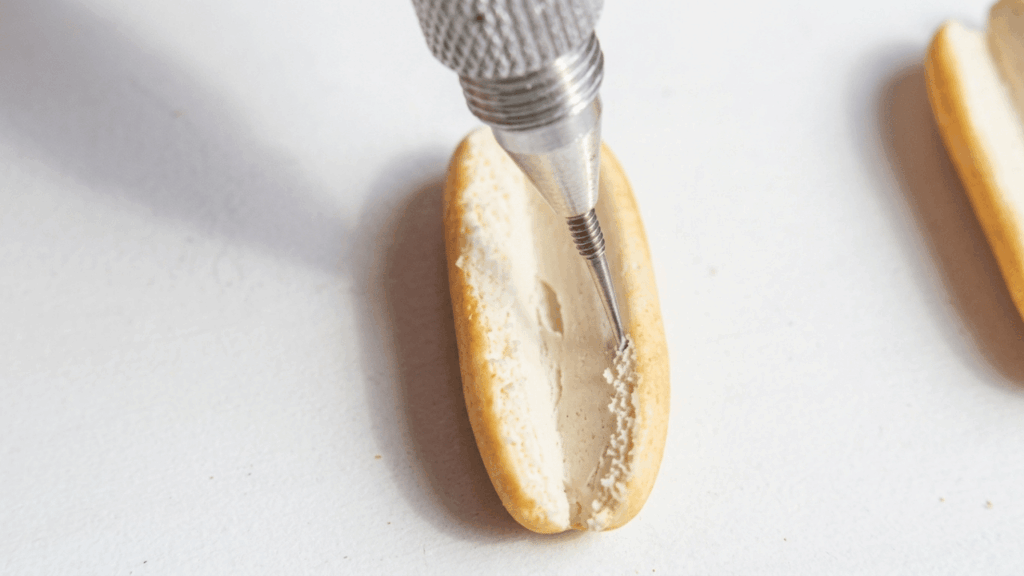
- Shape the clay into a soft bun form (a gently rounded, elongated shape that will hold the sausage).
- Shave the surface lightly to get a smoother, softer look according to the video demonstration.
Add soft pastel shading
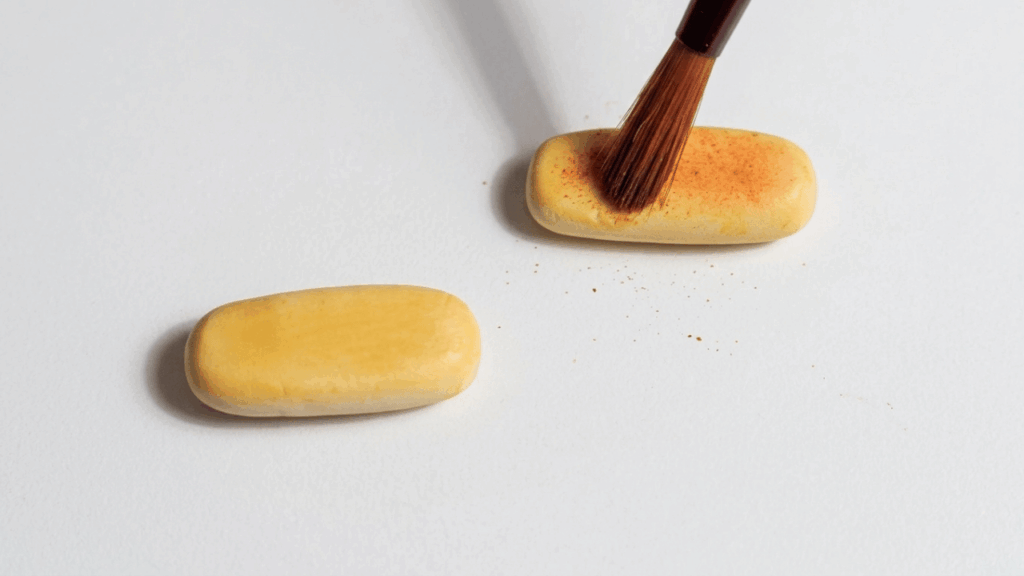
- Use soft pastels to add subtle color variation and definition to the bun surface.
- Apply pastels gently where the bun would naturally be shaded (edges, creases).
- Blend the pastel into the clay surface lightly so the shading looks soft and natural.
Make the sausage (hot dog)
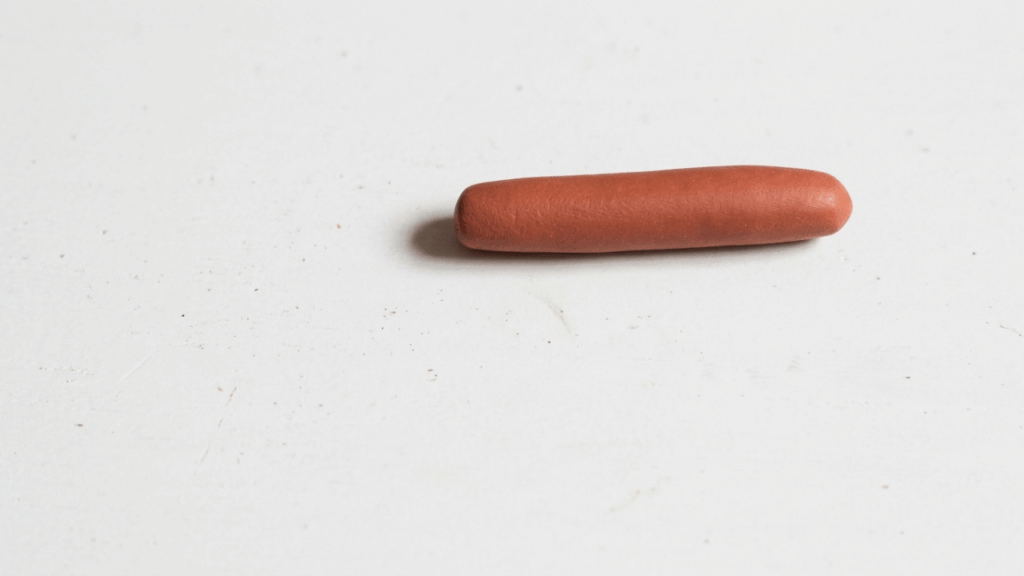
Roll the sausage
- Take brownish-red clay and roll it into a small sausage-shaped log sized to fit in your prepared bun.
- Make its length and thickness proportionate to the bun so it sits neatly inside.
Add grill marks
- Use dark brown pastel to create grill marks on the sausage.
- Apply the pastel in short parallel strokes along the surface to suggest grilled lines.
- Keep the marks subtle so they look like toasted grill lines rather than heavy dark stripes.
Prepare the pickle pieces
Use pickle cane or mix colors
- Retrieve your pickle cane from the container of scrap clay and chop it into small pieces for pickle slices.
- Alternatively, the video says you can use a mixture of green, yellow, and translucent clay to make pickle bits if you do not have a ready cane.
Chop and shape pickle bits
- Chop the cane or mixed clay into small, thin pieces sized to sit in or on the bun.
- Arrange a few pickle bits where you want them inside the bun alongside the sausage.
Make the onion slices
Use white clay for onions
- Take a small amount of white clay for the onions.
- Shape the white clay into thin rings or tiny chopped onion pieces, depending on the look you prefer.
- Place the onion slices on the bun near the sausage and pickles.
Add ketchup and mustard
Mix colors for condiments
- Create ketchup and mustard tones by mixing pastels into white clay, as shown in the video.
- Use different pastel colors blended into small amounts of white clay to form a red-like color for ketchup and a yellow-like color for mustard.
Apply ketchup and mustard
- Use tiny amounts of the colored clay mixtures to add small dots or lines of ketchup and mustard on top of the sausage and buns.
- Keep the application small and neat so the condiments read clearly at the miniature scale.
Bake and finish
Bake the assembled hot dogs
- Bake the completed hot dogs according to the clay baking instructions you normally follow (the video shows a final bake after assembly).
- Allow the pieces to cool completely after baking before handling further.
Seal with glaze
- After the pieces are cool, seal them with glaze to protect the surface and give a finished look.
- Apply glaze evenly and allow it to dry fully before displaying or using the pieces.
Tips
- Work in small pieces and place details (pickles, onions, condiments) carefully—these small additions make the final piece more realistic.
- Use pastels as a gentle finishing tool for both buns and grill marks to add depth without heavy color.
- The scrap clay pickle cane is an efficient way to add quick, varied pickle shapes.