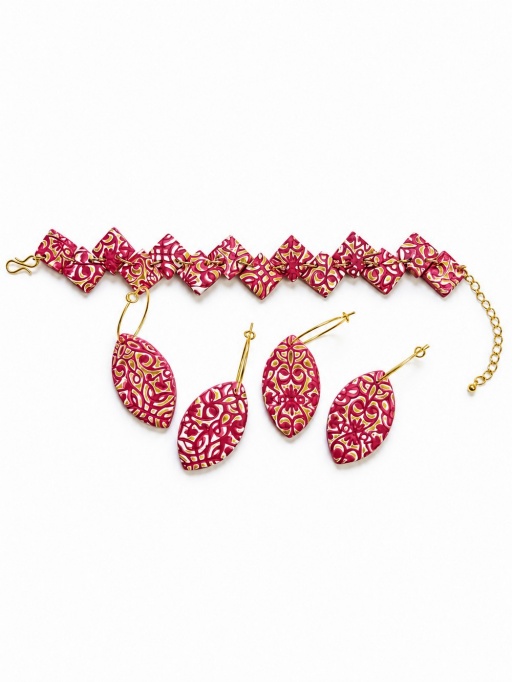
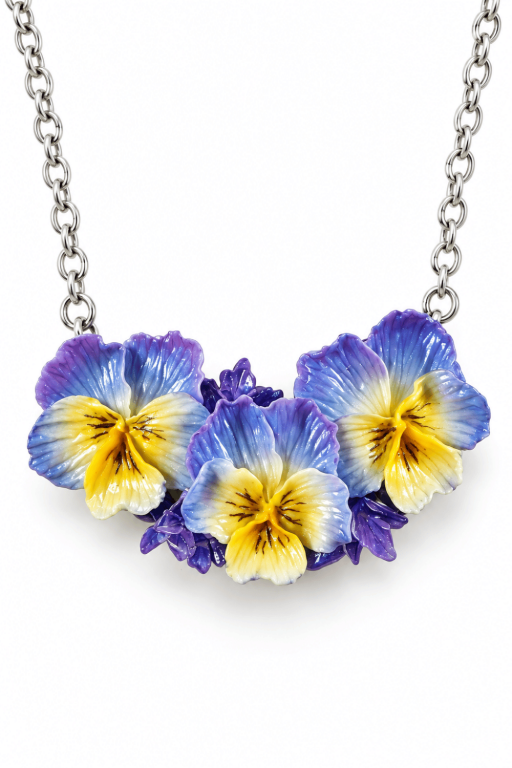
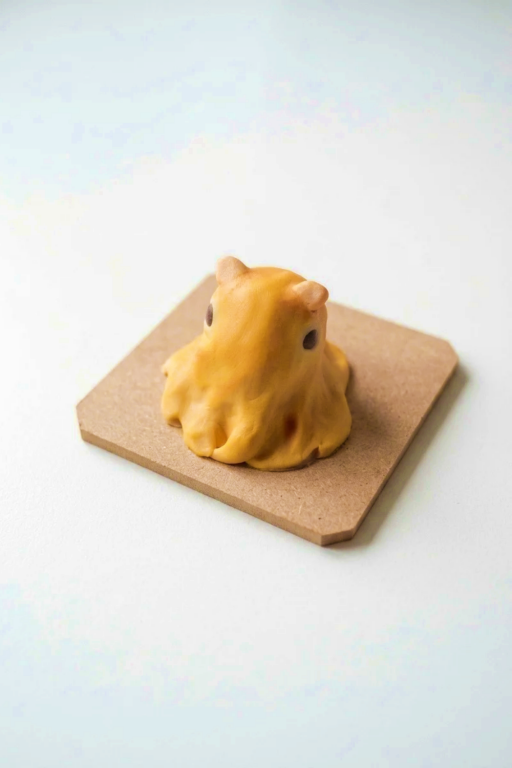
Handmade DIY Translucent Clay Earrings for Any Occasion

Create stunning DIY Translucent Clay Earrings with this simple idea, perfect for crafting elegant personalized accessories that stand out in style.
If you’re looking for a fun and creative way to make your own jewelry, working with translucent clay offers endless possibilities. With its soft, dreamy glow, this type of clay adds a unique, elegant touch to any accessory. From delicate patterns to bold designs, creating your own earrings allows you to show off your personal style in a special, handmade way. It’s a versatile project that blends creativity and fashion, making it perfect for anyone who loves DIY projects.
Unique DIY Translucent Clay Earrings You Can Make at Home

When used in earrings, translucent clay creates a beautiful effect that lets light gently pass through, giving the finished pieces an airy and sophisticated look. You can experiment with different shapes and colors, blend translucent clay with other shades, or add textures for unique results. Whether you prefer minimal designs like circles or playful shapes like flowers or leaves, each pair feels one-of-a-kind. Their lightweight feel also makes them super comfortable to wear, which is always a bonus.
These handmade earrings are great for wearing with any outfit or gifting to loved ones. They’re eye-catching yet subtle and can be a fun conversation starter. This charming craft project is not just about the final product but also the joy of creating something beautiful from scratch. It’s a perfect way to combine art, style, and personal creativity into something you can enjoy every day.

Dreamy Earrings Made with Translucent Clay
Create trendy translucent polymer-clay jewelry pieces (earrings, bracelet elements, domes) using translucent clay, alcohol inks, mica powders and optional leaf flakes. The process produces luminous, layered slabs with delicate internal textures and geometric cutouts—ideal for contemporary translucent accessories.
Materials & Supplies
- Translucent polymer clay (e.g., Cernit Translucent) — essential
- Alcohol inks (two shades per color family for marbling) — lighter tones keep translucency
- Mica powder (matching and darker shades for depth)
- Imitation metal leaf flakes (silver/gold) — optional for sparkle
- Liquid clay or Bake ‘n Bond (to bind pieces)
- Resin or gloss varnish (optional for high-shine domes)
Tools & Equipment
- Pasta maker (for consistent thin sheets)
- Roller and work surface (mat or paper)
- Sharp detail knife / X-Acto blade
- Geometric metal connectors / cutters (for shapes)
- Round steel cutter (for circular bases)
- Small brush (for mica application)
- Oven for baking polymer clay
- Sanding tools (fine grit) and polishing supplies
Project Details
- Skill level: Beginner–Intermediate (mixing inks and handling thin translucent sheets requires care)
- Time: 1–3 hours (plus baking and any resin curing time)
- Output: multiple earring shapes, bracelet components, or decorative domes
Preparation
- Condition translucent clay thoroughly until soft and pliable.
- Protect work area (alcohol inks and mica can stain). Wear gloves if preferred.
- Prepare small batches of colored clay by applying alcohol inks and letting them dry before mixing to avoid muddying colors.
- Gather connectors and cutters for immediate use after slab formation.
Step-by-Step Detailed
Coloring and Preparing Clay
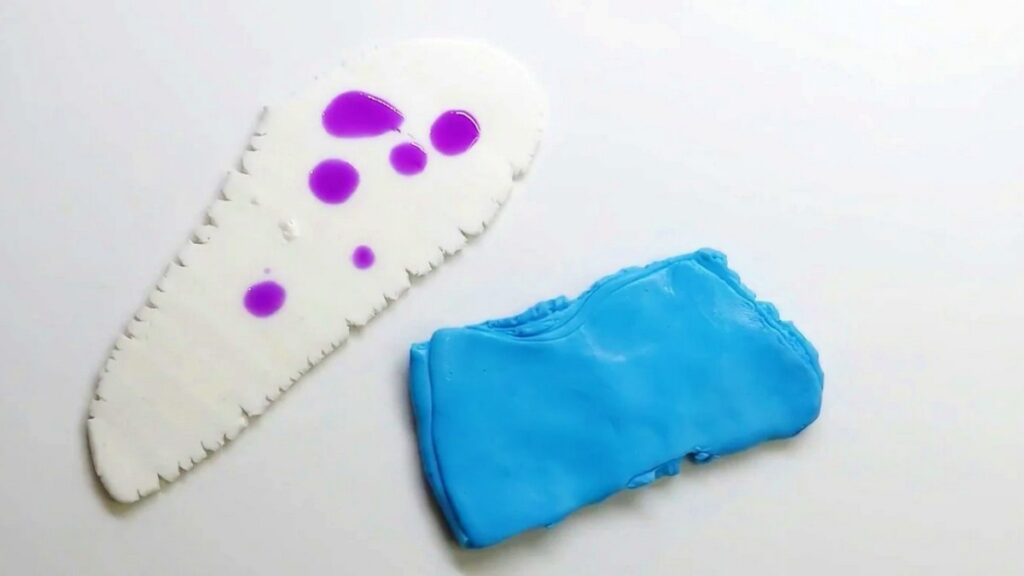
- Apply alcohol inks to conditioned translucent clay; remember lighter pigments retain translucency better.
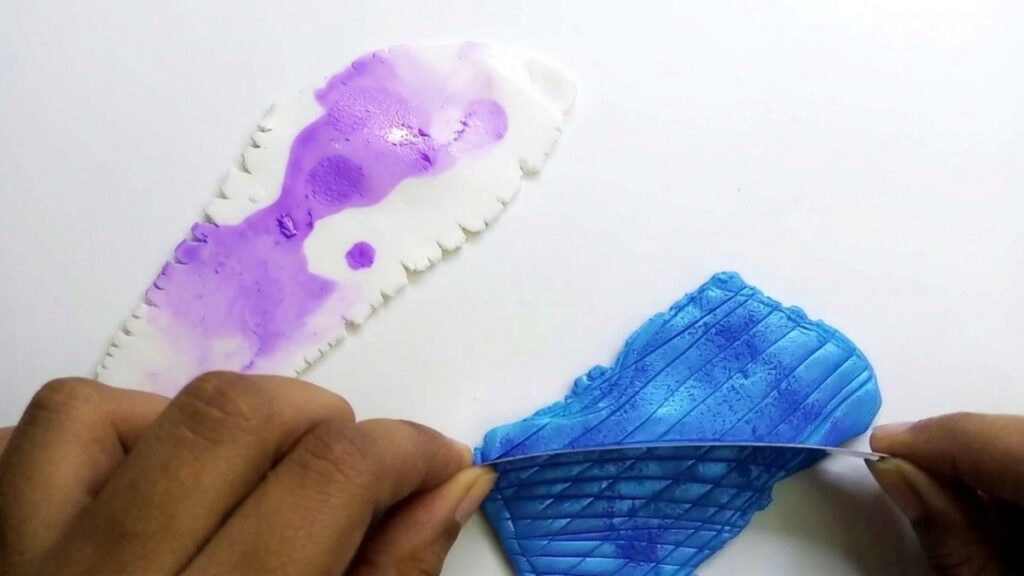
- Let the ink dry completely on the clay surface before attempting to blend.
- Rub mica powder onto the clay surface with a brush to add shimmer and reduce stickiness.
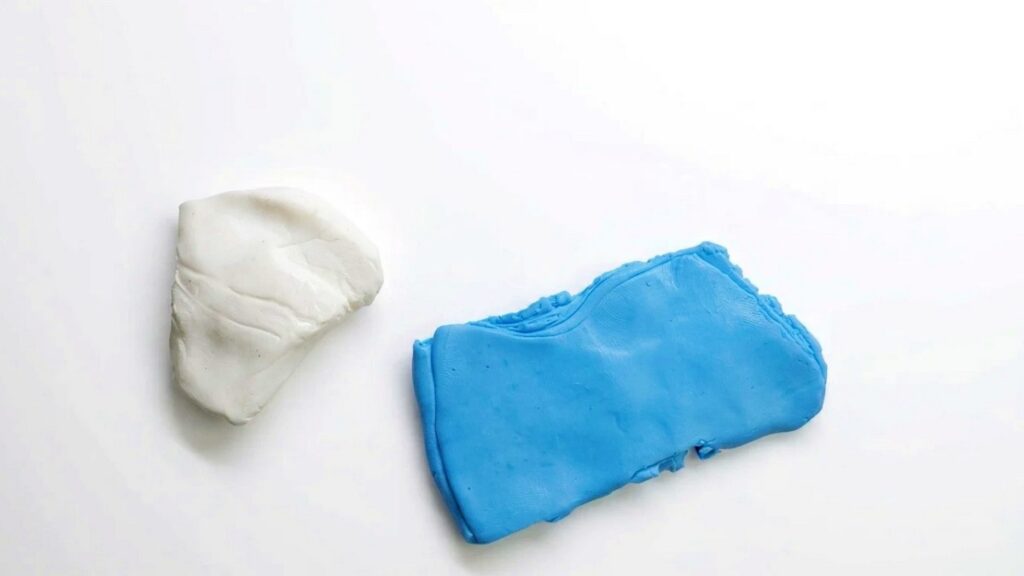
Chopping & Separating
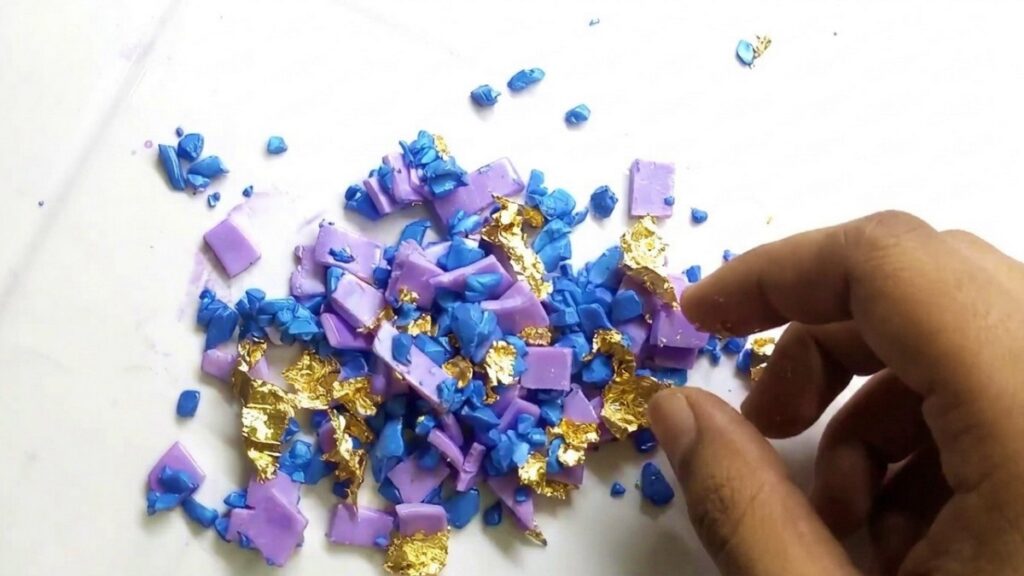
- Slice the colored clay into small irregular pieces.
- Scatter pieces separately so colors are distributed and varied.
- Dust each slice with mica powder—this prevents sticking and makes chopping easier.
- Chop again into even smaller bits for more texture.
Combine Colors & Add Texture
- When ink is dry and pieces are non-sticky, mix small portions together roughly—do not overmix; you want organic variation.
- Add imitation leaf flakes if desired, folding lightly into the mix for metallic accents.
- Add a small amount of liquid clay or Bake ‘n Bond to act as a binder so pieces adhere after shaping.
Forming the Block & Slab
- Gather all mixed fragments into a lump, press into a rectangular block.
- Slice the block into slabs with consistent thickness.
- Optionally place a very thin sheet of plain translucent clay beneath the slab as a base—this strengthens brittle pieces and reduces post-bake fragility.
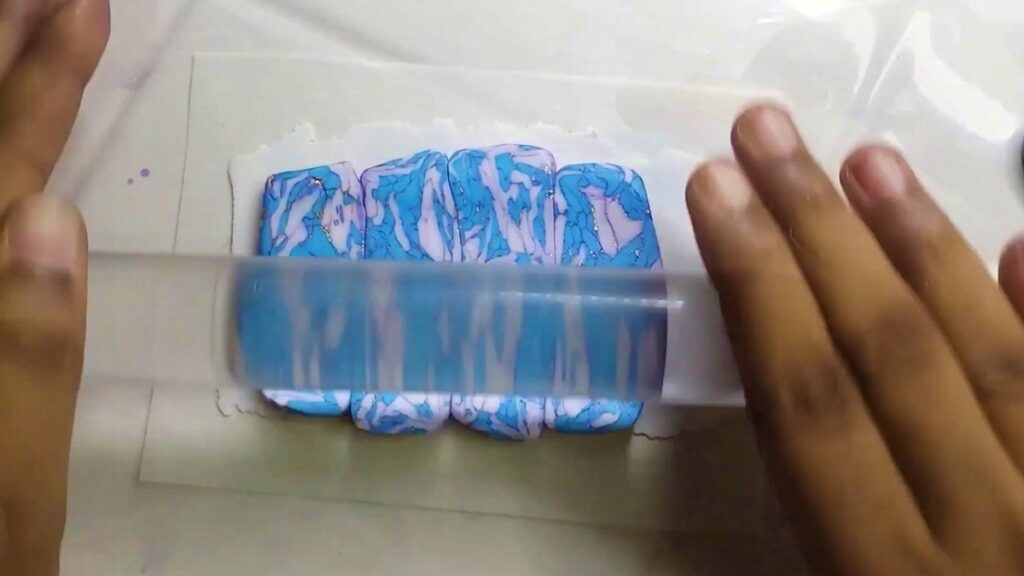
- Flatten the slab with a roller and pass gently through a pasta machine for an even, translucent sheet.
Position Connectors and Press
- Lay geometric metal connectors onto the slab where you want cutouts.
- Cover with a sheet of paper and press with a block to ensure the connector embeds without sticking to the block.
- Use a detail knife to cut around connectors and remove the excess clay carefully.
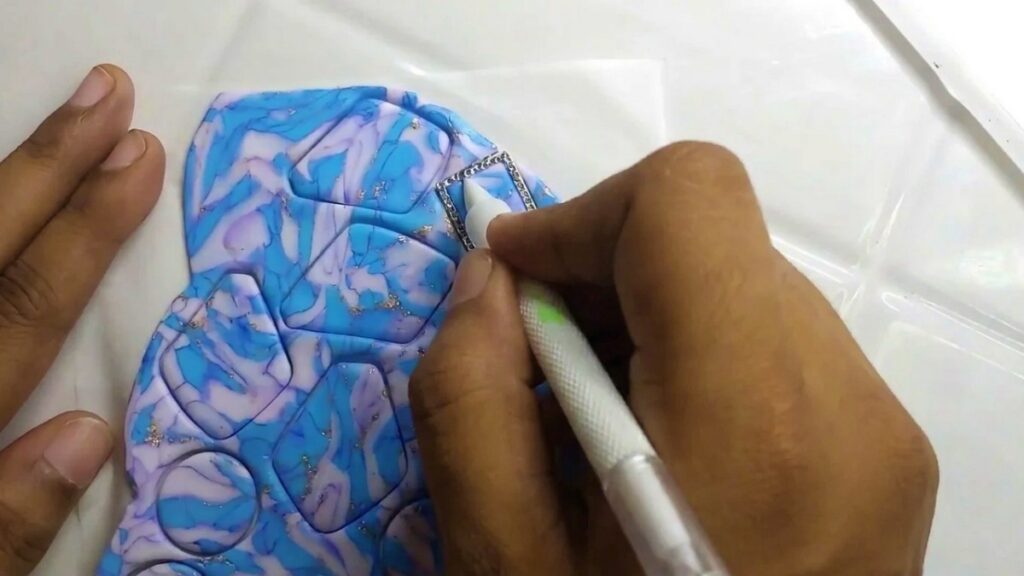
Cutting Shapes & Clean-up
- Use metal cutters or the connector outlines to cut circular or precise shapes from the slab.
- Peel off excess and tidy join edges thoroughly—neat joins reduce sanding work after baking.
- Remove fingerprints by gently smoothing with a roller or a dusted finger before baking.
Baking
- Bake pieces according to the polymer clay manufacturer’s temperature and time instructions.
- Allow to cool completely before handling or further finishing.
Finishing & Assembly
- Assemble baked components as desired: link pieces into earrings, create bracelets, or combine into decorative chains.
- For a domed glossy effect, coat select elements with clear resin or gloss varnish.
- Sand edges if necessary and polish for a clean professional finish.
Finishing Instructions
- If using resin, follow manufacturer instructions to avoid bubbles: mix slowly, pour in a thin coat, and cure fully.
- For a matte look, leave unvarnished or use a matte sealant. For a high-shine crystal effect, apply resin or gloss varnish.
- Attach jump rings, earring hooks or bracelet connectors after final curing and polishing.
Tips & Techniques
- Use lighter inks to keep translucency; dark pigments reduce the see-through quality.
- Mica powder removes stickiness so fragments separate cleanly—apply liberally when chopping.
- Add a thin base sheet when clay feels too firm; this prevents brittle bake results.
- Press connectors with paper between the block to prevent sticking and contamination.
Common Problems & Solutions
- Slab brittle after baking:
- Solution: next time add a thin base sheet of translucent clay or reduce pre-bake conditioning so slab is more flexible.
- Pieces fall apart or don’t adhere:
- Solution: use a little liquid clay or Bake ‘n Bond mixed into the fragments before pressing into a block.
- Fingerprints or smudges:
- Solution: remove before baking by rolling lightly with a dusted roller or smoothing with a mica-dusted finger. Post-bake, sand lightly and re-polish.
- Bubbles in resin:
- Solution: mix resin slowly, torch briefly or let sit to release air, pour thin layers.
Creative Ideas & Variations
- Use contrasting mica colors for a terrazzo-like translucent effect.
- Mix tiny glass beads or micro-glitters for embedded texture.
- Combine gold and silver leaf for bi-metallic shimmer.
- Create layered cabochons by stacking thinner slabs and curing between layers.
Final Result
You will have luminous, translucent jewelry components with internal color variation, delicate mica shimmer and optional metallic flakes. Finished pieces can be left matte or sealed with resin for a glossy dome effect—perfect for modern earrings, bracelets, and statement accessories.