Easy DIY Maple Leaf Earrings Crafted with Polymer Clay
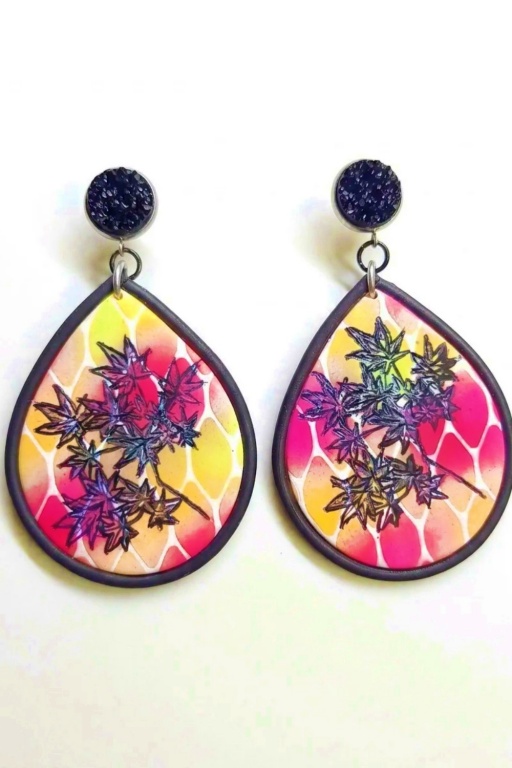
Create DIY Maple Leaf Polymer Clay Earrings with easy steps and simple tools for beautiful handmade autumn accessories.
Finding unique, nature-inspired accessories can be a challenge, especially if you want something personal and handcrafted. That’s where this DIY project comes in. Using polymer clay, you can create your own maple leaf earrings with ease and creativity. This idea allows you to design earrings that are lightweight, colorful, and full of natural charm—all while solving the problem of generic, mass-produced jewelry.
Create Maple Leaf Polymer Clay Earrings Step-by-Step
These earrings are shaped like maple leaves, capturing their beautiful, iconic form. With polymer clay, you can add realistic details like textured veins, or blend stunning autumn colors like orange, red, and golden yellow. You even have the freedom to make them small and delicate or bold and vibrant—depending on your personal taste. Adding a glossy or metallic finish can make them truly stand out, giving them a polished and professional look.
Not only are these earrings a fun craft to create, but they’re also practical and stylish to wear. They’re lightweight, perfect for all-day comfort, and make a lovely addition to your wardrobe. Plus, they make thoughtful handmade gifts that are sure to impress. This project is simple yet rewarding, giving you the chance to craft something beautiful that reflects your love for nature while solving the need for unique, artistic accessories.
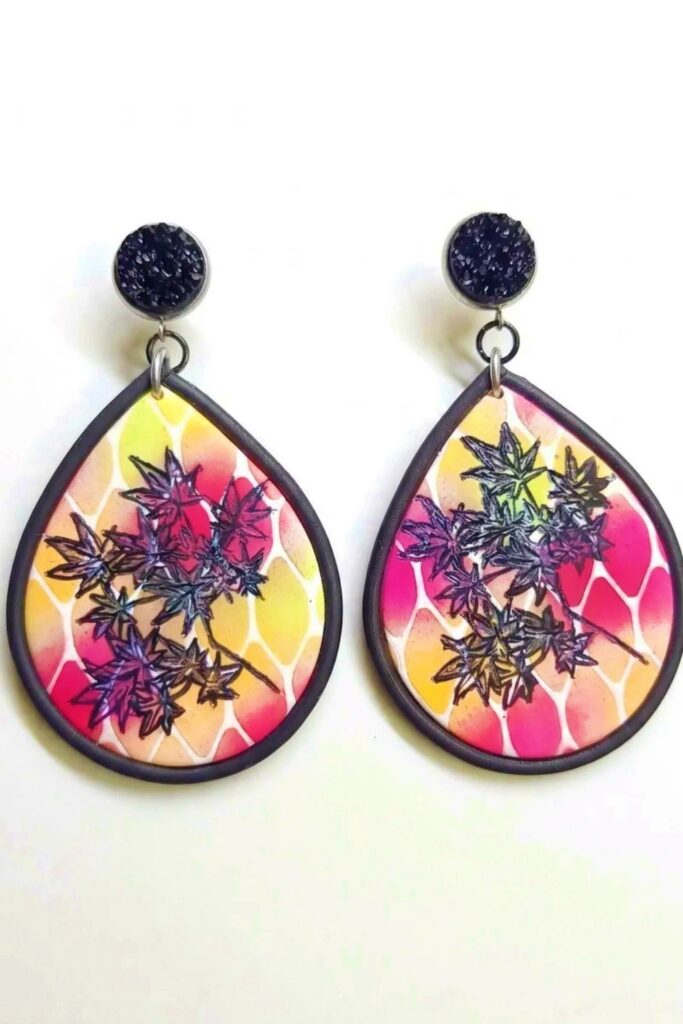
Elegant Maple Leaf Polymer Clay Earrings
Create a mixed-technique pendant using soft pastels, stenciling, alcohol ink stamping, and rope edging on white polymer clay. The method blends subtle powdered color with crisp stamped detail and a matte finish to produce wearable, layered jewelry.
Materials & Supplies
- White polymer clay sheet
- Bright colored soft pastels (chalk sticks)
- Alcohol ink and Claro extender
- Soft blending brush
- Stencil with mesh or pattern
- Paper (to hold stencil)
- Stamp (Maple Branch or preferred)
- Alcohol ink applicator with felt
- Liquid glue and black marker
- Thin clay rope or preformed rope
- Matte varnish
- Oven and baking accessories
Tools & Equipment
- Pasta machine set to highest thickness
- Scraper or knife for cutting
- Tweezers for fine work
- Wire cutter or scissors for trimming rope
- Small brushes for blending and cleaning
- Nonstick working surface
- Heat-safe workspace for oven curing
Project Details
- Style: Mixed-media pastel pendant with botanical stamping.
- Size: Determined by cutter or stencil area; suitable for necklace pendants.
- Finish: Matte varnish preferred to preserve soft pastel texture.
Preparation
- Condition the white polymer clay and pass it through the pasta machine on the highest thickness to create a smooth even sheet.
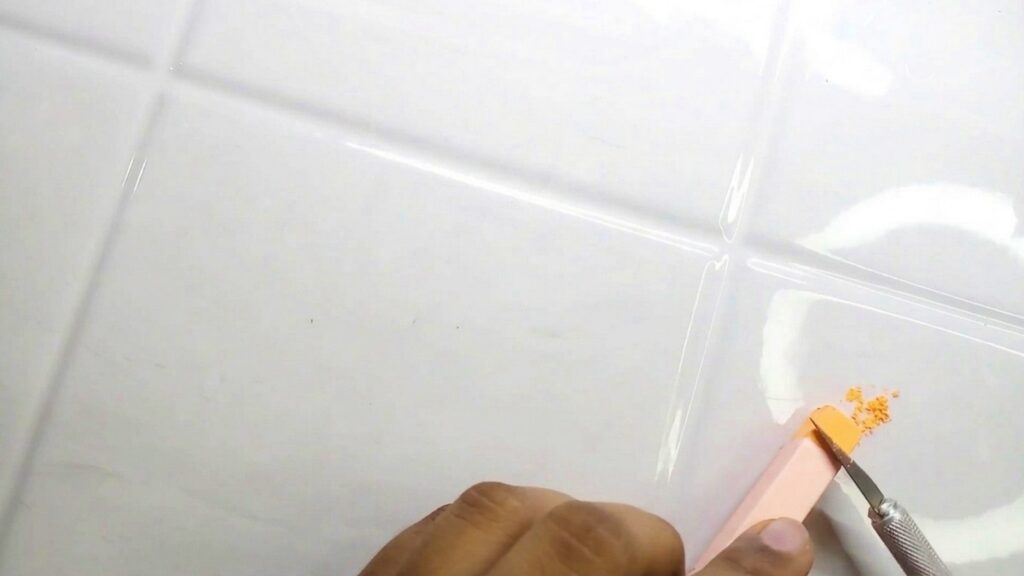
- Create pastel powders by scraping bright-colored soft pastels into a fine powder on scrap paper.
- Arrange stamps, stencils, and inks so that colors and tools are immediately accessible during the workflow.
Step-by-Step
Follow these steps in sequence. Important points are bolded.
Base color application and back side
- Scrape pastel chalk to produce fine powder.
- Apply powder to the clay sheet with a soft blending brush, using gentle circular motions.
- Leave some areas uncolored to create contrast and room for additional colors later.
- Remove excess powder to avoid over-saturation and ensure a smooth finish.
- Note: this side will act as the back side in the final design; keep orientation consistent.
Stenciling and front side color
- Turn the clay sheet to work on the front side.
- Place the stencil with the mesh pattern where desired.
- Use paper to trap the stencil against the clay and prevent slipping.
- Gently rub through the stencil with the blending brush to transfer the pattern.
- Remove excess powder and lift the stencil carefully to reveal a crisp mesh effect.

Prepare and dilute alcohol ink
- Mix Claro extender with alcohol ink to dilute and improve stamp coverage.
- Apply diluted ink to the felt on the applicator to control saturation.
- Test ink on paper before stamping onto clay to check tone and blotting.

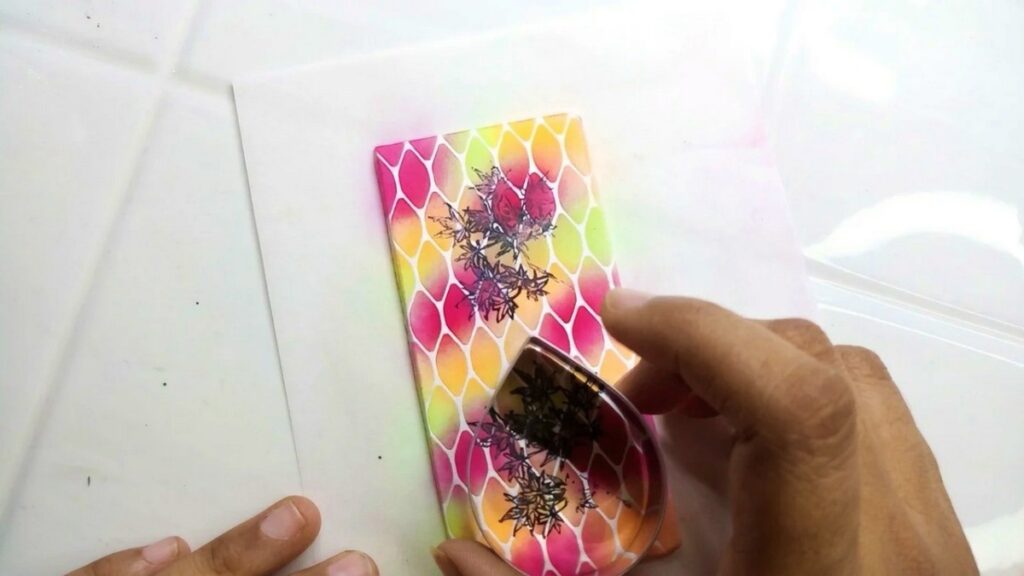
Stamping technique
- Ink the stamp lightly and test once on paper; avoid over-inking.
- Stamp the clay surface using a gentle touch; do not over-press to prevent impression marks.
- If the first print smudges, re-ink and stamp again, ensuring proper ink load.

Cutting and edge detailing
- Cut the stamped shapes out of the sheet with a clean cutter or blade.
- Trim excess clay and smooth edges to prepare for edging.
- Add a black border with marker or thin clay to define the design and increase contrast.
Attaching the rope border
- Apply a thin layer of glue along the edge where rope will sit; this helps secure it during baking.
- Place the rope carefully around the perimeter, pressing lightly so it adheres to the glue.
- Check for consistent adhesion and smooth the rope seam.
Baking and post-bake refinements
- Bake according to your clay brand; the example used 30 to 45 minutes for the initial bake.
- After baking, inspect colors since inks may become lighter; plan accordingly.
- If additional outlines or marker details are needed, apply them post-bake and bake again briefly (about 15 minutes) to set ink or marker as illustrated.

Finishing Instructions
- Allow pieces to cool completely before handling after the final bake.
- Seal with matte varnish in a dust-free environment; apply thin, even coats and allow full drying between layers.
- Assemble hardware such as bails, jump rings, and chains after varnish cures.
Tips & Techniques
- Blend pastel powder gently to achieve soft gradients; heavy rubbing can smudge stencil edges.
- Use paper to anchor stencils to prevent movement during rubbing.
- Dilute alcohol ink with Claro extender for controlled stamping and reduced bleeding.
- Test stamps on paper first to reduce mistakes and wasted ink.
- Glue the rope edge before baking to secure it and avoid reattachment later.
- If a stamping pad is sticky on clay, switch to alcohol inks or test other pads for compatibility.
Common Problems & Solutions
- Smudged stamps: Reduce ink, test first, and use a lighter touch when stamping.
- Ink lightening after bake: Expect some fading; apply slightly darker ink initially or plan touch-ups after baking.
- Rope detaching: always use a thin glue layer and press rope firmly before baking.
- Sticky stamping pads: Use alcohol inks or alternative compatible pads.
Creative Ideas & Variations
- Combine pastel powders with mica powders for subtle shimmer.
- Experiment with different stencil patterns and stamp motifs for themed collections.
- Use gloss varnish if you prefer a shiny finish that enhances color depth.
- Create coordinating sets of pendants varying color intensity and stamp placement.
Final Result
A delicate, layered pendant that blends soft pastel shading with crisp botanical stamping and a neat rope border, finished in matte varnish for a soft, professional look suitable for handmade jewelry collections.