DIY White Polymer Clay Bridal Jewelry for Stunning Accessories
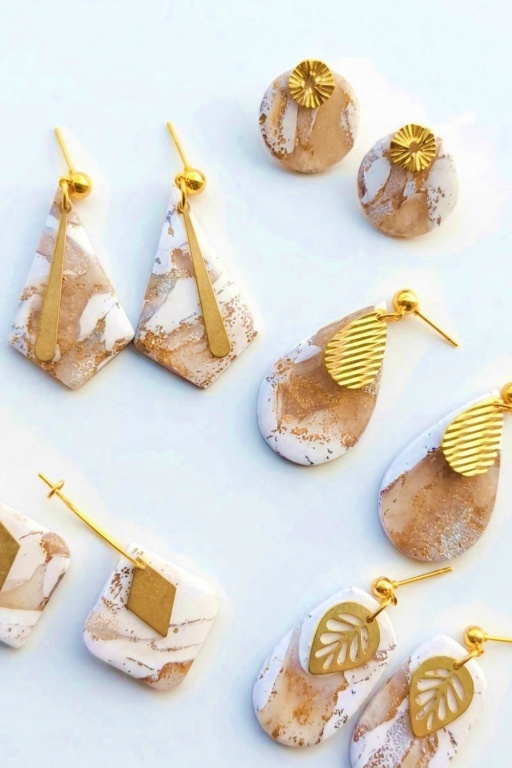
Craft your own stunning DIY White Bridal Polymer Clay Jewelry and add a personal, handmade touch to your wedding look with this simple guide.
Creating bridal jewelry can be even more special when it’s handmade, and this project gives you the chance to craft something truly unique. Using polymer clay, you can design stunning white bridal jewelry that perfectly matches the elegance of the big day. From delicate earrings to graceful necklaces, this project allows you to create one-of-a-kind accessories that feel personal and timeless.
Affordable DIY White Bridal Polymer Clay Jewelry for Brides

Polymer clay is a fantastic material because it’s so easy to shape and mold. You can create intricate floral designs, elegant patterns, or minimalist pieces—all with your own hands. Whether you’re inspired by traditional bridal themes or modern designs, the possibilities are endless. Once your designs are complete, you simply bake the clay to harden it, and you’ll have durable jewelry that looks professionally made. Adding small details like pearls, metallic accents, or crystals can elevate the charm and give your pieces that special bridal sparkle.
The best part about this DIY is the personal touch it brings. Whether you’re making jewelry for yourself or as gifts for bridesmaids, every handcrafted piece has meaning. It’s not just a craft project—it’s a beautiful way to add heart and creativity to a wedding celebration. Plus, knowing you made these accessories yourself makes them even more memorable and adds a story to your special day.
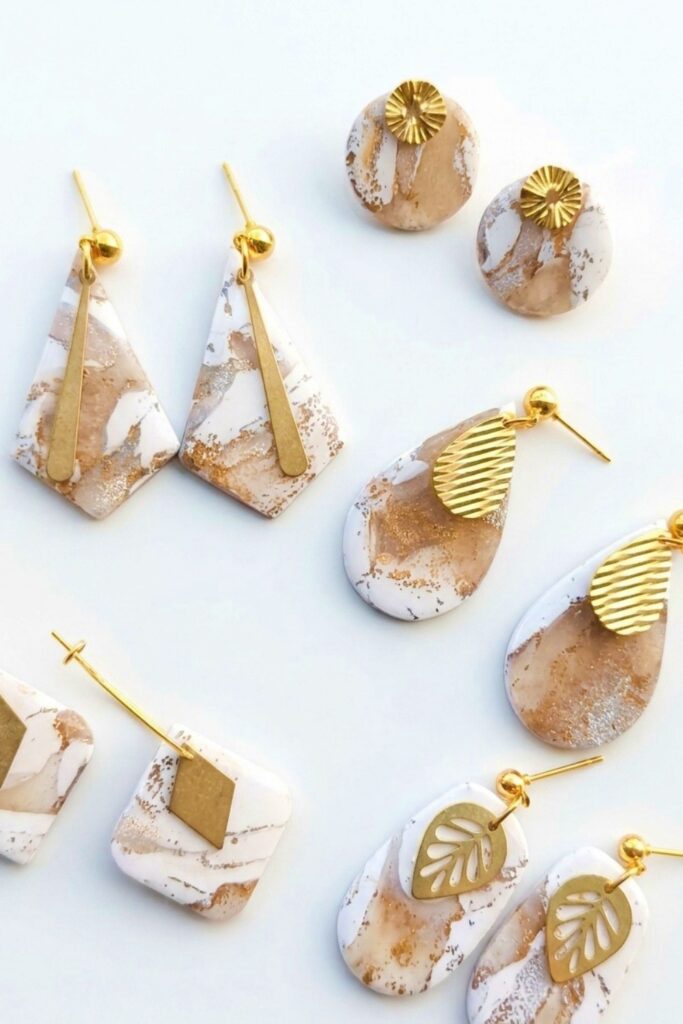
Gold Leaf Translucent Polymer Clay Earrings
Welcome! This guide gives a clear, step‑by‑step walk‑through for making the translucent + white polymer clay earrings shown in your video. It follows the entire procedure in the transcription exactly and includes all steps from materials to finishing. Important actions are bolded.
Project Requirements
Materials
- Slicer blade
- Sculpey Premo translucent (or similar translucent clay)
- Cernit translucent glitter (or translucent glitter clay)
- Sculpey Premo white
- Clay glue or liquid clay
- Gold leaf flakes (or any metal leaf flakes: silver, copper, gold — gold used here)
- Optional: epoxy resin (for glossy topcoat)
Tools
- Acrylic roller or pasta machine
- Cutters (shape of your choice)
- Acrylic block (used to press cutters)
- Needle tool (or similar picking tool)
- Work surface (clean, nonstick)
- Sanding supplies (sandpaper, files) — for post-bake finishing
- Jewelry findings (ear posts/hooks, jump rings) and adhesives/pliers for assembly
Measurements
- No exact proportions required. You may take small portions of each clay — adjust amounts by eye. (Transcript: “There is no requirement of taking exact proportions, I want more white in my final jewellery so I am using it more.”)
Preparation
Condition the Clay
- Take small portions of each clay color (white, translucent, glitter, etc.). The video uses more white to make that color dominant.
- Condition each clay by hand first: warm and knead until soft.
- If still stiff, use an acrylic roller and/or pasta machine to further condition the clay.
- Tip: Always use fresh clay where possible — it conditions easier. If clay is old/hard, consider clay softeners.
Making Process
Stage 1: Portioning and Initial Conditioning
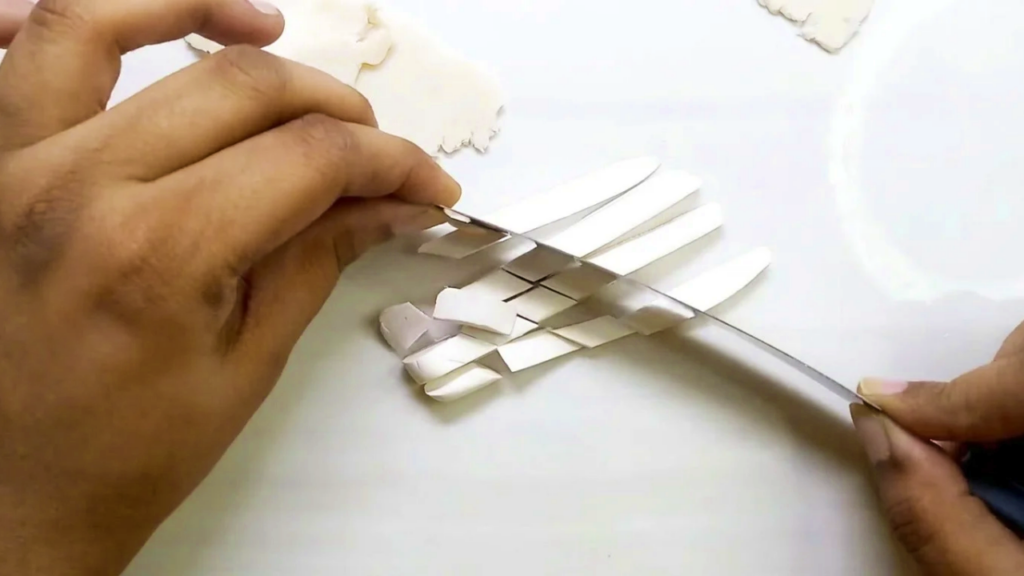
- Slice the conditioned clay into smaller pieces using the slicer blade.
- Separate the slices on your work surface so you can rearrange and mix with other clays.
Stage 2: Selecting and Adjusting Fillers
- Pick your translucent clay pieces and place them with the others.
- Add a smaller portion of the glitter clay compared to the other clays (translucent + white are bulkier in this design).
- Add clay glue (or liquid clay) to some pieces so they bind together well. (Video line: “I added clay glue in this to make all pieces bind together well, you can add liquid clay also.”)
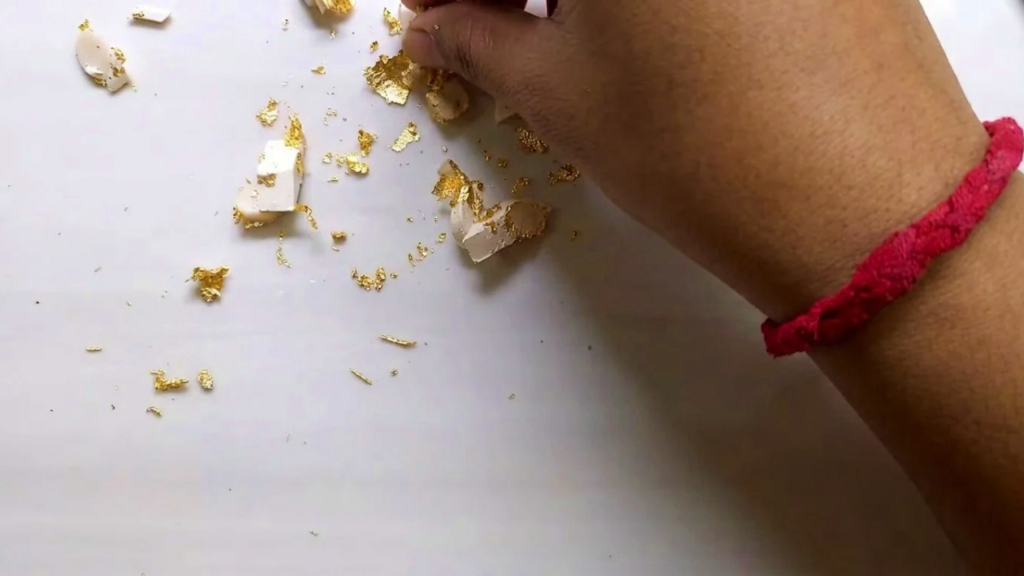
- Add gold leaf flakes on top of or between pieces where you want metallic accents.
Stage 3: Forming a Block
- Gather all pieces together and press them to form a block. Ensure flakes and glue are embedded where you want the gold visible.

Stage 4: Slicing & Arranging to a Sheet
- Slice the block into thinner pieces.
- Arrange the slices on the surface in a pattern or random placement to create the final look.
- When arranged, use the pasta machine: run the arranged slices through on your preferred thickest setting to make a uniform clay sheet. (This helps even out the design and compress layers.)

Stage 5: Cutting Shapes
- Use your cutters to cut shapes from the uniform sheet.
- The maker uses an acrylic block to press the cutter down evenly — this helps get a clean cut.
- After pressing the cutter, carefully remove the cut piece.
Stage 6: Removing Excess Clay Before Baking
- Use a needle tool to remove excess clay that cannot peel off directly.
- Remove the excess clay carefully around the cut shapes; this reduces sanding work after baking. (Exact technique shown: pick and lift/trim the tiny bits rather than peeling.)

Stage 7: (Optional) Epoxy Resin Topcoat
- This step is optional: apply epoxy resin on the finished clay pieces for a glossy, glassy finish if desired.
- If you apply resin, wait at least 24 hours (or according to resin instructions) for the resin to fully cure before further handling.
Stage 8: Curing, Sanding & Assembling
- (Note: The transcription does not give bake temperature/time. Bake according to the clay manufacturer’s instructions for your chosen polymer clay.)
- After baking and cooling, sand and finish edges as needed (use progressively finer grits).
- If you used resin, wait for the resin to cure fully before sanding.
- Assemble: attach earring posts/hooks, jump rings, or other findings. Use appropriate glue or jump rings and pliers to connect parts.
Assembly Process
- Decide how your cut pieces will be joined to findings (direct post, jump ring, or earring hook).
- If attaching a post, use a strong jewelry adhesive or embed the post in clay before baking (if using bakeable posts per manufacturer guidance).
- For jump rings: use a small hole or drill post‑bake (if needed), open the jump ring, pass through hole, and close securely with pliers.
- Ensure all connections are secure before wearing.
Decorative Details
- Gold leaf flakes are embedded into the design, giving random flecks of metallic shine.
- The translucent clay allows depth and a subtle shimmering effect when combined with glitter clay.
- Adjust placement of gold flakes and glitter amounts to control sparkle and contrast.
Final Finishing
- Sand edges to smooth seams and remove small imperfections (this was reduced by careful excess removal pre-bake).
- If you did not use resin, you can finish with buffing or a satin varnish depending on the look you want.
- If you used epoxy resin, ensure full cure (24+ hours) before final sanding/polishing and assembly.
Tips for Success
- Use fresh clay whenever possible; it conditions easier.
- Condition thoroughly — properly conditioned clay blends and machines better.
- Use clay glue or liquid clay sparingly to help pieces bind; too much can change texture.
- Use the pasta machine on a thicker setting first to avoid squashing the design — you can always thin later.
- Use an acrylic block to press cutters for cleaner cuts.
- Trim excess clay with a needle tool before baking to dramatically reduce sanding time.
- If using resin, follow resin safety and curing instructions; work in a ventilated area and use gloves.
Customization Options
- Swap gold leaf for silver or copper flakes for different looks.
- Vary color amounts to make a different dominant color (less white, more translucent, etc.).
- Try different cutters/shapes and layer multiple sheets for depth.
- Add mica powder or metallic powders for additional shimmer.
Care and Maintenance
- Avoid prolonged exposure to water and chemicals; wipe clean with a soft, damp cloth.
- Store flat and protected to prevent scratches on resin/glossy surfaces.
- Handle gently to avoid bending or breaking delicate pieces and findings.