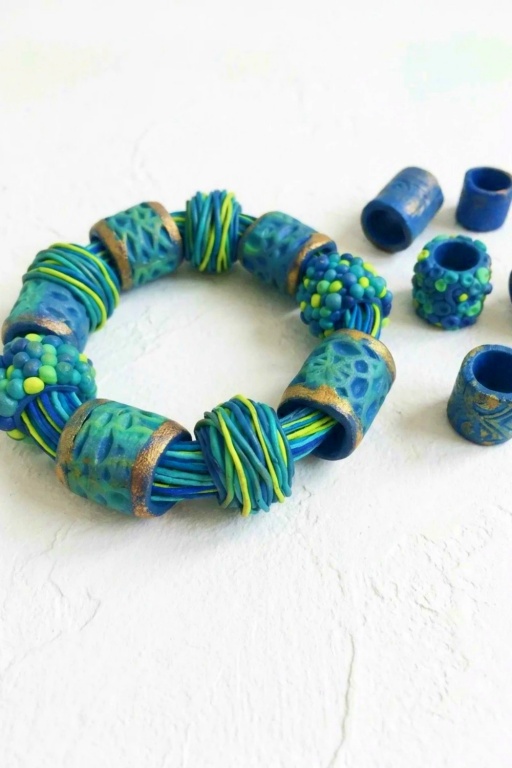
Unique DIY Miniature Halloween Pumpkin Clay Projects
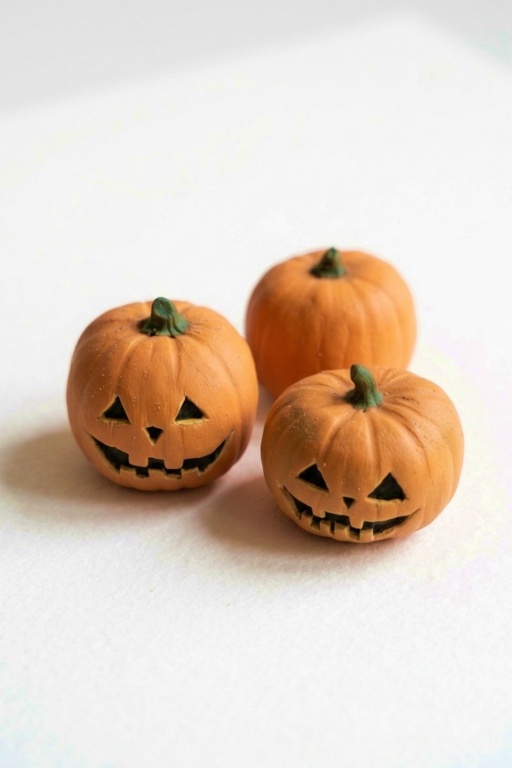
Design cute and spooky DIY Miniature Halloween Pumpkin Clay creations with this step-by-step guide, ideal for festive decor or unique seasonal gifts.
Halloween is the perfect time to get creative, and crafting your own tiny pumpkins with clay is a fun and festive way to celebrate. This DIY project lets you design adorable miniature pumpkins that capture the spooky yet cheerful vibe of autumn. Whether you want classic orange pumpkins or quirky ones with fun shapes and colors, it’s an exciting activity for kids and adults alike.
DIY Miniature Halloween Pumpkin Clay for Spooky Decor
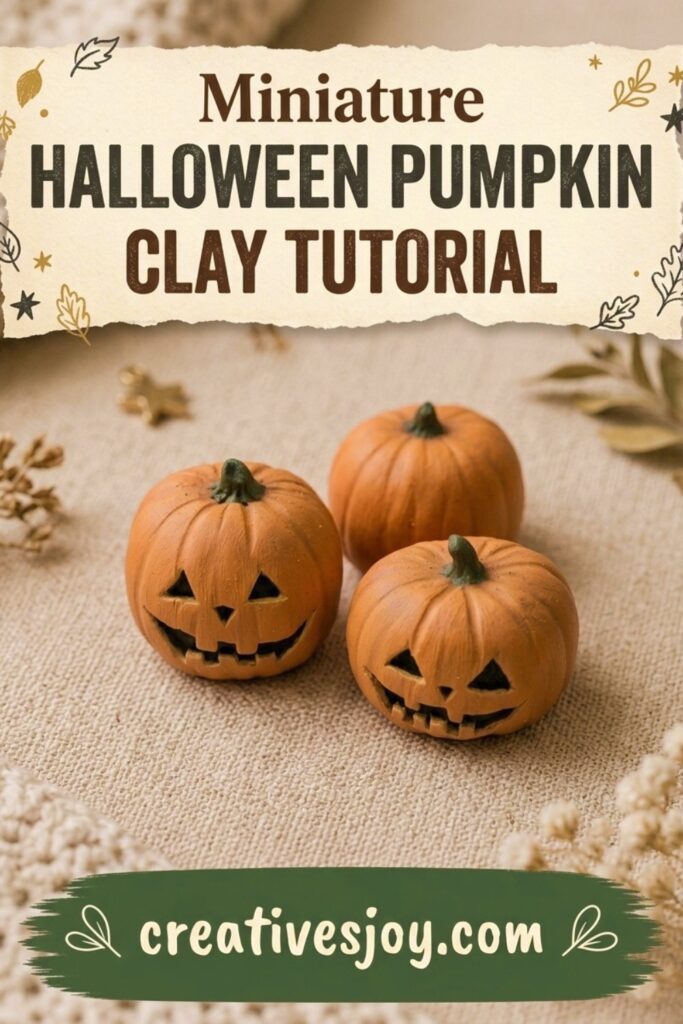
Using soft clay, you’ll begin by shaping small pumpkin designs—round, wide, tall, or even wobbly—to make each one unique. You can add details like grooves, stems, leaves, or even tiny faces for a Halloween twist. Bright orange is always a favorite, but mixing other colors can give your pumpkins a magical touch, like glowing green or ghostly white. Once formed, the clay can be baked to harden, creating lasting decorations that add a charming seasonal touch to your home.
These miniature pumpkins are not only fun to make, but also incredibly versatile. You can use them to decorate a Halloween-themed centerpiece, turn them into magnets or charms, or simply place them on a shelf or desk to spread the festive cheer. It’s a project filled with creativity, easy steps, and endless possibilities. Perfect for anyone who loves crafting and Halloween, these tiny pumpkins are sure to bring smiles as big as the season itself.
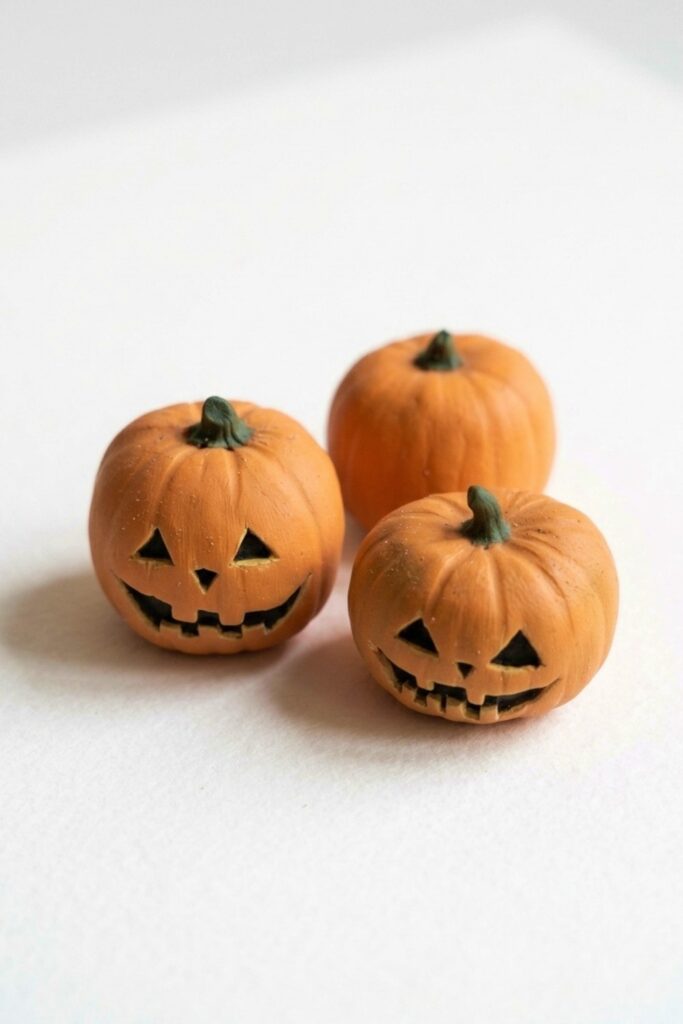
Carved Polymer Clay Pumpkin
Learn how to sculpt a realistic carved pumpkin from polymer clay. This project combines simple armature techniques, surface texturing, pastel shading, and painted carving details to create a Halloween-ready miniature or ornament. It’s suitable for beginners who follow step-by-step instructions and for makers who want a compact seasonal piece.
Project Requirements
Materials
- Polymer clay (orange and green; Super Sculpey Beige or translucent optional)
- Aluminum foil (small ball for armature)
- Soft pastels: orange (light and dark) and optional brown
- Black acrylic paint
- Water for wet brushing pastels
- Varnish (matte or satin) — optional
Tools
- Needle tool or fine pin tool
- Ball-ended sculpting tool
- Blade or craft knife
- Wet brush (small)
- Sanding sponge or fine sandpaper (optional)
- Oven (follow clay brand baking instructions)
- Small paintbrushes for acrylic paint and varnish
Measurements
- Finished pumpkin size: adjustable; typical mini 3–6 cm diameter
- Armature foil ball: slightly smaller than desired final size to allow clay thickness
Preparation
- Condition polymer clay by kneading until uniformly soft and pliable.
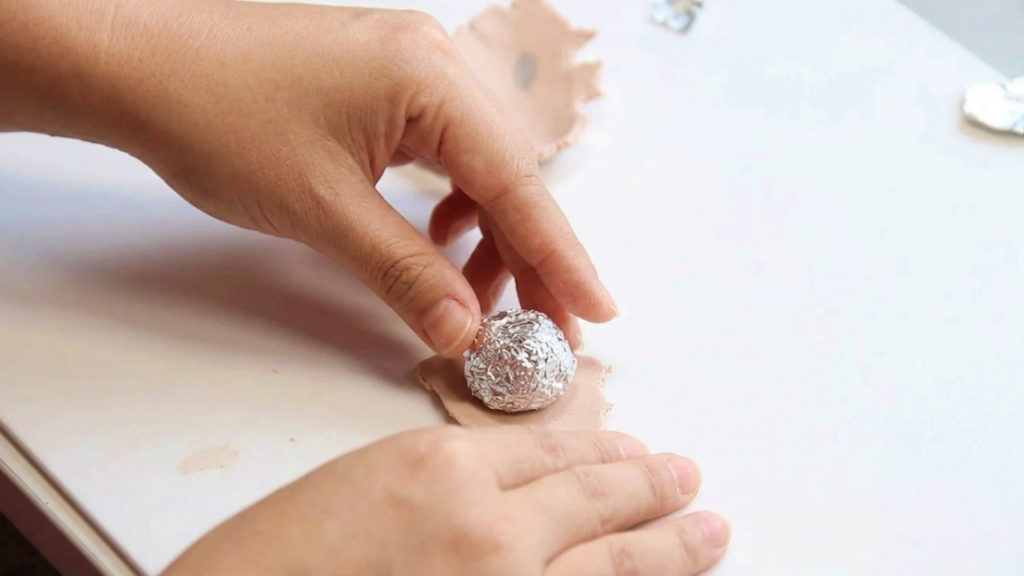
- Crumple a small ball of aluminum foil; this reduces baking time and conserves clay.
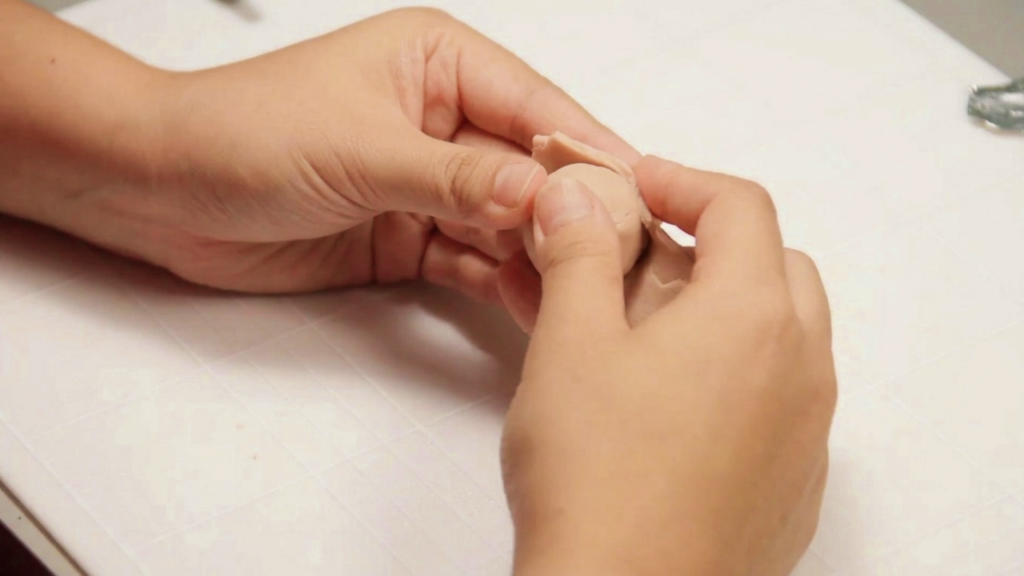
- Cover the foil ball with a thin layer of clay, smoothing seams, to create a base round shape.
- Prepare your workspace: lay down a nonstick mat or baking paper and organize tools.
Making Process
Stage 1: Forming Pumpkin Sections
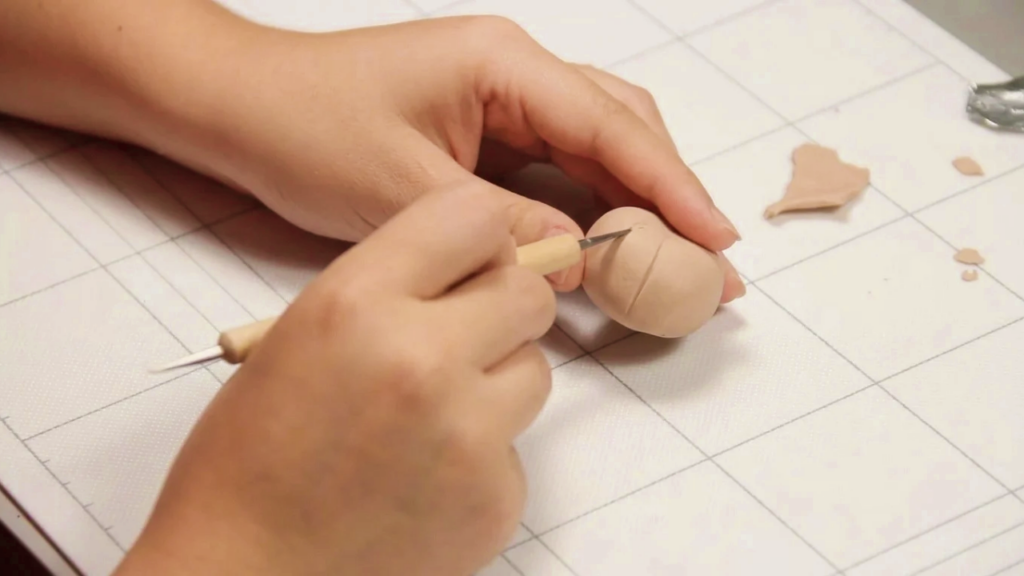
- Use the needle tool to mark the pumpkin into vertical sections (typically 6–8 segments).
- Press gently from the top near the stem area down toward the bottom; avoid piercing through the clay.
- Refine each groove with a ball tool to create rounded ridges; consistent depth yields realistic results.
- Smooth any unwanted seams with light finger pressure or a small soft tool.
Stage 2: Texturing and Stem Attachment
- Add texture to the skin with subtle tool marks: drag the needle tool lightly or stipple with a toothbrush for a natural surface.
- For the stem, roll a small piece of green (or brown-green) clay into a short cylinder and flatten one end so it sits flush on the pumpkin top.
- Attach the stem by blending the clay at the joint with a ball tool, then add vertical grooves to the stem to mimic plant fibers.
- Optional: add small bumps or a leaf base around the stem for character.
Stage 3: Pastel Shading
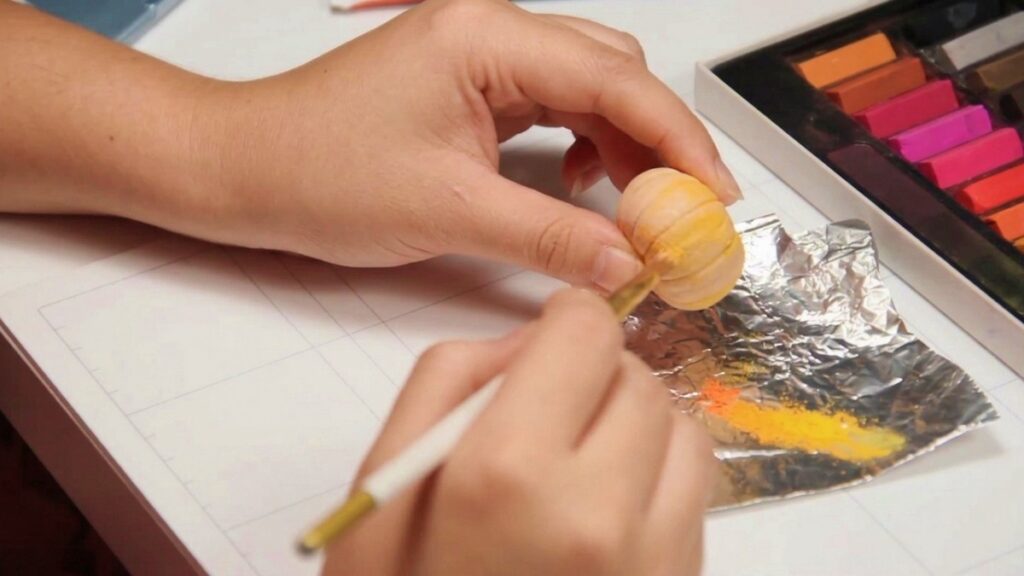
- Lightly scratch a bit of orange soft pastel with a blade to produce powder.
- Using a dry brush or fingertip, apply the darker orange pastel into grooves and lower areas to enhance depth.
- Mix a small amount of pastel with water on a brush for a wet wash; gently brush the fleshy sections (avoiding carved areas) to create subtle color variation.
- Build color gradually: apply thin layers, allowing each to dry before adding more, until you achieve desired shading.
Stage 4: Carving and Painted Details
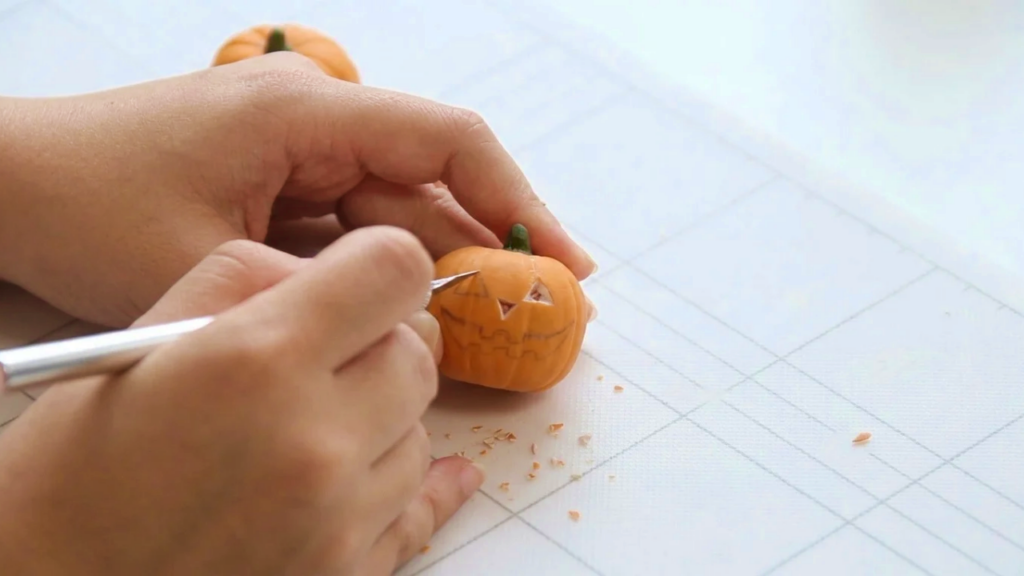
- After baking and cooling (bake following polymer clay instructions), draw your carved face or design lightly with a pencil if desired.
- Carefully carve the design with a fine blade or needle tool; remove excess clay to reveal crisp negative space.
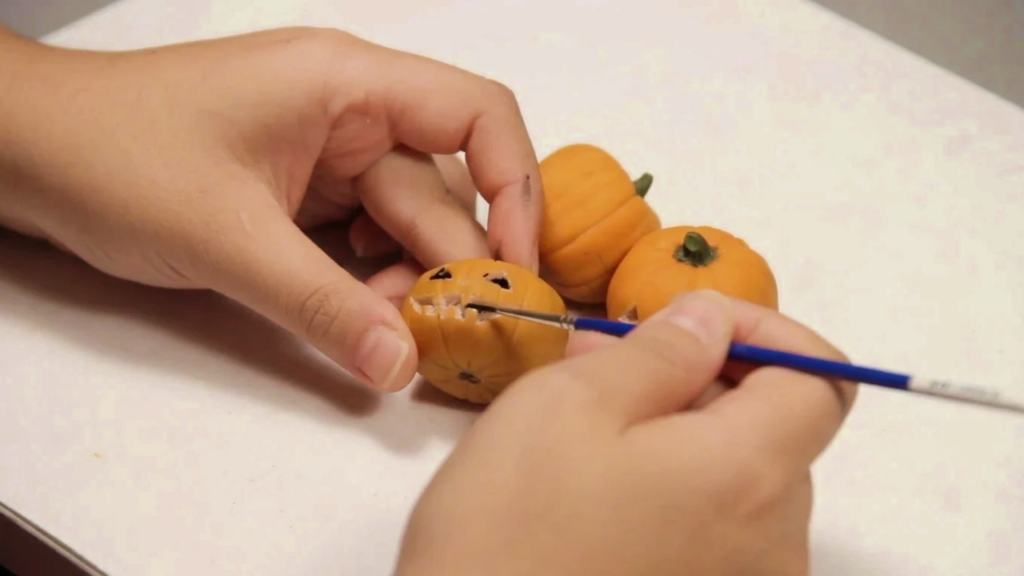
- Paint the carved interior areas with black acrylic paint to simulate hollowed-out depth.
- Wipe away any stray paint immediately; use a fine brush for control so surrounding details remain clean.
Assembly Process
- If your pumpkin is part of a larger display, plan how it will be attached: glue to a base after baking with craft adhesive, or embed a wire pin into the base before baking for later mounting.
- Ensure the bottom surface is flat enough to sit steadily; sand lightly if necessary after baking.
Decorative Details
- Highlight the raised ridges with a light orange or soft brown pastel to accentuate shape.
- Add tiny carved chips or toothy variations for a more expressive jack-o’-lantern.
- Consider painting subtle veins on the stem or dusting with a darker pastel to suggest age.
Final Finishing
- After all paint and pastel are dry, seal the pumpkin with a thin layer of varnish if you want protection or to slightly alter sheen.
- Use matte or satin varnish for a natural look; gloss will make the pumpkin appear wet or plastic.
- Allow varnish to dry fully according to product instructions before handling or gifting.
Tips for Success
- Work gently when creating grooves to avoid piercing the clay; practice on scrap clay for consistent pressure.
- Use aluminum foil armature to reduce baking time and prevent cracking in the center.
- Apply pastels in thin layers; aggressive pigment application can obscure sculpted detail.
- Bake at the recommended temperature for the clay type; overbaking can cause discoloration especially with light pastels.
Common Problems & Solutions
- Cracks after baking: ensure even clay thickness and do not bake too hot; if minor, fill with fresh conditioned clay and rebake or use acrylic paint to camouflage.
- Blurry grooves: sharpen grooves after initial smoothing with a clean needle tool; reapply pastel to enhance definition.
- Paint bleed into sculpted detail: mask adjacent areas with low-tack tape or use a micro brush for precision.
Customization Options
- Scale up to create a pumpkin large enough to hollow out for a small LED light.
- Add facial expressions ranging from cute to spooky by varying eye and mouth shapes.
- Incorporate leaf garlands, vines, or tiny clay bats to create a themed diorama.
- Use translucent clay and thin carved sections to backlight with an LED for glow effects.
Care and Maintenance
- Avoid prolonged sun exposure to keep pastels and clay colors from fading.
- Dust gently with a soft brush; do not immerse in water, as pastels and some paints are water-sensitive.
- Store in a cool, dry place; avoid crushing when packed with other items.
Project Summary
This carved polymer clay pumpkin project combines simple armature building, sectioning, texturing, pastel shading, and painted carving to produce a convincing mini jack-o’-lantern. Follow the stages—form sections, texture and attach a stem, shade with soft pastels, bake, then carve and paint—to create a durable seasonal decoration. With small adjustments to size, color, and expression, you can produce a whole patch of unique pumpkins for display, gifts, or craft markets. Happy sculpting and have a spooky, creative Halloween!