DIY Chubby Clay Rat with Easy Step-by-Step Instructions
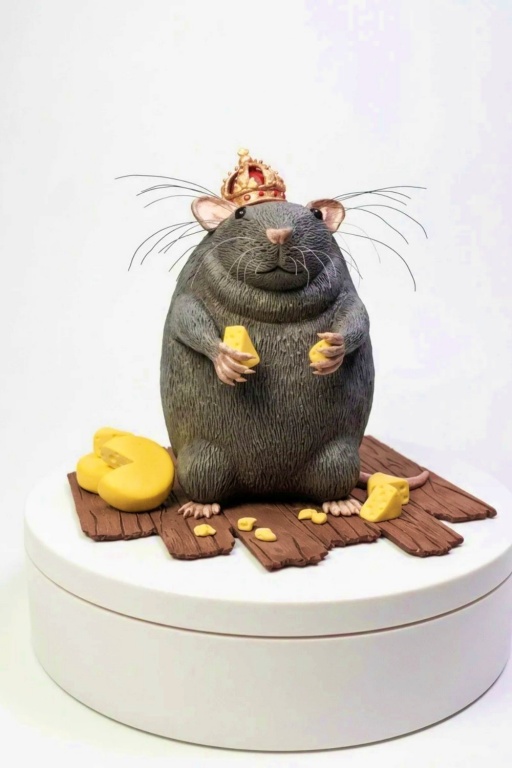
Learn to sculpt an adorable DIY Chubby Clay Rat with this fun and easy tutorial, perfect for beginners and a cute addition to your handmade creations.
Crafting a chubby little rat out of clay is an incredibly fun and simple DIY project for anyone who loves exploring their creative side. This project allows you to shape an adorable and round little rodent, making it a perfect choice for crafters who enjoy making tiny, playful figures. Whether it’s for decoration, a gift, or just for fun, this unique project will leave you with a delightful keepsake.
Creative DIY Chubby Clay Rat Project Ideas

To bring the idea to life, you’ll start by molding the rat’s pudgy body, small paws, and other details using soft, easy-to-shape clay. It’s entirely up to you how much personality you give it—some like to add big cartoonish features, while others prefer a more realistic look with tiny tails and whiskers. Choosing colors is another exciting part of the process, allowing you to keep it natural or go bold with creative shades. Once the sculpting is done, baking the clay hardens your little masterpiece.
A finished plump clay rat is not just a tiny work of art—it’s something that can brighten up any space or bring a smile to someone’s face. You can use it as a decoration, turn it into a charm, or simply keep it nearby as a cheerful reminder of your crafting skills. This project is perfect for anyone looking for a lighthearted and creative way to spend their time.
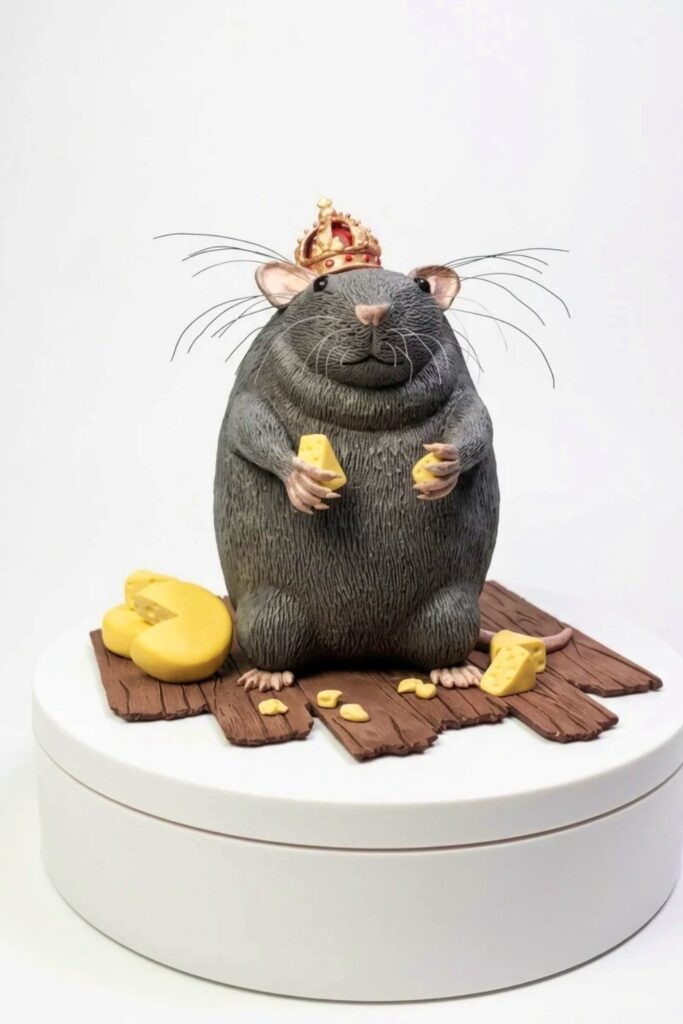
King Rat — Rat-Shaped Potato Sculpture (Polymer Clay + Mixed Media)
Create a whimsical “king rat” sculpture built around a foil armature and polymer clay, then finish it with a handcrafted crown, miniature cheese prop, a stained wooden plank base, painted details, and delicate whiskers made from thin wire. This project combines sculpting, texturing, baking, painting, and assembly to produce a display-ready miniature with character.
Supplies
- Polymer clay (grey tones for fur, pink for inner ears and skin areas, additional colors for crown and cheese)
- Aluminum foil (for internal armature)
- Toothpicks or thin wire (for securing tail and other attachments)
- Small wooden sticks or craft sticks (for base)
- PVA glue (white craft glue) and super glue (for final assembly)
- Acrylic paints (grey, pink, black, white, brown, gold, yellow, red)
- Soft pastels or pigment powders (optional, for subtle shading)
- Gloss varnish (for eyes and nails)
Tools
- Sculpting tools: needle tool, ball stylus, pointed tool
- Small blade or craft knife
- Rolling pin or smooth tube for clay
- Texturing tools (brush, needle, or custom tool for fur)
- Paintbrushes: fine detail and flat
- Sandpaper or file (for wooden base finishing)
- Wire strippers (for whisker material) and small clamps or tweezers
- UV lamp (optional, if using UV resin for gloss)
Instructions
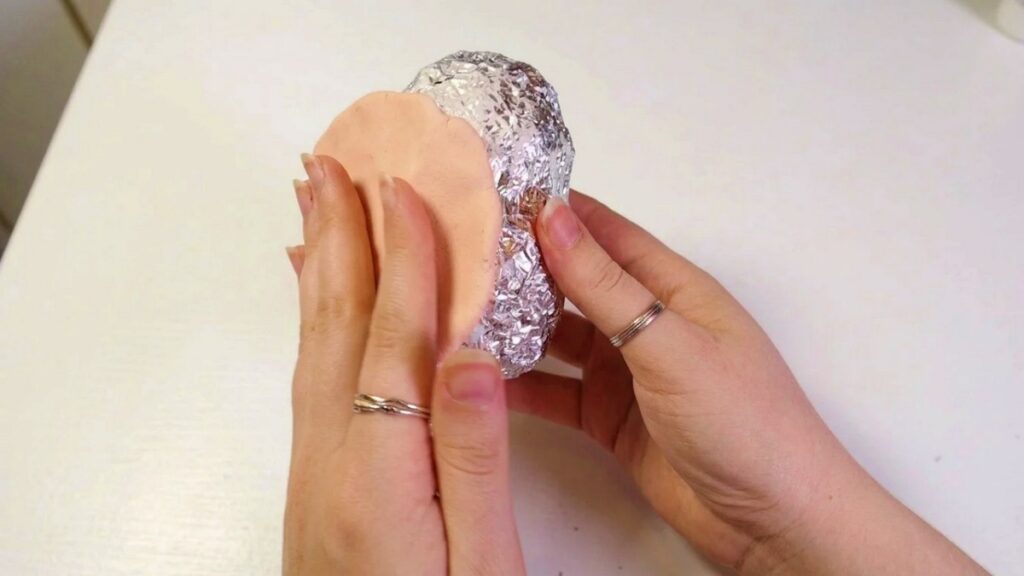
1: Form the Armature and Primary Shape
- Crumple a ball of aluminum foil to form the main potato-like body; adjust volume to desired final size.
- Cover the foil with a layer of polymer clay, smoothing seams so the body reads as a single mass.
- Add a smaller foil ball for the head if needed, then cover and blend to create the neck and head-sculpt silhouette.
- Build stubby arms and knees by adding small clay rolls; approximate their placement before refining proportions.


2: Sculpt Facial Features, Hands, Feet, and Tail
- Shape the nose and mouth area by carving shallow lines and forming a rounded snout; use a small blade to define the mouth shape.
- Attach pre-baked or sculpted eyeballs (tiny baked clay spheres) and press them into place; ensure sockets are blended around the eyes for realism.
- Roll and attach tiny fingers and toes; press gently to squish them onto the hands and feet, then refine shapes with a pointed tool.
- Form the tail from a tapered clay rope, texture it with a needle or wire to suggest subtle ridges, and insert a toothpick or wire into the tail base to secure attachment to the body.

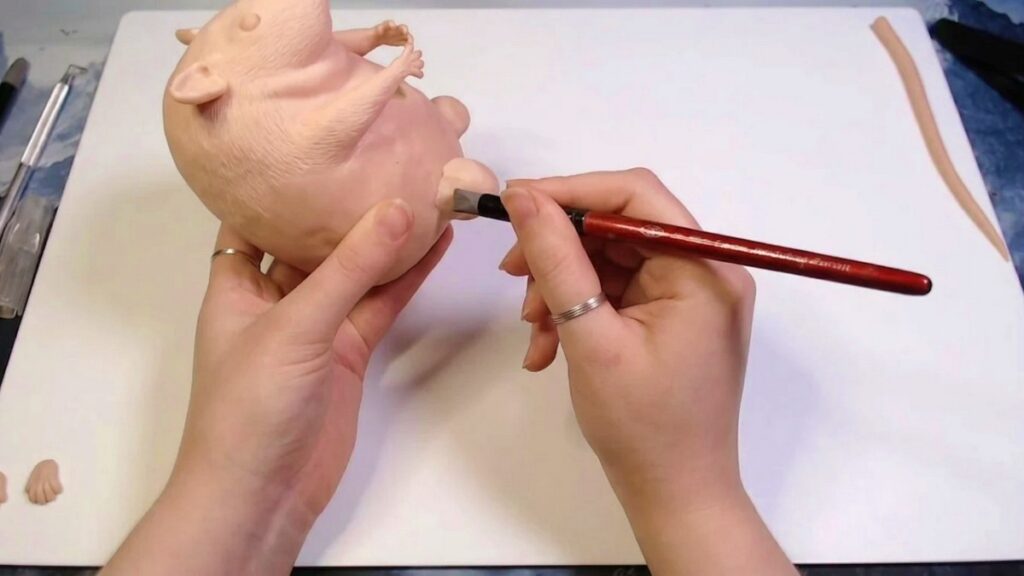

3: Add Fur Texture and Fine Details
- Gradually add fur texture in small sections rather than all at once to manage fatigue and maintain control.
- Use a pointed tool or stiff brush to scratch short, directional lines that follow natural hair flow around the face, back, and limbs.
- Build up layers of texture, increasing density toward areas of thicker fur and softening strokes where skin should show through (ears, paws).
- Add nails to hands and feet with tiny clay slivers; press and smooth their bases into the digits.
4: Create Crown, Cheese, and Base Elements
- Sculpt a ring-shaped clay crown and bake it separately; after initial bake, add decorative strips, floral motifs, or beads for ornate detail and rebake if required.
- Form miniature cheese wedges from yellow clay and carve holes and edges; bake these small props with a short low-temperature cycle if needed.
- Assemble a wooden plank base from thin sticks: cut to size, texture with a blade for wood grain, glue seams with PVA glue, then reinforce with cross pieces on the underside.
5: Paint, Stain, and Assemble
- Paint the wooden base with brown acrylic and apply a darker wash to bring out grain; drybrush lighter tones for highlights once wash is dry.
- Paint the rat with layered greys and pinks: use drybrushing to accentuate fur texture and thin glazes to subtly tone skin areas. Paint nails and inner ear pink, then drybrush grey lightly over tail and paws where short hairs are visible.
- Apply dozens of thin yellow layers to the cheese pieces for depth; shade holes and edges with darker ochres.
- Glue the tail, crown elements, and cheese in place with super glue. For whiskers, strip ultra-thin insulated wire (from LEDs or fine cable) and glue them into pre-drilled holes near the muzzle; paint whiskers black then add white highlights if desired.
- Seal eyes and nails with gloss varnish to achieve realistic wet shine; use matte or satin varnish on fur depending on desired finish.
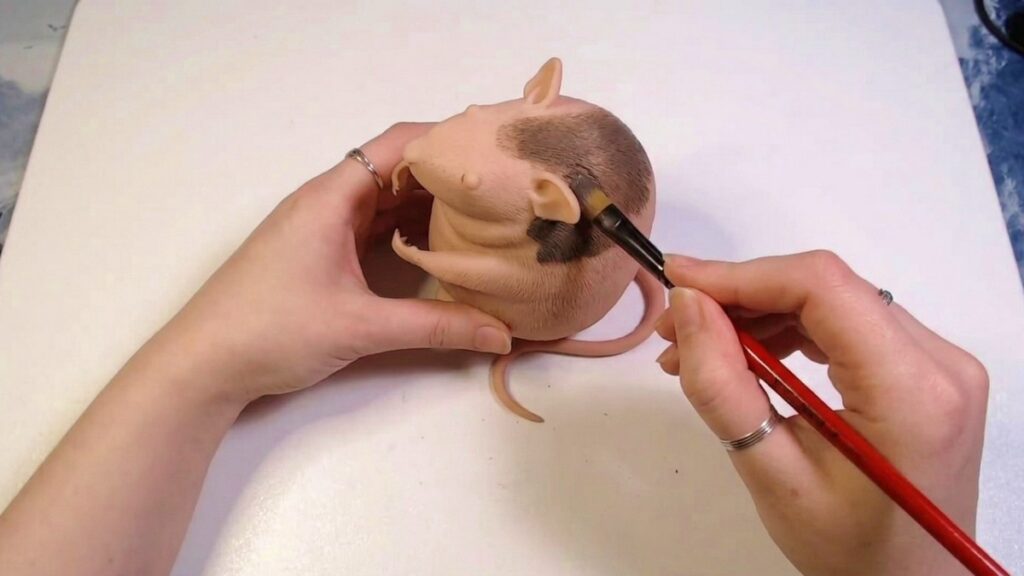
Finishing
- Once all glued elements are secure and paints are fully dry, give the sculpture a last inspection: touch up paint, clean stray glue threads, and ensure whiskers are aligned.
- Optionally, add a final overall light drybrush of a very light grey to tie fur highlights together, and reapply varnish to any areas disturbed during assembly.
- Allow the finished piece to cure or dry fully (24 hours recommended) before display or shipment.

Tips
- Work in manageable sections: the creator textured the rat incrementally to avoid burnout and maintain control over detail.
- Use foil armature to reduce clay use and baking risks; toothpicks or wires embedded before baking will strengthen connections.
- When making many thin paint layers (for cheese or subtle fur tone), let each layer dry to prevent muddiness.
- Protect fragile whiskers during transport by temporarily covering them with a small cardboard frame or bubble wrap.
Variations
- Make a bald rat with layered paint fur effects instead of textured clay fur for a smoother aesthetic.
- Change the crown style (minimal band, spiked, jeweled) or paint metallic tones using a red base under gold for warm gilding.
- Create multiple rats in a scene (a court of rats) with different expressions, sizes, and accessories for diorama effect.
Final Result
You will end up with a charming, heavy-set “king rat” sculpture: a tactile, textured figure anchored to a weathered wooden plank base, crowned and surrounded by miniature cheese. Careful layering of texture, paint, and mixed-media details like wire whiskers and gold-painted crown accents will elevate the piece from simple clay figure to a character-filled miniature suitable for display, gifting, or portfolio work.