DIY Piranha Plant from Clay for Home Decoration and Gifts
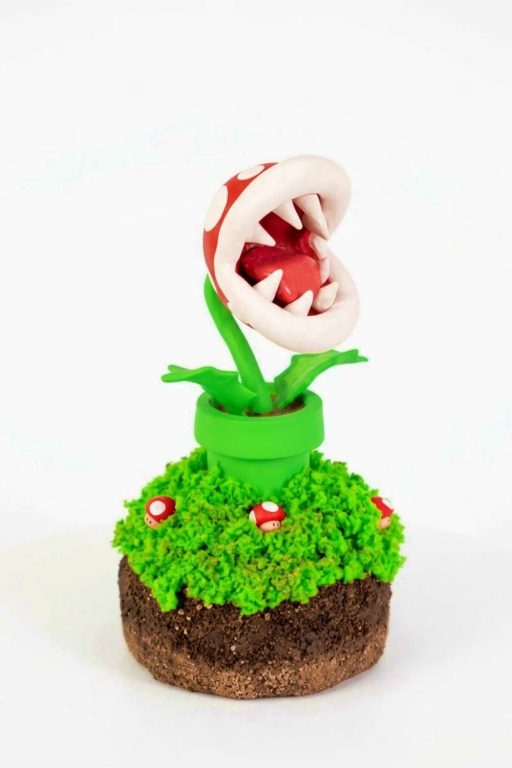
Bring your favorite gaming icon to life with a DIY Piranha Plant from Clay perfect for adding charm to your decor gifts or showcasing your creativity.
If you’re a fan of video games or creative projects, crafting a piranha plant out of clay is a fantastic way to bring a well-loved character to life. Inspired by the iconic plant seen in games, this DIY project lets you capture its fun and quirky design in your own unique style. Whether you’re decorating your space or working on a themed gift, it’s a playful way to show off your creative side.
DIY Piranha Plant from Clay Craft for Creative Art Projects
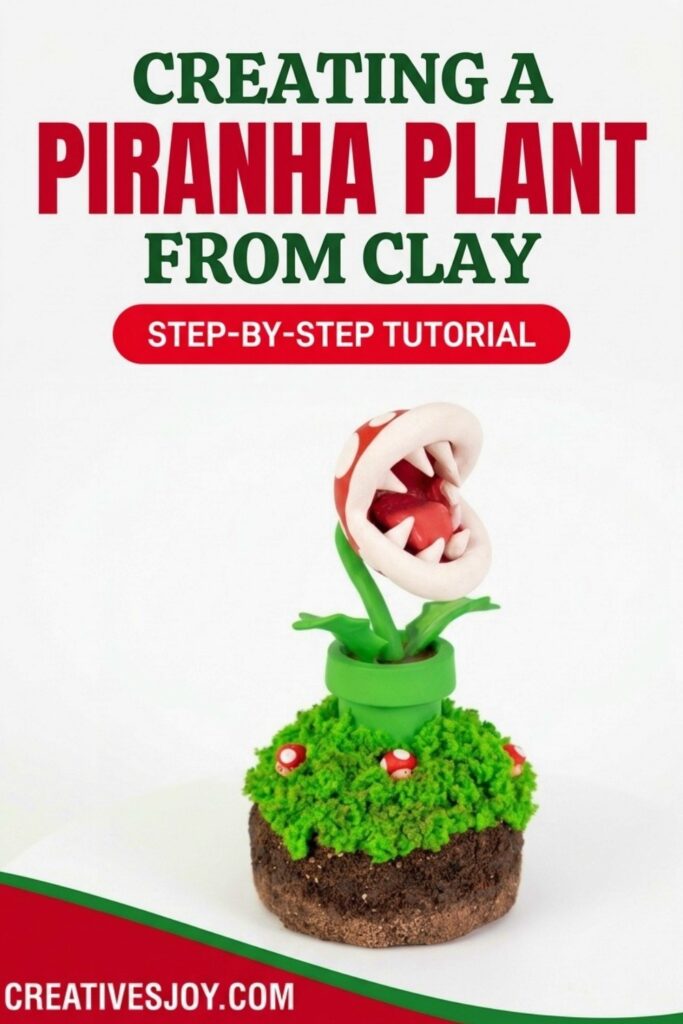
Creating this clay plant is straightforward but exciting. You can focus on sculpting the recognizable features—the open mouth, jagged teeth, and rounded leaves—all while adding small personal touches to make it truly your own. Once the main shape is ready, painting it with bold colors like red, white, and green gives it that classic look fans instantly recognize. Watching your design come to life step by step is incredibly rewarding.
This piranha plant DIY project is not just about crafting—it’s also a fun way to celebrate your love for games and let your imagination run wild. Once complete, your clay creation can serve as a cheerful decoration, a gift for a fellow gamer, or even a conversation piece for friends and family. It’s creative, colorful, and packed with personality, making it a joy to both create and display.
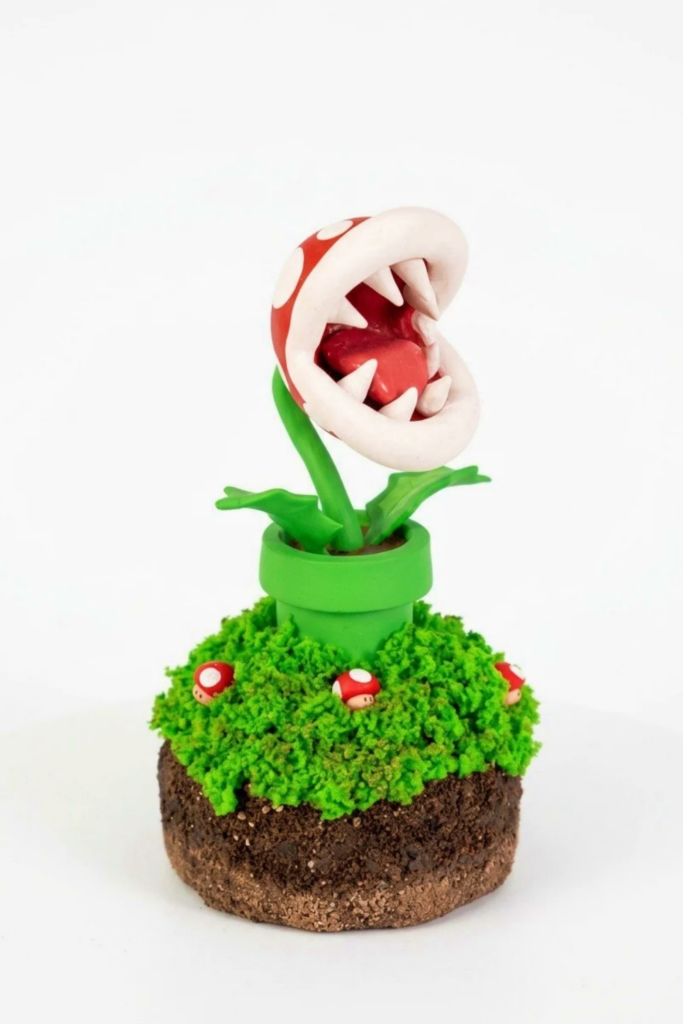
Creating a Piranha Plant from Clay
Celebrate Mario Day by sculpting a stylized Piranha Plant diorama: a green pipe, a chomping plant with stem and head, swirling leaves, a textured soil base with moss, and tiny Super Mushrooms. The build uses aluminum foil armature covered in polymer clay, staged baking, sanding, painting, and simple mixed-media ground textures to create a polished display piece.
Materials & Supplies
- Polymer clay: green, red, brown, black, white
- Aluminum foil (cylinder core and lump for base)
- Acrylic paints (greens, browns, whites, blacks, yellow)
- Mod Podge (or PVA glue) for sealing
- Fine sand and potting soil (for texture)
- Shredded sponge or floral foam (for faux moss)
- Small craft bits (for tiny mushrooms)
- Sandpaper / sanding sponges
- Optional: gloss varnish for accents
Tools & Equipment
- Sculpting/carving tools
- Utility knife and scissors
- Oven (for polymer clay baking)
- Paintbrushes (various sizes) and foam brushes
- Ball of crumpled foil for texture tool
- Paper template for leaf shapes
- Glue gun and craft glue
- Small sanding block
Project Details
- Difficulty: Beginner–Intermediate — friendly to crafters with basic sculpting and painting experience.
- Time: Several hours across sculpting, baking, sanding, painting, and sealing (plus drying time for Mod Podge).
- Size: Tabletop diorama, pipe roughly palm-sized depending on foil core.
Preparation
- Plan proportions: decide pipe diameter and Piranha Plant scale relative to pipe.
- Make foil cores: form a cylinder for pipe and a lump for the base; keep sizes consistent.
- Preheat oven per polymer clay manufacturer and prepare baking surface (parchment).
- Create paper templates for repeated shapes like leaves to ensure uniformity.
Step-by-Step Detailed
Pipe Construction
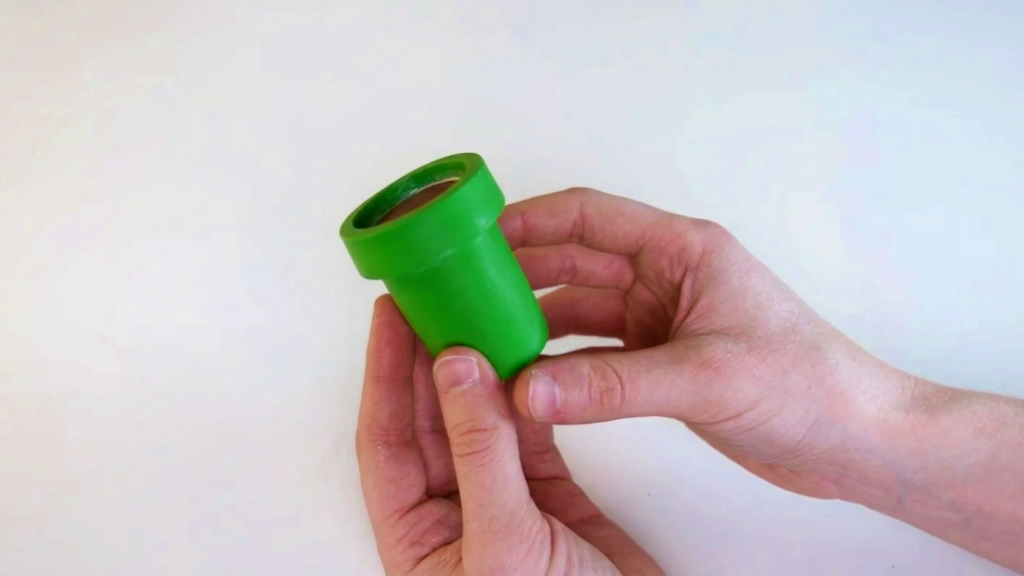
- Form core:
- Roll aluminum foil into a cylinder sized for your pipe.
- Cover one end in brown clay (soil interior) and the other in green clay.
- Smooth and finish:
- Cover remaining cylinder surface with a thin layer of green clay.
- Add a rim strip around the top; softly blend the seam with a sculpting tool for clean finish.
Stem & Head Armature
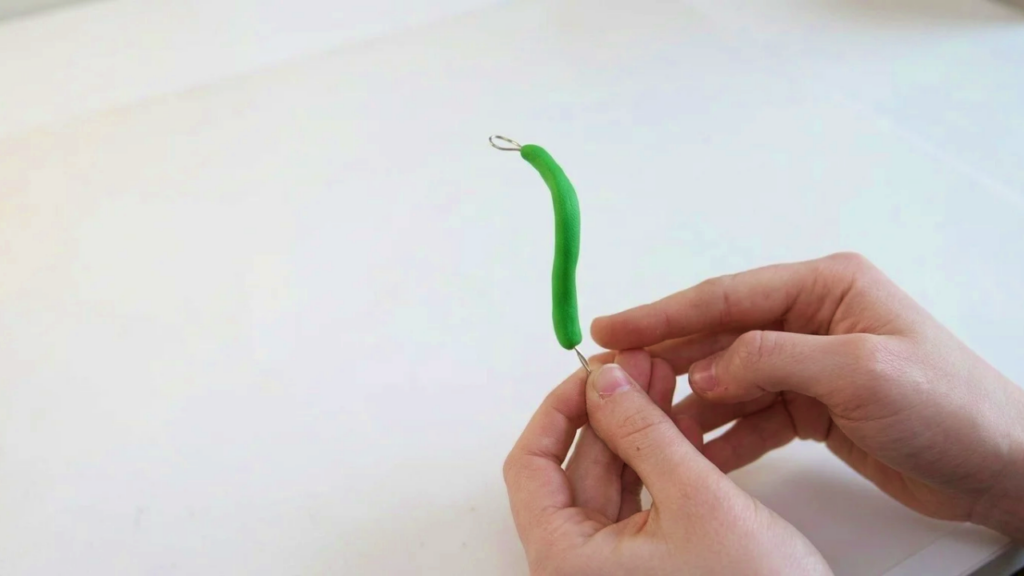
- Make stem:
- Twist armature wire into a question-mark shape for stem curvature.
- Cover wire with green clay to create a solid stem — sand later for smoothness.
- Sculpt head:
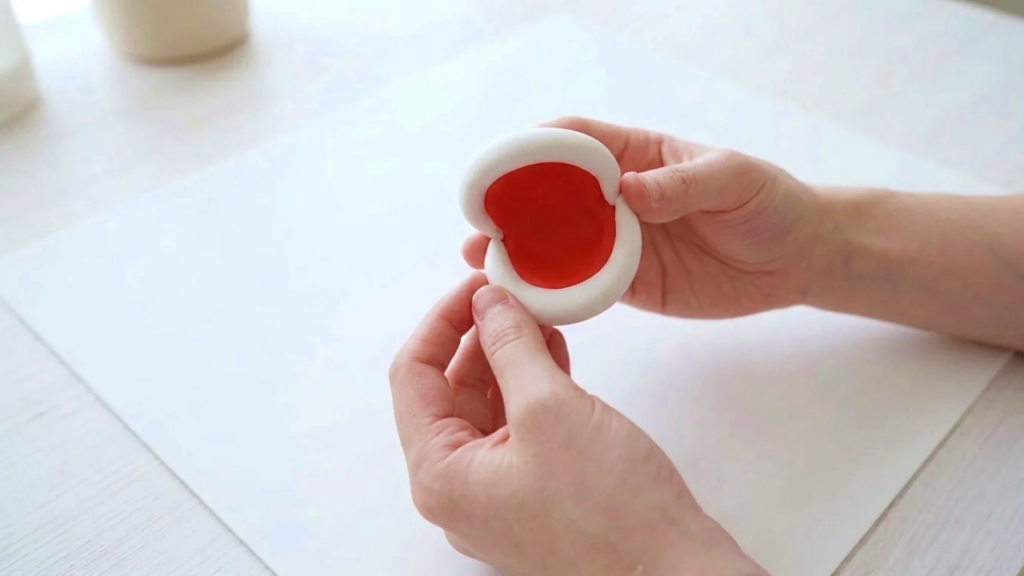
- Form a red clay ball, then carve a Pac-Man-style mouth and hollow the inside.
- Add loops (petal/cheek details) and refine mouth opening with carving tools.
Sanding & Baking
- Smooth stem:
- Sand the stem with fine sandpaper before attaching to head for seamless join.
- Prebake elements:
- Attach a tiny ring around stem base and bake the head and stem per polymer clay instructions to harden basic shapes.
Teeth, Tongue & Final Bakes
- Hardened teeth:
- Pre-bake teeth elements once to stiffen them so you can insert the tongue later without deformation.
- Add tongue:
- Sculpt and attach tongue after initial bake, then bake again to secure softer additions.
Leaves & Details
- Leaf templates:
- Use paper template to cut leaf shapes from green clay for consistent results.
- Shape and texture:
- Pinch edges gently to soften, carve a center vein, and bend slightly for natural curvature.
- Clean imperfections:
- If clay got dirty or rough, sand lightly to buff out faults before painting.
Base Creation
- Form core:
- Build a lump of foil for the base; cover with clay leaving a top hole sized for the pipe.
- Surface texture:
- Press a crumpled foil ball into clay to add organic texture before baking.
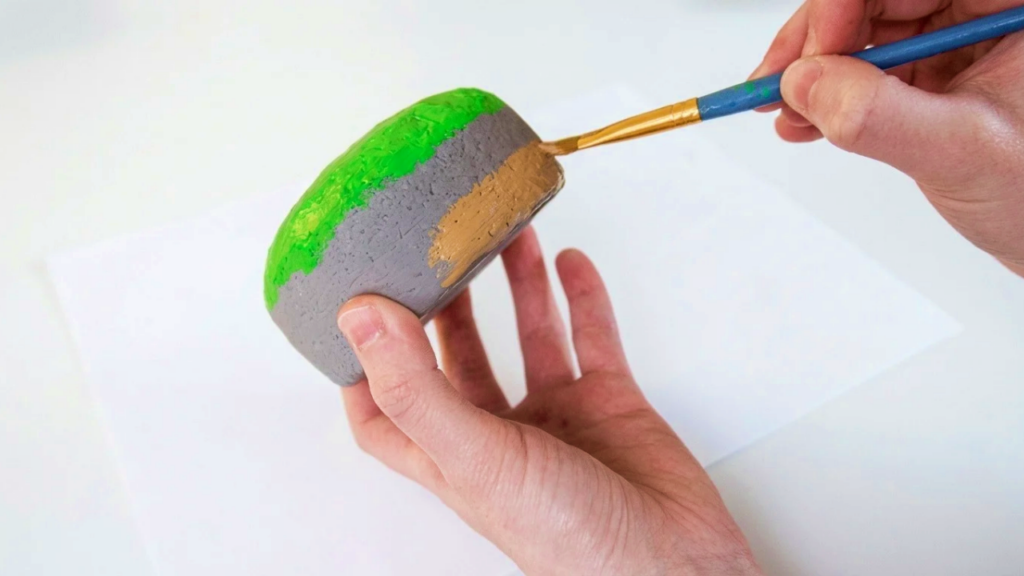
- Paint base:
- Base coat in acrylics; plan for two soil sections and a moss patch.
Ground Finishing
- Mixed media:
- Apply Mod Podge to bottom section and sprinkle fine sand; cover second section with potting soil for realistic earth texture.
- Seal:
- Generously coat textured areas with Mod Podge to lock materials in place.
Moss & Final Assembly
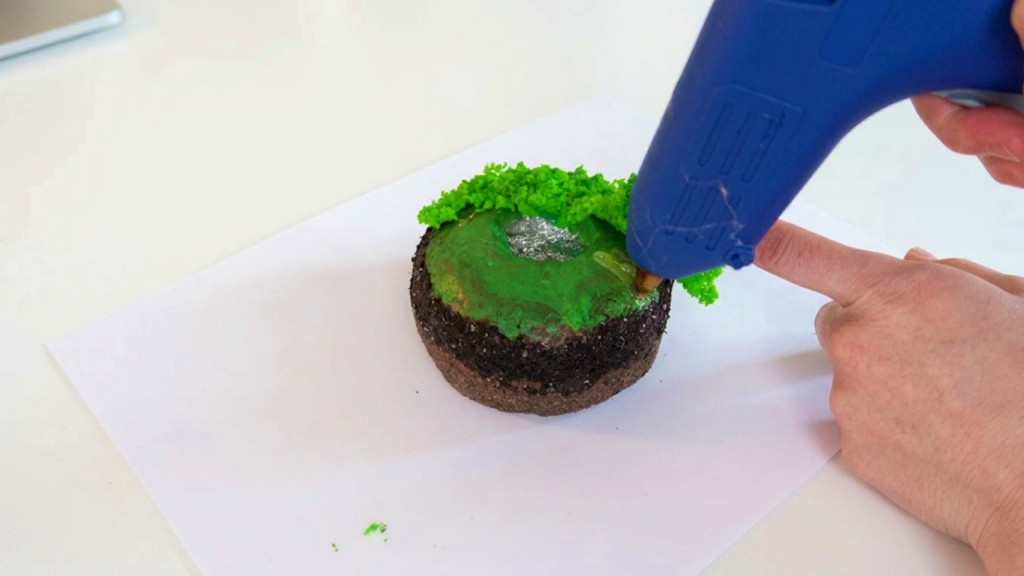
- Fake moss:
- Mix shredded sponge with green acrylic paint until saturated, then let dry into chunks.
- Glue larger moss pieces onto top of base for convincing clumps.
- Assembly:
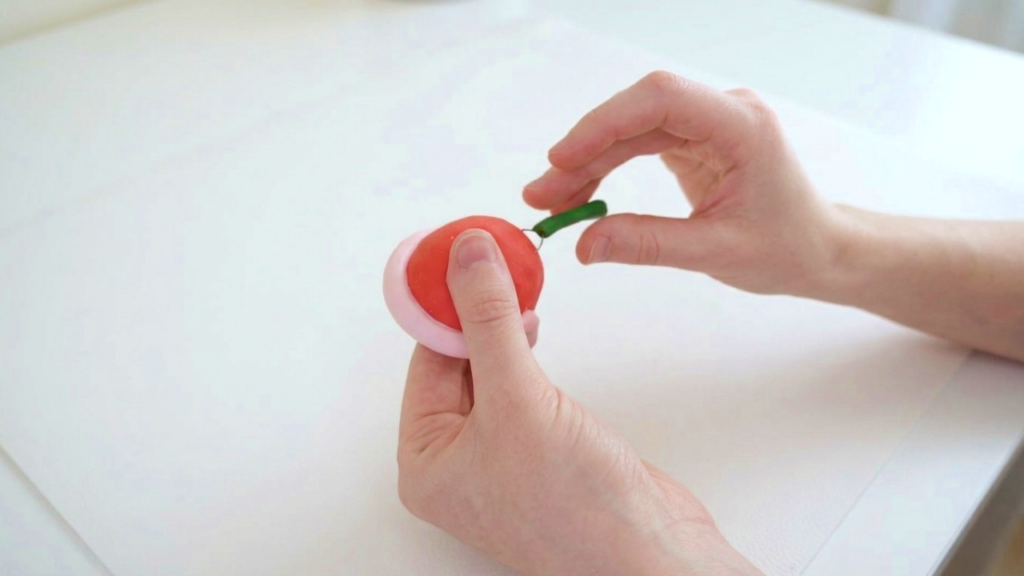
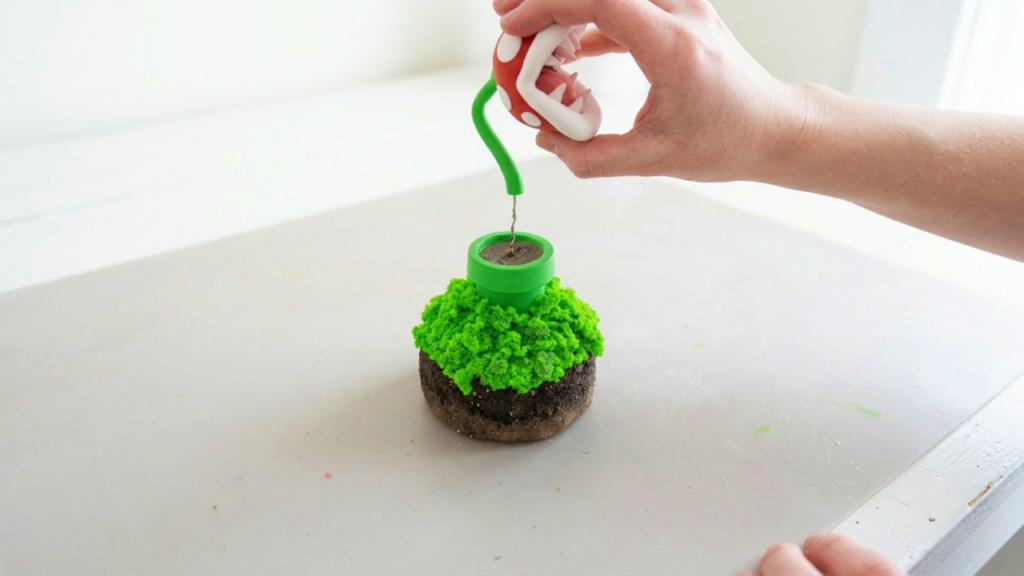
- Fit pipe into the base hole; glue securely. Attach Piranha Plant stem into pipe and stabilize with glue as needed.
- Mini mushrooms:
- Create and position tiny mushrooms; glue into place for final charm.
Finishing Instructions
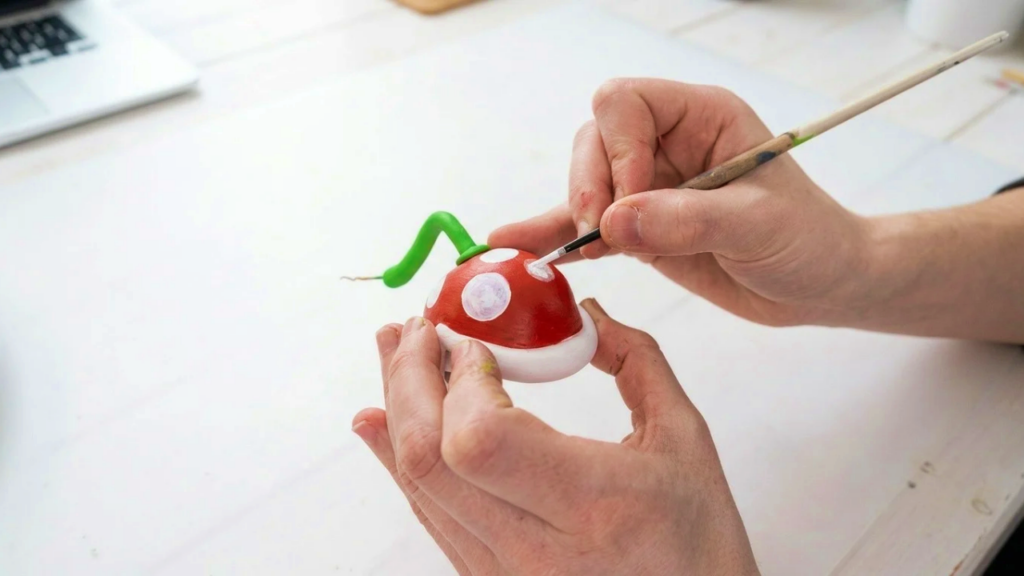
- Once all paint and Mod Podge are dry, add any final touch-ups: refine leaf edges, repaint dots on plant head, and clean seams with a small brush.
- Optionally apply a matte seal over the base and a satin or gloss on plant parts to create contrast (gloss on eyes or tongue if present).
- Allow full cure time per product instructions before handling.
Tips & Techniques
- Use paper templates for repetitive shapes to maintain symmetry.
- Sand between baking and painting to eliminate fingerprints and tool marks.
- Work in stages: prebake hard elements (teeth, rings), then add flexible pieces to avoid smushing.
- Use Mod Podge to fix real texture materials like sand and soil; it seals and protects.
Common Problems & Solutions
- Clay gets dirty or smudged:
- Solution: sand lightly, clean with a damp brush, then repaint as needed.
- Base texture looks flat after paint:
- Solution: apply Mod Podge and real materials (sand/soil) to add dimension.
- Stem or head unstable:
- Solution: reinforce with extra wire core or use epoxy glue for stronger joins.
- Paint adhesion poor:
- Solution: ensure cleaned, sanded surfaces and use a primer or base coat before color.
Creative Ideas & Variations
- Make a whole Mario-themed vignette with multiple pipes and enemies.
- Add LED under-base lighting to make the plant glow from inside the pipe.
- Create seasonal variants: icy colors for frosty pipe or autumn palette with fallen leaves.
- Scale up for a larger centerpiece or downsize into charms or pins.
Final Result
You’ll end up with a hand-sculpted Piranha Plant diorama: a smooth green pipe, a chomping red-headed plant with curved leaves, a realistic textured soil base topped with moss, and tiny Super Mushrooms for scale. The piece combines polymer sculpting, strategic armature use, mixed-media texture, and layered painting for a lively, display-ready prop celebrating Mario Day.