Beginner-Friendly DIY Mini Vegetable Garden Clay Project
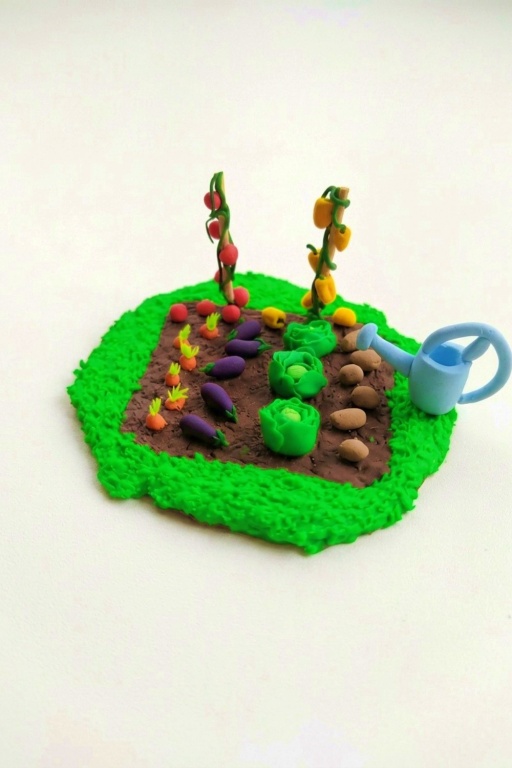
Learn how to make a charming DIY Mini Vegetable Garden Clay with this easy guide, perfect for adding a playful and creative touch to your decor or gifts.
Have you ever dreamed of having your own tiny garden that never needs watering or weeding? Now you can—by creating a mini vegetable garden entirely out of polymer clay! This imaginative DIY project lets you build your own little world full of adorable carrots, plump tomatoes, leafy greens, and any other veggies you love. It’s a chance to work with your hands, play with colors, and create something truly unique.
DIY Mini Vegetable Garden Clay for Adorable Mini Crafts
Using soft clay, you mold each vegetable and add tiny details to make them charming and lifelike. You can experiment with textures, mix vibrant colors to match the real thing, or even style your garden in a playful way by creating oversized or whimsical veggies. Whether you craft a tiny row of carrots, a basket of produce, or a full garden bed, shaping and arranging your vegetables is incredibly relaxing and satisfying. Once finished, a quick bake in the oven turns your creations into durable treasures.
This project is not just fun—it’s also a little escape into a world of creativity. Your mini vegetable garden can be used as a cute decoration, a handmade gift, or even a collection of charms and magnets. Every piece tells a story, and the process of making them brings a big smile to your face. It’s an activity perfect for anyone who loves crafting, gardening, or just a dose of artistic curiosity.
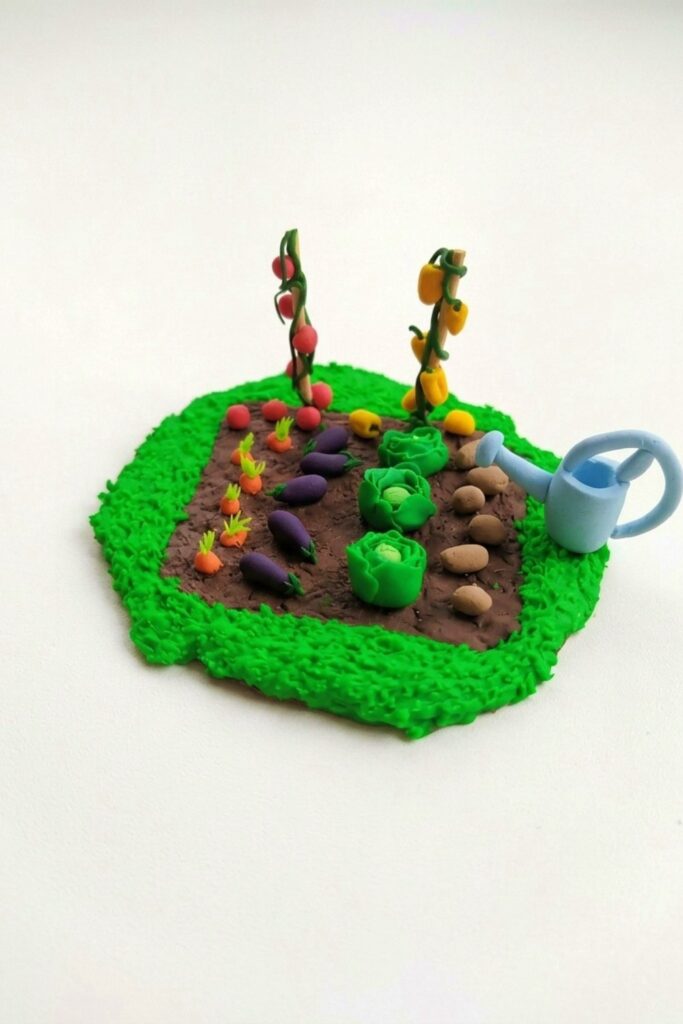
Mini Vegetable Garden Diorama (Polymer Clay)
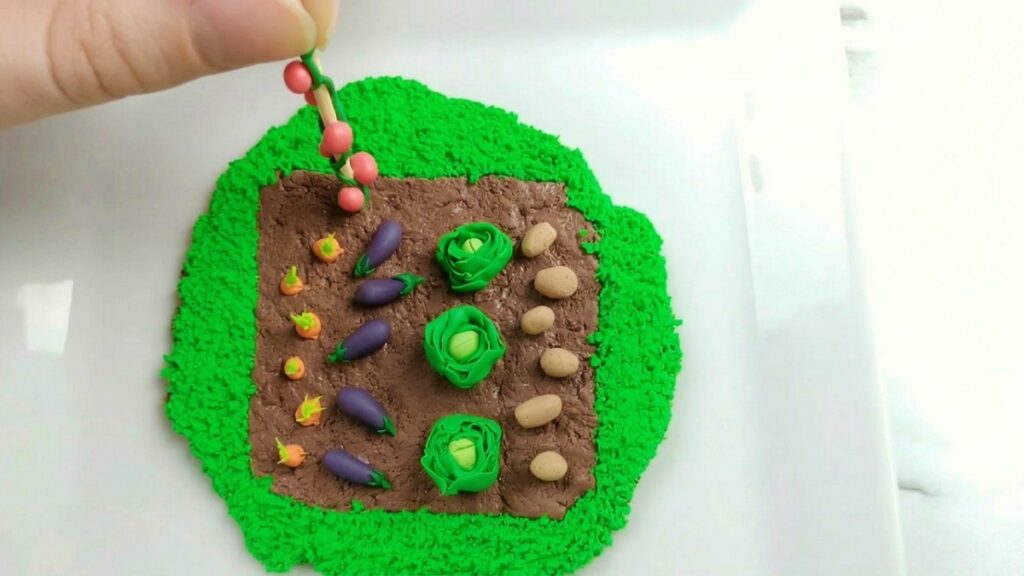
Create a charming miniature vegetable garden scene using polymer clay. This project teaches texture creation for soil, shaping small vegetables (carrots, eggplants, lettuce, potatoes, tomatoes, and peppers), adding vines and grass borders, assembling a small watering can, and securely adhering components before baking. The result is a compact diorama suitable for display, charms, or mixed-media projects.
Materials & Supplies
- Polymer clay: brown, green, orange, purple, red, yellow, light green
- Liquid Sculpey (or polymer clay glue)
- Aluminum foil or toothbrush for texture (optional)
- Baking paper or silicone craft mat
- Toothpicks and a needle tool
- Small knife or sculpting blade
- Ballpoint stylus or ball-ended tool
- Small paintbrush for liquid Sculpey
- Oven (follow clay manufacturer instructions)
Tools & Equipment
- Work surface protected with craft mat
- Pliers (if adding metal hardware later)
- Small rolling pin or clay roller
- Fine sandpaper (optional for post-bake smoothing)
- Reference images for vegetable shapes (optional)
Project Details
- Size: project scale is variable; recommend base roughly 6–10 cm square for a compact garden.
- Skill: beginner to intermediate.
- Time: 1–3 hours active sculpting plus baking and cooling time.
- Outcome: durable baked polymer clay diorama that can be varnished or left matte.
Preparation
- Condition clay by kneading until soft and evenly colored.
- Choose a base shape for the garden (square, rectangle, or freeform) and roll brown clay into a thick slab for soil.
- Prepare tools and a silicone mat to avoid wrinkling like baking paper can cause.
- Keep a small container of liquid Sculpey handy to secure pieces during assembly.
Step-by-Step Tutorial
Step 1: Create the Soil Base and Texture
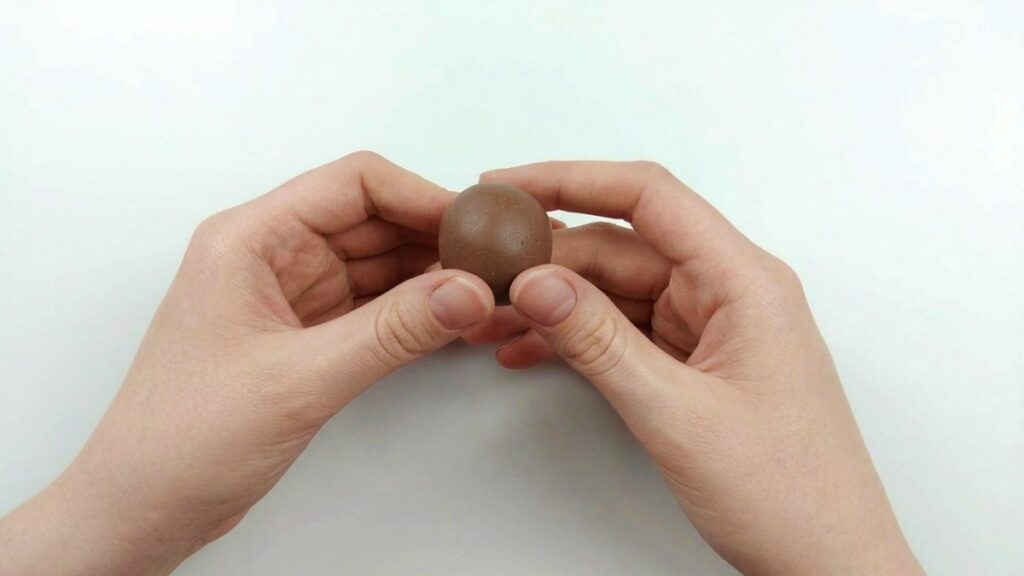
- Roll a large ball of brown clay and flatten to desired base thickness.
- Shape the base into your chosen outline (square recommended for planting rows).
- Add texture using a ball of aluminum foil pressed lightly over the surface, a toothbrush dabbed and dragged, or a toothpick to create pitted soil details.
- Smooth edges slightly so the base reads as a raised garden bed.
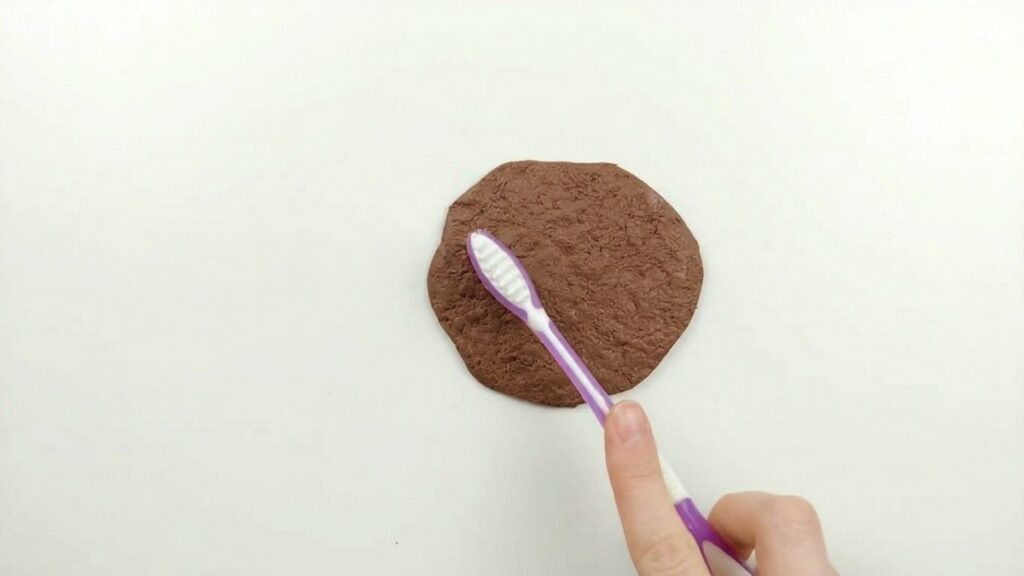
Step 2: Make the Grass Border
- Roll green clay into a thin sheet and cut strips to size for edging.
- Place the grass strips along the perimeter of the soil base, trimming corners to fit.
- Add texture by dragging a toothpick through the edge to suggest individual blades or a grassy rim.
- Apply a thin line of liquid Sculpey under the grass border where it meets the soil to secure after baking.
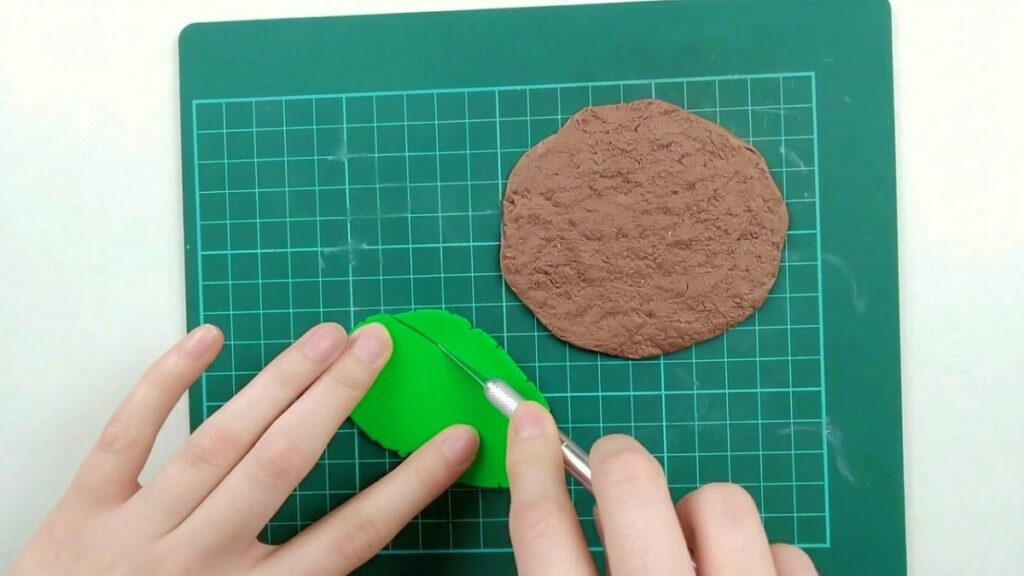
Step 3: Sculpt Carrots
- Roll small orange clay balls and cut each in half to form carrot bodies.
- Use a knife to score small horizontal ridges to mimic carrot texture.
- For carrot tops, roll thin green logs and taper the ends; slice into multiple tapered segments and attach to the carrot tops.
- Dip the carrot bases briefly into liquid Sculpey and press them into the soil row, arranging slightly at an angle to appear planted.
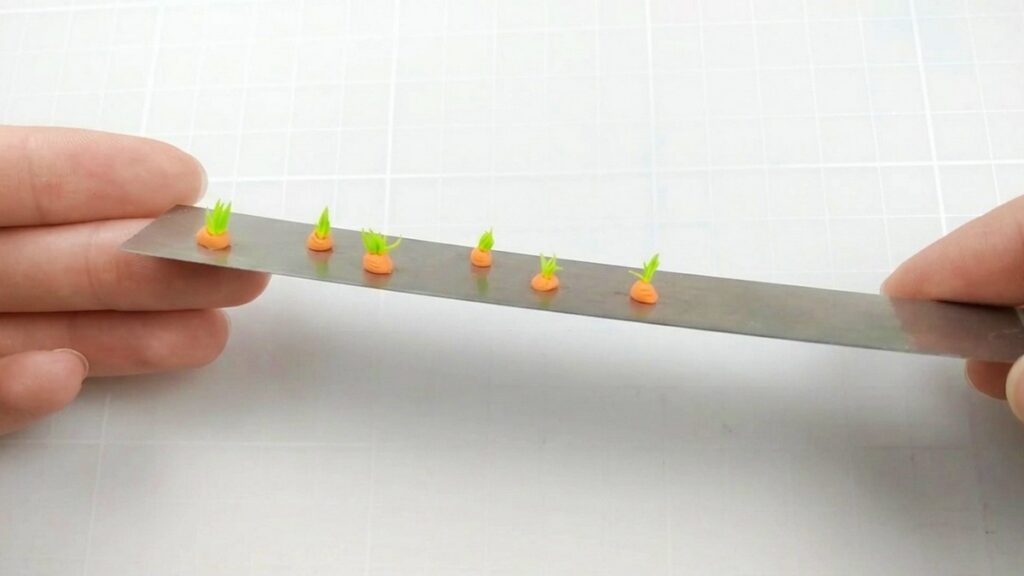
Step 4: Form Eggplants
- Shape purple clay into plump teardrop forms for eggplants.
- Create small green star-shaped calyx pieces by cutting thin tapered pieces and arranging them around the top; add a tiny stem.
- Use liquid Sculpey sparingly on the base of each eggplant and press them gently into the soil, grouping a few for visual interest.
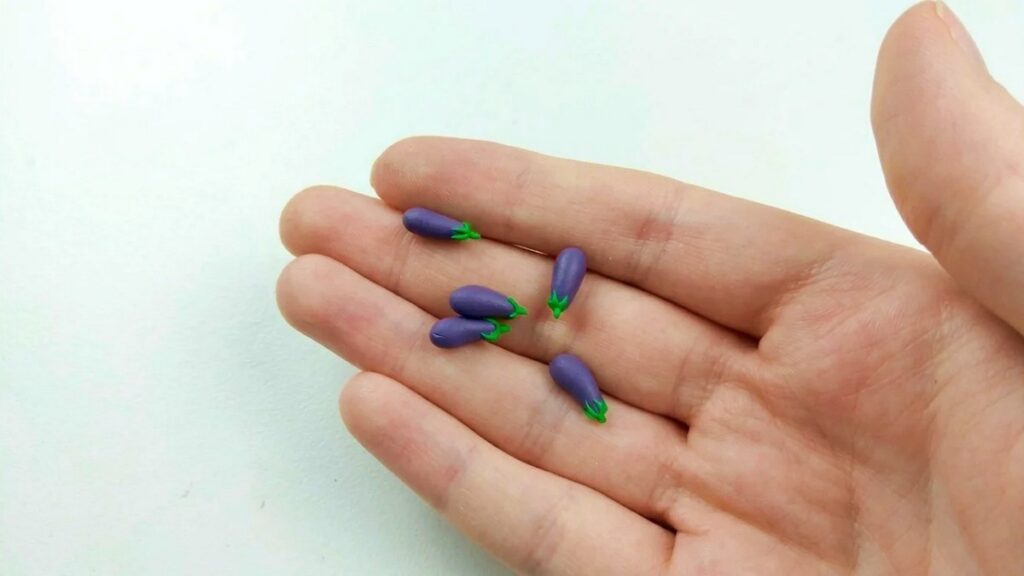
Step 5: Build Lettuce Heads
- Roll a ball of light green clay for the core of the lettuce.
- Flatten dark green clay into small petal-like pieces and wrap them around the core in overlapping layers until it resembles a lettuce head.
- Trim the bottom to flush with the soil so it sits low in the garden bed.
- Add liquid Sculpey beneath before placing to ensure secure adhesion.
Step 6: Add Potatoes and Small Details
- Roll irregular, slightly flattened brown balls to imitate potatoes.
- Texture lightly with a toothpick or toothbrush to suggest skin irregularities.
- Position several potatoes on the soil surface or partially buried, using liquid Sculpey where needed.
Step 7: Create Tomato Vines and Peppers
- Roll tiny red balls for tomatoes and create thin green vines using narrow green logs.
- Cut vine ends with a toothpick to create little tails and wrap vines around a central stick or create a curled bunch.
- For yellow peppers, form short fat cylinders, score four vertical lines, and indent the top with a ballpoint tool before attaching a small green stem.
- Place tomatoes and peppers strategically to add height and color contrast.
Step 8: Sculpt a Mini Watering Can (Optional)
- Roll clay into a small cylinder and flatten top and bottom to form the can body.
- Create a spout by shaping a cone and cutting one end at an angle; attach a small ball with perforated holes for the sprinkler.
- Make a handle from a thin snake of clay and add a small supporting piece beneath.
- Attach the finished can to the soil base with liquid Sculpey.
Finishing Instructions
- Once the scene is assembled and all elements are positioned with liquid Sculpey where needed, bake the piece according to the clay manufacturer’s temperature and time recommendations.
- Allow the diorama to cool completely on the mat before handling.
- If desired, sand any rough spots lightly with fine sandpaper and dust off.
- Optionally varnish selected elements for a subtle sheen or leave matte for a natural look.
Tips & Techniques
- Use reference photos to capture correct proportions and textures for each vegetable.
- Work in small batches for tiny components to avoid drying or dust contamination.
- Test composition without liquid Sculpey first so adjustments are easy; secure only when satisfied.
- For very fine textures, clean a toothbrush and press lightly to add soil or potato skin detail.
Common Problems & Solutions
- Warping during baking: ensure even thickness and avoid stacking heavy pieces; support delicate parts until partially cured.
- Pieces detaching: apply a thin layer of liquid Sculpey to both contact surfaces and press firmly before baking.
- Over-texturing: remove excess tool marks by smoothing gently with a finger or ball tool before baking.
Creative Ideas & Variations
- Scale up into a larger garden with additional crops like corn or radishes.
- Paint details after baking to add subtle color gradations or weathering.
- Combine with resin to create a miniature terrarium effect or mount the scene on a wooden plaque.
Final Result
You will have a colorful, textured miniature vegetable garden showcasing rows of carrots, eggplants, lettuce, potatoes, tomatoes, peppers, and a tiny watering can if chosen. This diorama demonstrates versatile sculpting and assembly techniques that translate to many miniature garden projects and make a delightful display piece or gift.