DIY Mini Cactus Resin Clay Crafts for All Levels
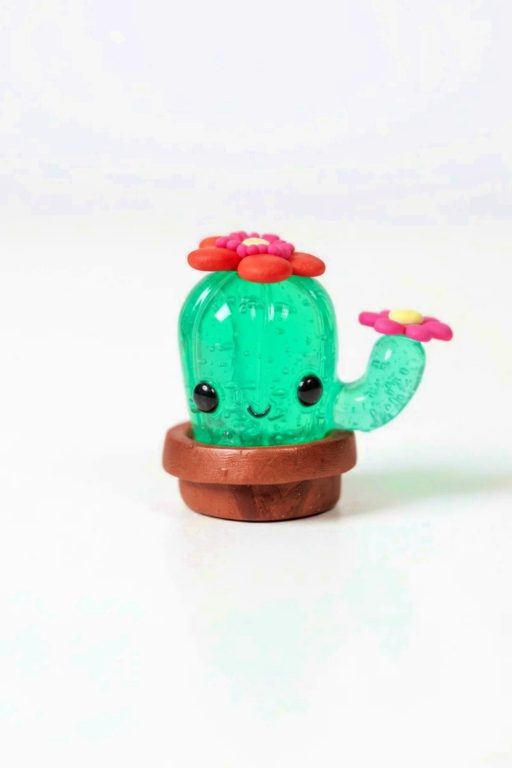
Create vibrant DIY Mini Cactus Resin Clay pieces with this simple guide, perfect for adding unique decor accents or gifting handmade charm effortlessly.
Everyone loves the charm of tiny cactus plants, but not everyone has the time to care for real ones. That’s where this fun project comes in. Using resin clay, you can create your very own miniature cacti with all the personality of real ones—without the water or sunlight. From cute, round barrel cacti to tall, spiky varieties, you’ll have so much creative freedom to design each plant just the way you want.
DIY Mini Cactus Resin Clay for Nature-Inspired Decor
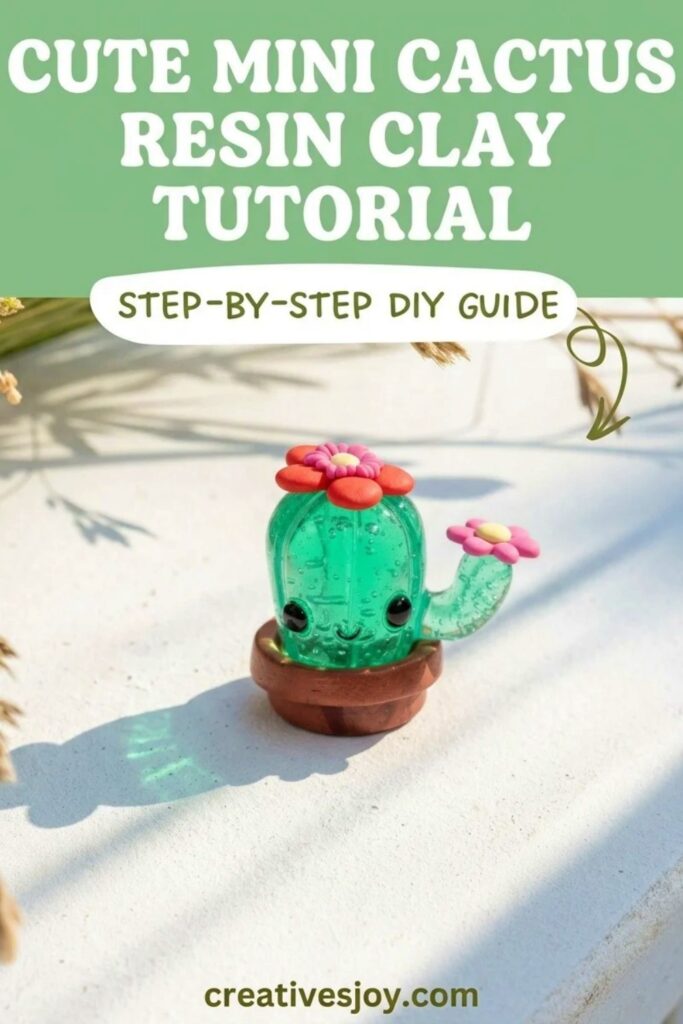
You work with resin clay to sculpt your tiny cacti. The clay is soft and easy to shape, letting you form all the unique details, like spikes, ridges, or even flowers on top. You can mix colors to add realistic greens or playful shades for a more artistic look. Once your plants are shaped, bake or cure them to make them strong and long-lasting. Then, you can add even more personality by placing them in small clay pots or decorating their bases.
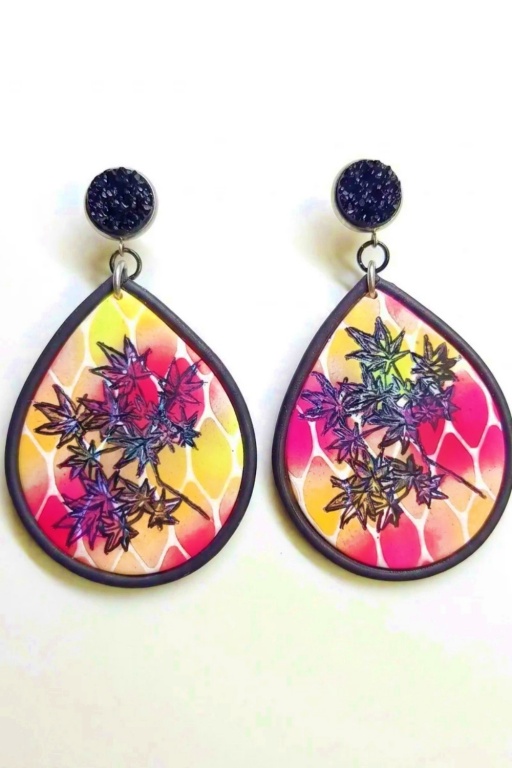
The beauty of making these tiny cactus designs is how versatile they are. You can use them as keychains, earrings, or little decorations for your desk or bookshelf. They’re fun to create and even more fun to show off when they’re finished. This simple project adds a splash of creativity and joy to your day—a perfect blend of art and nature that anyone can enjoy.
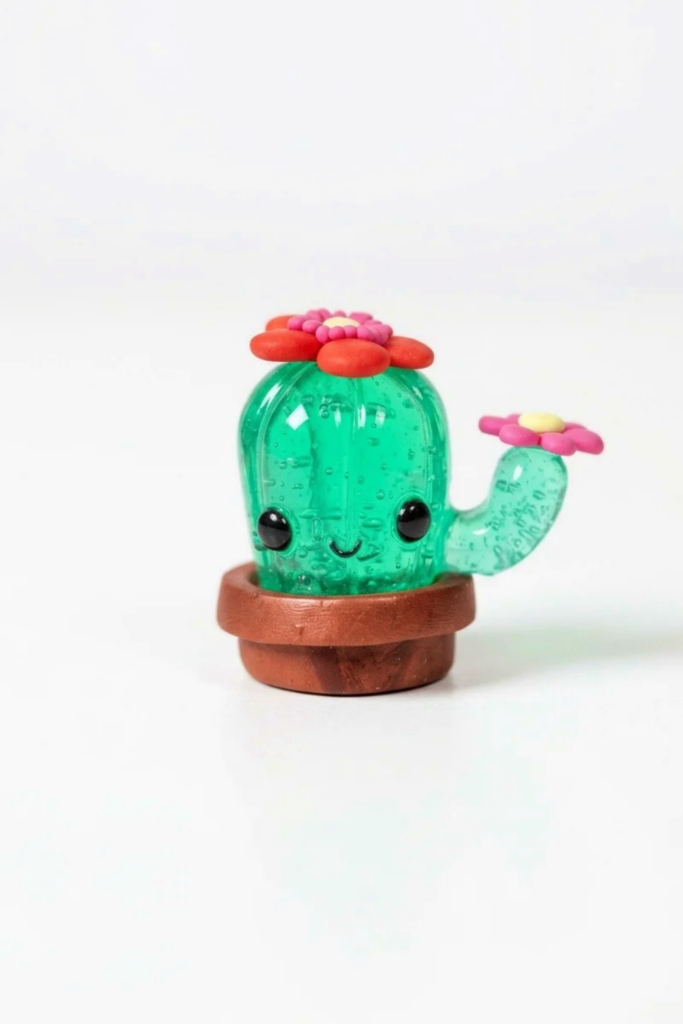
Resin Cactus with Polymer Clay Flowers
Create a glossy resin cactus with tiny polymer clay flowers and a matching clay pot. This project combines simple clay sculpting, mold making, UV resin casting, and careful assembly to produce a compact decorative piece or charm. The tutorial below walks you through each stage: forming a clay template, making a silicone mold, sculpting tiny clay flowers and pot details, casting the cactus in resin, and final assembly and finishing. The steps are clear and suitable for beginners who have basic clay and resin experience.
Project Requirements
Materials
- Scrap polymer clay for template (any brand)
- Polymer clay in colors for flowers and pot (e.g., red, yellow, bronze)
- UV resin and green pigment or pre-tinted green UV resin
- Sorta-Clear or similar silicone mold-making kit
- Super glue or strong craft adhesive
- Clear glaze or additional UV resin for glossy finish
Tools
- Blade or craft knife
- Ball-ended tools or sculpting tools
- Small rolling surface or work mat
- Fine paintbrush for resin and glaze application
- Silicone mixing cups and stirring sticks
- Oven for baking polymer clay (follow manufacturer instructions)
- Small container to hold liquid resin while working
Measurements
- Scale components so cactus fits snugly into the chosen pot
- Typical mini cactus: 2–4 cm tall; pot diameter: 2–3 cm
- Adjust resin volume to fill the mold without overflow
Preparation
- Condition polymer clay by kneading until soft and uniform.
- Clear and level a workspace; use gloves for resin work and ensure good ventilation.
- Choose or sculpt a simple cactus shape as a template; make a one-armed or multi-ribbed shape based on preference.
- Pre-bake any clay pieces that will serve as durable templates before mold making.
Making Process
Stage 1: Sculpt the Clay Template
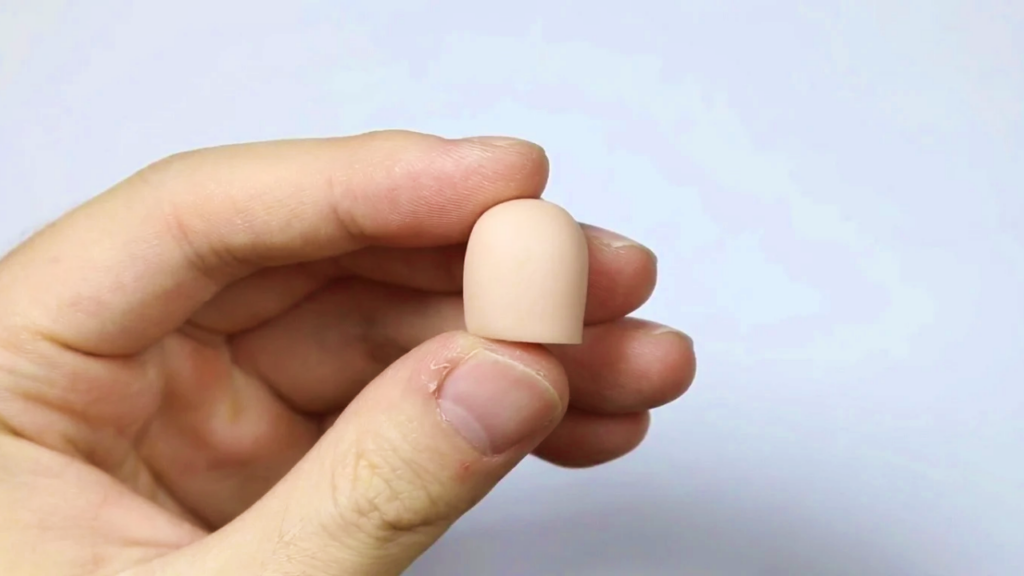
- Roll a fat cylinder of scrap clay and trim one end with a blade to create a flat base.
- Use a blade to carve three evenly spaced long indents around the cylinder; repeat on opposite sides to create six radial sections for a ribbed cactus appearance.
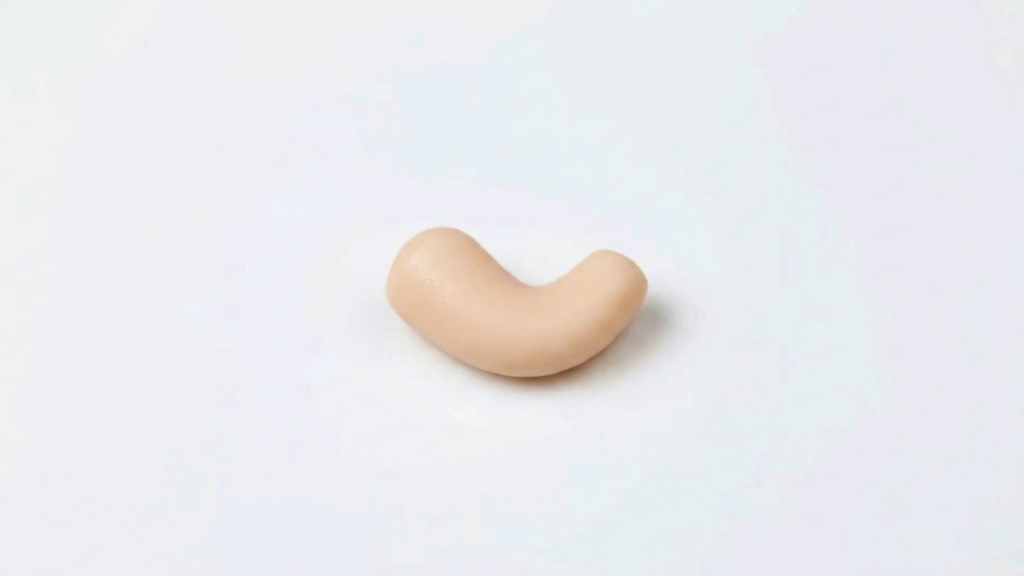
- Sculpt an arm by rolling a smaller cylinder, slightly bending it to natural shape, and blend it into the main body with smoothing tools.
- Bake the completed clay template according to the polymer clay manufacturer’s instructions, then allow it to cool fully.
Stage 2: Make a Silicone Mold
- Mix Sorta-Clear or chosen silicone mold compound exactly as directed, avoiding bubbles by stirring slowly.
- Position the baked clay template in a small container or mold box with the base flat to create a single-piece mold.
- Pour silicone slowly over the template to avoid trapping air, ensuring complete coverage. Tap gently to release bubbles.
- Cure the mold for the prescribed time; demold carefully to preserve fine detail. You now have a reusable cactus mold.
Stage 3: Sculpt Polymer Clay Flowers and Pot
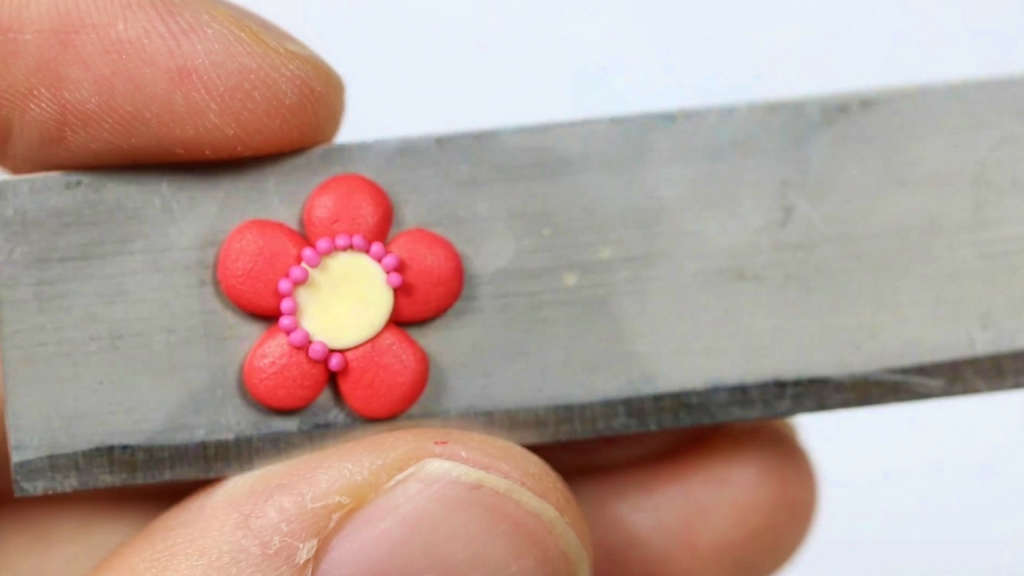
- For flowers, flatten small red clay balls and pinch each into teardrop petals. Assemble six petals around a tiny yellow center. Add optional small pink dots for outlining.
- Create a second, smaller flower using the same technique with reduced petal size.
- For the pot, roll bronze or desired-color clay into a cylinder and slice a circular pot piece. Shape the rim by wrapping a thin strip around the top and trimming excess.
- Bake flowers and pot pieces separately following polymer clay instructions; cool before assembly.
Stage 4: Cast the Cactus in UV Resin
- Mix green pigment into clear UV resin if not using pre-tinted resin. Stir gently to avoid bubbles.
- Fill the silicone cactus mold carefully to near the top, leaving a small gap to prevent overflow during curing.
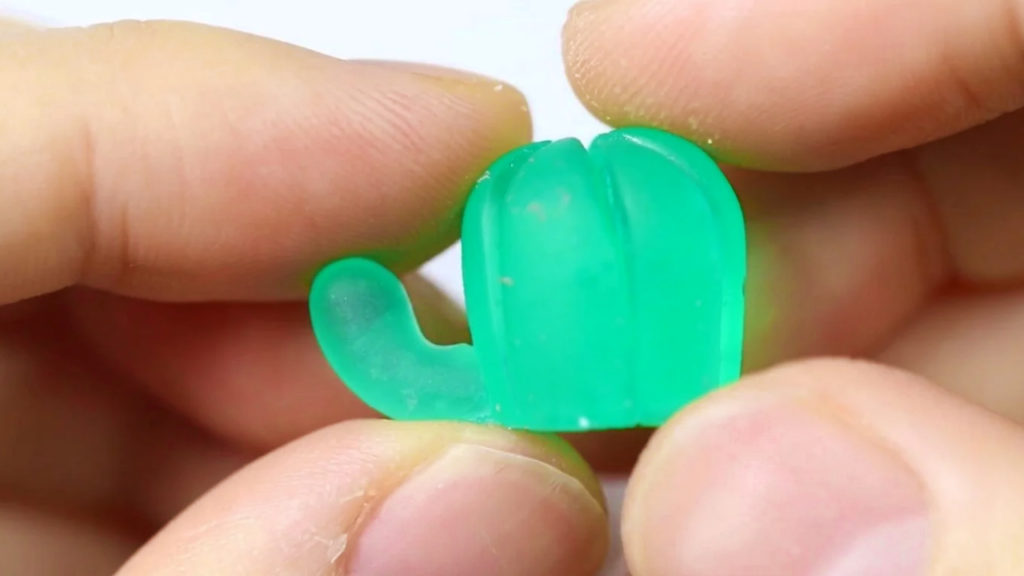
- Cure the resin fully under a UV lamp or sunlight, following resin curing times. Demold the cured cactus slowly to avoid stress or cracking.
Assembly Process
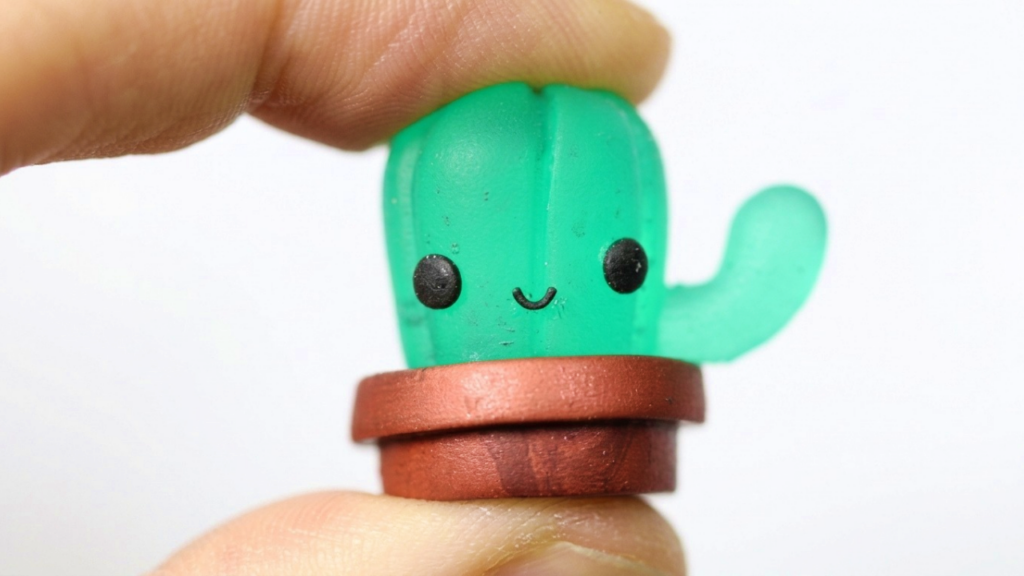
- Attach tiny polymer clay facial features or other embellishments to the resin cactus with super glue or a drop of uncured resin and a quick UV cure.
- Glue the cactus base into the baked clay pot using super glue; hold until secure or clamp gently with tweezers.
- Position and glue the larger flower on top of the cactus, then add the smaller flower to an arm or side with a dab of resin or adhesive. Cure any resin adhesive as needed.
Decorative Details
- Apply a thin glaze or brush a layer of UV resin selectively over the cactus for extra shine. Cure properly to achieve a high-gloss finish.
- For the pot, consider adding metallic highlights or a thin patina with acrylic paint to enhance texture and realism.
- Add final touches like tiny spines made of thin wire or painted dots to suggest areoles, but ensure they are safely embedded or blunted for handling.
Final Finishing
- Inspect all joints and surfaces, removing any excess glue or resin threads with a blade or sandpaper.
- If desired, apply a final protective varnish to the pot and flowers to prevent color wear.
- Allow the fully assembled piece to rest 24 hours before handling extensively to ensure all adhesives and coatings are fully set.
Tips for Success
- Work with small amounts of clay and resin to control detail and reduce waste.
- Keep silicone molds clean and free of dust to ensure a clear cast and crisp details.
- Cure resin in short stages if layers are applied to prevent overheating or incomplete cures.
- Use a toothpick to pop small bubbles before curing; a quick pass with a heat gun at low distance also helps, but use caution.
Customization Options
- Change flower colors, add tiny animals or faces, or texture the pot for variety.
- Create multiple cactus sizes by trimming the clay template and recasting.
- Embed tiny glitter or mica powder into the resin for shimmering effects.
Care and Maintenance
- Avoid prolonged exposure of finished resin pieces to direct sunlight to reduce potential yellowing.
- Clean gently with a soft cloth; avoid harsh chemicals that may dull finishes.
- Store pieces in a cool, dry place to preserve color and adhesive integrity.
Project Summary
This project blends polymer clay sculpting and resin casting to create a glossy mini cactus with charming clay flowers and a handcrafted pot. Follow the stages carefully: sculpt and bake a durable template, make a silicone mold, cast resin cactus pieces, bake clay decorations, and assemble with strong adhesive and resin glazing. With attention to detail and safe resin practice, you can produce a series of cute, durable cacti to gift, display, or sell.