Cadbury Cream Egg Clay Creations for Candy-Themed Crafts
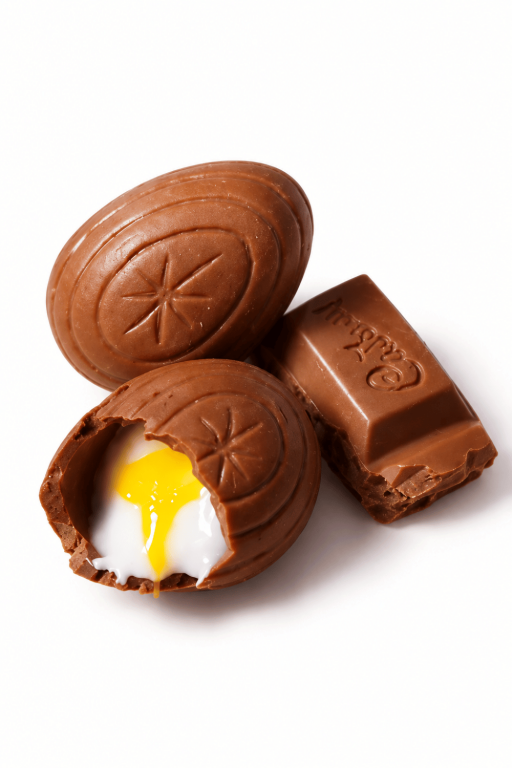
Learn how to make charming Cadbury Cream Egg Clay Creations with this easy guide, perfect for crafting adorable miniatures with polished detail.
If you’re excited about fun and creative projects, this is one you’ll love! You’ll be making charming clay replicas of a classic treat: the Cadbury cream egg. This project is all about transforming simple materials into something impressively realistic and irresistibly cute. Whether you’re a beginner or a seasoned DIY enthusiast, this crafting idea is easy, enjoyable, and offers endless possibilities for personalizing your creations. Plus, it’s a wonderful way to combine your love for crafting with a touch of sweet inspiration.
DIY Cadbury Cream Egg Clay Creations for All Levels
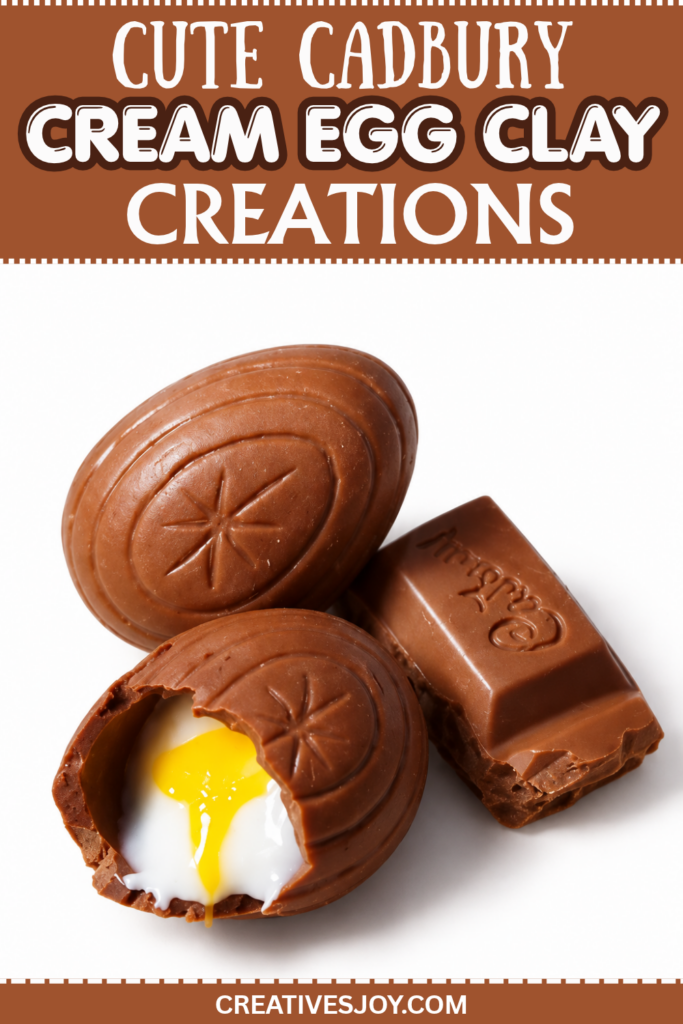
With just a few basic tools and some clay, you’ll shape and design the chocolatey outer shell, giving it a textured, realistic appearance. The real fun comes with the creamy filling, where you’ll layer soft white and yellow clay to match the signature look of the beloved dessert. You can even add small details like tiny cracks on the shell or play with its shape to make it look like someone took a bite out of it. Once you’re done, you can use glaze to give it a shiny, mouthwatering finish.
These playful recreations not only look amazing but can also be turned into unique keychains, magnets, or decorative pieces. Imagine gifting your friends or family an adorable little “chocolate egg” that never melts! This delightful project is easy to customize, incredibly fun to create, and adds a sprinkle of sweetness to your crafting adventures.
Cute Cadbury Cream Egg Clay Creations
This tutorial shows how to make a miniature chocolate piece and a Catberry Cream Egg from polymer clay. The finished set includes a broken-chocolate bar piece with texture and lettering, and a two‑half cream egg filled with a creamy center and a glossy yolk. Steps cover shaping, texturing, making a reusable mold from a baked half‑egg, forming the egg halves, creating the cream filling and yolk, baking stages, and final glazing.
Materials and tools
- Polymer clay (various colours and scrap clay)
- Knife / blade (X‑Acto knife)
- Pointed dotting tool (for pattern and writing)
- Ball or shaping tools (for forming the egg half and chocolate shaping)
- Roller or a way to roll out a sheet of clay (video: “roll out a sheet of clay”)
- Tools to cut off excess clay (blade/knife)
- TLS (used for cream filling; mixed with paint or pastel)
- Paint or pastel (to mix with TLS or to colour details)
- Fimo Deco Gel (used for the yolk; mixed with pastels)
- Pastels (for mixing and colour)
- Materials for mold-making (the baked half is used as the mold master)
- Glaze: satin glaze (for final seal) and glass glaze (for the cream filling)
- Baking setup (follow your clay’s baking instructions)
Make the chocolate piece
Step 1 — Prepare layered clay pieces
- Stack layers of clay to make two pieces:
- One piece made from three layers.
- One piece made from two layers.
- These stacked layers will form the chocolate bar look.

Step 2 — Cut and layer for a broken look
- Take the piece with two layers, cut the edges at an angle, and place it on top of the other (three‑layer) piece.
- Then cut two sides at an angle:
- One side straight down.
- One side crooked to imitate a piece broken off a bar of chocolate.
Step 3 — Add texture and lettering
- Use your knife (X‑Acto) to add texture across the chocolate surface to mimic chocolate squares and surface irregularities.
- Use a pointed dotting tool to write “catberry” (or your chosen lettering) on the chocolate surface.
- Once textured and lettered, the chocolate piece is ready to bake.

Make the Cream Egg halves
Step 1 — Form a half‑egg master
- Take some scrap clay and shape it into half of an egg (a shallow dome or half‑shell).
- Use a pointed dotting tool to make the decorative pattern on the half‑egg surface.

Step 2 — Bake and make a mold from the master
- Bake the decorated half‑egg (the video bakes it first).
- After baking and cooling, use the baked half‑egg as a mold master for making the matching egg halves.
Form the egg halves using the mold
Step 1 — Press clay into the mold for a half shell
- Roll out a sheet of clay to an even thickness.
- Press the sheet firmly into the baked half‑egg mold so the clay conforms to the shape.
- Cut off excess clay around the mold surface.
- Use your knife to trim and cut away any remaining clay pieces around the edge.
Step 2 — Pre‑bake and make the matching half
- Pre‑bake that half for a few minutes (as shown in the video).
- Use the same mold to make the other half of the egg:
- For the second half, you only need to fill out half the mold so the two halves will fit together.
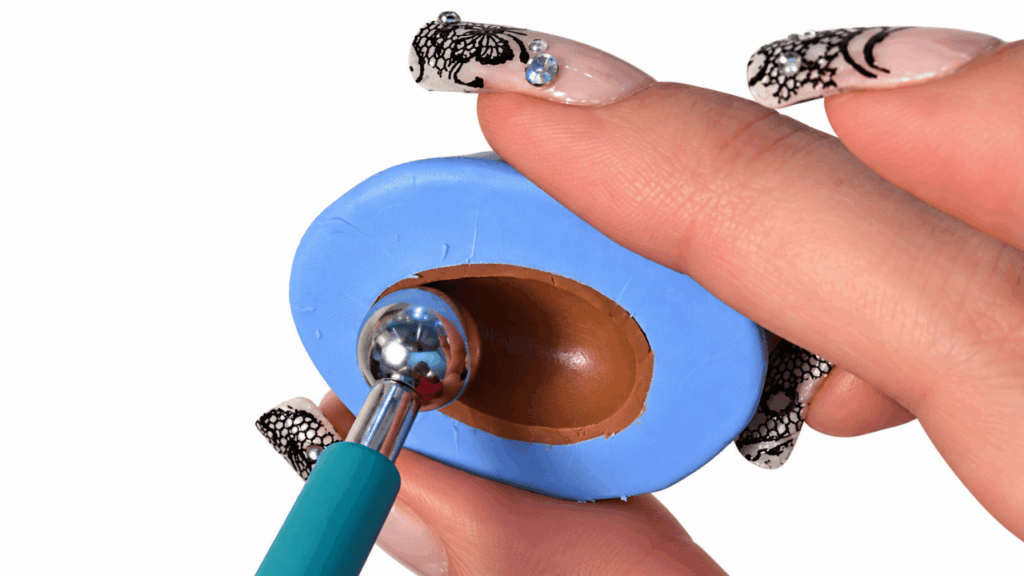
Step 3 — Assemble and bake the two halves
- Press the second half on top of the first half so the egg encloses the cavity for the cream.
- Bake them for a few minutes to set the joined halves before adding the filling.
Create the cream filling and yolk
Step 1 — Make the cream filling
- Use TLS and mix it with paint (or with pastel) to make the cream-coloured filling.
- Fill the egg cavity with the TLS mixture as the creamy interior.

Step 2 — Make the yolk
- Mix Fimo Deco Gel with pastels to make the yolk color and translucency.
- Place the yolk mixture on top of the cream filling where desired.
Final baking and sealing
Step 1 — Bake to set fillings and final join
- After filling the egg and positioning the yolk, bake the assembled piece so the TLS filling and Deco Gel yolk set.
Step 2 — Glaze and finish
- Seal everything with a satin glaze for an overall finish.
- Use glass glaze specifically for the cream filling area to give that part a glossy, wet look.
- Allow glazes to dry fully before handling.
Important notes and tips
- The baked half‑egg serves as a convenient reusable mold for consistent halves.
- You can mix TLS with paint or pastel for colour; either works.
- The creator preferred Fimo Deco Gel for the yolk because it gives a more translucent look.
- Seal the whole piece with satin glaze, and use glass glaze on the cream filling for a glossy effect.