Adorable DIY Pug Polymer Clay Charm You’ll Love
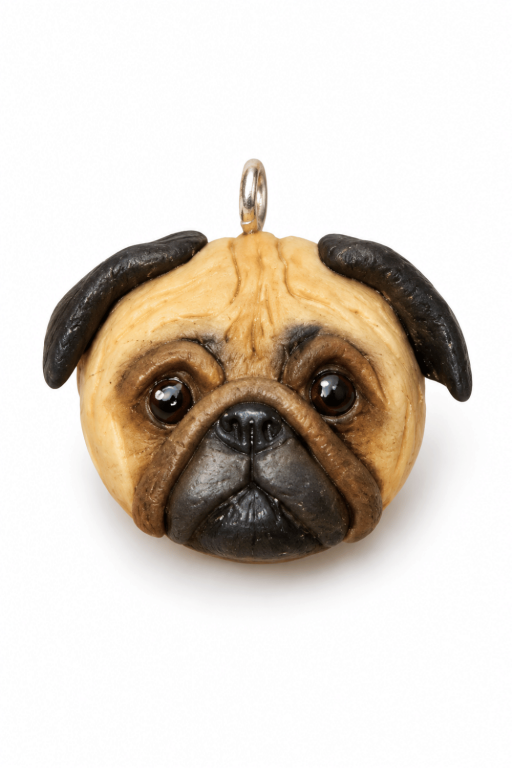
Add personality to your creations with a DIY Pug Polymer Clay Charm using this easy tutorial designed for crafters of all skill levels.
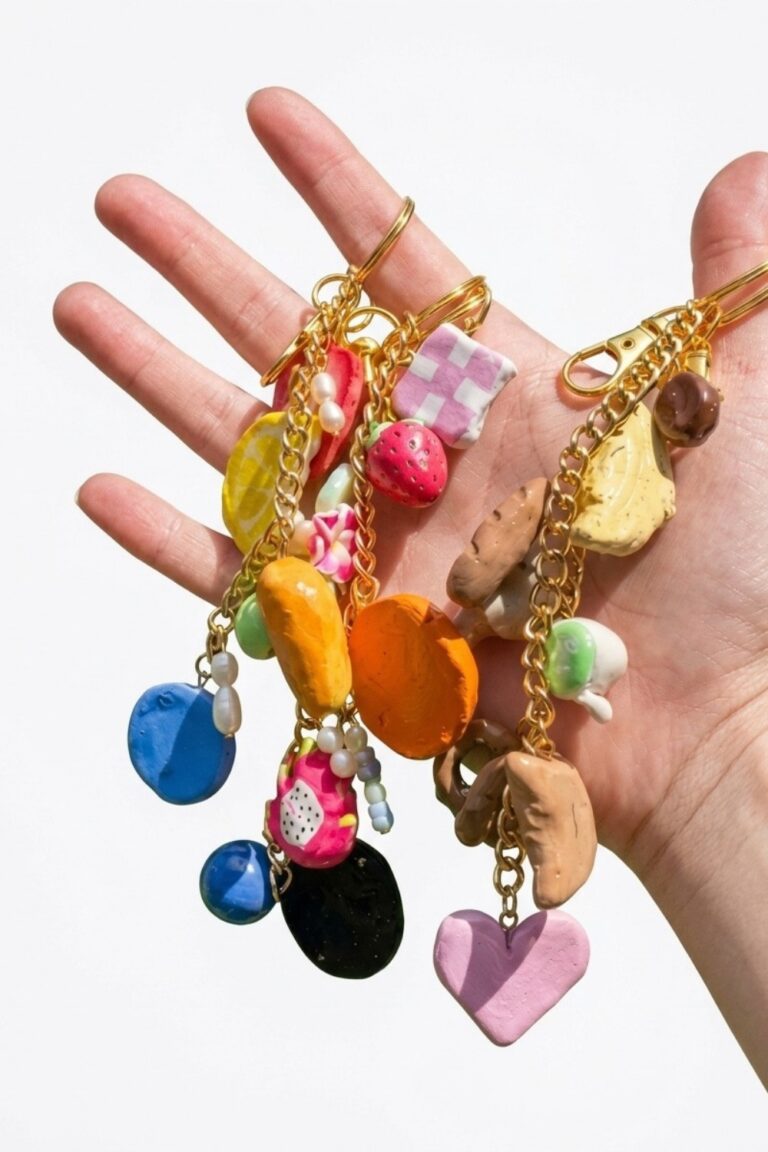
Crafting can be a wonderful way to relax and create something special, and making a tiny pug charm with polymer clay is a heartwarming project for dog lovers and creative minds alike. This DIY activity focuses on turning the lovable features of a pug into an adorable handmade decoration. Whether you use it as a keychain, jewelry piece, or a small desk ornament, this playful charm is sure to bring a smile to anyone’s face.
DIY Pug Polymer Clay Charm for Jewelry Making
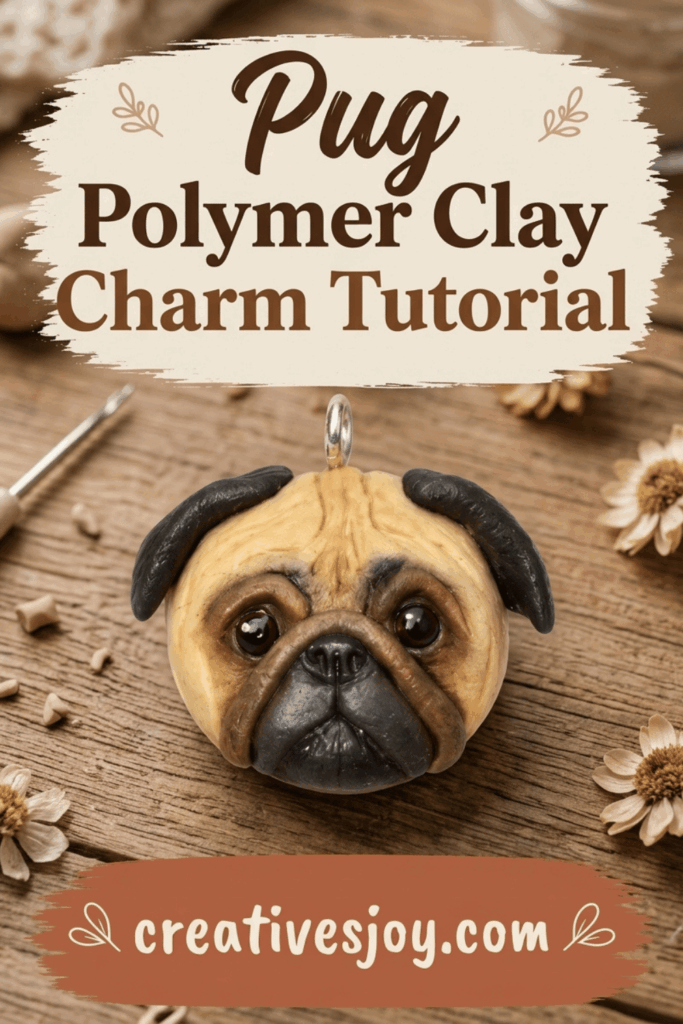
Pugs are known for their wrinkly faces, big eyes, and endearing personalities, and capturing these traits in a miniature charm adds a fun twist to crafting. It’s a project where you can experiment with tiny details — from cute noses and floppy ears to expressive little faces. You can even personalize your pug charm with accessories like a bow tie or a small collar, making it reflect your own style or the look of a pug you adore.
Polymer clay is easy to work with, making it the perfect material for shaping this charming design. Once baked, the charm becomes sturdy and lightweight, ready to be displayed wherever desired. This project is simple enough for beginners yet open-ended enough to keep experienced crafters entertained. Creating little pug charms allows you to combine your love for animals with your passion for DIY, resulting in something truly delightful.
DIY Pug Polymer Clay Charm
A compact, step‑by‑step method to sculpt a kawaii pug polymer clay charm. The pattern focuses on creating a rounded pug body, defining the muzzle and facial folds, adding subtle shading with chalk pastels, assembling small features (eyes, eyebrows, ears), inserting an eye pin, baking, and finishing with matte and gloss varnishes for realistic highlights.
Project Overview
- Create a miniature pug charm using three clay colors: beige/off‑white, dark brown, and black.
- Sculpt an oval body, form the flattened triangular muzzle, add facial markings and folds, attach ears, fix an eye pin, bake, and finish with varnish and painted highlights.
- Result: a durable charm suitable for jewelry, keychains, or small displays.
Materials & Supplies
- Polymer clay: beige/off‑white, dark brown, black.
- Razor blade or X‑Acto (handle carefully).
- Wax paper and a hard flat work surface.
- Pin or needle tool for marking and folding details.
- Chalk pastels (dark brown and lighter brown; black optional).
- Pliers (for eye pin trimming if needed).
- Eye pin (for charm hardware).
- Oven (set to 275°F / 135°C).
- Liquitex gloss varnish and medium matte varnish (or comparable clear coats).
- Titanium white heavy body acrylic paint for eye highlights.
- Small paintbrushes, dotting tool or tiny stylus, toothpick.
- Sandpaper or file (optional for smoothing).
- Safety items: cut‑resistant gloves for blade use, well‑ventilated area for varnish.

Preparation
- Condition each clay color until soft and even.
- Lay wax paper on your hard work surface to prevent sticking and to aid in shaping.
- Arrange tools within reach: razor, pin, pastels, brushes, eye pin.
- Preheat the oven to 275°F (135°C) only when ready to bake.
Step‑by‑Step Detailed
Base formation
- Create the base shape:
- Pinch off a small amount of beige clay.
- Place on wax paper and push down with your finger to form a slightly oval, flattened body rather than a perfect circle.
- Compare proportions to reference—aim for an oval length slightly greater than width.
Muzzle construction
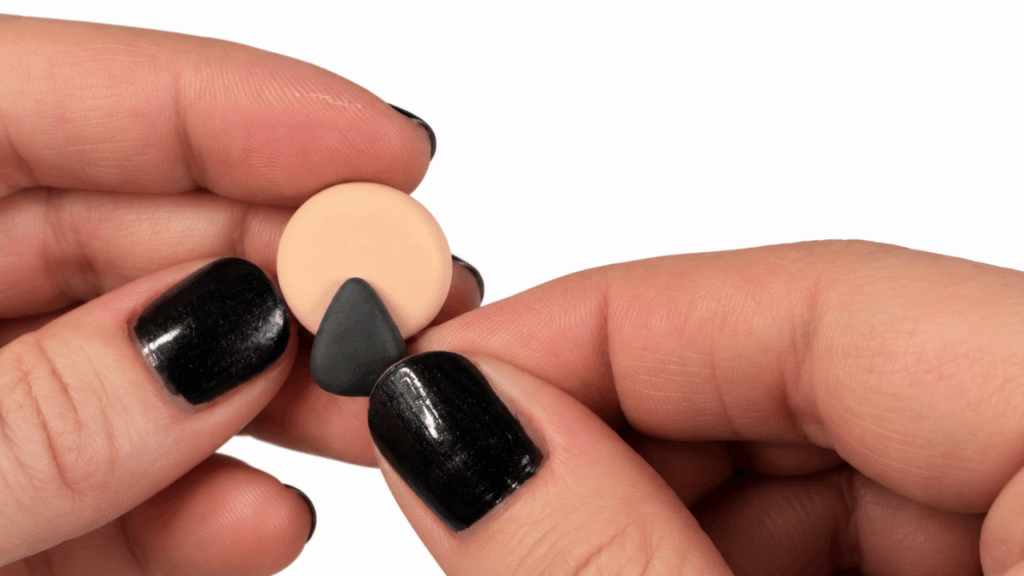
- Make the snout:
- Pinch a small amount of black clay and shape into a flattened triangle.
- Trim the bottom of the triangle with a razor so the snout sits flat on the face.
- Position the snout so it occupies just under half the face length from the head center toward the base.
Brown cane placement (facial mask)
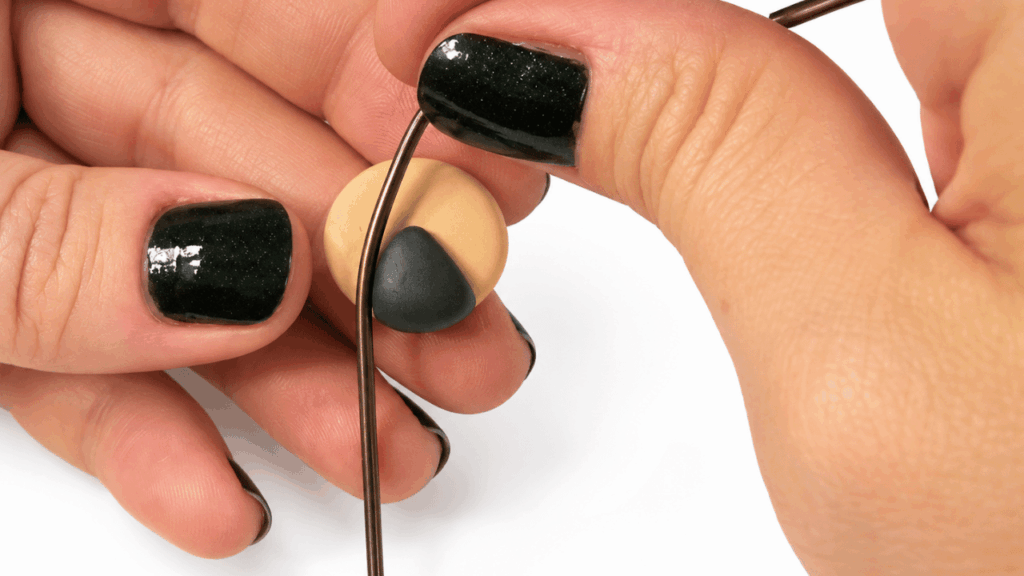
- Add brown markings:
- Create a thin brown cane/stripe and drape it over the top of the snout, forming the characteristic pug mask and subtle “mustache” shape.
- Trim excess clay to conform to the muzzle contours.
Mark eye positions & shading
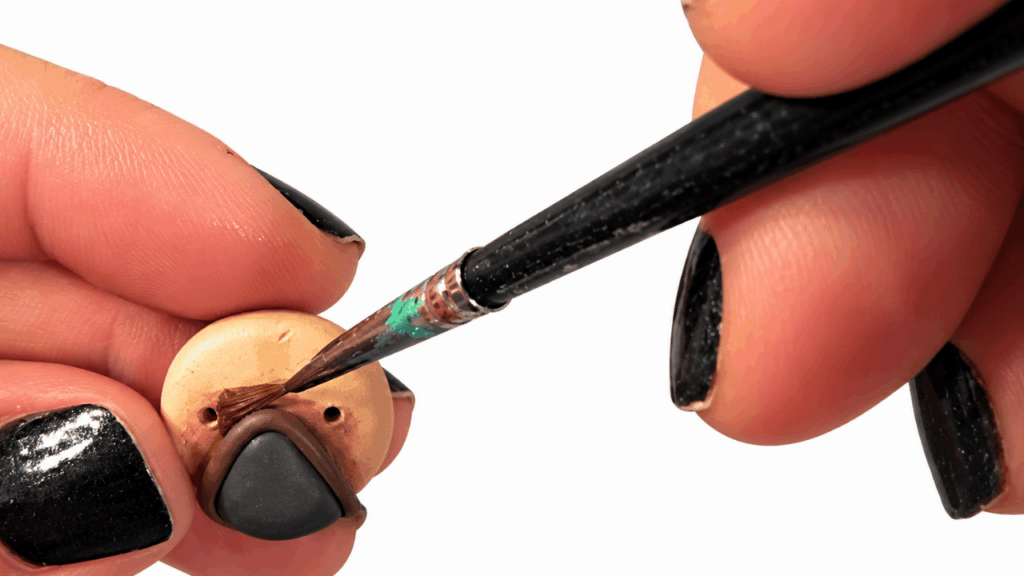
- Define eye locations and tone:
- Use a pin to draw two eye holes aligned symmetrically above the snout.
- Before adding eyes, dust chalk pastels to define shadows and facial planes: score pastels with a blade, then apply dark brown and lighter brown powder where folds and shadows naturally occur.
- Optionally add a touch of black pastel for deeper contrast.
Eyes and eyebrows
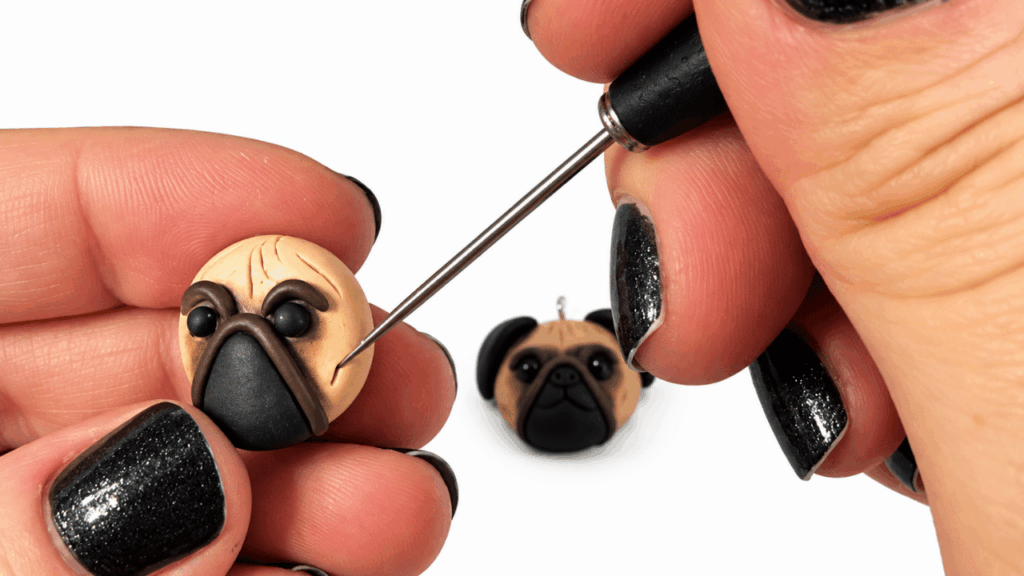
- Create eyes and brow shapes:
- Roll a thin black cane and cut two equal lengths, then roll those into tiny black eye balls and place into the marked eye holes.
- Form tiny rolls from the brown canes for eyebrows and place them above each eye to give expression.
Facial folds and nose details
- Sculpt facial character:
- Use a fine tool to score multiple facial folds around the muzzle and between the eyes to mimic pug wrinkles.
- Make a small black nose from a tiny ball of black clay; add minute dots adjacent to the nose to imply whisker follicles and create the characteristic pouty mouth.
Ears
- Add ears:
- Pinch off very small amounts of black or brown clay and shape into two floppy ear pieces.
- Attach to the upper sides of the head; blend gently at the base to secure without losing the ear’s folded look.
Eye pin insertion
- Hardware placement:
- Insert an eye pin through the top of the charm where desired; ensure the pin path does not distort the facial features.
- Trim the pin post if necessary with pliers, leaving enough length internally for a strong mechanical hold.
Baking
- Cure the clay:
- Bake at 275°F (135°C) for 35 minutes as instructed.
- After baking, allow the piece to cool completely on a flat surface to avoid warping.
Final treatment
- Apply clear coats and highlights:
- Use Liquitex medium matte varnish to coat the entire face lightly for a natural, non‑glossy skin finish.
- With Liquitex gloss varnish, apply gloss only to the eyes and nose to create wet highlights.
- Add a tiny white dot to each eye using Titanium White heavy body acrylic to simulate reflective gleam.
- Ensure varnishes dry fully between coats and handle the charm gently until fully cured.
Helpful methods
- Keep clay warm but not sticky; over‑handling will soften shapes.
- Score chalk pastels with a razor for easy pickup with a brush.
- Use a dull razor for trimming to reduce slipping; always cut away from yourself.
- Work in thin layers for facial folds—less is easier to refine than removing excess.
- Cure varnish in a ventilated area and apply thin coats to prevent dripping.
Troubleshooting
- Uneven snout placement: reposition before baking; use a small bit of liquid clay or pressure to reattach if needed and re‑bake.
- Blurry pastel shading: wipe gently with a dry brush and reapply lighter layers; fix with a matte varnish.
- Eye pin loosening: after cooling, secure with a drop of super glue or a bead of cured epoxy inside the pin hole.
- Gloss pooling: remove excess immediately with a clean brush and reapply thin coats.
Alternative concepts
- Change breed: adjust muzzle shape and ear placement for other dog charms.
- Add tiny collar or tag from colored clay for personalization.
- Scale up for a mini sculpture or down for a delicate earring pair.
- Experiment with a translucent varnish mix for subtle skin translucency.
Final Result
A charming, stylized pug polymer clay charm with a well‑defined muzzle and facial folds, expressive eyes with glossy highlights, securely embedded eye pin, and a soft matte finish with glossy accents—ready for use as jewelry, keychain, or collectible miniature.