DIY Polymer Clay Pendant Designs for Vintage Style Jewelry
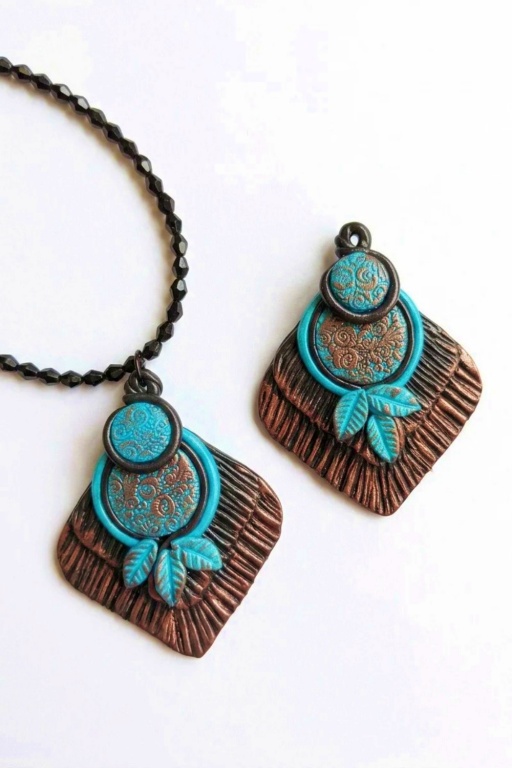
Learn to create DIY Vintage Polymer Clay Pendant Designs with an effortless and timeless look, perfect for adding charm to your accessories.
Designing your own pendants is a creative and rewarding experience, especially with the versatility of polymer clay. This material gives you endless opportunities to craft stunning and timeless designs. Imagine making elegant pieces that capture the charm of a bygone era—soft florals, intricate lace patterns, or beautiful vintage motifs. This DIY project brings out the artist in you while allowing you to create something completely unique and full of personality.
Elegant DIY Vintage Polymer Clay Pendant Designs Made Easy
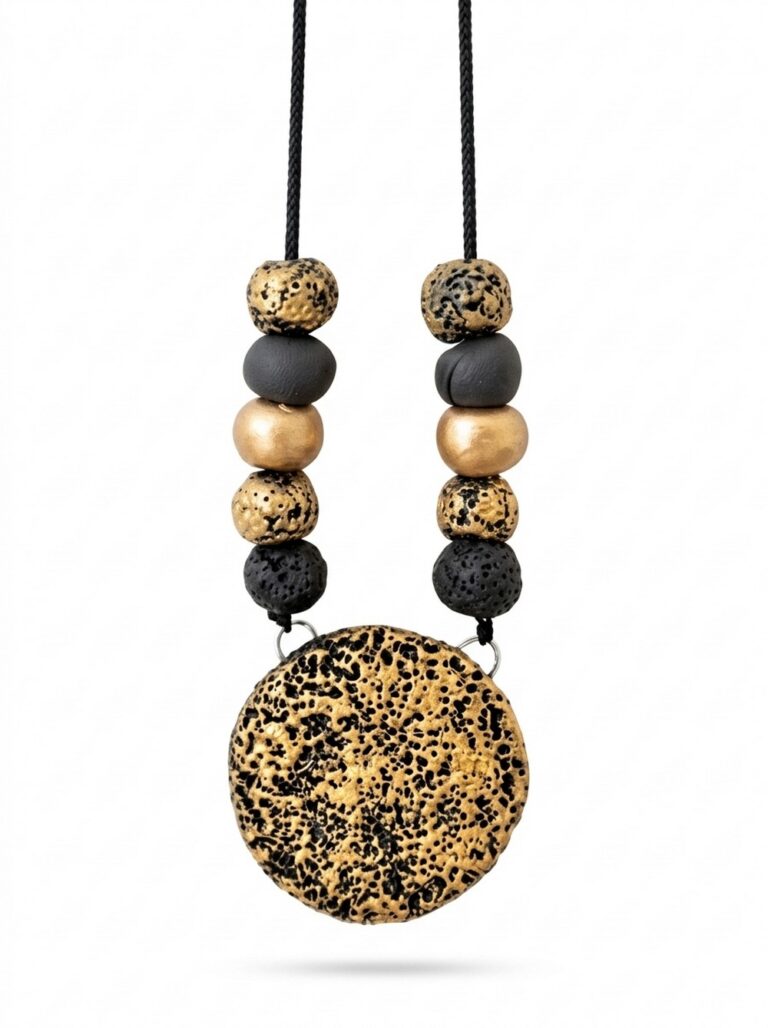
The focus here is on vintage-inspired designs, which have a classy and antique touch. With polymer clay, you can shape pendants into delicate forms, add textures, or experiment with faded colors that mimic the look and feel of old-fashioned jewelry. You can even layer patterns or use metallic accents to enhance the overall vintage effect. What’s truly fascinating is how polymer clay transforms into something so polished and elegant, giving your designs a sophisticated yet handmade vibe.
Beyond the fun of crafting, these pendants are versatile treasures. They can be worn as necklaces, made into charms for bracelets, or gifted to someone special. The process itself is soothing, offering a chance to bring your creative ideas to life. Every little detail you add tells a story and makes each piece deeply personal. This project is not just about making jewelry—it’s about creating lasting pieces of art, one pendant at a time.
DIY Vintage Polymer Clay Pendant Designs
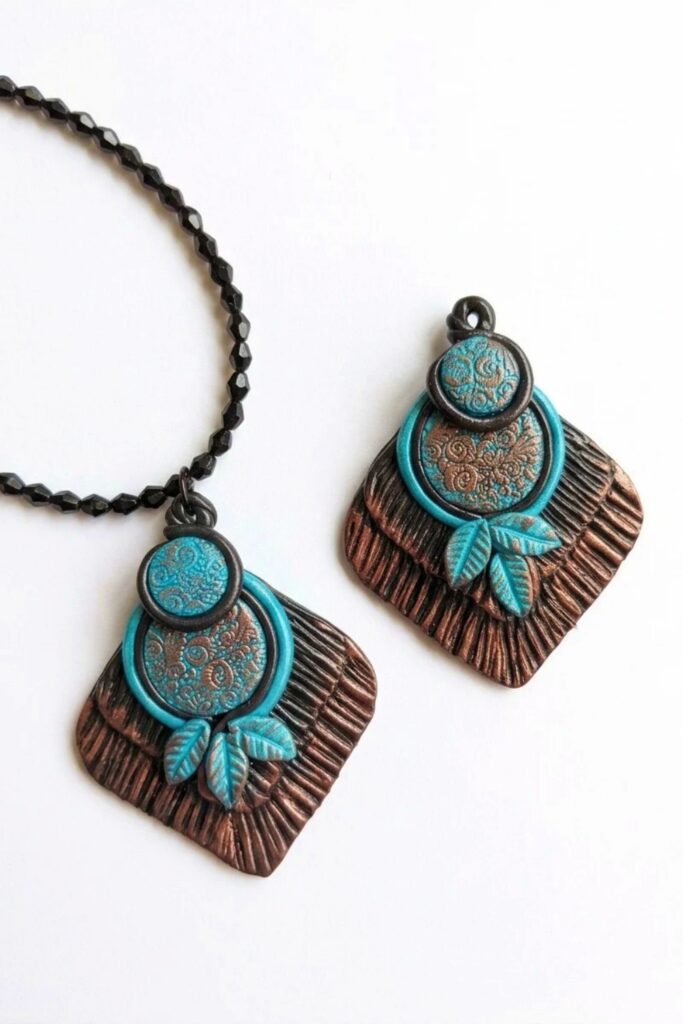
Create a vintage-style pendant using polymer clay with layered textures, metallic pigment accents, and rope borders. The result is a timeless pendant that combines a black textured base with a turquoise textured focal and antique copper highlights.
Materials & Supplies
- Black polymer clay (for base)
- Turquoise polymer clay (for textured rounds)
- Antique copper pigment powder
- Water (spray bottle)
- Gloss, satin, or semi-gloss varnish (optional; satin recommended)
Tools & Equipment
- Clay conditioning tool or hands (to condition clay)
- Two sizes of clay cutters (rounds or desired shapes)
- Needle or pointed tool (for texturing)
- Texture sheet (for imprinting patterns)
- Movable working surface (tile, glass, or nonstick mat for ease of handling)
- Clay glue (optional)
- Small brush or finger (to apply pigment)
- Oven (for baking per manufacturer’s instructions)
Project Details
- Style: Vintage pendant with layered elements and metallic highlights.
- Size: Determined by your cutters — keep proportionate layers for visual balance.
- Finish: Choose between glossy, satin/semi-gloss, or unsealed (but sealing recommended for protection).
Preparation
- Condition the clay thoroughly so it’s pliable and free of cracks.
- Prepare your workspace using a movable working surface so you can easily rotate or move the piece while texturing and layering.
- Preheat oven to the temperature specified by your clay brand when you’re ready to bake.
Making
Follow these steps exactly as reflected in the source process. Important points are bolded.
Create the base
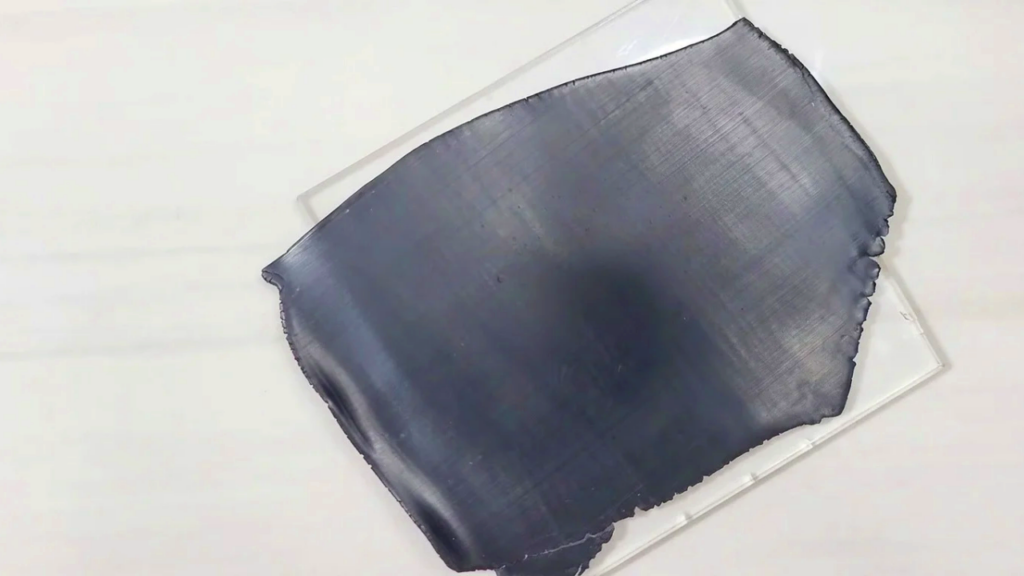
- Take a black polymer clay sheet and ensure it is properly conditioned.
- Roll or press to a somewhat thick sheet for a sturdy pendant base.
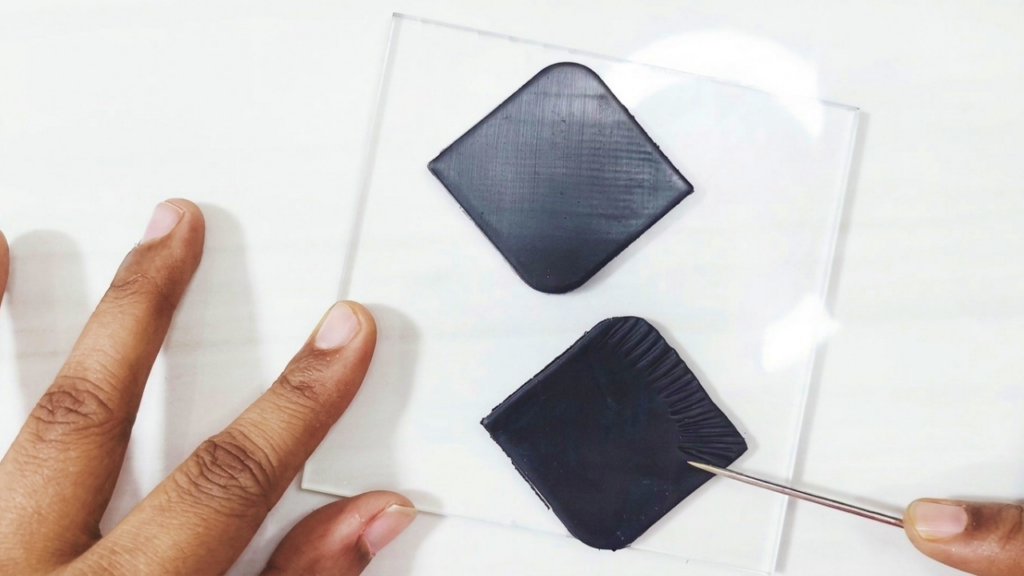
- Use larger clay cutter to cut a larger piece from the sheet.
Texture the base
- Use any needle to texture the clay surface.
- For the bottom portion, apply gentle pressure and drag the clay outwards to create a subtle textured effect.
- Work on a movable working surface so you can easily reach all areas and continue texturing.
Add the inner layer
- Using the smaller cutter, cut smaller pieces from the black clay sheet.
- Place the smaller piece over the larger piece to create layered depth.
- Optionally use clay glue in-between layers if you want extra adhesion.
- Texture the smaller piece the same way as the base using the needle technique.
Prepare the turquoise textured elements
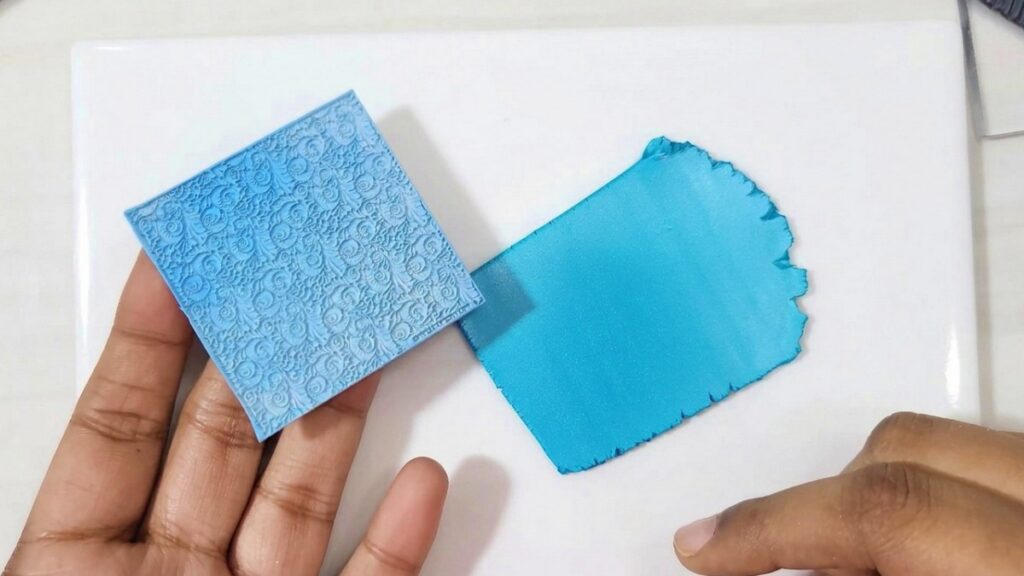
- Take turquoise clay and a texture sheet of your choice.
- Spray a little water on the clay before placing the texture sheet (helps transfer pattern).
- Press the texture sheet firmly to imprint details onto the clay. Be careful—too much water can cause the texture sheet to slip and distort the pattern.
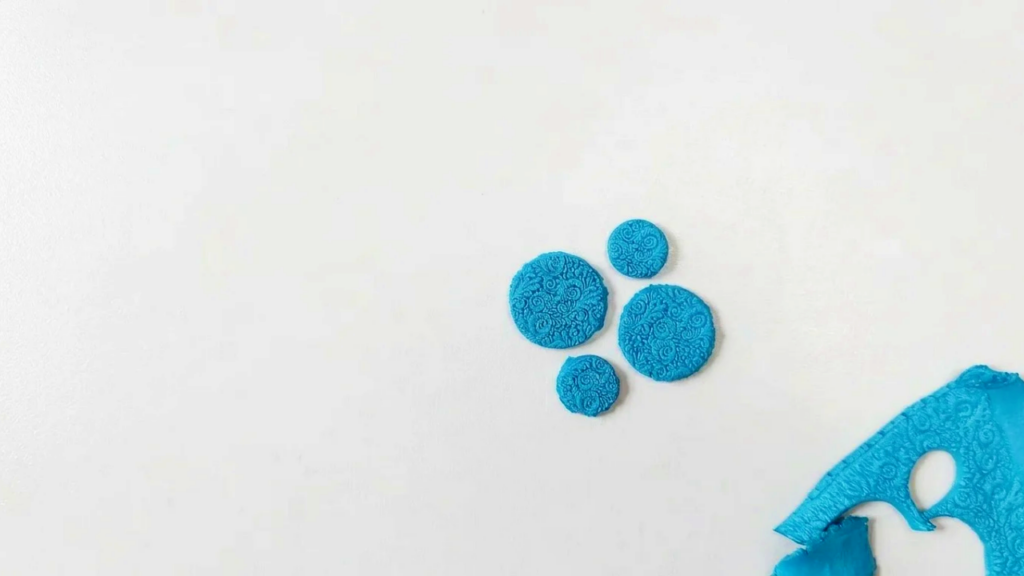
- Cut smaller and larger rounds from the textured turquoise sheet using your cutters.
Clean and place turquoise elements
- Remove excess water from the textured pieces promptly.
- Make sure edges are clean and smooth so the piece looks finished.
- Place the rounds on the black clay base, arranging so there’s balanced visual interest.
- If any area remains empty, texture it with the needle to integrate the design.
Add metallic highlights
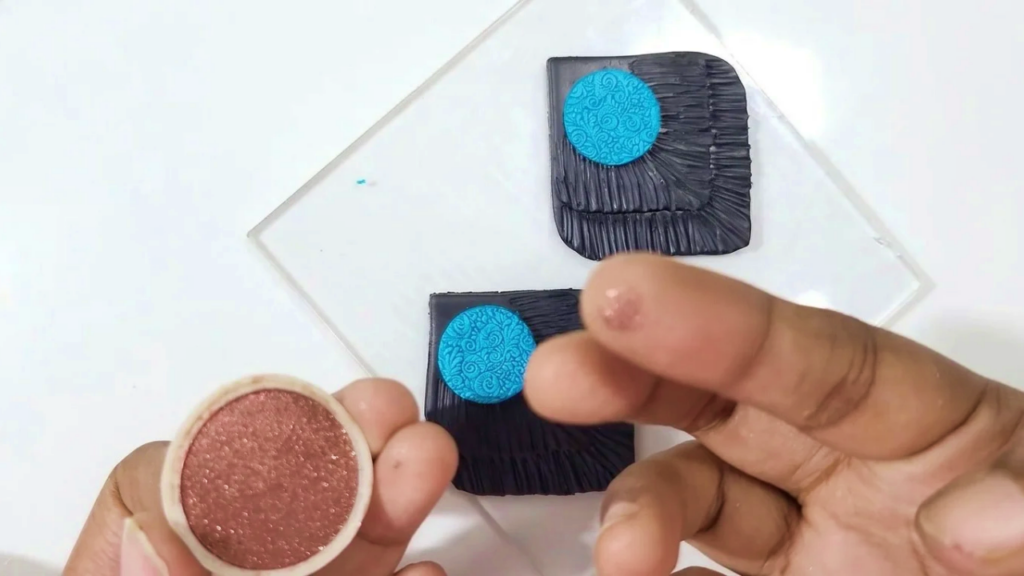
- Use antique copper pigment powder to accent the texture.
- Take a very tiny amount of pigment on your finger and apply it to the round portion to make the texture pop.
Create rope borders
- Place a thin black rope of clay around the round shape to form a decorative border.
- If more space remains, add a second rope to complete the design and fill gaps.
- For additional interest, twist extra ropes together like a wire wrap for a handcrafted metal-look detail.
Add floral / leaf elements
- You can add flowers, leaves, or other structural elements to increase complexity.
- In this project, leaf details were added and then highlighted with pigment to enhance texture.

Final small details
- Place a smaller round near the tip of the pendant for balance.
- Apply pigment to this smaller element and surround it with a thin black rope.
- Make sure all small elements are firmly attached.
Bake
- Bake the finished pieces according to the clay brand’s instructions (temperature and time vary by brand).
Finishing Instructions
- After baking, evaluate finish options:
- Gloss varnish creates a shiny look (was applied in the example but found too shiny).
- Unsealed gives a more authentic metallic appearance but leaves the surface vulnerable.
- Recommended: satin or semi-gloss varnish for a balanced protective finish with subtle sheen. Apply thin, even coats and allow to dry fully.
Tips & Techniques
- Condition clay well to avoid cracking or uneven textures.
- Work on a movable surface to access all angles and avoid distortion when texturing.
- Use very small amounts of pigment — you can always add more but removing excess is harder.
- Twist ropes for a wire-wrapped effect without metal tools.
- If using water for texture, spritz lightly to avoid slippage of texture sheets.
Common Problems & Solutions
- Texture sheet slips: use less water and press more firmly; hold edges while pressing.
- Pieces not adhering: use clay glue or ensure layers are slightly tacky and press firmly before baking.
- Overly shiny varnish: switch to satin/semi-gloss or thin the gloss layer and buff lightly.
- Pigment mess: apply pigment with finger or small brush and wipe excess immediately.
Creative Ideas & Variations
- Use different color combinations (deep reds, olive greens) for varied vintage looks.
- Add metal findings or chain before baking (if the brand allows) to embed loops.
- Use multiple texture sheets for a patchwork texture effect.
- Incorporate mica flakes or metallic leaf for stronger shimmer.
Final Result
A layered, vintage-inspired pendant with a black textured base, a turquoise textured focal, antique copper highlights, and handcrafted rope borders — ready to wear after baking and sealing. The piece balances subtle metallic accents with handcrafted texture for a timeless look. Let me know if you want a printable checklist or a version with measurements and oven times for a specific clay brand.