Fun DIY Apricot Polymer Clay Charms for Handmade Accessories
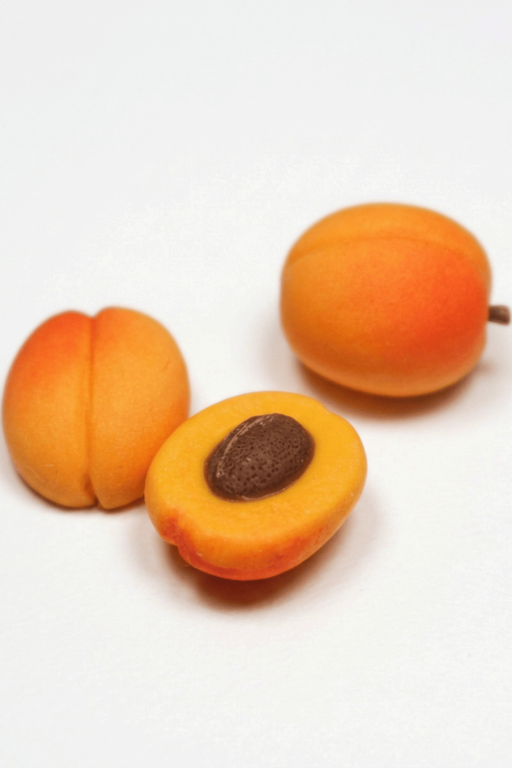
Craft detailed DIY Apricot Polymer Clay Charms with this clear guide, perfect for enhancing your charm collection or DIY projects.
Creating miniature art is a fun and creative way to express yourself, and tiny charms inspired by fruit are always delightful. Apricot-themed charms made with polymer clay are no exception! These small, handmade pieces are perfect for anyone who loves colorful and cheerful accessories. Whether you use them as keychains, decorate jewelry, or add them to a craft collection, they are a fun way to bring the sweet and fresh look of apricots into your everyday life.
Learn DIY Apricot Polymer Clay Charms in Easy Steps
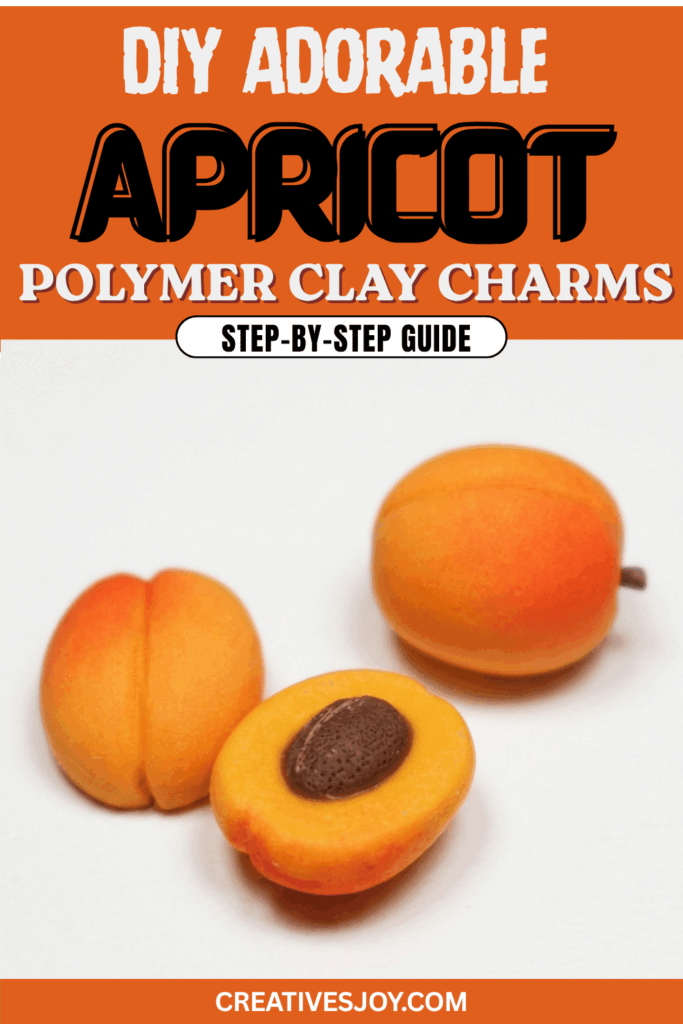
What’s so interesting about these charms is their realistic and playful design. With soft orange tones, a touch of texture, and tiny details like dimples or a leafy stem, they capture the natural look of real apricots in a mini size. Their small scale makes them both adorable and stylish, giving your creations a unique, personal touch. Whether you wear them as earrings, use them as a zipper pull, or display them on a charm bracelet, these apricot-inspired pieces are sure to stand out and bring a smile to anyone who sees them.
Polymer clay allows you to create these charms with ease and durability. Once completed and baked, they become sturdy little works of art that can last for a long time. These cute apricot charms are a fantastic addition to any DIY project and a fun way to celebrate the charm of tiny, everyday designs.
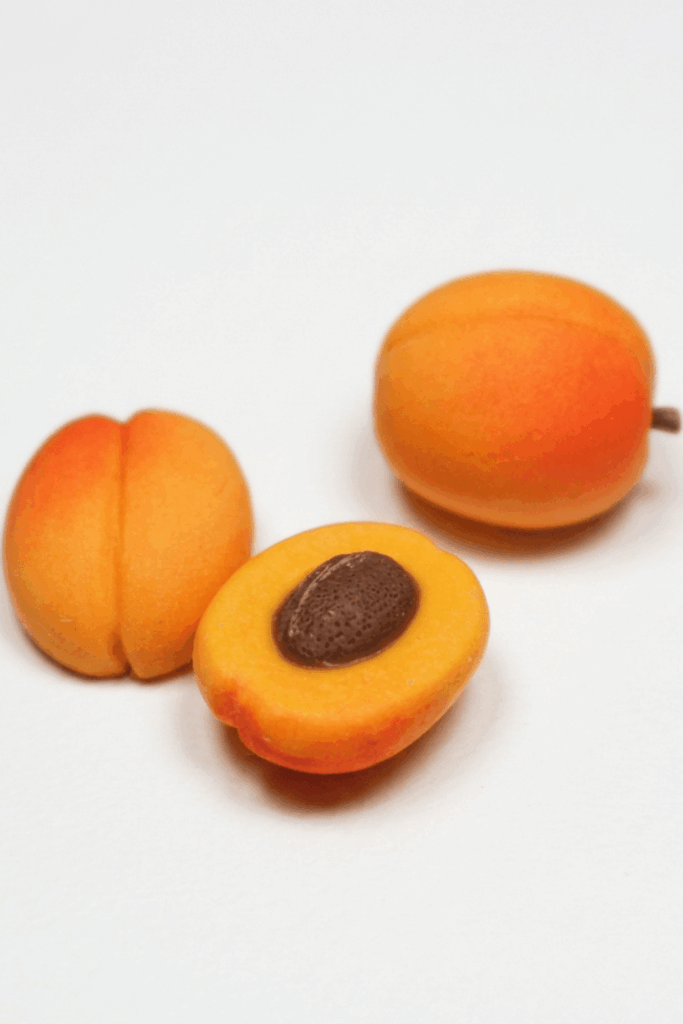
DIY Adorable Apricot Polymer Clay Charms
A compact pattern for crafting realistic miniature apricots from polymer clay. This method produces apricot halves with natural blush, a recessed seed cavity, a textured seed, and a secure finish. The sequence follows: mix an orangy/yellow clay, form halves, add the pit dimple and seam line, shade for blush, bake, create and secure the seed with liquid clay, add texture, and bake again for a durable miniature fruit.
Project Overview
- Scale: miniature (dollhouse, jewelry charms, diorama food).
- Outcome: realistic apricot halves with shaded blush and a textured seed secured in place.
- Skill level: beginner–intermediate; precise cutting and delicate texturing needed.
- Time: short active shaping time; additional time for baking and curing.
Materials & Supplies
- Polymer clay: yellow, white, and a tiny bit of red (to mix the apricot color).
- Light brown clay for the seed.
- X‑Acto knife or sharp razor.
- Dotting tool (or similar smoothing tool).
- Needle tool, toothpick, or skewer (for seam line).
- Small brush (makeup brush recommended) for pastels.
- Soft red pastel powder (or red acrylic paint as an alternative).
- FIMO Liquid, TLS, or another polymer clay liquid adhesive (acts as glue).
- Small toothbrush (or firm bristle brush) for seed texturing.
- Oven and baking surface; follow clay manufacturer’s temperature/time.
- Freezer (optional) for brief chilling during cutting.
- Work surface, tweezers, and small cup for pastel.
Preparation
- Condition each clay color until soft and even.
- Mix orange/yellow apricot shade by combining yellow + white + a tiny bit of red; knead until the tone is consistent.
- Preheat your oven only when ready to bake, following the clay manufacturer’s recommended temperature and duration.
- Have tools organized and a clean workspace to minimize handling after baking.
Step‑by‑Step Detailed
Color mixing
- Mix the apricot tone:
- Combine small pieces of yellow and white, adding a tiny amount of red incrementally.
- Knead thoroughly until the color is smooth and matches the desired apricot hue.
- Adjust by adding more yellow (warmer) or white (paler) if needed.
Forming and halving
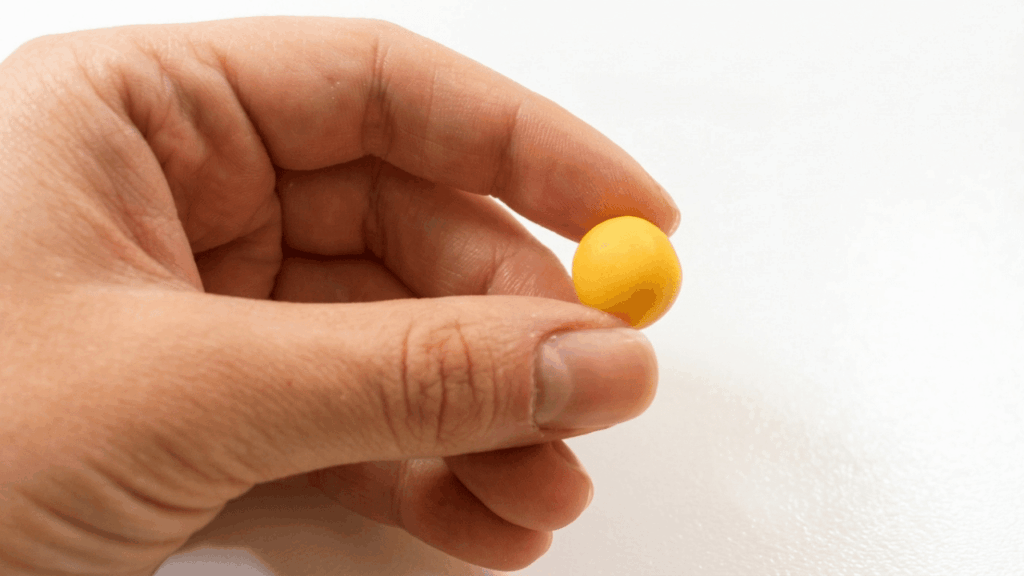
- Shape into balls and halve:
- Roll the mixed clay into small even balls sized for your miniature scale.
- Place a ball on the work surface and use an X‑Acto knife or razor to cut it cleanly in half, producing two apricot halves with flat inner faces.
- If preferred, briefly chill in the freezer for a few minutes to firm the clay and reduce deformation while cutting.
- If freezing is skipped and a half deforms, reshape gently with fingers to restore the rounded outer surface.
Creating the seed dimple
- Form the pit indentation:
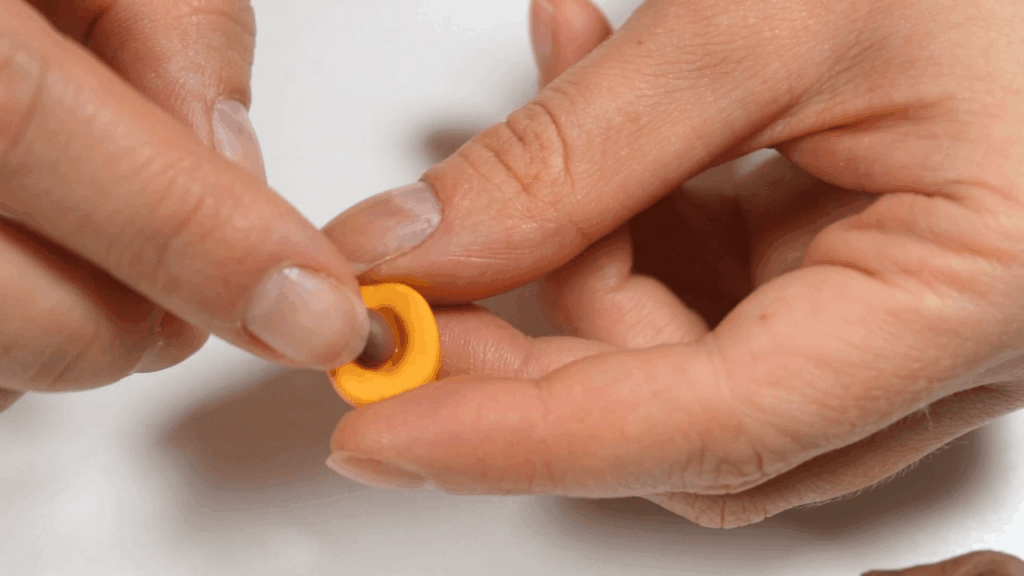
- With the rounded side up, use the X‑Acto knife to cut out a small dimple where the seed will sit.
- Smooth the cavity with a dotting tool to remove sharp edges and leave a neat curved pit area.
- Ensure the dimple is proportionate to the seed size you plan to add.
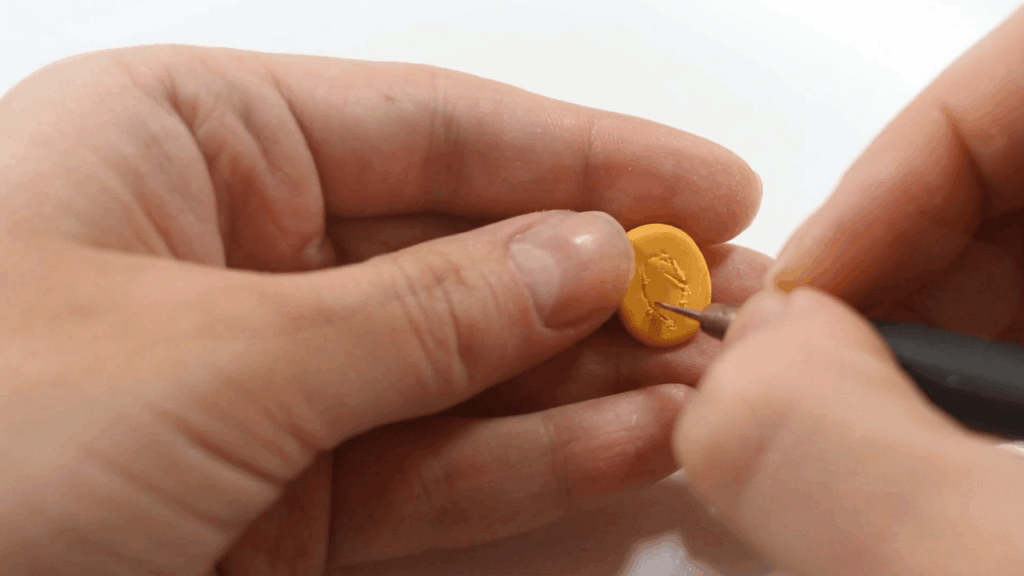
Adding the seam line
- Mark the apricot seam:
- Flip the half over (flat side down if desired) and use a needle tool, toothpick, or skewer to make a shallow lengthwise line along the outside—this simulates the natural apricot seam.
- Keep the line shallow and smooth; a light touch creates a natural, subtle seam.
Applying blush (soft pastel method)
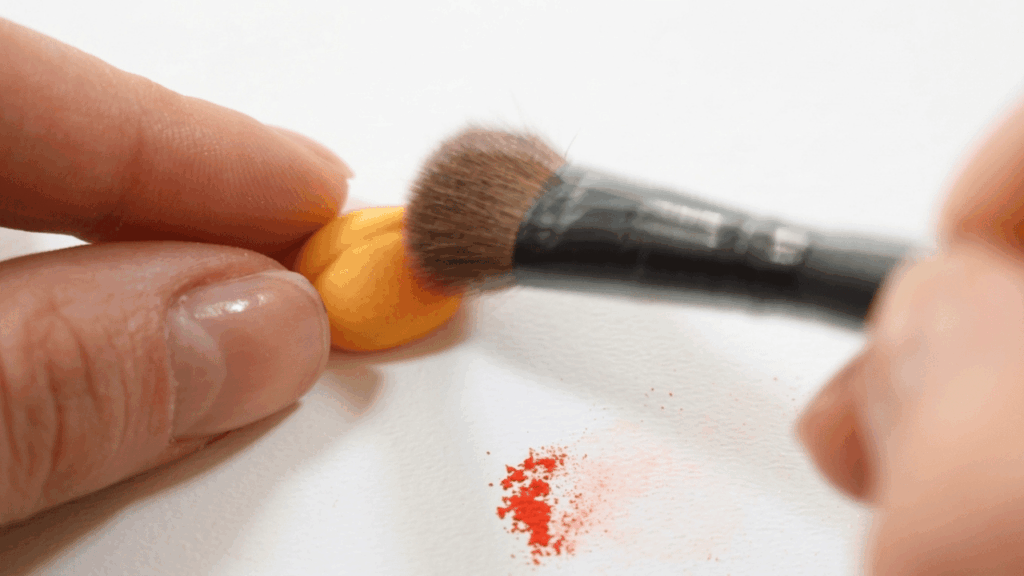
- Shade for realism:
- Shutter or scrape a tiny amount of red soft pastel into a dish.
- Use a soft makeup brush to pick up a little pastel and gently brush a red blush onto the rounded side and around the seam/dimple.
- Build up color gradually—start light and intensify slightly where a natural blush would appear.
- Blend edges gently to avoid harsh color transitions.
Alternative blush (acrylic paint)
- If no soft pastels are available:
- Bake the clay halves first (see baking step), then apply a small amount of red acrylic paint with a tiny brush to create blush.
- Thin the paint with water or mix with a glazing medium for a subtle finish; dab lightly and blend.
First bake
- Harden the apricot halves:
- Bake according to the polymer clay manufacturer’s instructions—temperature and time depend on thickness.
- Remove and allow pieces to cool completely before proceeding to seed attachment to prevent distortion.
Preparing the seed
- Form and prepare seed:
- Use light brown clay to roll a very tiny ball sized to the dimple.
- Keep the seed slightly textured in form to match a real apricot pit.
Attaching seed with liquid clay
- Secure the seed:
- Place a small drop of FIMO Liquid or TLS into the dimple (this acts as glue).
- Press the light brown seed ball into the dimple, ensuring contact with the liquid clay.
- The liquid clay will adhere the seed to the baked half and later cure in the next bake.
Texturing the seed
- Create seed texture:
- Use a toothbrush (or a small stiff brush) to gently stipple or press into the soft seed surface to give it a natural, rough texture.
- Be delicate to avoid dislodging the seed while still achieving visible texture.
Final bake
- Cure the assembly:
- Bake the apricot halves again to cure the liquid clay and harden the seed in place—follow the liquid clay product and polymer clay bake times/temperatures.
- Cool fully before handling.
Finishing Instructions
- Inspect joins and textures after cooling.
- If additional shading is desired, use pastels or thin acrylic washes and fix with a suitable sealer.
- Optionally apply a very light matte or satin glaze—avoid high gloss unless a wet fruit look is desired.
Tips & Techniques
- Less is more with blush: add color gradually to avoid overpowering the apricot tone.
- Freezing briefly helps when cutting very soft clay; always let pieces return to room temperature before detailed smoothing.
- Use the dotting tool to smooth the pit cavity rather than fingers for cleaner results.
- Work small batches to keep color and size consistent.
Common Problems & Solutions
- Deformed halves after cutting: chill briefly then reshape with fingers or a rounded tool; re‑bake if needed.
- Blush too strong: gently erase excess pastel with a dry brush and reapply lighter layers; for acrylic, thin the paint or remove before it fully cures with a damp cotton swab.
- Seed falls out after first bake: ensure sufficient liquid clay in the dimple and press seed firmly; rebake to secure.
- Texture too harsh: soften with a light sanding after the final bake or re‑stipple more gently on a replacement seed.
Creative Ideas & Variations
- Make whole apricots by joining two halves around the seed, smoothing the seam gently.
- Add a tiny stem or leaf from green clay for realism.
- Use variegated clay or thin washes of color for multi‑tonal apricots.
- Scale up slightly and create a miniature bowl of apricots for dioramas.
Final Result
A set of tiny polymer clay apricot halves featuring a subtle blush, defined seam line, recessed pit cavity, and a textured light brown seed firmly secured with liquid clay—finished, durable, and suitable for dollhouse displays, jewelry, or miniature food collections.