Simple DIY Pichu Sculpture with Clay: Easy Steps for Your Projects
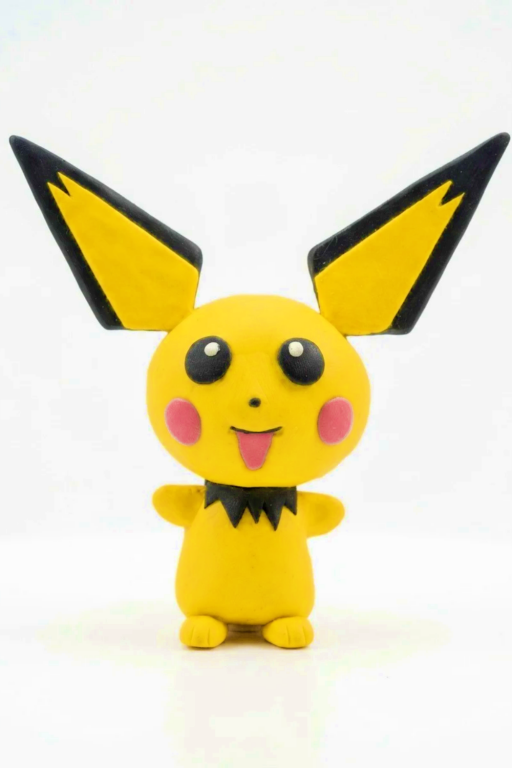
Create your own charming DIY Pichu Sculpture with Clay using this detailed guide, perfect for Pokémon fans and a delightful addition to any collection.
A DIY Pichu Sculpture with Clay is a creative and enjoyable project where you make a miniature version of the adorable Pokémon, Pichu, using soft clay. This activity gives you the chance to shape and design the cheerful character with all its iconic features, such as big ears, rosy cheeks, and a playful expression. Whether you’re a Pokémon fan or simply enjoy crafting, this project is perfect for creating something unique and fun.
Quick and Simple DIY Pichu Sculpture with Clay for All Skill Levels
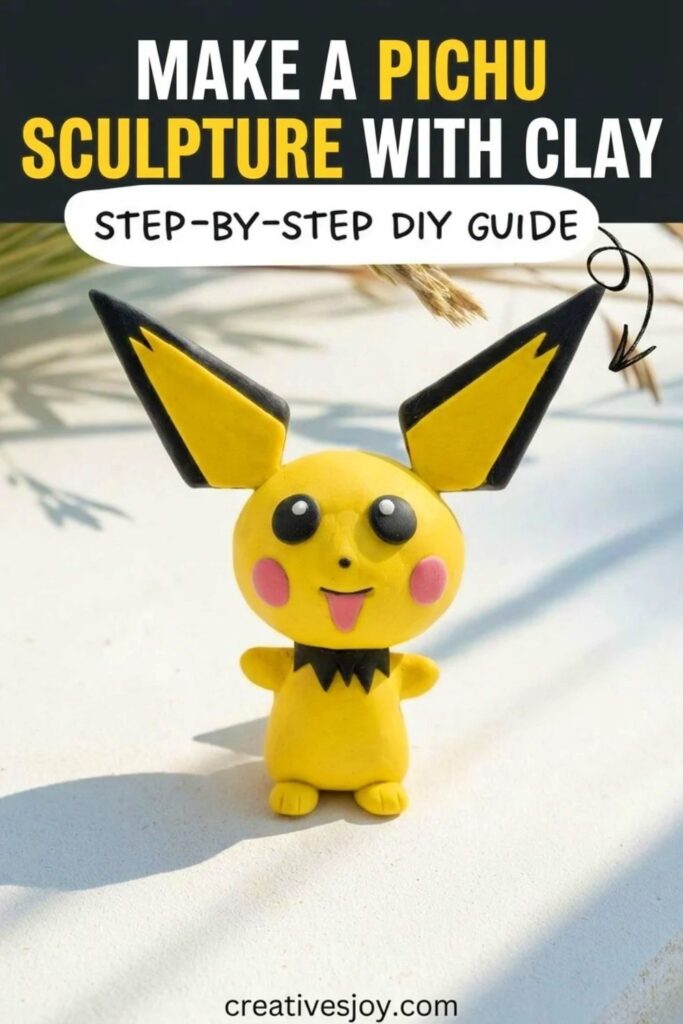
Sculpt the different parts of Pichu, like the body, head, ears, and tiny lightning-shaped tail, using clay that is easy to handle. You can choose colors like bright yellow for the body and black for the ears to match its classic design. Adding small details, like its happy smile, makes the figure come alive. Once the sculpture is ready, baking the clay will solidify your creation, turning it into a durable little keepsake.
This handmade sculpture is a great way to express your creativity and love for Pichu. It can be displayed as a decoration, gifted to someone who adores Pokémon, or used as a cute collectible for your shelf. Sculpting Pichu is not only fun but also satisfying as you see the lovable character take shape in your own hands.
Tips
- Work gradually: bake in stages to lock major shapes and reduce the chance of warping or crushing delicate features.
- Use masking tape armature to provide purchase for clay and to allow repositioning of limbs during sculpting.
- Keep scrap clay nearby for quick fixes; conditioned scraps blend better than fresh raw clay when correcting small areas.
- Test-fit the figure on the final display base if using one to ensure center of gravity is correct and the tail or feet support the pose.
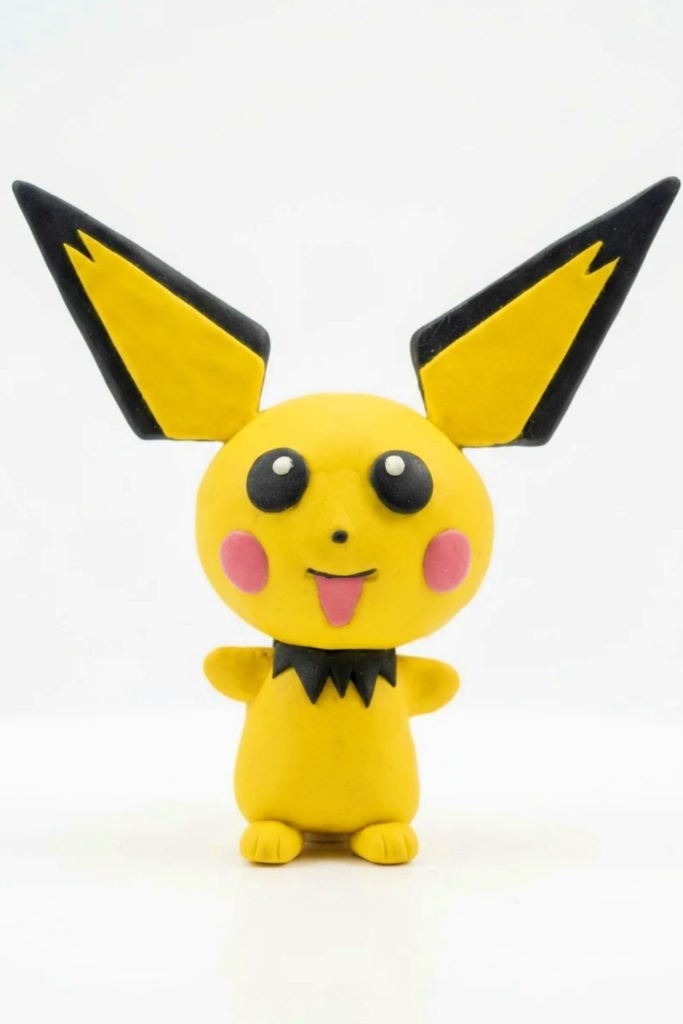
Pichu Polymer Clay Figure
Create a cute Pichu figure using a mixed armature of foil, paper towel, and wire wrapped in masking tape, then sculpted with yellow, black, pink, and white polymer clay. This tutorial covers armature building, clay application, baking stages, layering black details, fixing shapes after baking, and finishing touches so the figure stands and reads clearly as Pichu.
Supplies
- Yellow polymer clay (main body)
- Black polymer clay (ear tips, tail, neck/back markings)
- Pink polymer clay (cheeks)
- White polymer clay (eye highlights)
- Masking tape, aluminum foil, paper towel
- Thin gauge wire for internal support (tail and feet)
- Clay softener or liquid polymer clay (optional for blending)
Tools
- Sculpting tools: needle tool, ball stylus, X-Acto or craft knife
- Small paintbrush (for baby oil or clay softener application)
- Rolling pin or rod for smoothing clay
- Oven for baking polymer clay (follow manufacturer instructions)
- Tweezers and small cutters for precision
- Fine sanding paper and small file (for post-bake refinements)
Instructions
Step 1: Build the Armature
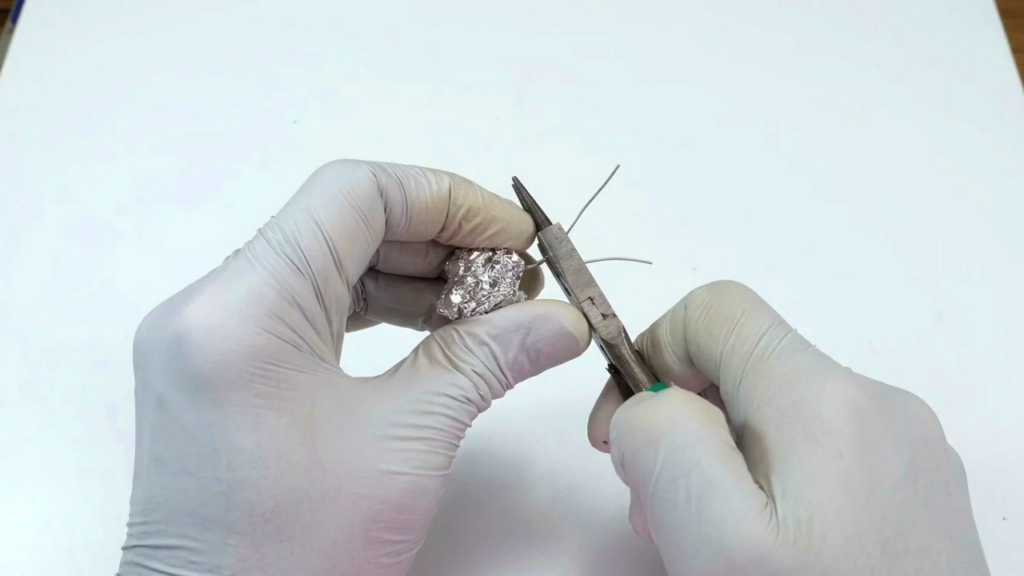
- Create a large foil ball for the head and a smaller foil ball for the body; use crumpled paper towel to bulk areas needing light weight.
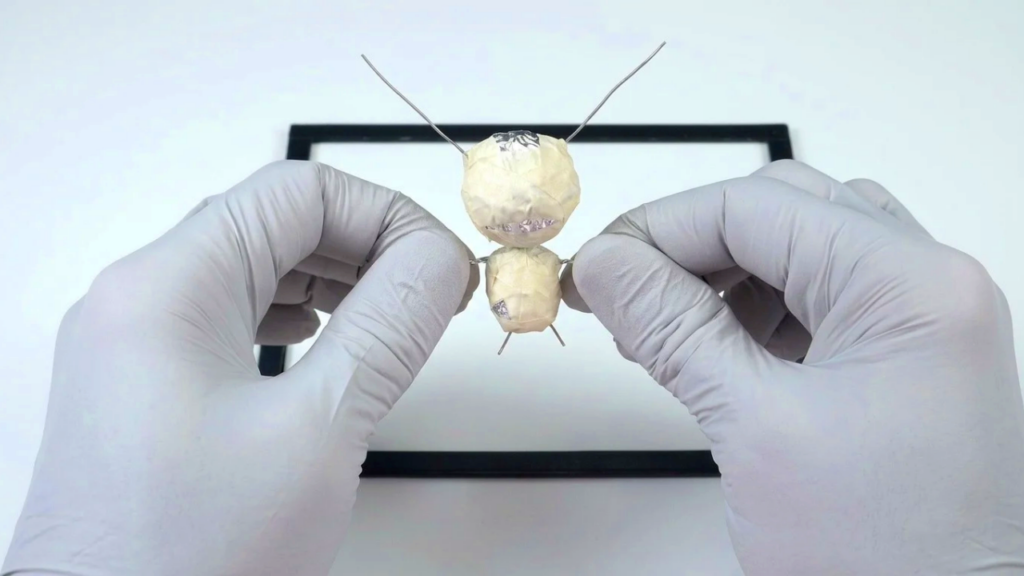
- Insert wire between head and body to act as a neck support and to anchor the tail later; shape wire to allow stable standing and foot positioning.
- Wrap the armature in masking tape to create a consistent surface for clay adherence and to provide points to attach feet and ears with extra grip.
- Test balance by placing the taped armature on a flat surface; adjust foil and wire until it sits upright with slight forward tilt typical of Pichu’s stance.
Step 2: Cover with Yellow Clay and Smooth
- Condition yellow clay until soft and uniform; cover the head and body smoothly, leaving wire ends slightly exposed for feet attachment if needed.
- Use sculpting tools to refine overall Pichu silhouette: round head, chubby cheeks, small body proportion, and slightly short limbs.
- Mark placement for facial features lightly with a pointed tool: eye positions, cheek spots, mouth, and nose plane so baked references are accurate.
- Apply baby oil or clay softener sparingly with a brush to smooth seams and surface imperfections before the first bake.

Step 3: First Bake and Ear/Tail Preparation
- Bake the basic yellow form according to the polymer clay manufacturer’s instructions to set the core shape and make subsequent layering easier.
- After cooling, prepare black clay pieces for ear tips and tail: roll thin flat sheets for ear coverage and a tube over wire for the tail to ensure stability.
- Attach black clay onto the baked yellow base by pressing and smoothing edges; carve away excess carefully if needed rather than forcing thick joins.
- Consider layering approach: sometimes adding black first then reapplying yellow details produces cleaner transitions for ear edges.
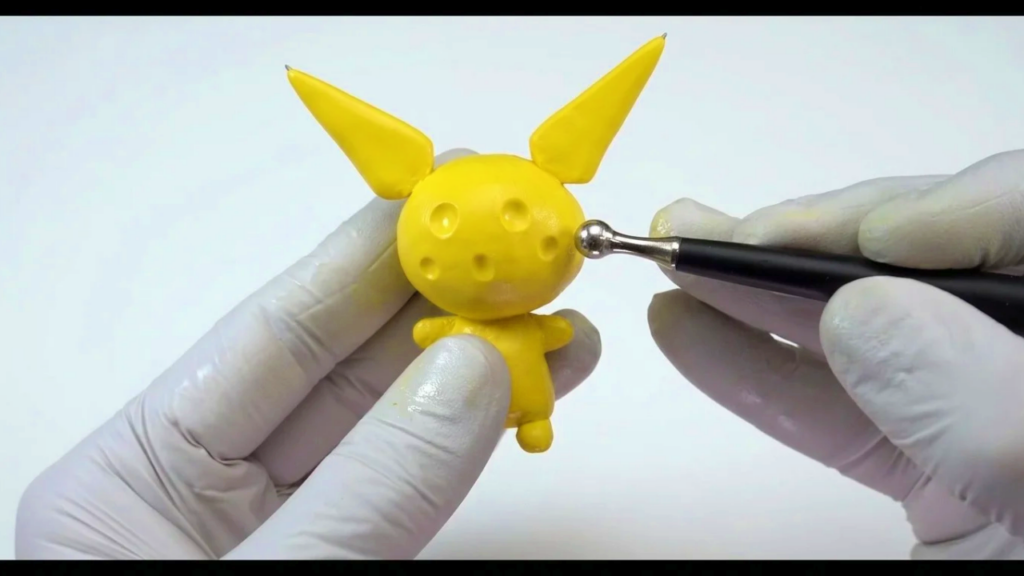
Step 4: Add Facial Details and Neck/Back Markings
- Add pink cheek discs and press them into place; smooth edges so they appear naturally integrated rather than sitting on top.
- Create small black mouth line or upper mouth snake and place it carefully—expect to revise after baking if proportions read off.
- For eyes, add the black eye shapes, then place small white balls to complete the eye highlights; ensure contrast and spacing convey Pichu’s friendly expression.
- Apply black neck and back details by adding thin black clay strips onto baked areas and carve away excess with a blade to create clean silhouettes.

Step 5: Refine, Re-bake, and Correct
- If certain features look off (mouth, ears), add thin layers of yellow clay after the first bake to correct shapes—use clay softener to blend seams before rebaking.
- Re-bake only after adjustments and allow complete cooling before final detailing; thin additions bake quickly and reduce risk of overheating the core.
- Trim or carve ears and ear borders carefully with an X-Acto knife to get crisp lines; file lightly if necessary and smooth with a touch of clay softener.
- Construct the tail over the previously prepared wire core, texture lightly if desired, and attach with strong adhesive or by embedding the wire into the body and securing with extra clay.
Finishing
- Inspect the entire figure for seams, stray fingerprints, or dust; sand gently with fine paper where appropriate and touch up with thin clay bits before a final cure if needed.
- For a consistent surface, you may apply a thin coat of matte or satin varnish depending on desired sheen—avoid glossy varnish if you want the matte look of traditional figures.
- If using varnish, protect eyes and cheek highlights with tape or apply varnish with a tiny brush and let cure fully to prevent tackiness.
Variations
- Make a miniature Pichu keychain by reducing scale and embedding an eye pin in the head before baking.
- Create a dynamic pose by adjusting arm and head tilt on the wire armature, or add a tiny accessory like a miniature leaf or berry in one hand.
- Experiment with different finishes: slightly glossy eyes and a satin body produce a pleasant contrast.
Final Result
Following these steps yields a charming Pichu figure with stable posture, crisp ear and tail details, expressive eyes and cheeks, and clean black markings. By building a firm masked armature, baking in stages, and applying careful layering and carving, you achieve a polished, display-ready polymer clay Pichu suitable for gifts, collections, or as a base skill practice for other character sculpts.