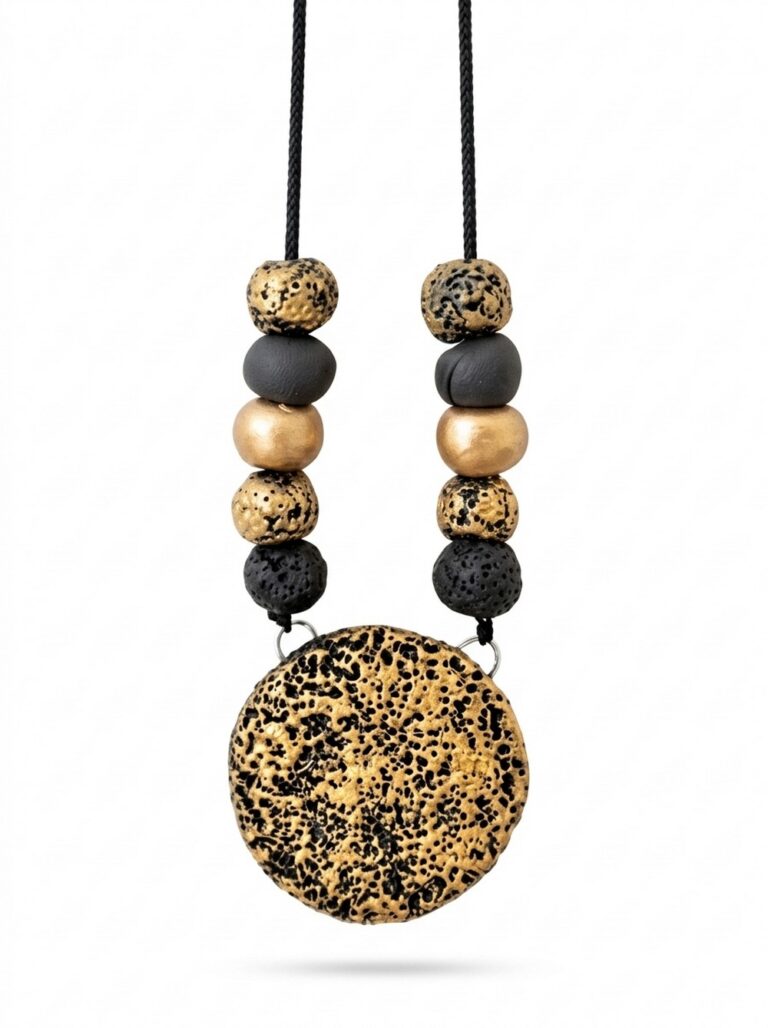
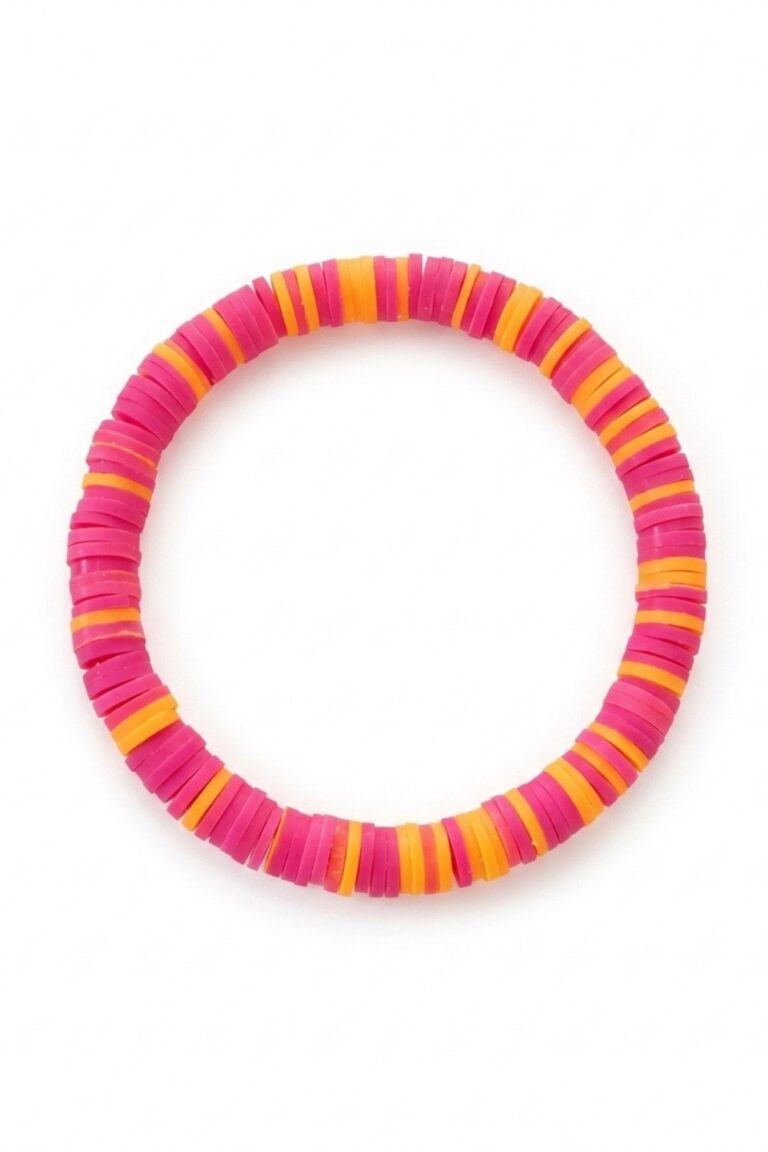
DIY Clay Necklace Charms Easy Ideas for Personalized Gifts
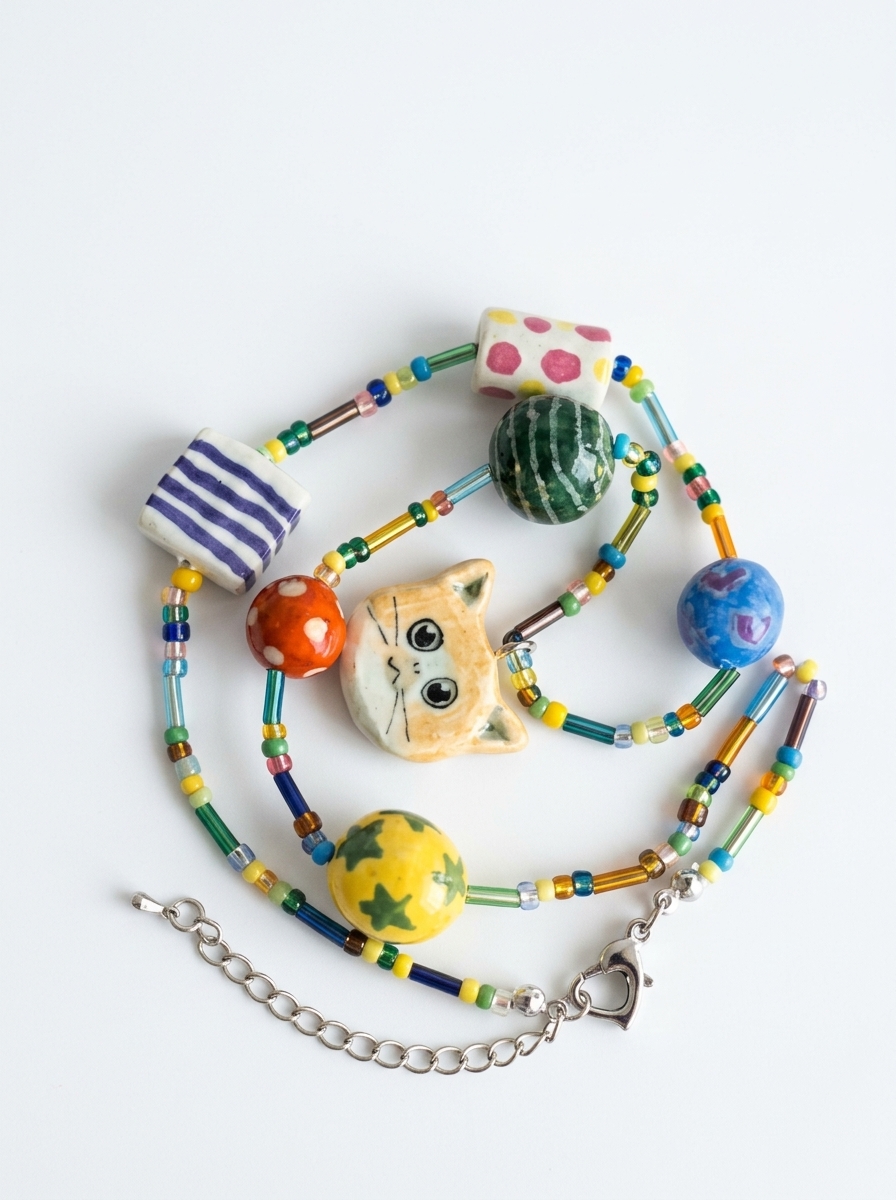
Learn to design stylish charms with this Clay Necklace Charms DIY guide, perfect for creating personalized accessories or heartfelt handmade gifts.
Creating your own jewelry can be a delightful way to express your style and craft something truly unique. Crafting clay charms for necklaces is an easy and enjoyable activity suitable for all ages and skill levels. You can experiment with different shapes, designs, and colors, turning your creative ideas into wearable art. This project allows you to combine fun with a sense of accomplishment.
Chic and Affordable Clay Necklace Charms DIY Projects

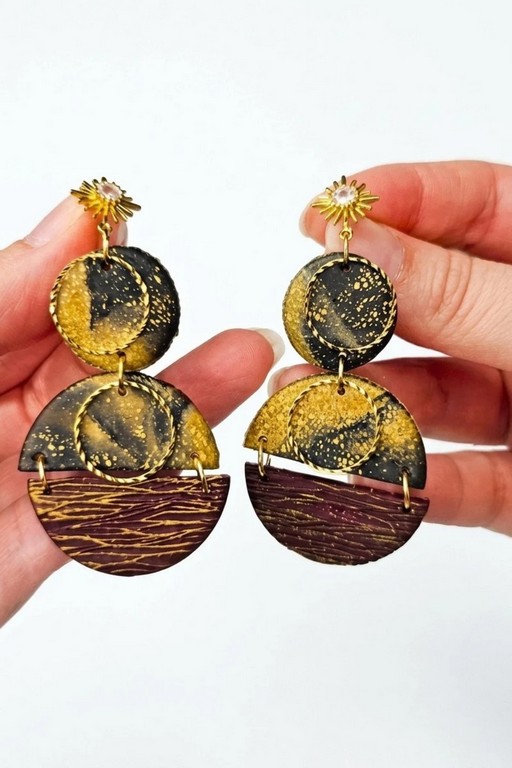
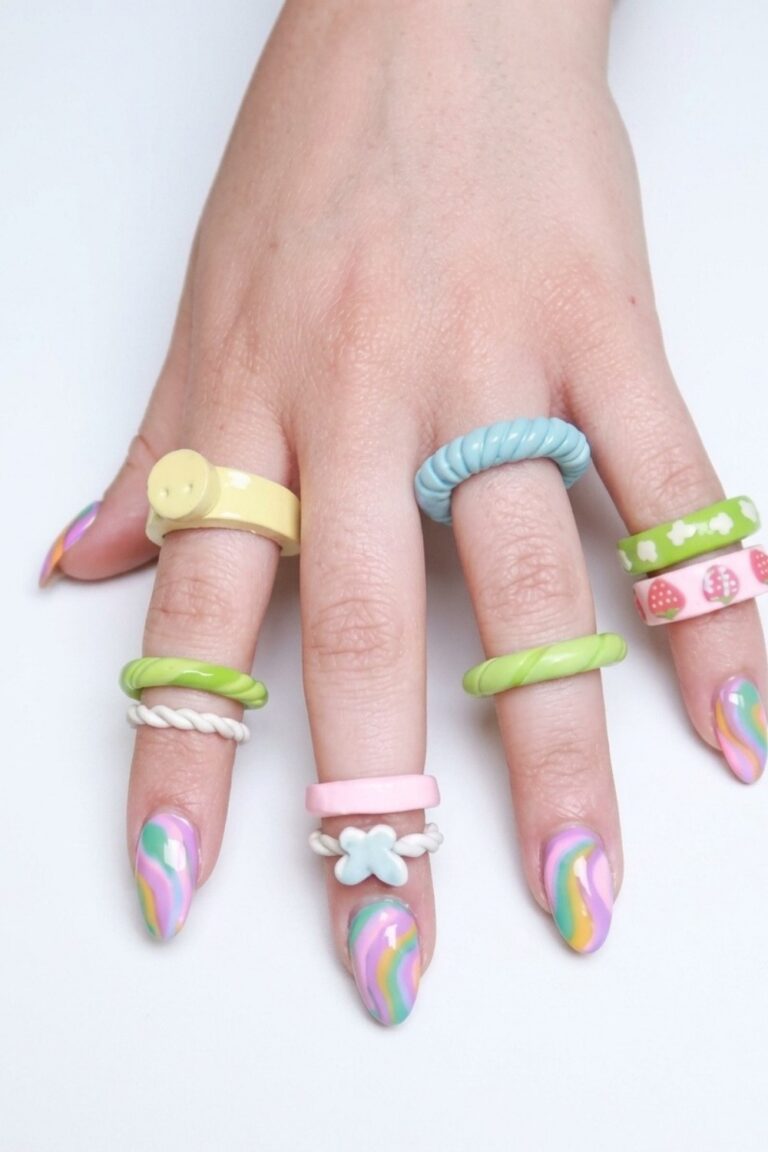
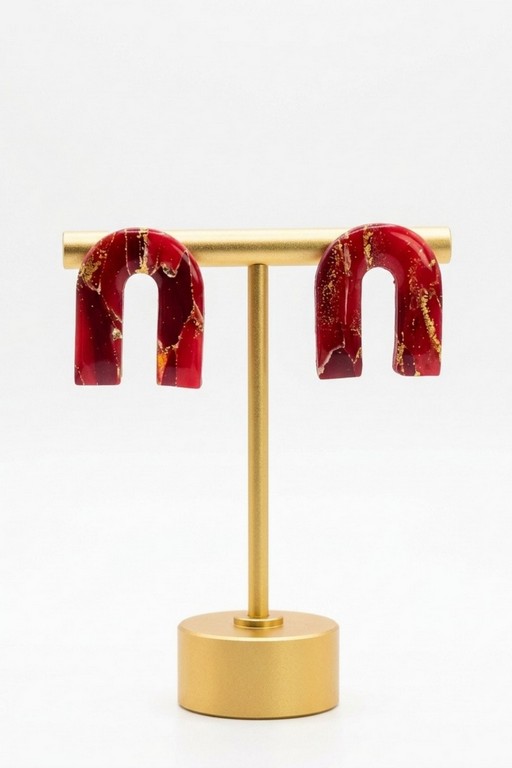
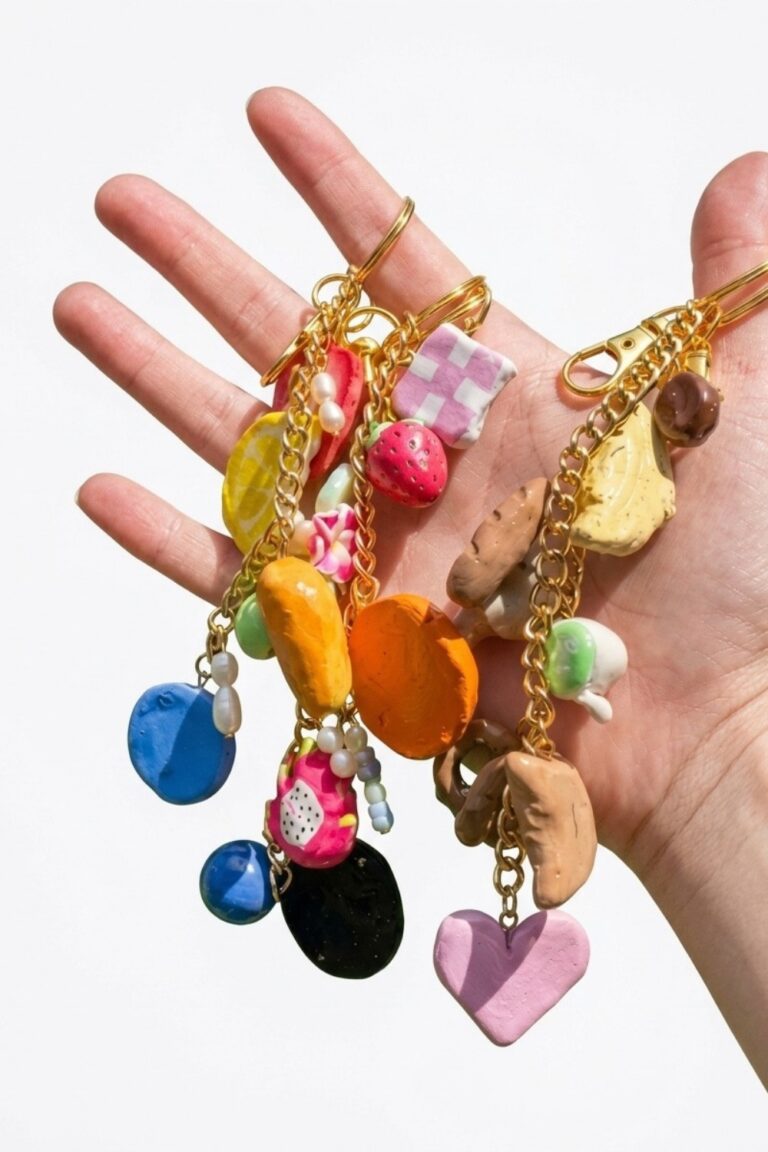
Clay Necklace Charms DIY lets you explore limitless design possibilities. You begin by shaping the clay into small charms that suit your taste—whether it’s hearts, stars, or abstract patterns. Adding texture or blending colors can make each piece truly special. After baking the clay, your handmade charms become sturdy and long-lasting, ready to be attached to necklaces for a touch of personal flair.
Creating customized charms is a wonderful way to elevate any ordinary necklace into something extraordinary. These charms can reflect your personality, your mood, or even a special occasion. They’re also perfect as thoughtful gifts for friends and family who will appreciate something made with love. With a little imagination and a few tools, you can enjoy the relaxing process of crafting unique, meaningful jewelry that’s both beautiful and handmade.
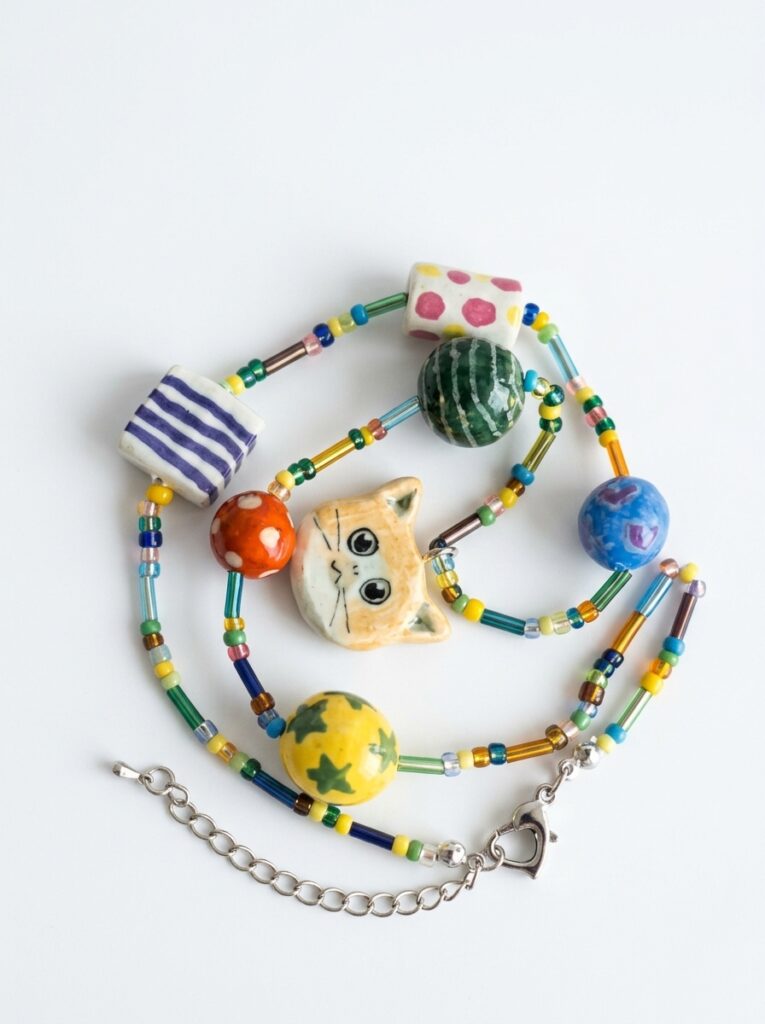
Vinegar Clay Mini Jewelry Collection
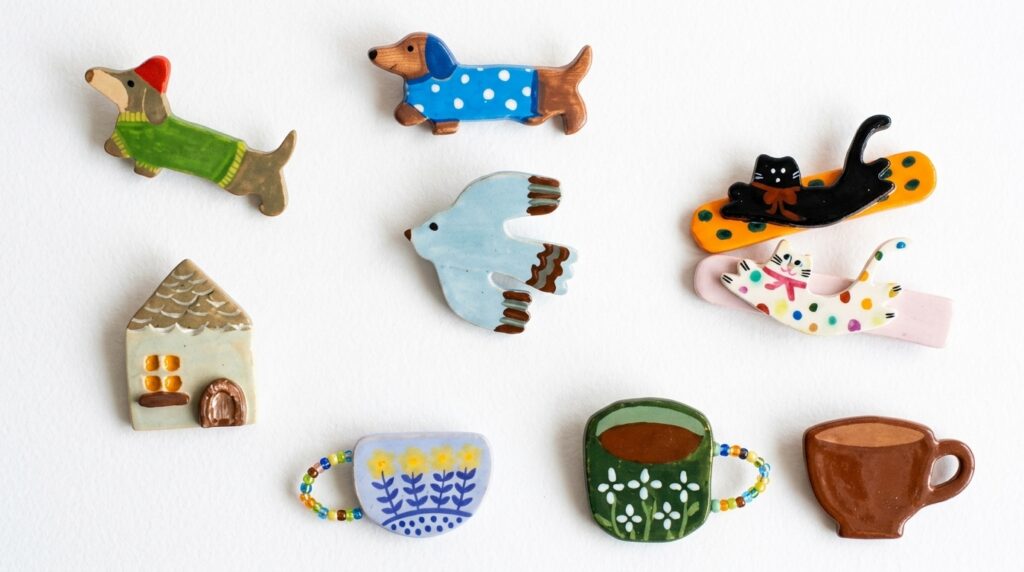
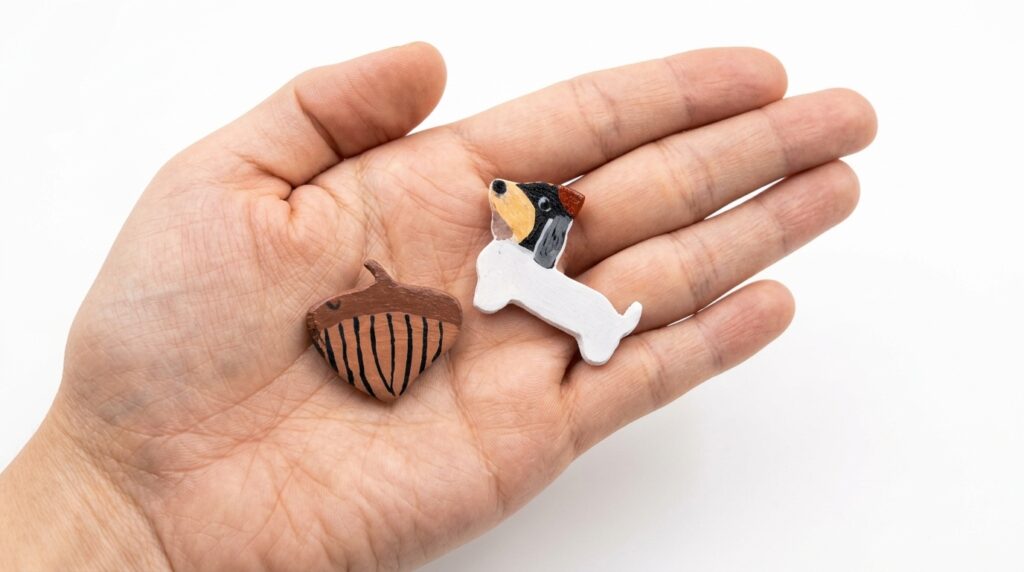
This project demonstrates how to sculpt, texture, paint, and glaze small vinegar clay charms that can become brooches, hair pins, magnets, rings, and necklaces. It focuses on dust control, consistent shaping, sensible sanding, safe resin glazing, and reliable assembly so pieces are sale-ready and durable.
Supplies and Equipment
- Use a mini digital scale, pasta machine, small round cutters, acrylic blocks, and a glass or metal lid for baking.
- Have Q-tips in multiple sizes, soft brushes, toothpicks, tweezers, razor blades, and silicone tools for sculpting and cleaning.
- Stock dry pastels, cornstarch, rubbing alcohol, acetone, acrylic paints, a palette, and fine files for finishing.
- For glazing use low-odor UV resin, silicone dipping pots, gel brushes, and both small and larger UV lamps.
- Safety gear: nitrile gloves, respirator mask, ventilated workspace, and airtight storage for resin.
Measurements and Specifications
- Charm sizes work well between ten and thirty five millimeters depending on purpose. Choose screw eye pins twenty to forty millimeters long for thicker pieces.
- Typical bake settings follow manufacturer recommendations; a common guideline is one hundred degrees Celsius for thirty minutes for small charms — always verify brand instructions.
Getting Everything Ready
- Clean surfaces with alcohol, set up a glass working plate, and arrange tools within arm’s reach. Pre-weigh clay portions for consistency and keep scrap clay for cleaning fingers.
Making Instructions
Step 1: Sculpting and Shaping
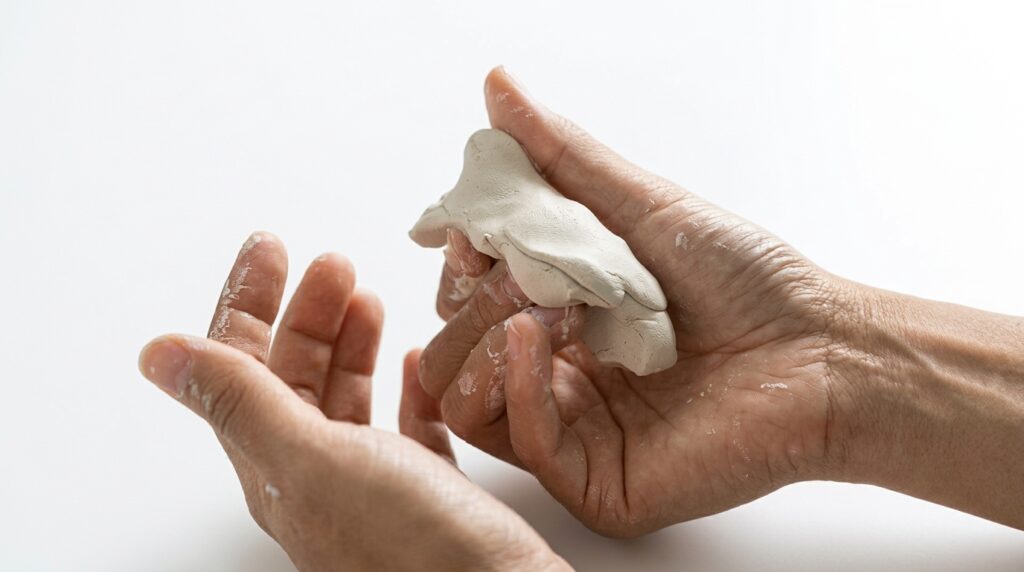
- Measure and weigh clay portions for each element so sizes match across a set.
- Use three fingers consistently to roll small balls and limit touching to reduce dust transfer.
- Employ acrylic blocks and palms for shaping rather than full hand contact to minimize embedded debris.
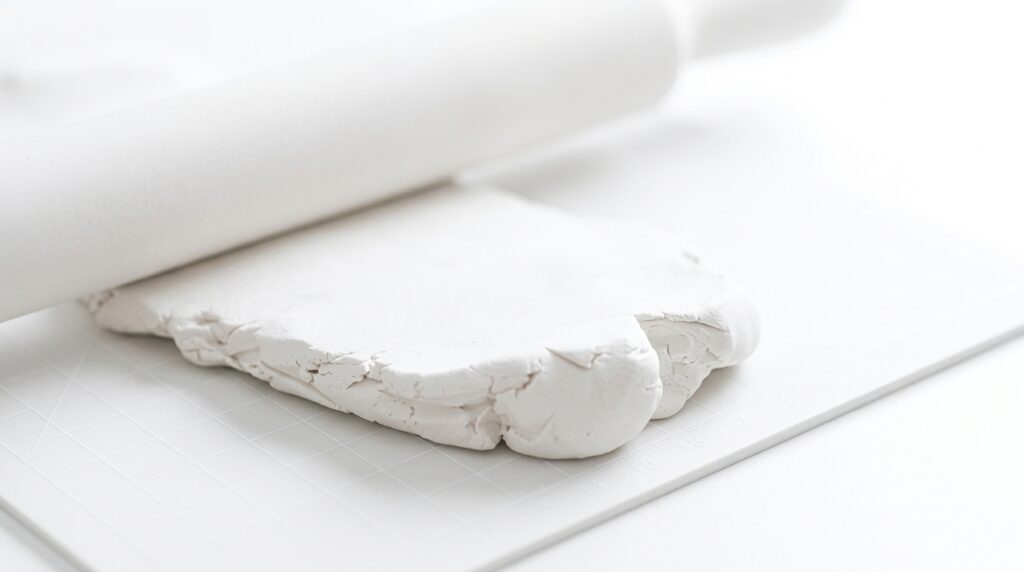
- Use a pasta machine and small round cutters to create consistent thin elements like ears or petals.
Step 2: Cleaning and Pre-bake Prep
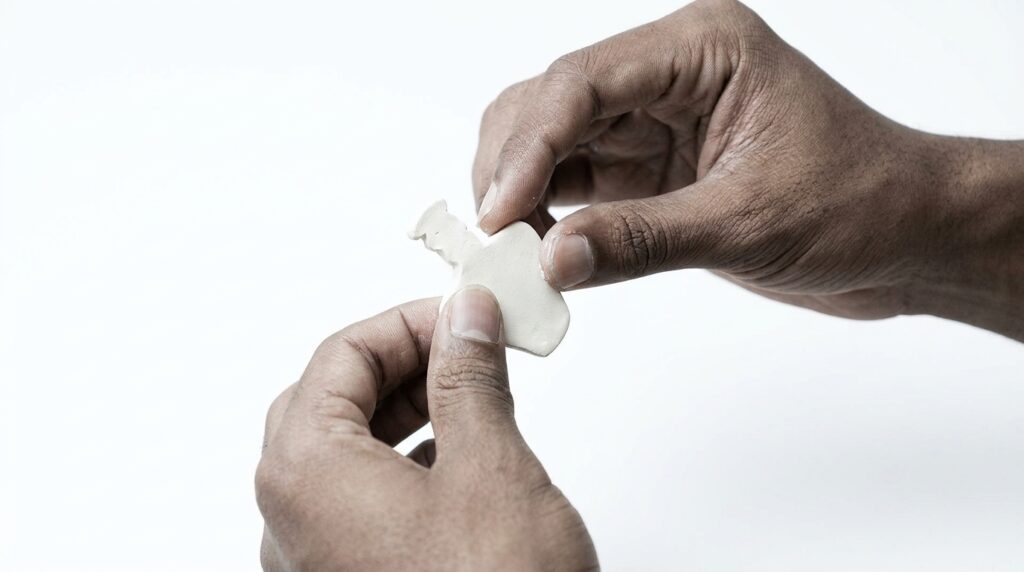
- Brush each piece with a soft dry brush to remove loose dust and lint before any wet cleaning.
- Lightly dampen a Q-tip with isopropyl alcohol and carefully clean recessed areas; allow full evaporation.
- Mount pieces on a metal lid or baking-safe surface so they can be transferred to the oven without additional handling.
Step 3: Baking and Inspection
- Bake following manufacturer guidelines; cool completely before touching to avoid distortions.
- Inspect under bright light for dust inclusions, cracks, or uneven details; mark flaws for correction the next day.
- Allow a day for a fresh review before further sanding or painting to catch issues you missed initially.
Step 4: Sanding, Painting, and Glazing
- File rough edges with a nail file and remove dust with a soft brush; use a knife for tight seams.
- Apply acetone sparingly on a Q-tip to smooth scratch marks after sanding; test on scrap first.
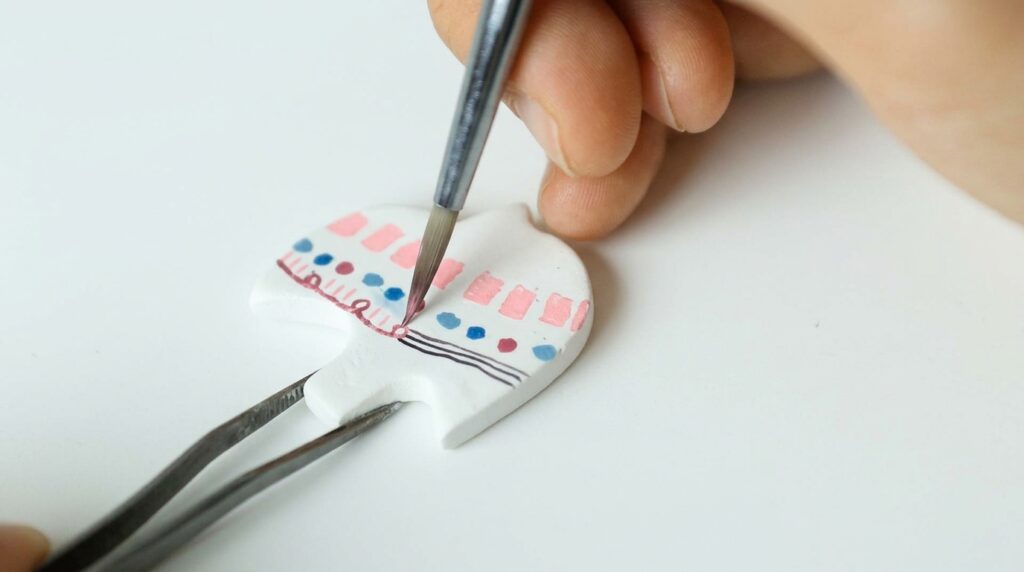
- Paint with acrylics once surfaces are clean; let dry fully before any resin application.
- Mount pieces on handles made from scrap clay and pins so you can dip or brush resin without touching.
- Dip or brush low-odor UV resin, remove excess with a gel brush, cover to avoid stray light, and cure per lamp tests.
Step 5: Final Cure, Pinning, and Assembly
- After initial cure, submerge in water for two minutes to reduce tackiness, then final cure both sides evenly.
- Widen eye pin holes gradually with a knife or reamer, then screw in a screw eye pin and secure with a dab of super glue.
- Clean burrs, inspect for bubbles or dust, and let finished pieces rest out of direct light for twenty four to forty eight hours.
Assembly
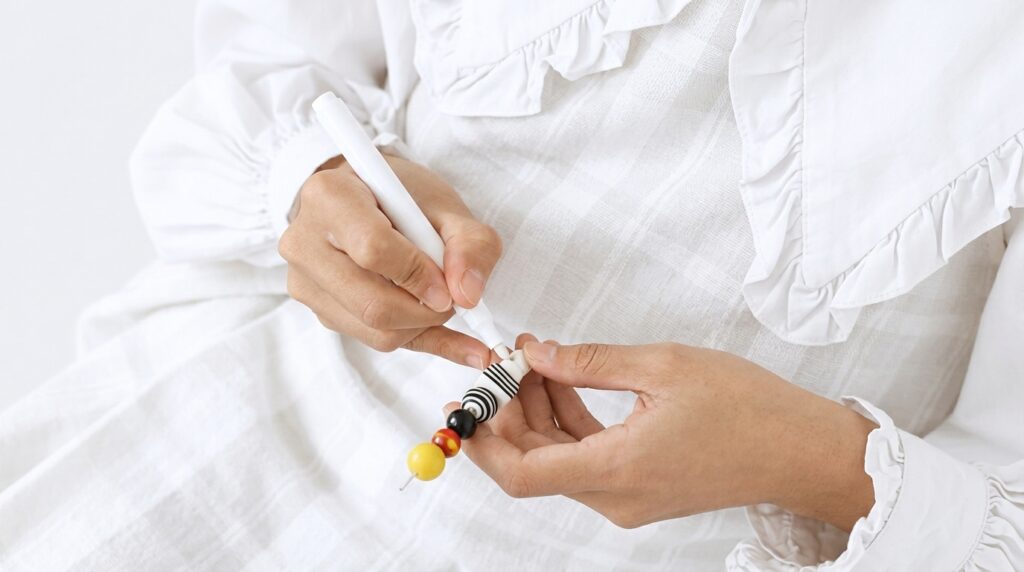
- Attach pins, hair clips, magnets, or rings using epoxy or super glue and allow full cure. Label each item with materials and care instructions about resin and sunlight exposure.
Final Touches
- Polish resin surfaces gently if needed and store pieces in an airtight box to minimize lingering resin smell. Photograph items in soft natural light for listings.
Tips for Better Results
- Keep windows open and use a respirator while working with resin; avoid inhaling fumes.
- Batching saves time: sculpt many pieces, then bake, then sand, then paint, then glaze to maintain flow.
- Test lamp and resin combos before production runs to avoid undercured or overheated pieces.
Troubleshooting
- Air bubbles: let mixed resin settle, pour slowly, or wait and degas by sitting for a while before curing.
- Dust inclusions: re-sand the area and apply thin resin touch-ups, or recoat entire piece if needed.
- Pin looseness: use screw eye pins and secure with glue; if hole is oversized, fill with a small bit of cured clay and re-drill.
Creative Variations
- Mix coffee grounds or textured additives into the clay for rustic finishes that contrast with glossy resin.
- Try translucent layers, mica powders, or layered paints under resin for depth and a candy-colored fantasy look.
- Convert small charms to enamel-like pins, magnets, or necklace pendants by adjusting backings and hardware.
Care and Storage
- Store items in an airtight box separated by soft tissue to prevent rubbing and prevent resin smell from spreading.
- Recommend customers avoid prolonged sunlight, baths, and harsh chemicals to keep colors and resin clarity intact.
Production Tips for Small Businesses
- Batching saves time: design templates, weigh identical clay portions, and schedule separate sessions for sculpting, baking, sanding, painting, glazing, and assembly.
- Keep a quality checklist for each batch, noting cures times, lamp settings, glue types, and any deviations to refine future runs.
- Communicate in listings that slight imperfections are normal for handmade items and offer clear return or refund policies to build trust.
Frequently Asked Questions
How long before resin is safe to handle? Allow at least twenty four hours before light handling and two days for full hardness; humidity and sunlight exposure affect curing. What if dust appears after glazing? Lightly sand the spot, clean thoroughly, and apply a thin resin touch up, then cure and water bath again. Can translucent clay show imperfections? Yes; disclose this in listings and emphasize uniqueness as handmade charm rather than flaw. Enjoy creating and sharing your handmade pieces.