How to Sculpt a DIY Agnes Doll with Polymer Clay Easily
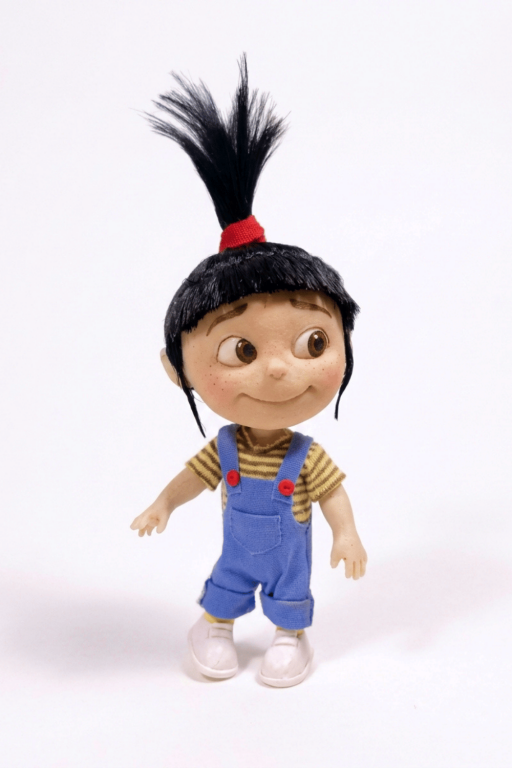
Bring joy to your crafting table with a DIY Agnes Doll With Polymer Clay and enjoy creating a stunning character your friends and family will admire.
If you’re a fan of the cheerful and adorable Agnes from Despicable Me, creating a doll of her with polymer clay is a wonderful way to combine your love for crafting with this iconic character. This project allows you to design your own miniature version of Agnes, capturing her playful personality and sweet features. It’s perfect for fans of all ages or anyone who enjoys making unique and detailed DIY creations.
Adorable DIY Agnes Doll with Polymer Clay Project
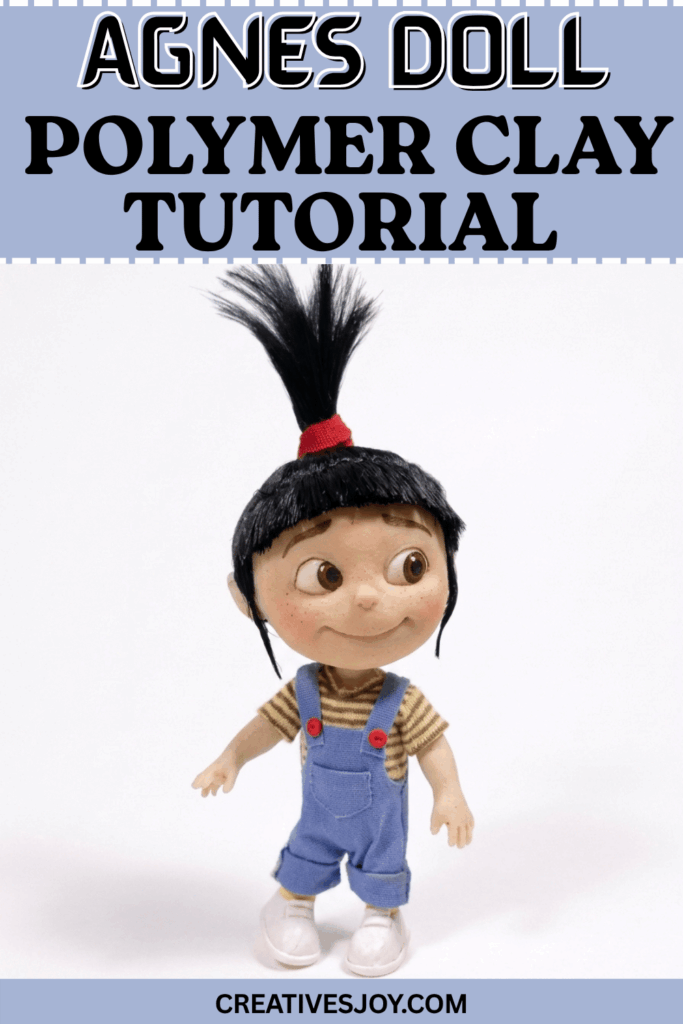
To bring her to life, you’ll mold polymer clay into different parts of her body, like her face, tiny hands, and feet. Then, you can carefully shape her signature outfit, including her striped yellow shirt and blue overalls. Her high ponytail, held in place with a red hair tie, is a fun and important detail to add. You can also give her a cheerful smile and big eyes to mimic her lively energy. Each step gives you an enjoyable opportunity to experiment with shapes and colors, turning soft clay into your own version of Agnes.
Using polymer clay makes this activity both fun and approachable. It’s easy to sculpt and, once baked, hardens beautifully into a durable figurine that lasts. When you finish your handmade Agnes doll, you’ll have a charming keepsake that’s perfect for displaying, gifting, or just keeping as a reminder of one of the cutest characters from Despicable Me. It’s a creative and enjoyable project for experienced crafters and beginners alike.
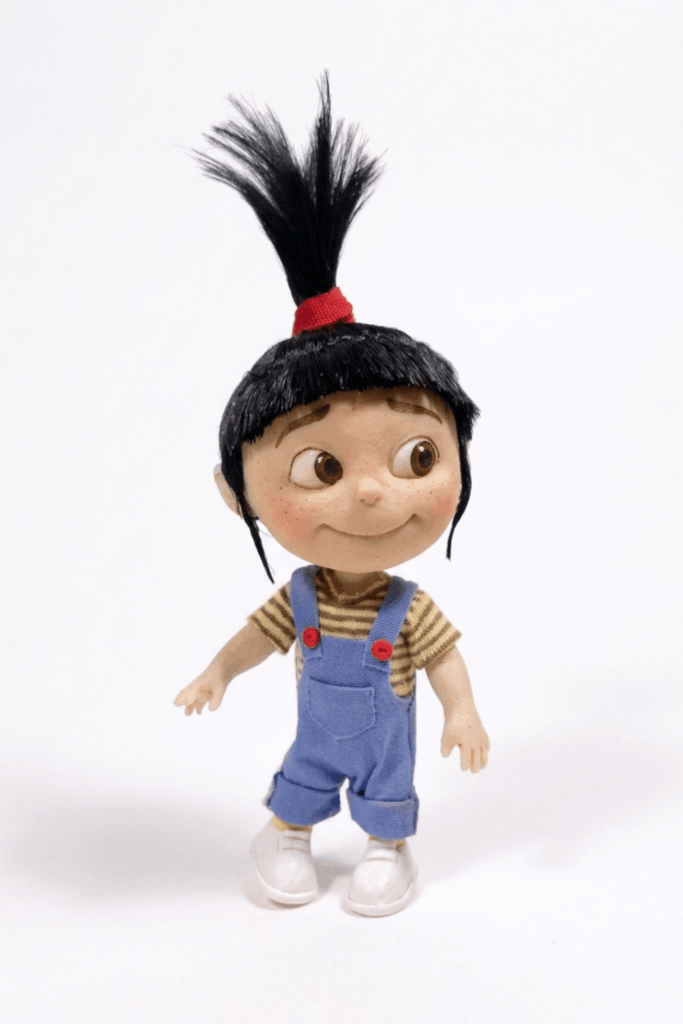
Miniature Agnes (Despicable Me) — Polymer Clay Doll
This pattern explains how to sculpt a cute miniature Agnes inspired by Despicable Me using polymer clay, a basic armature, fabric clothing, and synthetic hair. It follows the sequence in the provided transcription: mixing a skin tone, sculpting and pre‑baking the head in stages, creating an armature, building the torso/limbs with intermittent pre‑bakes, attaching and securing the head, applying hair, sewing/fitting fabric clothes, and final painting and sealing. The instructions are concise and focused on the exact steps shown.
Project Overview
- Create a small, articulated doll head and body on a simple armature.
- Build facial features with minimal sculpting detail; use pre‑bakes to stabilize parts.
- Dress the figure in fabric garments (T‑shirt, pants, straps) and add synthetic hair styled into a ponytail.
- Finish the face with pastels and acrylics; seal where pastels are used.
Materials & Supplies
- Polymer clay (skin color mix), scrap clay for smoothing.
- Sculpting base, knitting needle or armature wire for head support.
- Thin armature wire and tools to make an armature.
- Small pieces of white clay for eye inserts.
- Black acrylic paint for scalp, acrylics for face and shoes.
- Synthetic black viscose hair (smooth, shiny).
- Aleene’s or PVA glue for hair ends and fabric glue.
- Small fabric pieces: stretchy fabric for joints, fabric for T‑shirt (4 pieces), pants (4 pieces), straps.
- Pastels for face shading, matte glaze/sealer for pastels.
- Small scissors, exact knife, tape, brush, and basic sewing/adhesive supplies.
- Oven and tile for baking, sandpaper or smoothing tools.
Preparation
- Mix an appropriate skin color from polymer clay and keep extra scraps for smoothing.
- Prepare a sculpting base or a temporary support (knitting needle/needle tool) if preferred.
- Cut armature wire lengths and fabric pieces for clothing in advance.
- Arrange hair fibers into a manageable bundle and prepare glue for hair ends.
Step‑by‑Step Detailed
Head sculpting and pre‑bakes
- Mix a skin color and position it on your sculpting base.
- Sculpt the head shape; keep facial details simple.
- Use small prepped white clay pieces for the eyes and press into place.
- Add nose and mouth details with a fine tool.
- Pre‑bake the head once to firm the basic shape.
- Use a light piece of scrap clay to smooth the face surface.
- Pre‑bake a second time after smoothing to stabilize features.


Prepare head for attachment
- On the back of the pre‑baked head, make room for a needle tool or wire by creating a small cavity.
- Add a bit of clay where needed and pre‑bake again.
- Form and attach the ears after the second pre‑bake; then bake the head one last time to fully cure.
Armature and torso
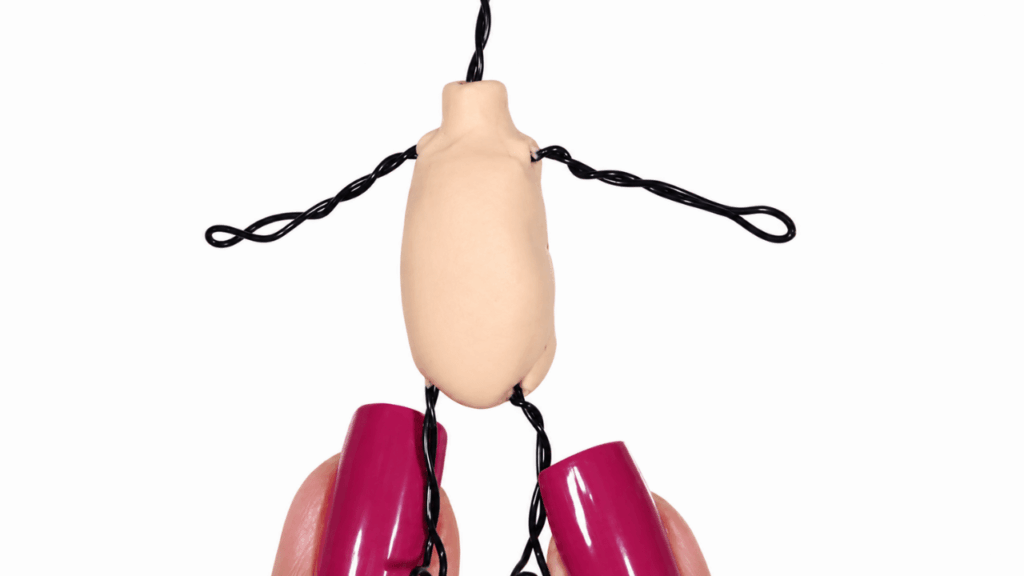
- Construct the armature following your usual doll method (same as referenced tutorials).
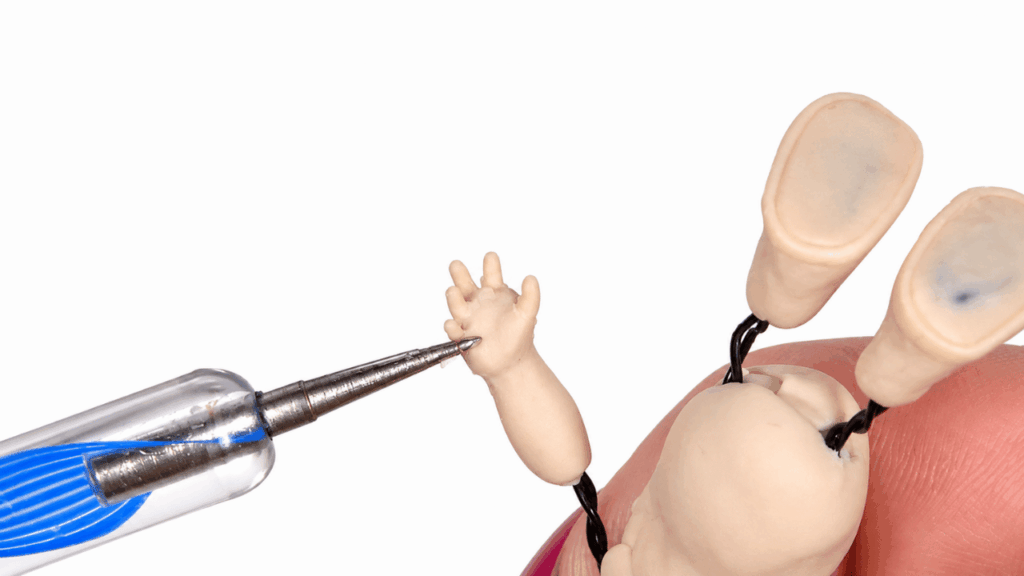
- Add clay to form the torso and neck around the armature; pre‑bake this assembly to firm the shape.
- Create feet and hands from clay; pre‑bake as needed while assembling.
- Note: multiple pre‑bakes are optional and based on personal preference; use them to stabilize delicate parts.
Attaching head to armature
- Cut a hole in the top of the torso with an Exacto knife to make room for the head wire.
- Insert wire into the head and bend it inside the torso so the head is retained but can still rotate.
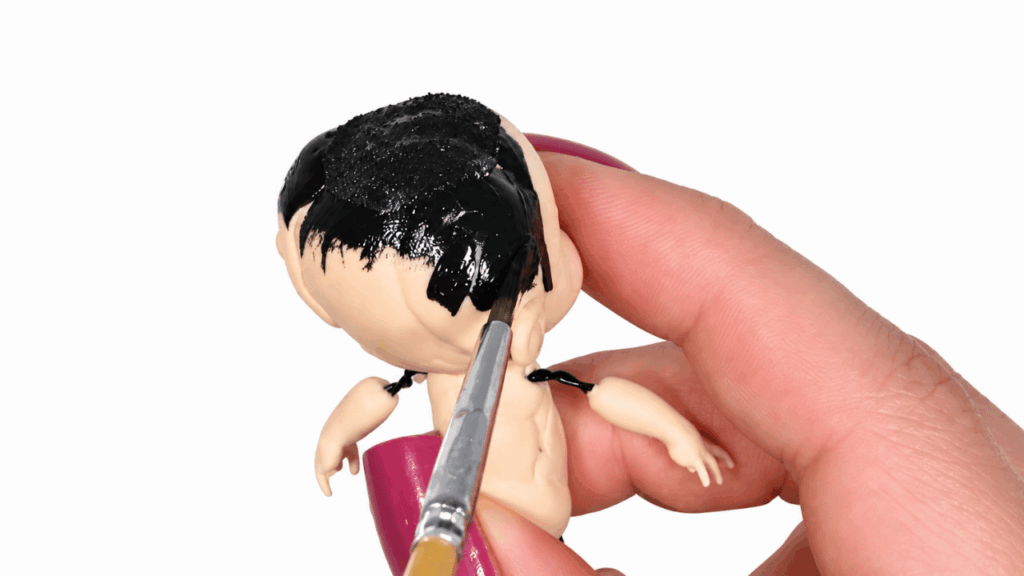
- Cover the hole with fabric and paint the exposed scalp/covered area black with acrylics for a natural look.
Concealing joints and wire
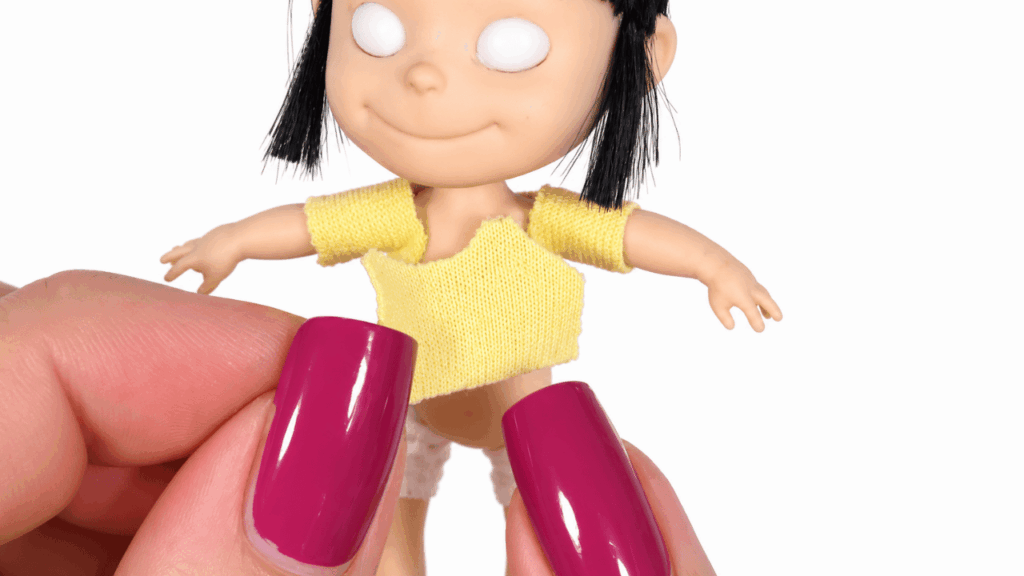
- Use cut‑on‑knee stretchy fabric to cover bare wire at joints.
- This maintains mobility while preventing limbs from appearing twisted or bare.
Hair application and styling
- Divide black viscose hair into small sections.
- Apply glue to the ends of each section and let dry to prevent shedding.
- Glue hair sections onto the scalp, starting with the bangs. Use tape to protect areas while gluing the remainder.
- For the ponytail: trim some hair so it’s not too thick, then secure and style.
- Use watered‑down glue or a small amount of clay to help shape and hold the ponytail.
Clothing construction
- T‑shirt: cut four fabric pieces (front, back, two sleeves).
- Sew or glue pieces together and use acrylic paint to add stripes.
- Pants: cut four pieces (front, back, two sides) and assemble.
- Straps: cut and attach shoulder straps over the painted T‑shirt.
- Make simple buttons from polymer clay and attach to the outfit.
Painting face, shoes, and sealing
- Paint shoes with acrylic paint.
- Use pastels and acrylic paint for the face details (blush, lips, eye shading).
- If using pastels on the face, seal with a matte glaze to prevent smudging.
- Glue a small red fabric piece as a hair tie or scrunchie to finish the ponytail.
Finishing Instructions
- Ensure all glue and paint are thoroughly dry before final handling.
- Seal pastel areas with a matte glaze; test the sealer on a scrap first.
- Trim stray fibers and clean edges on clothing for a neat finish.
Tips & Techniques
- Pre‑baking in stages stabilizes delicate features and reduces distortion when adding parts.
- Use tape to protect sections while gluing hair to avoid accidental smudges.
- Thin the ponytail bundle before attaching to avoid a bulky look.
- Cover exposed wires with stretch fabric to preserve joint mobility and appearance.
Common Problems & Solutions
- Head won’t sit securely: ensure wire is bent inside torso and fabric cover is snug.
- Hair appears too thick: trim excess and thin bundles before gluing.
- Pastels smudge: always seal with matte glaze after pastel application.
- Clothes look bulky: use thin fabric and minimal seam allowances; press seams flat.
Creative Ideas & Variations
- Change hair color or style (braids, twin ponytails).
- Swap outfit fabrics and paint patterns for different looks.
- Add tiny accessories: miniscule plush toy, miniature book, or a themed base for display.
Final Result
A compact, poseable miniature Agnes with a smoothly sculpted head, a stable armature body, movable limbs, neatly applied viscose hair styled into a ponytail, and fabric clothing with painted details. The doll is suitable for display and gentle handling after all seals and adhesives have fully cured.