Sculpt Perfect DIY Miniature Polymer Clay Grapes Easily
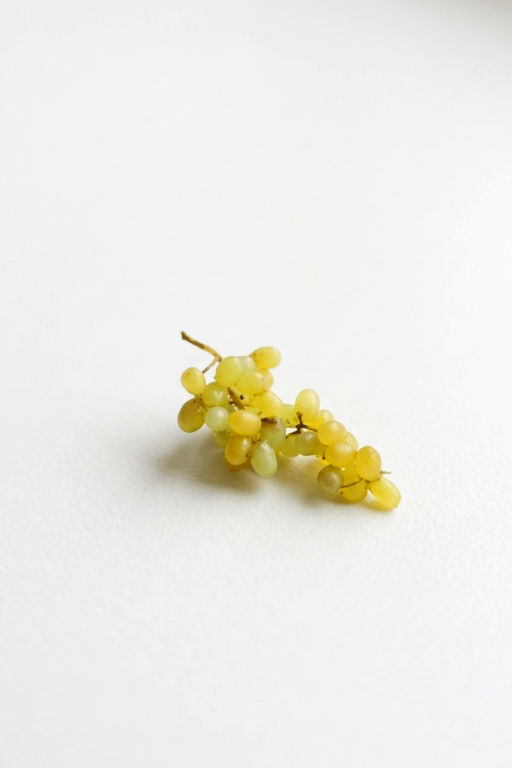
Craft adorable DIY Miniature Polymer Clay Grapes with easy steps, perfect for creative crafters and miniature art lovers.
Miniature polymer clay grapes are a charming and creative addition to any collection of handmade crafts. Their vibrant color and realistic appearance bring a touch of elegance and fun to various projects, whether they’re used for decorating dollhouses, crafting unique jewelry, or enhancing tablescapes with small, lifelike details. This DIY idea is a wonderful way to explore the world of tiny art, where every piece captures the beauty of real-life objects in miniature form.
Master the Art of DIY Miniature Polymer Clay Grapes
What makes these clay grapes so interesting is how they instantly grab attention with their lifelike design. Their glossy finish, delicate textures, and vibrant hues make them feel almost real despite their size. These little details evoke a sense of joy and wonder, appealing to both children and adults. Whether displayed as part of a miniature fruit bowl or used as charms or keychains, they’re a delightful way to add a pop of creativity to everyday surroundings.
This craft stands out because of its simplicity and versatility. The grapes are small enough to fit into various creative projects, and they can complement a wide range of craft themes. Whether you’re looking to decorate or simply admire their charm, these miniatures created with polymer clay are sure to bring a little brightness and whimsy into your day.
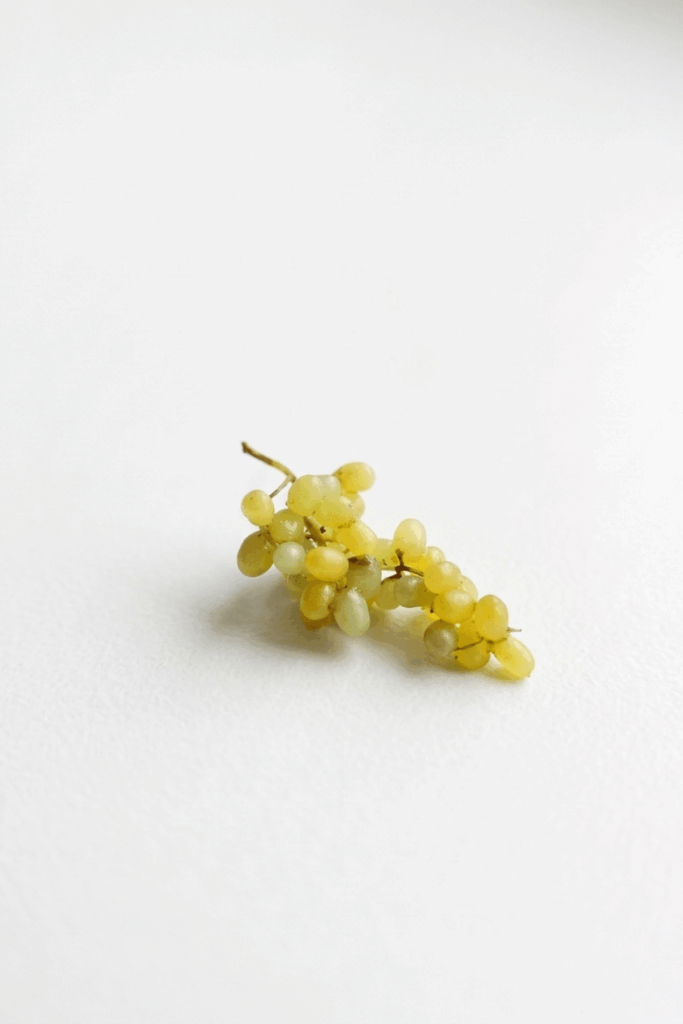
DIY Cute Miniature Grapes
A concise pattern for making realistic miniature grapes from polymer clay. The process uses three blended green shades to create varied grape beads, a thin clay stem, simple assembly with dotting tools, single or grouped arrangements, and minimal paint and pastel finishing. The final piece is sealed with glaze for durability and subtle shine.
Project Overview
- Create multiple small grape beads using mixed green clays.
- Form a thin stem from opaque green clay.
- Bake grape beads (and stem if preferred), paint and pastel for realism, then assemble and glaze.
- Suitable for jewelry, diorama props, or miniature food displays.
Materials & Supplies
- Polymer clay in: green, yellow (scrap), and translucent.
- Additional opaque green clay for the stem.
- Needle tools, dotting tools, or small ball tools.
- Cutting blade or craft knife and small scissors.
- Baking tray or ceramic tile and oven (follow clay manufacturer instructions).
- Acrylic paint: brown (for stem).
- Dark brown pastel (powder form) for patina and depth.
- Glue (strong craft glue compatible with polymer clay).
- Gloss or matte glaze (your choice for finish).
- Small paintbrushes for paint and glaze.
- Clean work surface and paper towel.
Preparation
- Work on a clean, dust‑free surface.
- Condition each clay color until soft and uniform.
- Preheat oven to the clay manufacturer’s recommended temperature once pieces are ready to bake.
- Arrange tools and paint/glaze nearby for immediate post‑bake steps.
Step‑by‑Step Detailed
Mix colors & create grape clay
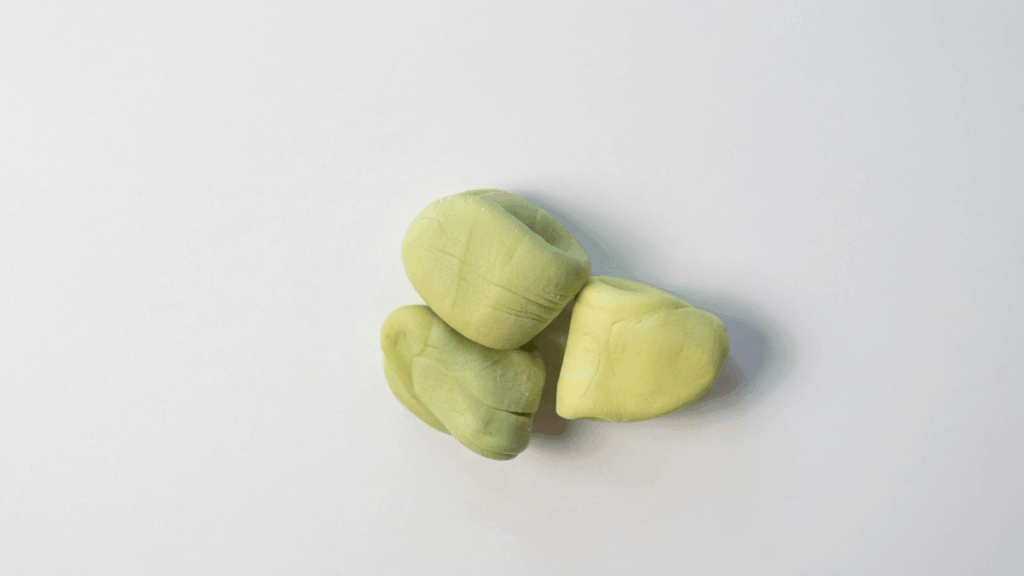
- Mix three shades of green by combining:
- Green clay (base color).
- Yellow scrap clay (to warm the tones).
- Translucent clay (to soften and add depth).
- Create distinct but harmonious shades: adjust ratios to produce light, medium, and slightly translucent tones.
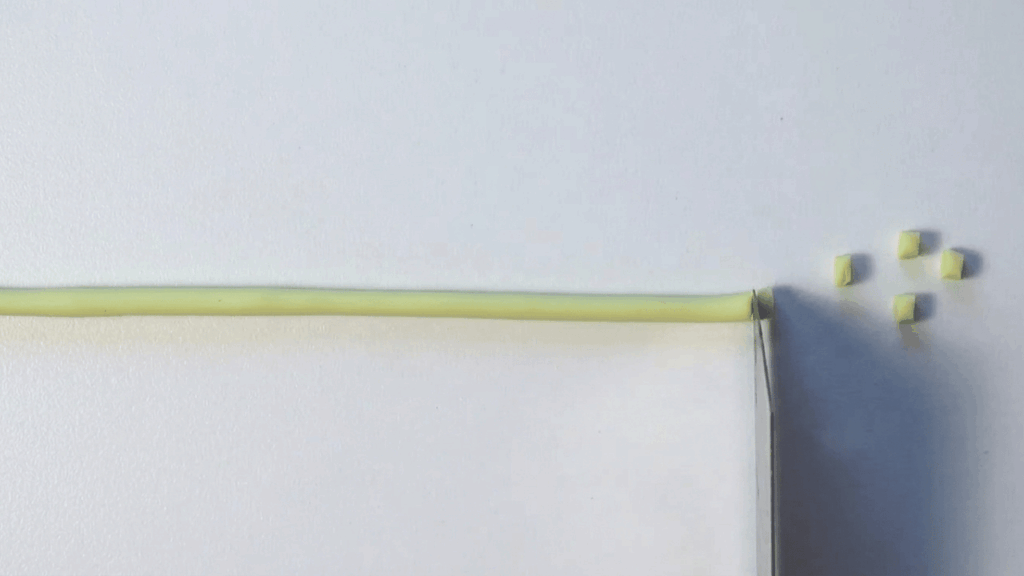
- Roll each shade into long, even snakes.
Cut & shape grapes
- Cut small equal pieces from each snake using a blade or fingernail.
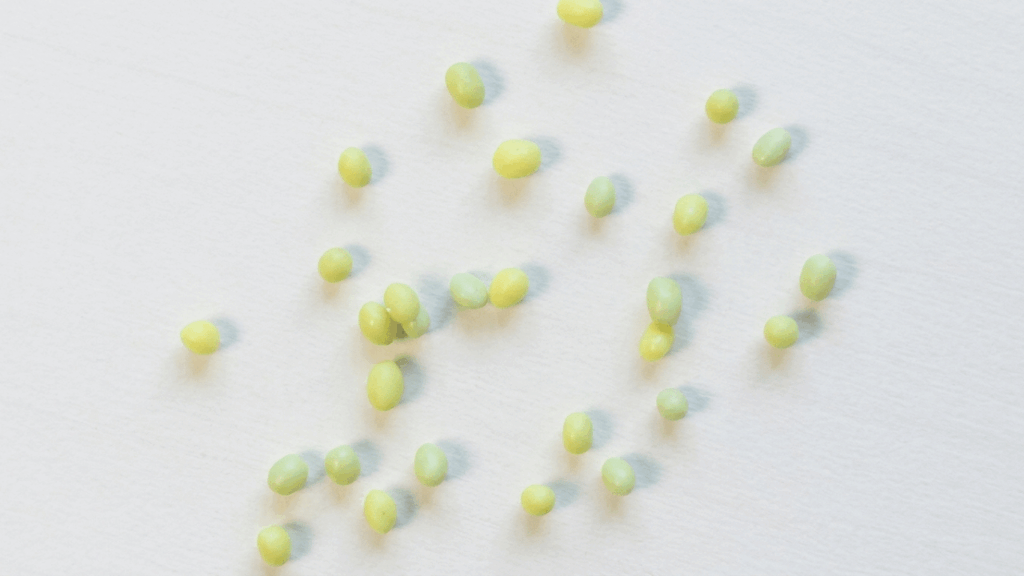
- Use fingers to roll each piece into a small round bead — vary sizes slightly for natural look.
- Smooth seams and dimples with fingertips or a soft tool to produce realistic grape shapes.
- Arrange formed grapes on your baking surface, spacing to avoid unwanted fusing unless you want grape clusters to bake connected.
Make thin stem pieces
- Take opaque green clay and roll extremely thin snakes for the stem.
- Keep stems very thin — they will be painted brown later, and thinness makes them appear more realistic at miniature scale.
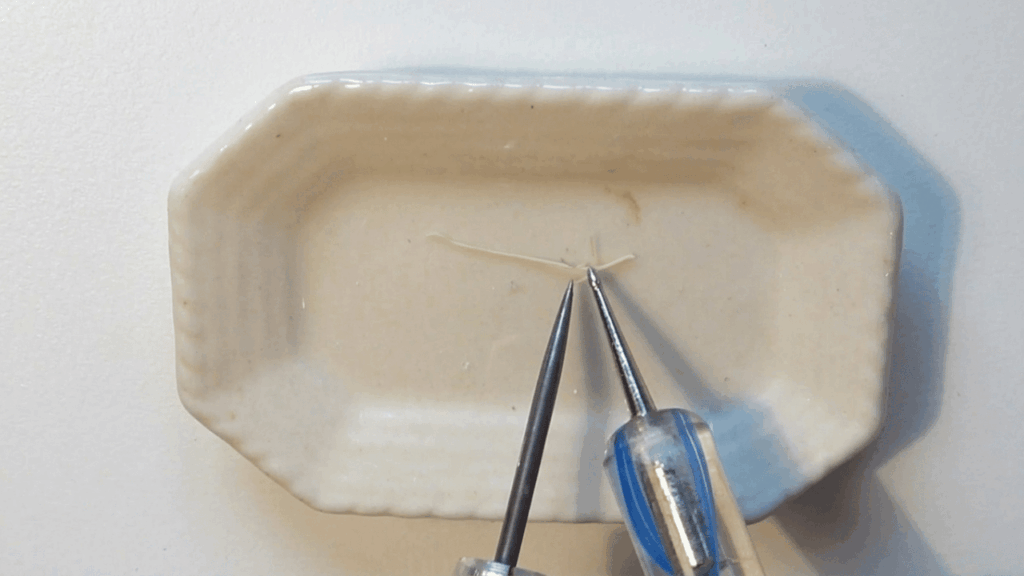
- Use a needle tool or dotting tools to gently score or attach stem pieces where grapes will connect; this helps adhesion during assembly.
Assemble pre‑bake (optional)
- Optionally, use needle tools or dotting tools to position grape beads around stem pieces before baking.
- Bunch grapes together if you prefer clusters to fuse slightly during baking.
- Or bake grapes separately for maximum flexibility in composition.
Bake
- Bake according to polymer clay manufacturer instructions (temperature/time based on the thickest pieces).
- Allow pieces to cool completely before handling to avoid fingerprints or deformation.
Paint & color stem
- Use brown acrylic paint to color the stem:
- Apply brown paint sparingly, leaving some green showing to simulate natural variation.
- Wipe or dab with a paper towel to create irregular color transitions for a realistic effect.
- Let paint dry fully.
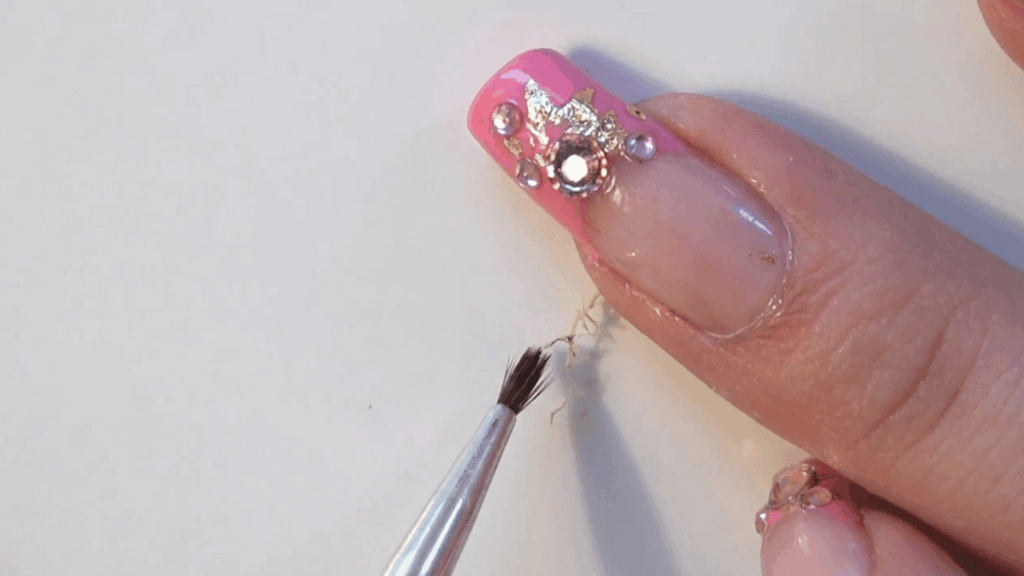
Glue grapes to stem
- Arrange grapes into the desired cluster and glue each grape to the stem using small drops of strong craft glue.
- Ensure the glue contacts are minimal but secure to preserve realism.
- Hold each grape in place briefly until the glue sets enough to support the next bead.
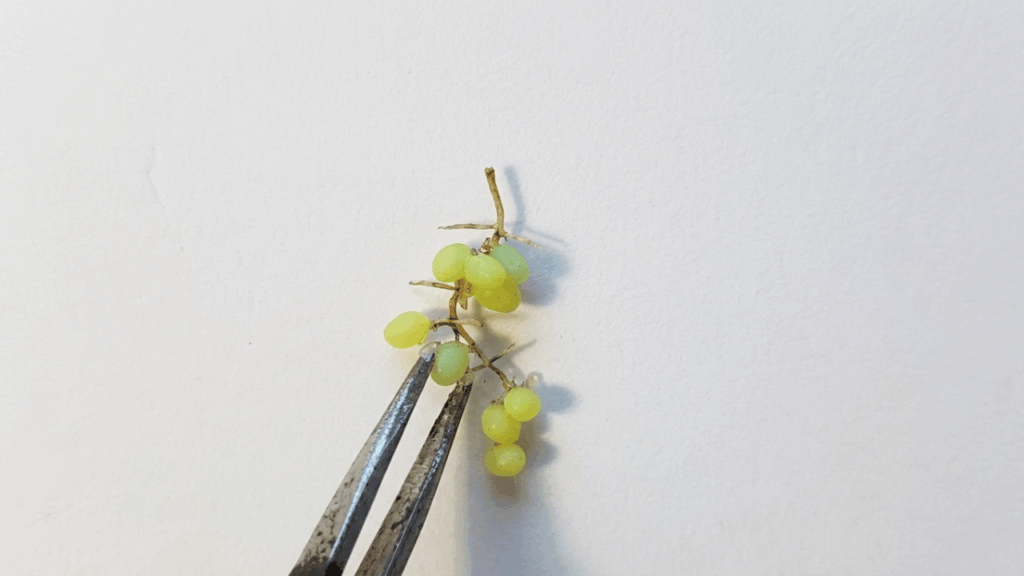
Final shading & texturing (3:36–3:39)
- Apply dark brown pastel lightly to the stem and base areas where grapes meet stem:
- Use a small brush or cotton swab to deposit pastel and blend softly.
- Add a touch of brown acrylic where more pronounced shadow is needed.
- Blend pastel softly into adjacent grape surfaces to simulate subtle bruising or natural color variation.
Finishing Instructions
- Once glue, pastel, and paint are completely dry, seal the whole assembly with an appropriate glaze:
- Choose gloss glaze for juicy, shiny grapes or matte for a more natural, waxy look.
- Apply thin layers and allow full curing per product directions.
- Inspect for loose beads; reapply glue if necessary and re‑seal any touched areas.
Tips & Techniques
- Vary bead sizes slightly for a natural grape cluster; perfect uniformity looks artificial.
- Use translucent clay in some grapes to create depth and the illusion of light transmission.
- When painting stems, leave small green “islands” to mimic real stem discoloration.
- If you want clusters to be permanently fused, position them touching before baking; otherwise, bake separate grapes for flexible assembly.
Common Problems & Solutions
- Grapes flattening while rolling: condition clay evenly and use gentle rolling pressure; roll between fingertips for small beads.
- Stem breaks when bending: make stem snakes slightly thicker if needed; paint color can still mask slight extra thickness.
- Glue visible at joints: apply tiny amounts and allow partial tack before pressing beads in place; clean excess immediately.
- Pastel smudging: fix pastel with a very light spray or a dot of varnish on targeted areas before full glaze application.
Creative Ideas & Variations
- Make colored grape varieties — purple, red, or golden — by substituting clay colors and using complementary pastels.
- Create miniature grape bunches with leaves: form tiny leaf shapes from green clay and attach near the stem.
- Use glossy glaze and a tiny white paint dot on selected grapes to simulate a light reflection for extra realism.
- Combine grapes with a miniature fruit bowl or wine bottle for dioramas and jewelry pendants.
Final Result
A small, realistic miniature grape cluster with natural color variation, detailed stem shading, and a durable glazed finish. The piece is suitable for display, jewelry, or miniature scenes and can be customized in color, gloss, and arrangement to match desired style.