DIY Realistic Clay Mushrooms for Miniature Garden Project
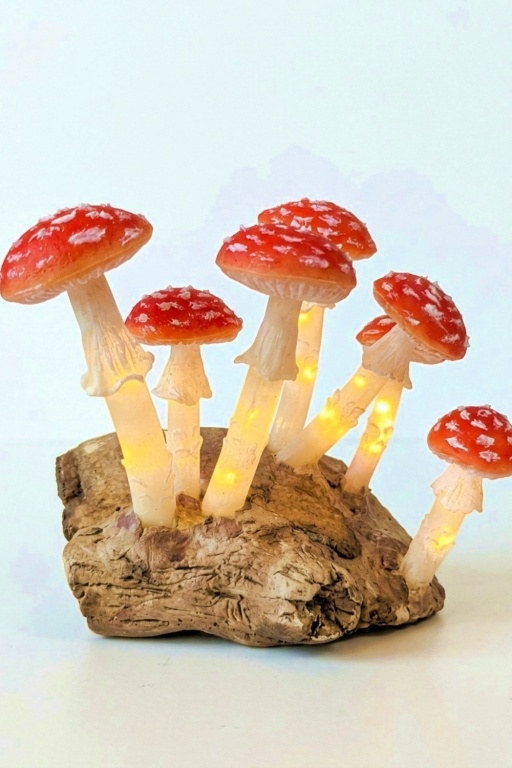
Craft stunning DIY Realistic Clay Mushrooms with intricate details a perfect project for nature-inspired decor whimsical gifts or creative displays.
Creating lifelike clay mushrooms is a fun and relaxing way to bring a little bit of nature into your space. This easy DIY project is perfect for anyone who enjoys making things by hand, regardless of skill level. Whether you’re decorating a plant pot, building a miniature fairy garden, or just looking for a creative pastime, these adorable mushrooms will add so much charm to your project. They’re simple to make yet incredibly satisfying to see once finished.
Create DIY Realistic Clay Mushrooms for Unique Decorations
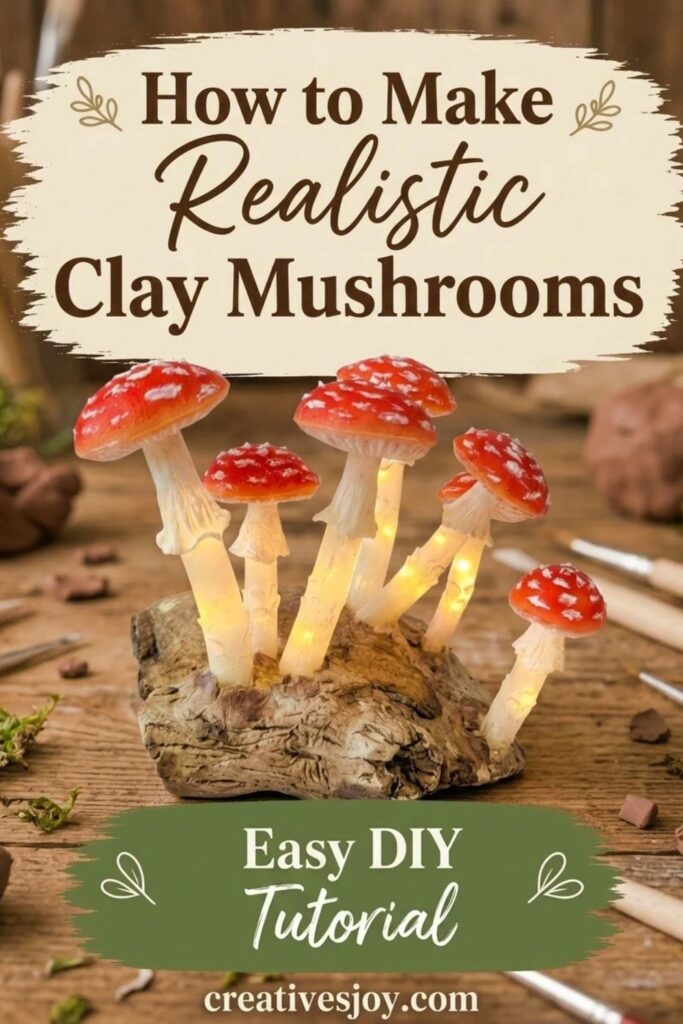
This project is working on the tiny details: gently shaping the mushroom caps, giving them a realistic curve, and adding texture to make them look natural. You can craft different shapes and sizes, from plump little toadstools to slim, tall mushrooms. Adding soft color variations enhances their lifelike appearance and makes each piece feel unique. It’s an enjoyable process where you can take your time to make each mushroom look like it came straight from the forest floor.
These realistic mushrooms are versatile and can be used in so many creative ways. Place them on a shelf, decorate a terrarium, or even use them to spice up a themed craft project. It’s the perfect way to combine creativity and nature-inspired design into a small, meaningful piece. Whether you’re working on something for yourself or as a gift, this project is sure to grab attention and bring a little magic to any space.
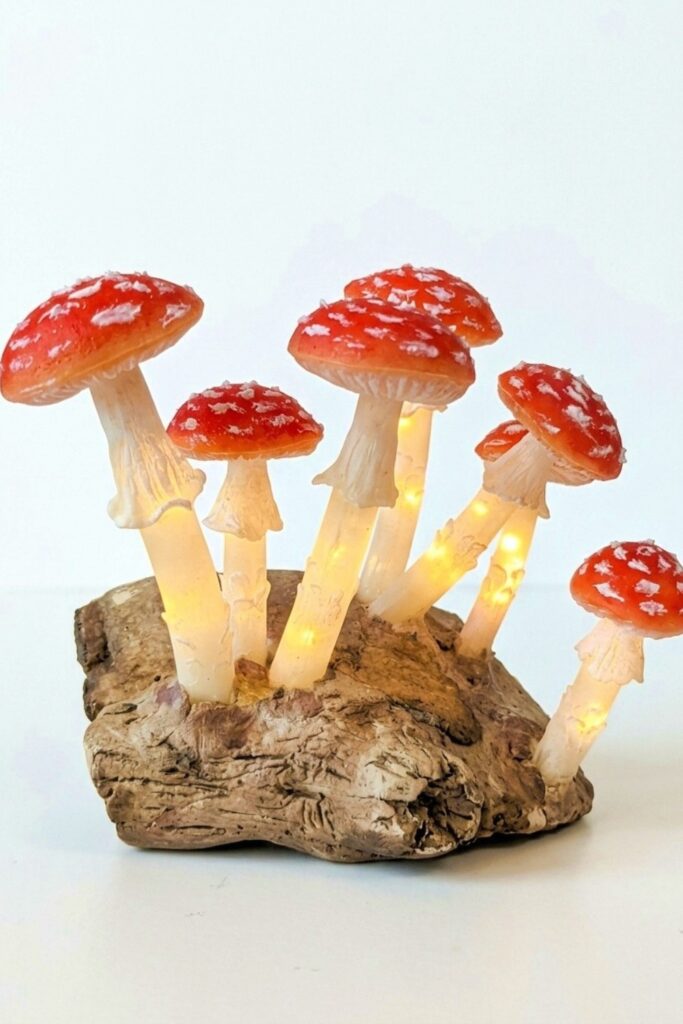
amanita-style polymer clay mushrooms
Create lifelike, glowing amanita-style polymer clay mushrooms with hollow stems so you can insert battery-operated fairy lights afterward. This approach uses translucent polymer clay, staged bakes, a foil armature for hollow stems, and clay adhesive mixed with pigments to create textured, dimensional cap spots and natural color gradients.
Materials & Supplies
- Translucent polymer clay (Cernit or similar) — main material
- Small amounts of orange, red, white polymer clay for color mixes
- Polymer clay adhesive (oven-bake type) — used as a binder and paint base
- Battery-operated fairy lights (stringed LEDs) — to insert after baking
- Aluminum foil (for temporary stem cores)
- Isopropyl alcohol (for cleanup)
- White acrylic paint (for dry-brushing)
- Latex makeup sponge (for dabbing pigment)
Tools & Equipment
- Sculpting tools (ball stylus, craft knife, smoothing tools)
- Small cookie cutter or coin (for cap circles)
- Oven (follow clay manufacturer’s temperature/time recommendations)
- Fine sandpaper or files (optional, for smoothing)
- Cotton buds (Q-tips) for cleaning/blending
- Small bowl of cold water (for stem shaping)
Project Details
- Difficulty: Intermediate — basic clay handling plus some adhesive mixing skills.
- Time: Several sessions (sculpt, bake stems/caps, glue/paint, final bake, finishing).
- Outcome: Glowing display mushrooms with realistic texture and durable hollow stems for LED insertion.
Preparation
- Read and follow your clay manufacturer’s temperature/time instructions. Jane baked at 275°F for ~10 minutes (check your clay brand).
- Test your oven with a temperature probe if possible — translucent clays can be sensitive.
- Gather fairy lights and confirm LED bulbs are small enough to fit inside hollow stems.
- Wrap non-oven-safe sculpting core tool with aluminum foil before using as a stem mandrel.
Step-by-Step Detailed
Build Hollow Stems
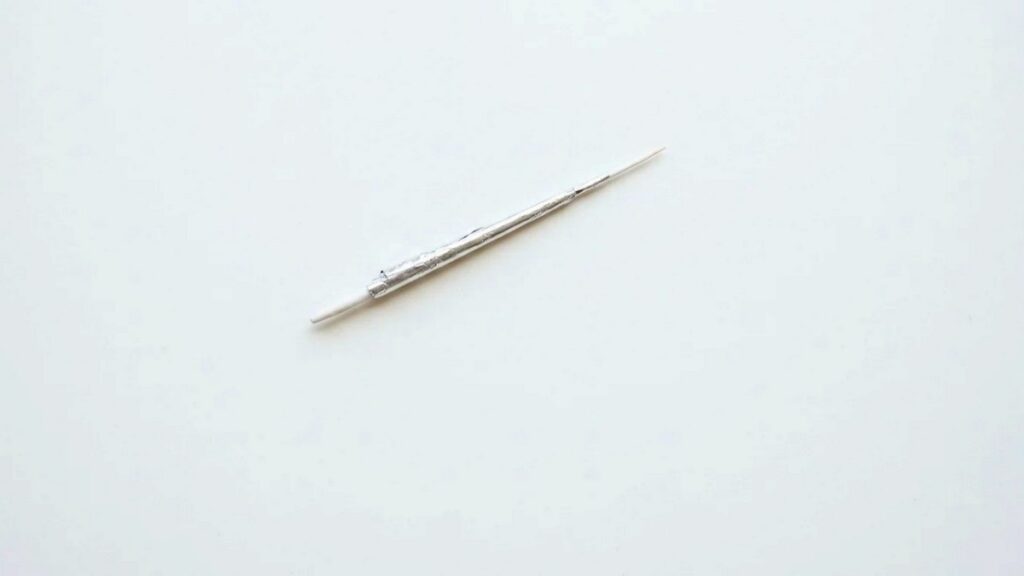
- Wrap sculpting tool tightly with aluminum foil to prevent clay sticking.
- Take a sheet of translucent clay and wrap it around the foil-covered tool.
- Trim to size, smooth the seam, and gently roll against the table to even the surface.
- Carefully pull out the tool while keeping the foil tube intact — set aside for later.
Make the Cap
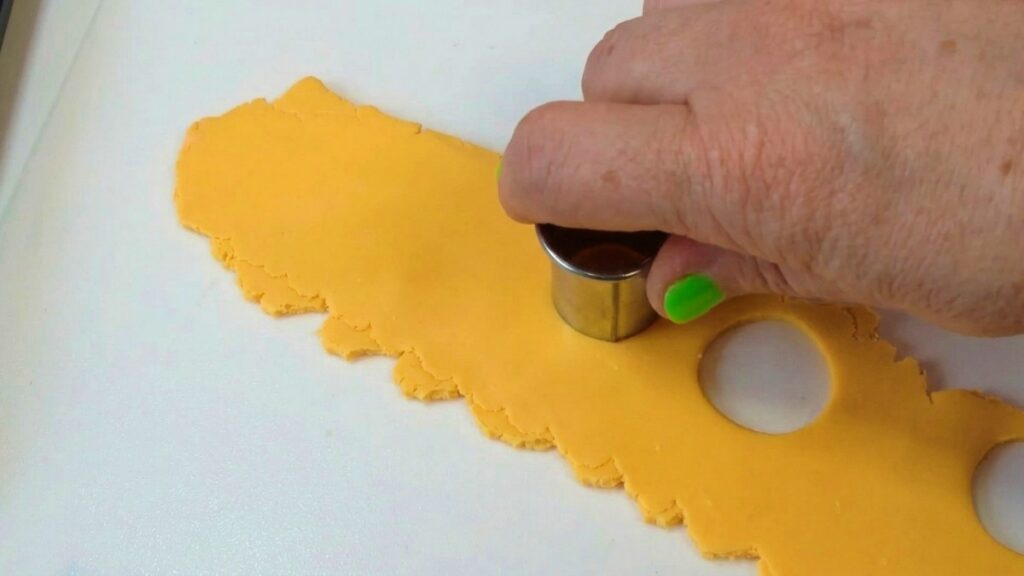
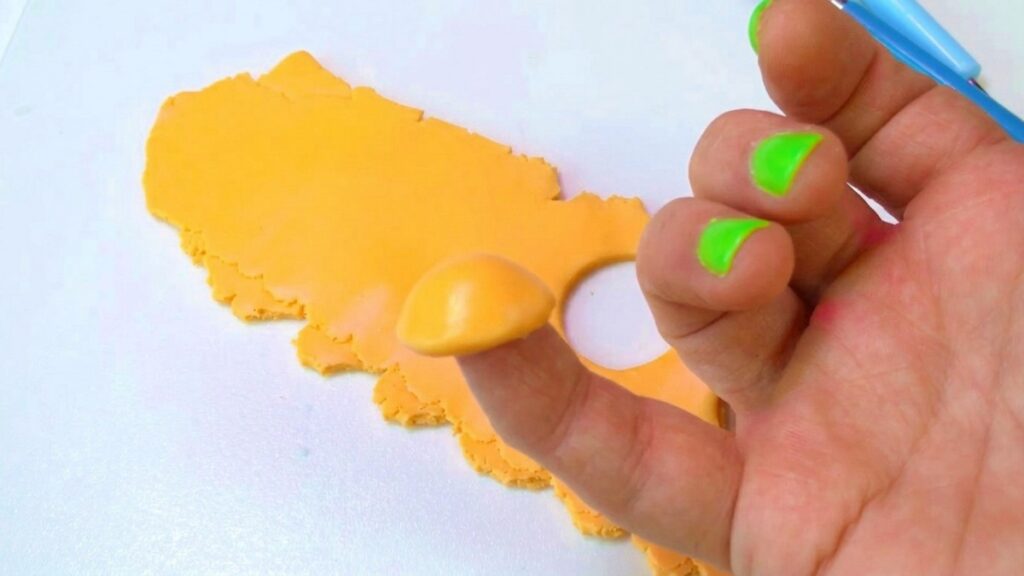
- Mix a bit of orange into translucent clay for warm cap color.
- Use a small cookie cutter (or roll-and-flatten method) to cut a circle for the cap.
- Form the flat circle into a dome using a large ball stylus or a knuckle — keep organic irregularities.
- Bake cap (and stems after initial prep) following clay instructions (Jane: ~10 minutes at 275°F).
Remove Foil & Add Skirt
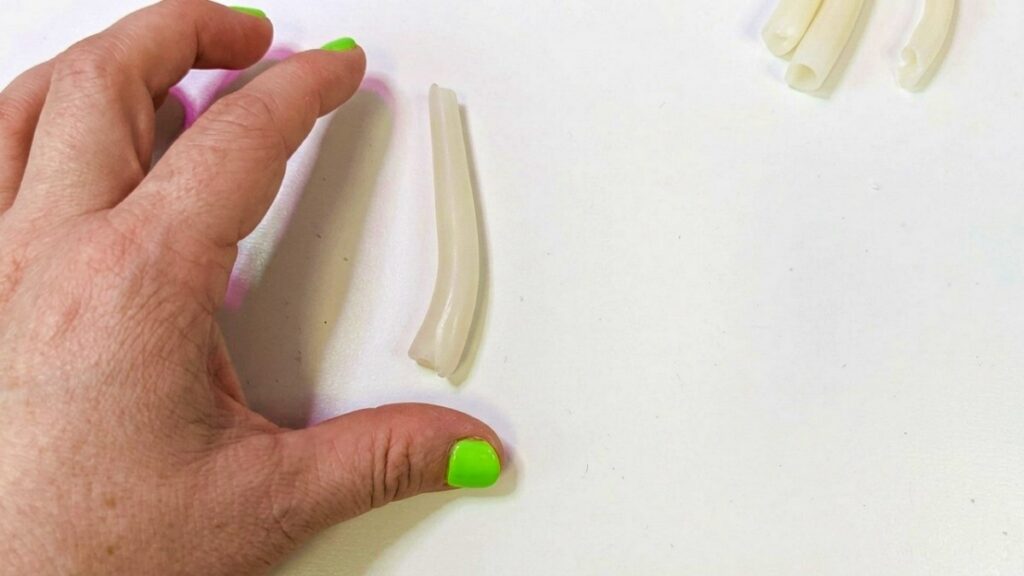
- After cooling, twist and pull foil out of the stem; it should release easily.
- Roll a snake of translucent clay, flatten, and pinch the edges to ruffle a skirt.
- Wrap the skirt about one-third down the stem and smooth the top edge.
- Use a tool to pick up frills and add texture around the skirt.
Add Fine Detail to Stem
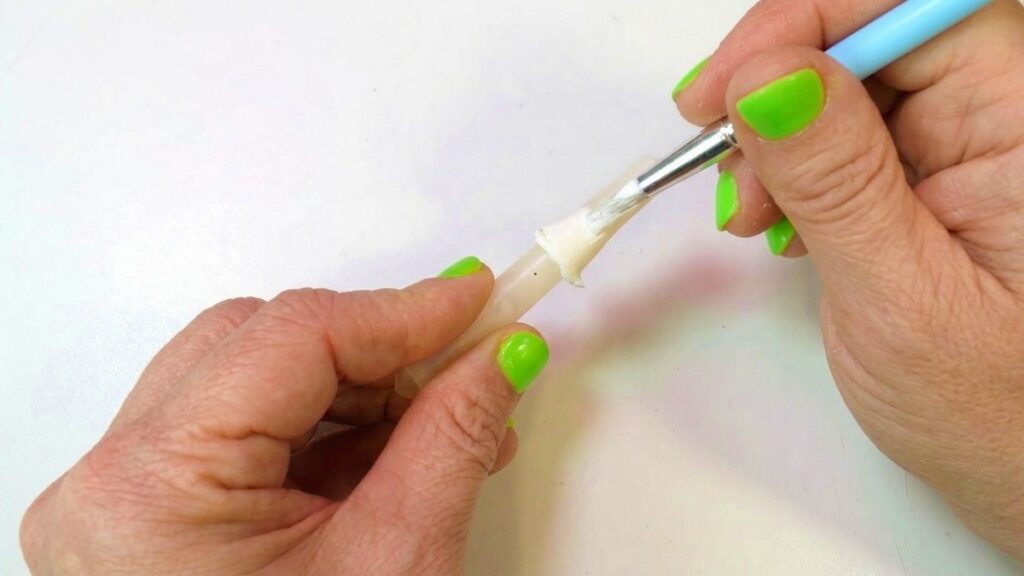
- Smear tiny bits of clay onto the stem surface to add organic blemishes and realism.
- Bake the stem again once textured and stable.
Create Cap Donut & Join
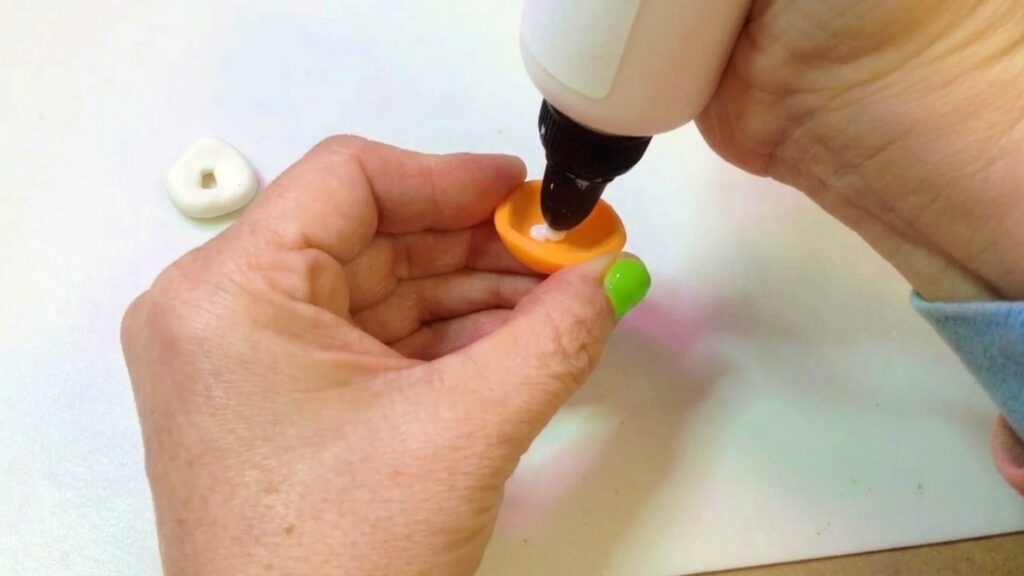
- Roll a small blob of translucent clay into a donut that fits inside the cap.
- Use oven-bake clay adhesive: smear a little inside the cap and place a drop into the center.
- Drop the donut into the cap, then insert the top of the stem into the donut hole.
- Blend edges of donut into the cap; rough edges will bake translucent and blend in.
Form Gills
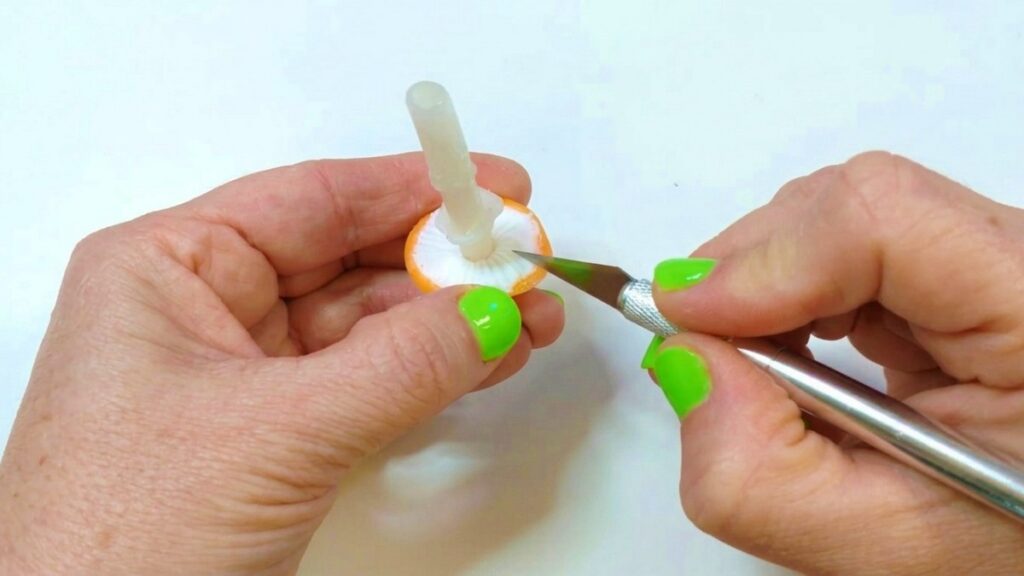
- Use the back of a craft knife or a thin stylus to press gill lines in the donut, radiating from center outward.
Create Cap Color & Spots (Adhesive Pigment Mix)
- Mix crumbs of red clay into a squirt of clay adhesive until it becomes a liquid red paste — keep mixing to fully break up lumps.
- Use a latex makeup sponge to dab pigment onto the cap, concentrating color toward the top center.
- Mix a second batch of adhesive+white clay but leave it chunkier to create textured white spots.
- Smear and dab these chunkier white patches onto the cap to mimic natural spot texture — texture is important.
Final Bake
- Bake the fully-assembled mushroom per manufacturer instructions (time based on thickness).
- Immediately after removing from oven while still hot, gently bend the stem to add a natural curve.
- Plunge the hot stem into a bowl of cold water while holding the curve until cooled — this locks the curvature in place.
Finishing & Cleaning
- Dry-brush white acrylic paint onto textured areas for highlights.
- Use a cotton bud dipped in isopropyl alcohol to clean up and blend any paint or adhesive residue.
- Once fully cooled and cured, insert fairy light bulbs into hollow stems, hiding battery pack as desired.
Finishing Instructions
- Allow all adhesive and paint to fully cure before inserting LEDs.
- Apply a light protective seal (matte or satin) if you want to preserve painted highlights; avoid high-heat environments with battery packs inserted.
Tips & Techniques
- Hollow stems let you insert lights post-bake — essential for non-oven-safe LEDs.
- Wrap non-oven-safe mandrels in foil as a removable armature.
- Use adhesive+clay mixes to create paints and textured spots that adhere and bake in place.
- Do staged bakes: prebake stems/caps where needed to avoid deforming delicate parts during handling.
Common Problems & Solutions
- Clay sticking to mandrel:
- Ensure foil is tightly wrapped and smooth before applying clay.
- Adhesive mixture lumpy:
- Keep mixing and break up clumps thoroughly; add extra adhesive to thin to a self-leveling consistency when needed.
- Stem not holding curve:
- Bend immediately after bake while hot, then quench in cold water to lock shape.
- Paint or adhesive mess:
- Clean up with isopropyl alcohol on a cotton bud before fully cured; test on scrap first.
Creative Ideas & Variations
- Use glow-in-the-dark translucent clay or colored LEDs for different glows.
- Make clusters of varying sizes on a shared base for a fairy-garden scene.
- Experiment with different cap patterns and species (morel, enoki-inspired forms).
- Add tiny details like moss, luminescent dust, or micro bead dew drops for extra magic.
Final Result
You’ll have realistic, glowing amanita-style mushrooms: translucent, textured caps with believable spots and natural-looking curved stems that house LED fairy lights. The combination of hollow stems, adhesive-based pigments, and staged baking yields display-ready fungi that glow from within and read convincingly lifelike.