DIY Mini Polymer Clay Doritos With Easy Guide For Beginners
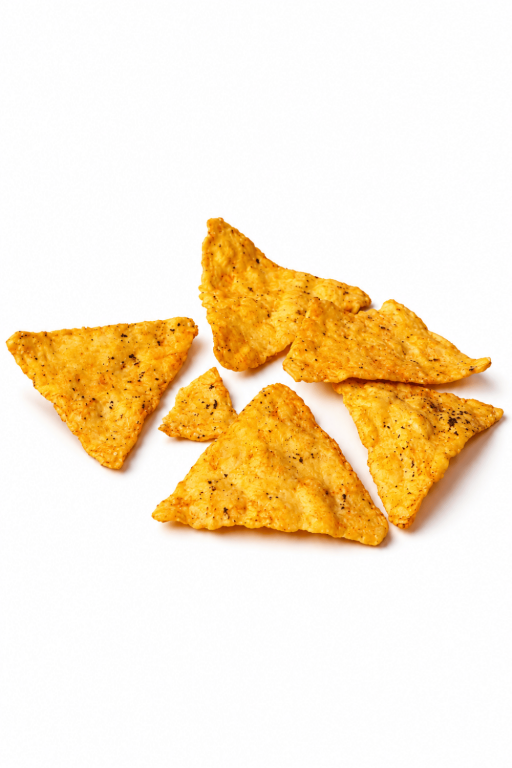
Make DIY Mini Polymer Clay Doritos with tiny triangular shapes, cheesy orange details, and a realistic look while enjoying this fun and easy miniature food craft project.
Have you ever imagined turning a favorite crunchy snack into a tiny handmade creation? DIY Mini Polymer Clay Doritos is a fun craft project that brings the familiar look of Doritos chips into the world of miniatures. These little orange triangles are cute, eye-catching, and perfect for anyone who enjoys making tiny food items. You can enjoy the process of shaping small chips and adding details that give them a more realistic, cheesy appearance.
Cute Craft DIY For Mini Polymer Clay Doritos Project
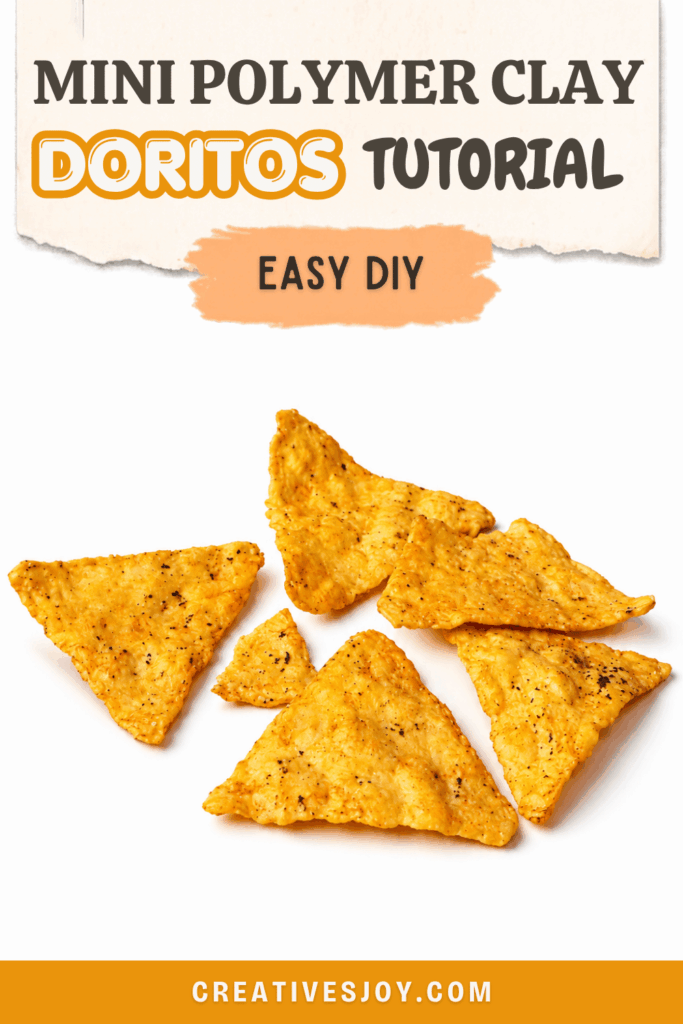
In this project, the main idea is to recreate the look of Doritos using polymer clay. The clay is shaped into thin triangular chips, and small texture details help give them the appearance of real tortilla chips. A touch of color adds the familiar orange, cheesy look that makes these tiny snacks stand out. Each little piece adds to the charm of the finished miniature creation.
What makes this DIY project special is how a simple snack can become an adorable piece of miniature art. These tiny chips can be used in dollhouse kitchens, miniature snack displays, or other creative craft collections. Whether you are a beginner or already enjoy working with polymer clay, this project is a fun way to explore your creativity and make something small, detailed, and unique.
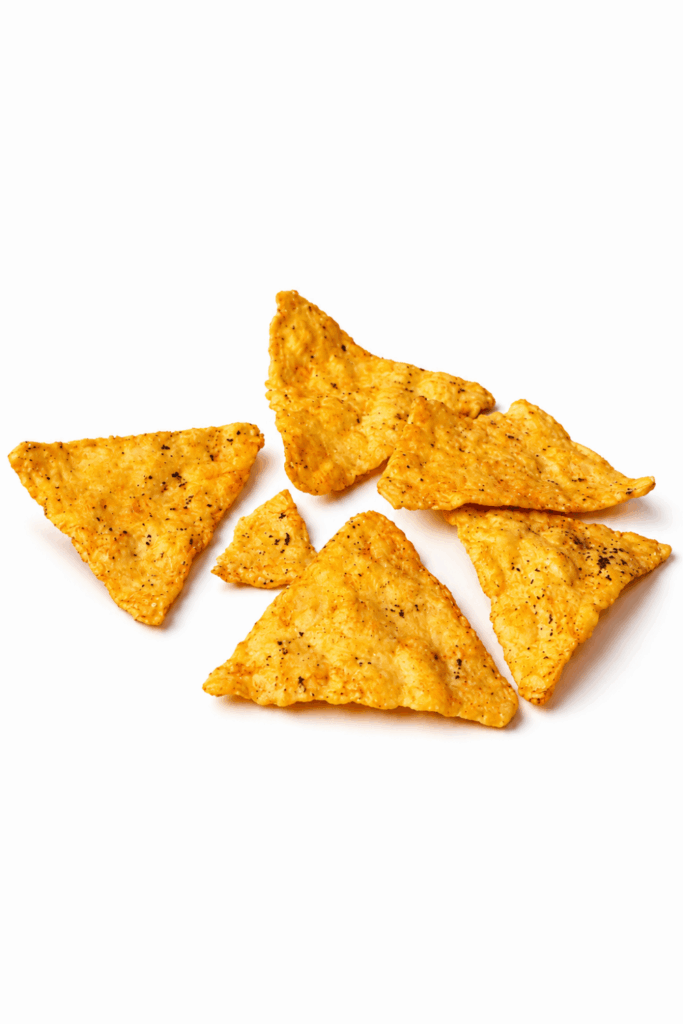
DIY Mini Polymer Clay Doritos
This tutorial shows how to make tiny Doritos charms from polymer clay. The finished pieces are triangular, textured on both sides, shaded with pastels, sealed with matte glaze, and finished with a tiny black logo. You will make texture masters, turn those into reusable texture molds, cut clay triangles, add texture, bake, shade, glaze, add specks, and finish with a baked black logo filled with paint.
Materials and tools
- Scrap polymer clay (for texture masters)
- Polymer clay in a base color (yellow/tan; orange or yellow tones optional)
- Small balls of clay (used to create texture on masters)
- Toothbrush (for adding texture)
- Mold putty (to make texture sheets)
- Oven (to bake clay; follow clay instructions)
- Soft pastels
- Dark brown pastel (shavings)
- Matte glaze
- Black polymer clay (for the logo)
- Acrylic paint (to fill logo details)
Important: Follow baking instructions printed on your polymer clay package. Where the video mentions an item or action, use that exact item or action.
Make texture masters
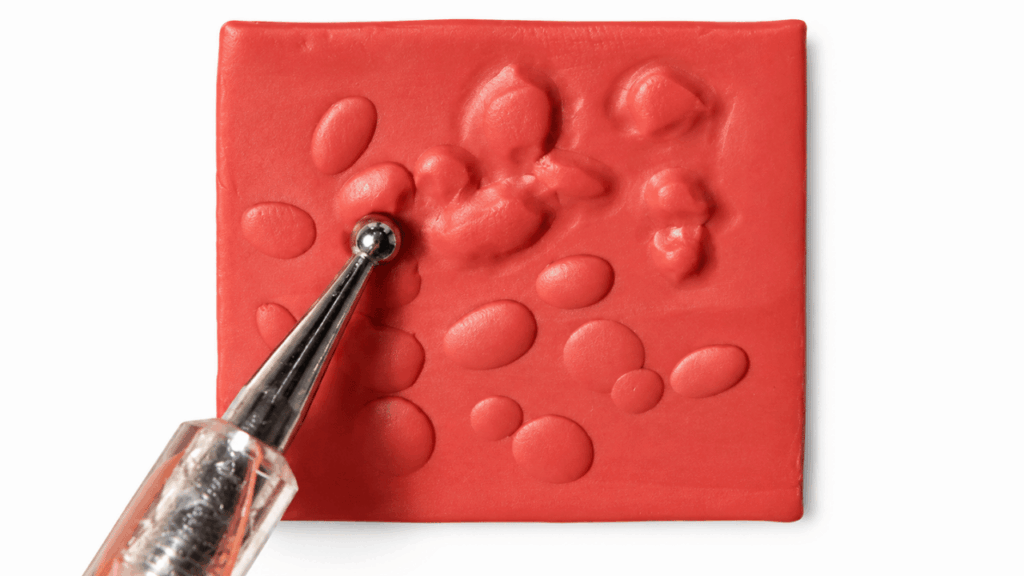
Prepare a textured master sheet
- Roll out a piece of scrap polymer clay to a flat sheet sized large enough to make several small charms.
- Place many small balls of clay across the sheet surface to create uneven bump texture.
- Press each small ball lightly so it remains raised and creates a textured pattern.
- Texture both sides of this master sheet if you want your charms to have texture on both faces.
Add fine texture
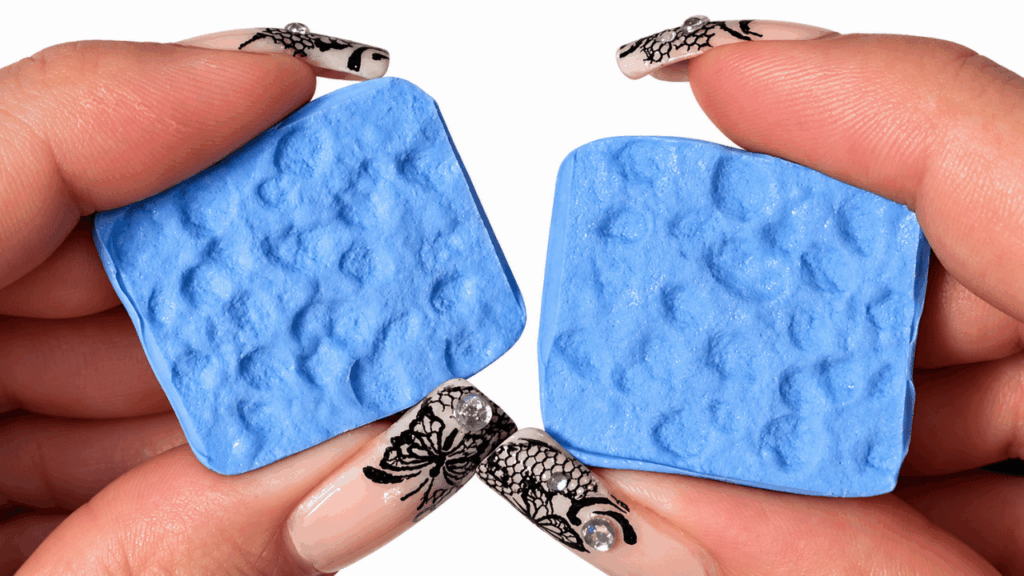
- Use a toothbrush to flick or press gently over the surface to add fine, crisp texture across the bumps.
- Adjust pressure so texture looks crisp but does not flatten the raised bumps.
Bake the texture masters
- Bake the prepared master sheet according to the clay manufacturer’s instructions so it hardens into a stable texture master.
Make texture molds (texture sheets)
- After the texture masters have cooled, press mold putty into the textured surface to make a texture sheet (a negative mold).
- Allow the mold putty to cure fully following the putty instructions.
- Remove the texture sheet; this gives you a reusable texture tool for pressing into your clay triangles.
Form the Dorito charms
Roll and cut base triangles
- Choose a base clay color: the video used a yellow/tan color; a more orange or yellow tone is optional.
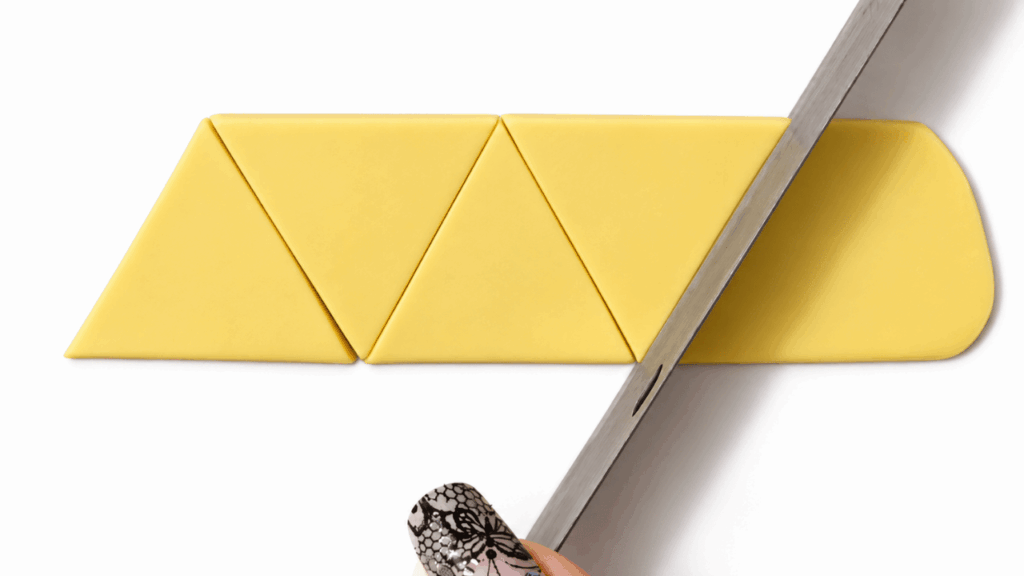
- Roll out a thin sheet of the base clay (thin enough to look like a chip but still workable).
- Cut the sheet into triangle shapes. Size the triangles for charms (the video makes small, charm-size triangles).
Add texture to the triangles
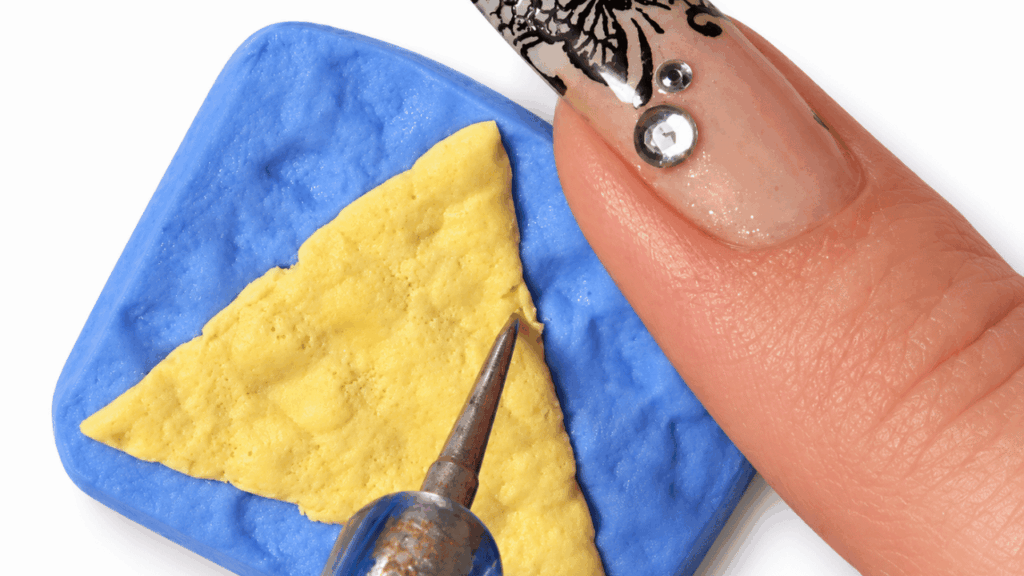
- Press each triangle into the prepared texture sheet so the textured pattern transfers onto the clay.
- If desired, add extra crisp texture by lightly pressing with the toothbrush or reworking the surface to make the chips look more crispy.
Bake the triangles
- Place the textured triangles on a plate or tray and bake them according to the polymer clay instructions on your clay packaging.
- Let the baked pieces cool fully before handling.
Shade, glaze, and add specks
Shade with pastels
- After baking and cooling, shade the triangles with soft pastels to add depth and color variation. Apply pastel gently to crevices and edges for a natural look.
Apply matte glaze
- Brush or spray a layer of matte glaze over the shaded triangles to seal the pastel and give a realistic chip appearance.
- Allow the glaze to dry.
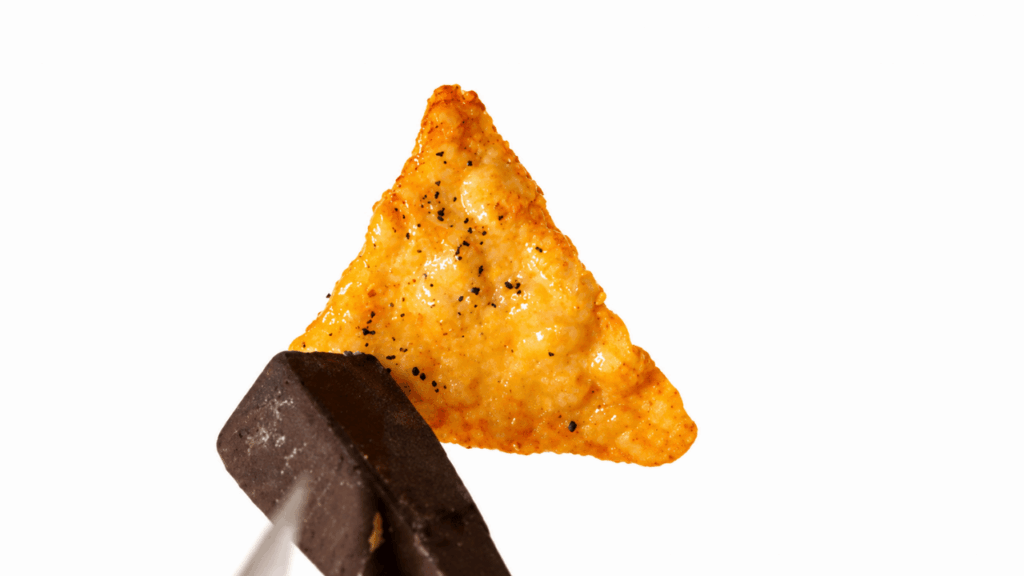
Add speckling and seal
- Shave small bits of dark brown pastel and apply the shavings as tiny specks on the glazed surface to mimic toasted or burnt spots.
- Seal immediately with another layer of glaze so the specks will not rub off. Allow the final glaze layer to dry completely.
Make and attach the logo
Create a baked logo
- Shape the Doritos logo (or your chosen small logo) from black clay into the appropriate small size and form.
- Bake the black clay logo according to clay instructions and let it cool.
Paint logo details
- Use acrylic paint to fill or highlight the small details of the logo after the logo piece has cooled from baking.
- Allow the paint to dry.
Attach or display
- Affix the logo to a charm, or keep it as a small accent piece according to your project needs (the video shows the logo as a finished small element).
Final sealing and finish
Final glaze
- Once all paint and pastels are dry, apply a final coat of glaze over any painted areas that need protection.
- Let everything dry fully before handling or attaching findings for charms.
Finished
- Your Doritos charms are complete once shading, speckling, logo details, and final glaze are all dry and sealed.
- Store or display your charms carefully so the glaze finish is preserved.
Tips
- Making texture masters first and casting mold putty texture sheets saves time when making multiple charms.
- Bake according to the clay’s instructions and always let pieces cool before shading or glazing.
- Seal pastel shavings and other loose surface details with glaze immediately so they do not come off.