DIY Polymer Clay Cauliflower for a Fun and Unique Craft Idea
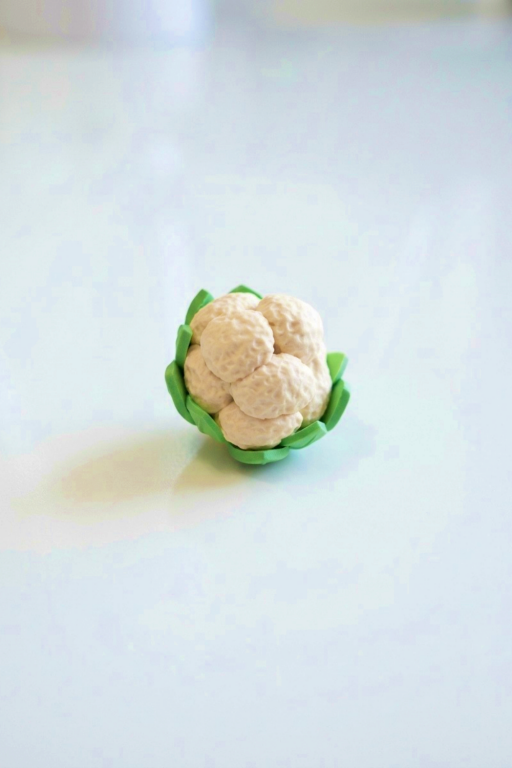
Create a lifelike DIY Polymer Clay Cauliflower with simple steps perfect for crafting stunning food miniatures decor pieces or unique handmade gifts.
Turning simple ideas into a tiny cauliflower made from polymer clay is a fun and rewarding activity for anyone. This DIY project is perfect for beginners and those who enjoy working on detailed and meaningful projects. It offers an easy way to work with your hands while making something unique and delightful that will catch everyone’s attention. You can showcase it as a keepsake, include it in a themed display, or offer it as a thoughtful handmade gift.
DIY Polymer Clay Cauliflower Idea for Beginners
Shaping each tiny detail, from the textured florets to the soft green leaves at the base, makes this project especially enjoyable. Watching how the miniature takes form with such lifelike features is a satisfying process. It’s an opportunity to focus entirely on the small details, turning a simple concept into something uniquely personal. Finishing it feels rewarding, as each step contributes to a tiny masterpiece that stands out. It’s easy to stay engaged throughout the process as each part complements the next.
Whether displayed on a shelf or gifted to someone special, this polymer clay cauliflower will brighten up any space or collection. It’s a simple yet creative project that shows how imaginative little items can be. Perfect for quiet afternoons or thoughtful projects, this craft brings together relaxation and fun in just the right way.
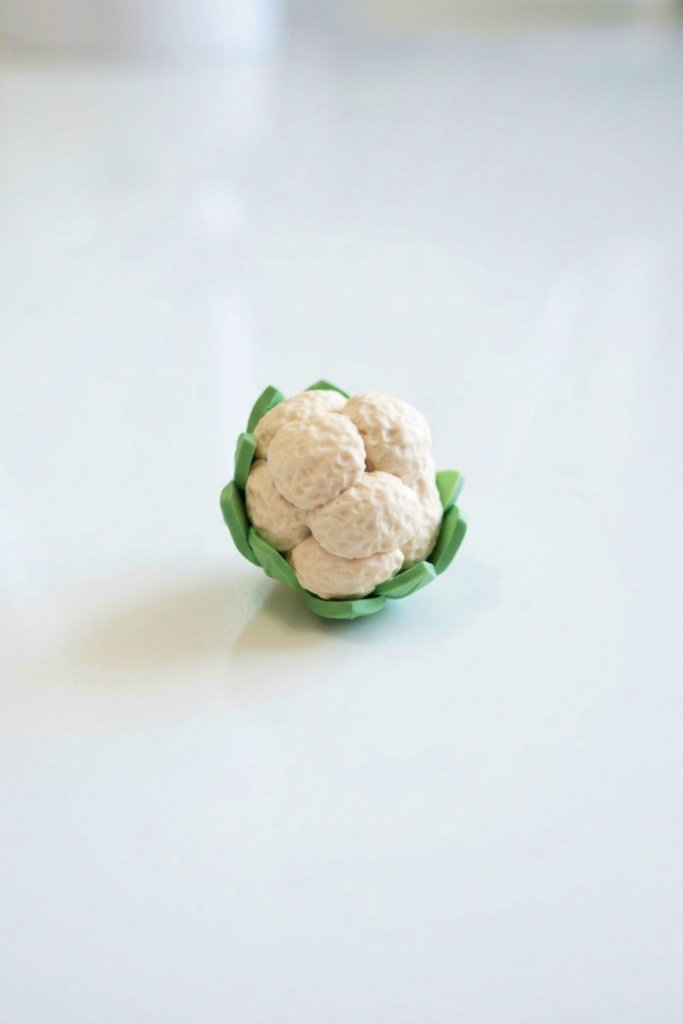
realistic miniature cauliflower from polymer clay
Create a small, realistic miniature cauliflower from polymer clay by building a textured central curd and surrounding it with tiny leaves. The method relies on repetitive small indentations to mimic cauliflower florets and precise leaf-cutting and placement for a convincing final piece.
Materials & Supplies
- Light green polymer clay (for leaves and outer sections)
- Off-white or very light beige polymer clay (for the cauliflower curd)
- Small amount of yellow clay (optional, for warm undertones)
- Polymer clay brand-specific baking materials (tray, parchment)
- Optional: varnish for finished shine
Tools & Equipment
- Small ball tool (primary texturing tool)
- Cutting blade or small craft knife
- Tiny leaf cookie cutter or precision cutting tool
- Smooth work surface (glass or steel recommended)
- Oven for curing polymer clay (follow manufacturer’s instructions)
- Small round shaping tools or toothpicks (for detailing)
Project Details
- Difficulty: Beginner-friendly but patience-intensive due to repetitive texturing.
- Size: Small tabletop or miniature item; scale can be adjusted by starting ball size.
- Time: Active sculpting 1–2 hours depending on detail level, plus baking/cooling time.
Preparation
- Condition clay: knead both green and white clays until soft and pliable.
- Prepare tools and a clean work surface to avoid contamination and to see small details clearly.
- If you have neck or posture issues, set materials at eye level to reduce strain (as the creator did).
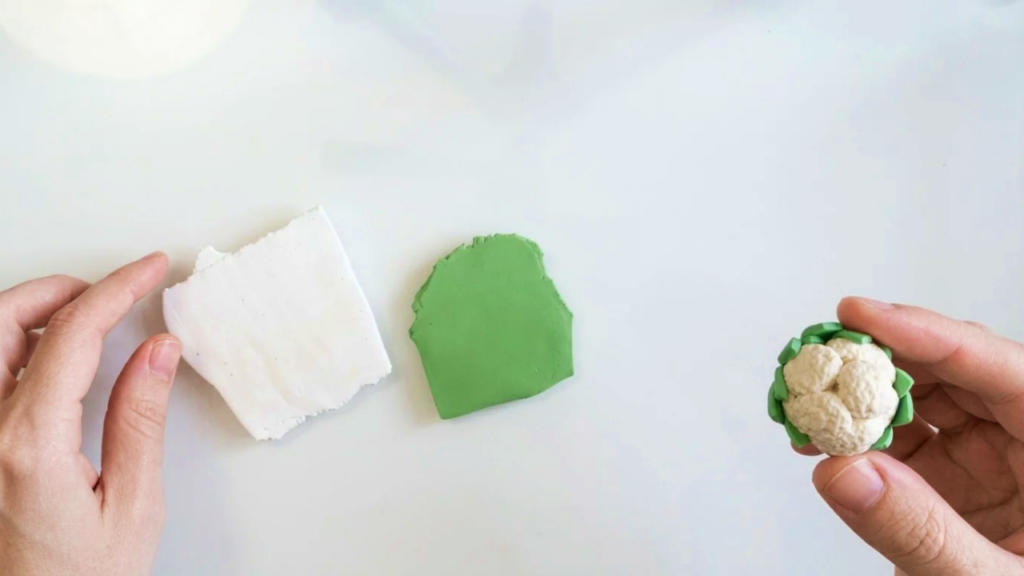
Step-by-Step Detailed
1) Form the Central Core
- Roll a round ball of off-white clay to act as the cauliflower’s central mass.
- This is the base shape; keep it slightly irregular for a natural appearance.
- Important: make the size consistent with the intended final cauliflower scale.
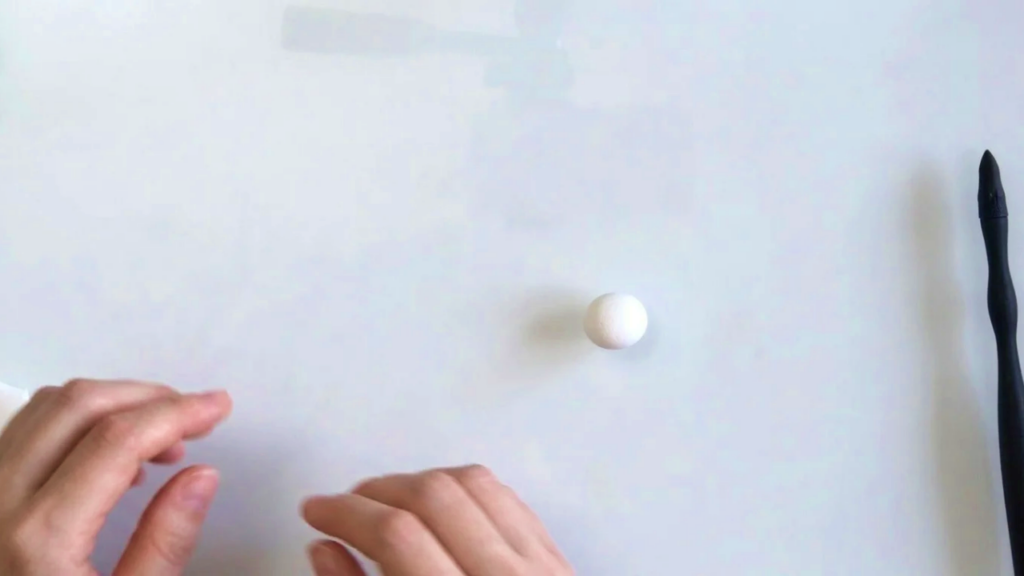
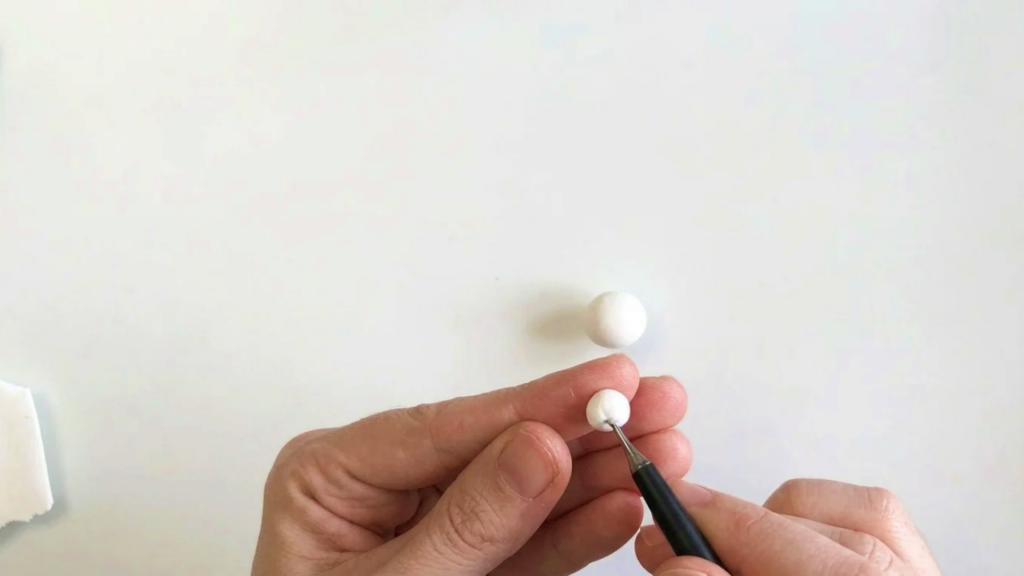
2) Create Textured Floret Pieces
- Take very small bits of off-white clay to make the textured florets.
- Use the small ball tool to create lots of tiny indentations or dimples on each small piece.
- Repeat: place as many small, deeply textured pieces as you can around the core.
- Attach one piece at a time:
- Press each small textured piece gently into the central ball so it adheres and blends at the seam.
- Work systematically in sections to ensure even coverage.
- Note: patience is key — this step is highly repetitive but builds the cauliflower’s characteristic surface.
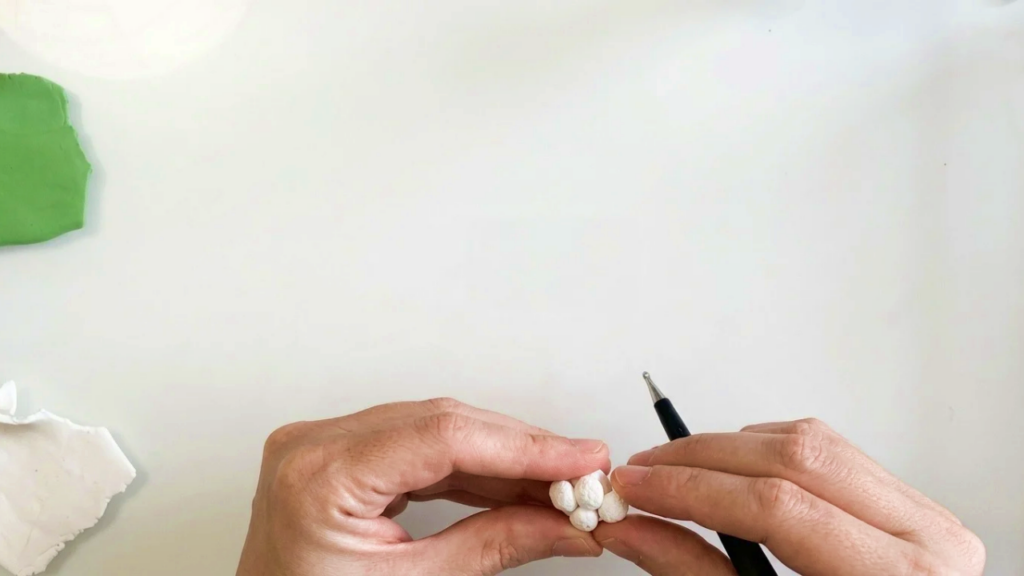
3) Continue Building the Curd
- Keep repeating the process:
- Texture each small piece with the ball tool.
- Attach to the growing surface, filling gaps and varying piece sizes slightly for realism.
- Check overall silhouette frequently and adjust small pieces to maintain a roughly rounded, irregular dome.
4) Fine Surface Refinement
- Once the body is mostly covered, use the ball tool to add finishing touches:
- Tap the surface lightly to unify the texture.
- Smooth any visible seams lightly without erasing the dimpled texture.
- If desired, incorporate tiny touches of yellow or beige mixed into white to create subtle color variations before baking.
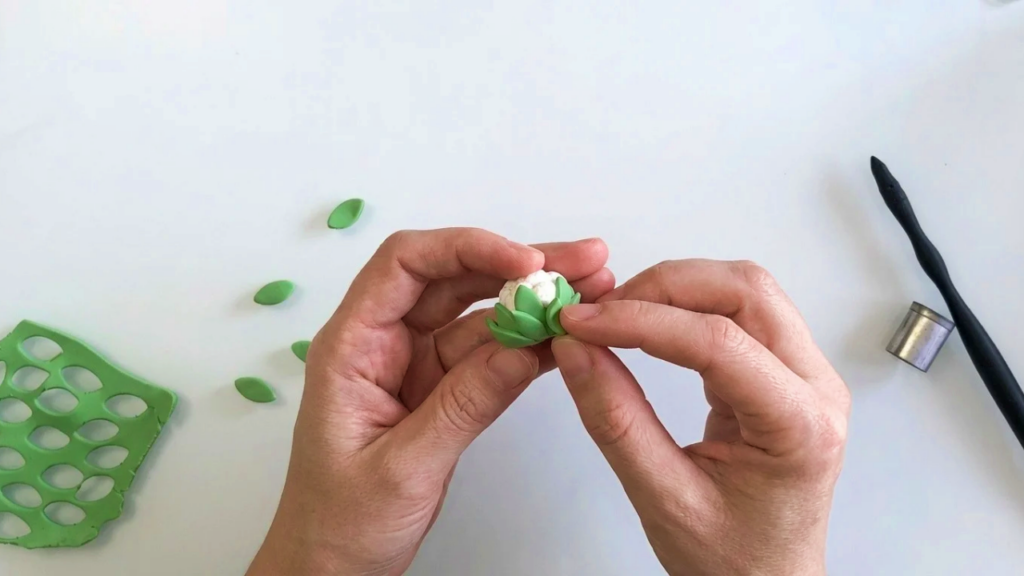
5) Create Tiny Leaves
- Roll out the light green clay thinly.
- Use a very small leaf cutter or carefully cut tiny leaf shapes with a blade.
- For each leaf:
- Pinch edges slightly to create a natural, soft rim.
- Carve a center vein with a small tool or toothpick.
- Slightly bend or curve leaves for organic shape.
- Arrange a ring of these leaves around the cauliflower base:
- Place leaves so the bottom of the curd is covered and the leaves overlap slightly.
- Ensure the leaves tuck under the curd in places to look natural.
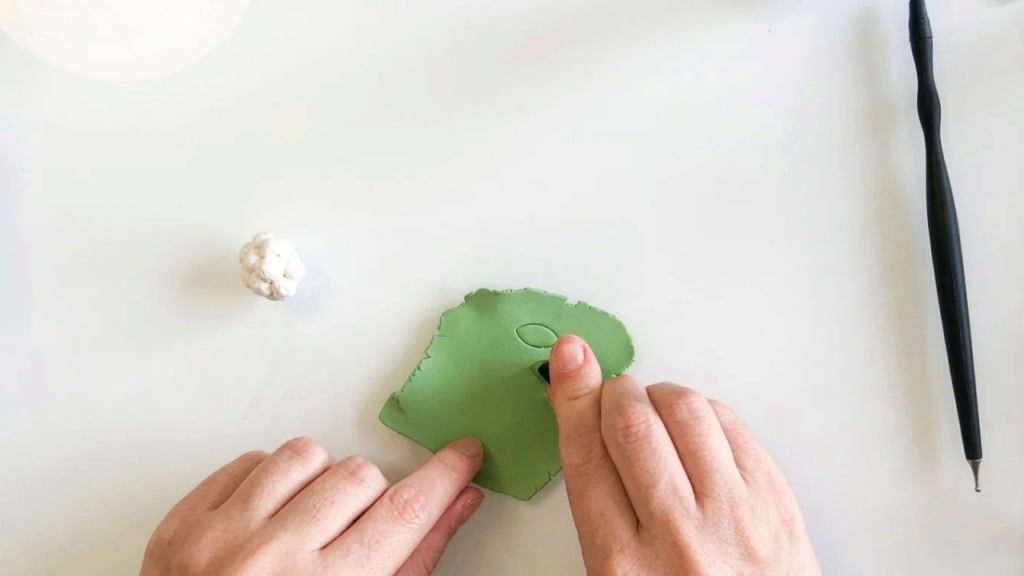
6) Final Assembly Prep
- Inspect the model:
- Fill any visible gaps with tiny pieces of clay and re-texture as needed.
- Make sure leaf placement looks balanced and the cauliflower silhouette reads correctly.
- If you plan to bake the piece in one go, check your clay brand’s thickness limitations.
7) Baking
- Follow your clay manufacturer’s instructions:
- Preheat oven to the recommended temperature.
- Bake on a suitable surface (parchment or ceramic tile) for the recommended time based on thickness.
- Allow the piece to cool completely before handling to prevent warping or fingerprints.
Finishing Instructions
- After cooling, make any minor sanding or smoothing adjustments if desired using very fine sandpaper.
- Optional: apply a matte or satin varnish lightly if you want a slightly sealed finish (avoid high-gloss if aiming for realistic vegetable appearance).
- If you want subtle color depth, consider a very light dry-brush of green or beige acrylic on leaf edges or crevices and seal again.
Tips & Techniques
- Use very small consistent pieces for the curd to keep a cohesive texture — vary size subtly to avoid uniformity.
- Work in short sessions to maintain focus; repetitive detailing can lead to fatigue.
- Keep hands clean and avoid mixing colors unintentionally — use separate tools or wipe tools frequently.
- If you struggle to see tiny details, raise your work or use a small magnifier to reduce neck strain.
Common Problems & Solutions
- Gaps between florets after baking:
- Solution: add extra tiny clay bits and rebake small area if your clay allows; otherwise, use a thin paint-matched filler or lightly sand and recolor.
- Color contamination (green smudges on white):
- Solution: clean tools and hands thoroughly between color changes; use barrier sheets or gloves if needed.
- Flattened texture due to over-handling:
- Solution: press fresh tiny pieces into flattened areas and re-texture with the ball tool before baking.
Creative Ideas & Variations
- Scale up to make a realistic vegetable set (broccoli, cabbage) by changing texture technique and color.
- Make miniature vegetable magnets by attaching small hardware on the back before baking (check heat tolerance).
- Add a light wash of diluted acrylic to emphasize dimples and enhance realism before final sealing.
Final Result
A convincing miniature cauliflower with a densely textured curd and neatly tucked tiny green leaves. The final piece showcases patient, repetitive ball-tool texturing and precise leaf-cutting, yielding a charming, realistic small-scale vegetable suitable for dioramas, kitchen-themed miniatures, or display as a polymer clay study.