Unique DIY Polymer Clay Banana with Simple Techniques
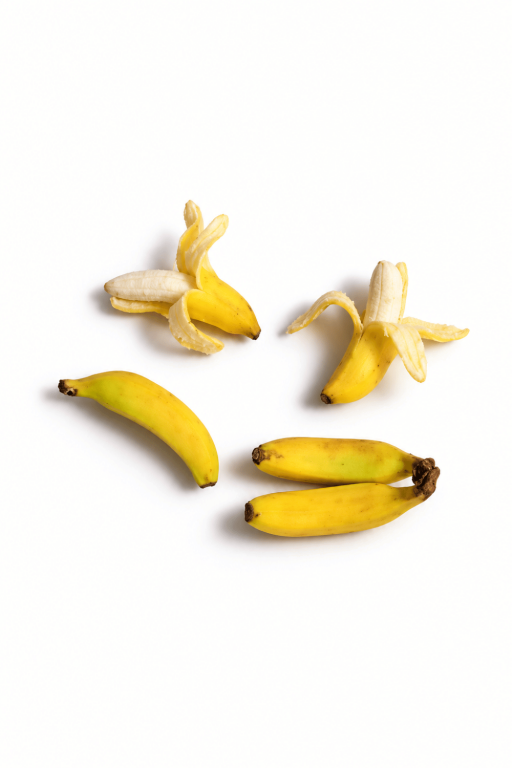
Make your own adorable DIY Polymer Clay Banana with simple techniques that add charm and a professional look to your miniature food projects.
If you enjoy simple and fun crafting projects, this one is just right for you! You’ll be making a tiny, adorable banana using polymer clay. It’s a relaxing and creative way to turn a basic material into something cheerful and fun. Whether you want to use it as a cute little decoration, a fridge magnet, or even as a gift for someone special, this project is a delightful way to get crafty without needing a ton of supplies or experience.
DIY Polymer Clay Banana Perfect for Miniature Crafts
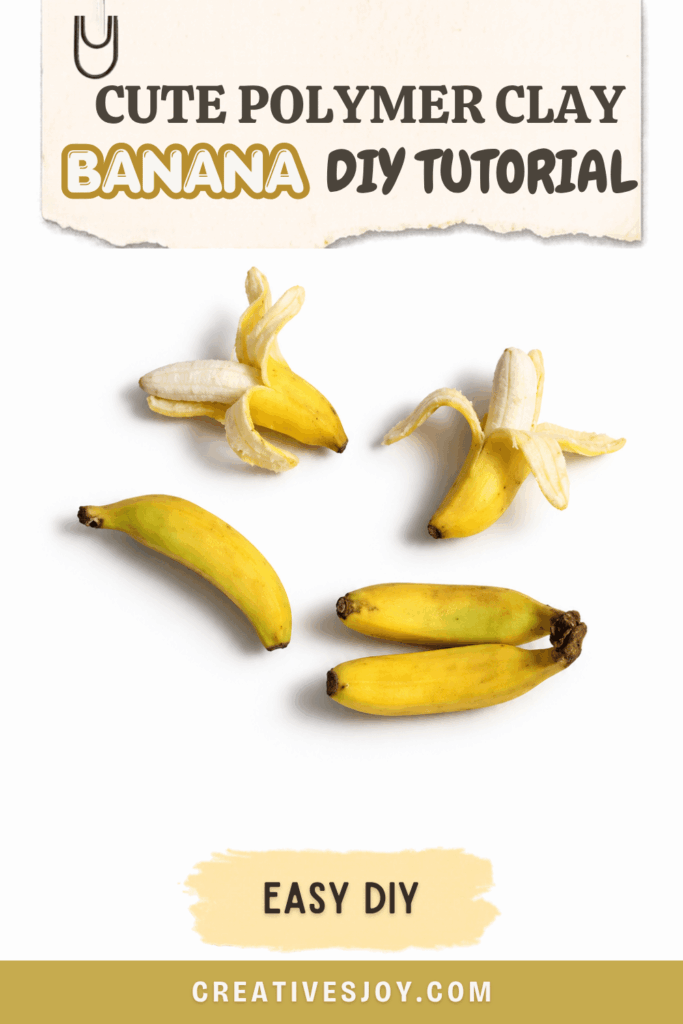
What’s amazing about using polymer clay is how easy it is to shape and bake into a solid, long-lasting form. For this project, you’ll roll, sculpt, and shape the clay into a mini banana. You can even add some textured details like the lines of the peel or mix shades of yellow and brown to make it look even more realistic. All you need is a little creativity—it’s an enjoyable process from start to finish, and the end result is a tiny banana that’s almost too cute to handle!
This little DIY is perfect for anyone who wants to try a simple but satisfying activity. It’s great for beginners, yet still rewarding for those who’ve worked with clay before. Plus, it’s a fantastic way to add a touch of whimsy to your day.
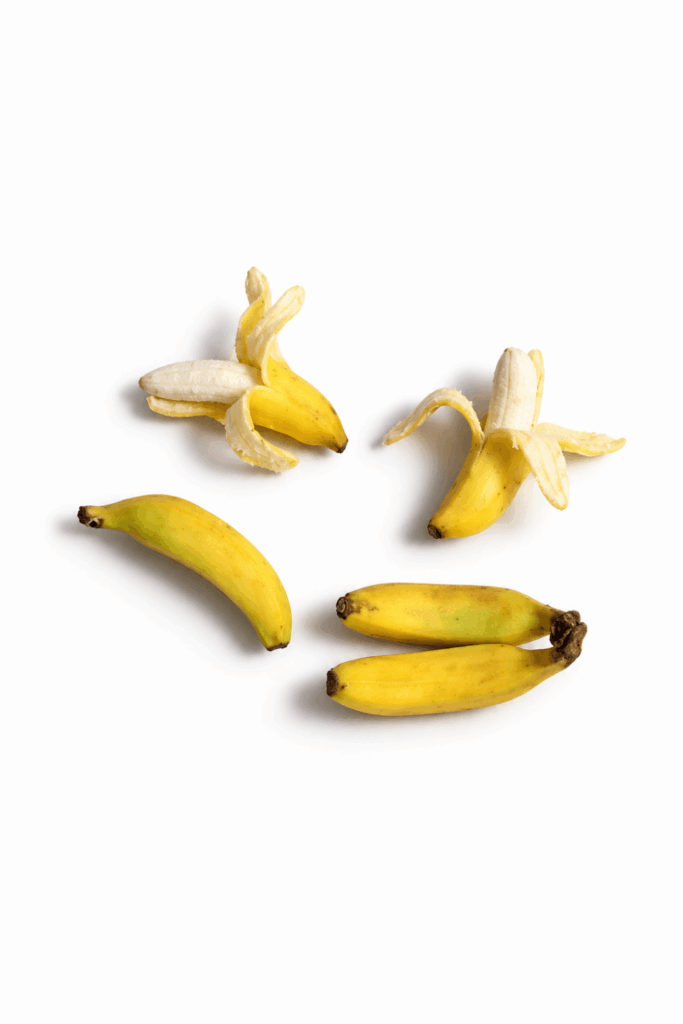
Cute Polymer Clay Banana DIY
This idea shows how to make miniature bananas from polymer clay. The finished project can include peeled bananas (with a textured banana center and separate peel segments) and whole unpeeled bananas. Key steps are shaping the banana body, pre‑baking to preserve texture, forming and attaching peel pieces, final baking, painting details, and sealing with glaze.
Materials and tools
- Banana cane or one solid color of polymer clay (conditioned)
- Needle tool
- Blade
- Small piece of ceramic fiber (to support pieces during baking)
- Darker yellow clay (for peel outside)
- Banana‑colored light yellow clay (for peel inside)
- Corn starch (for fingers to reduce fingerprints)
- Green pastel (for shading after baking)
- Dark brown acrylic paint (for final dots and marks)
- Water and a small brush (to soften paint dots)
- Glaze (to seal the finished pieces)
Make the banana bodies
Step 1 — Start the banana base
- Use a piece of the banana cane as your base. If you prefer, use a single solid color of clay instead.
- Close the ends of the clay shape and use your fingers to form the basic curved banana body.
- Make sure the shape reads clearly as a small banana before adding texture.
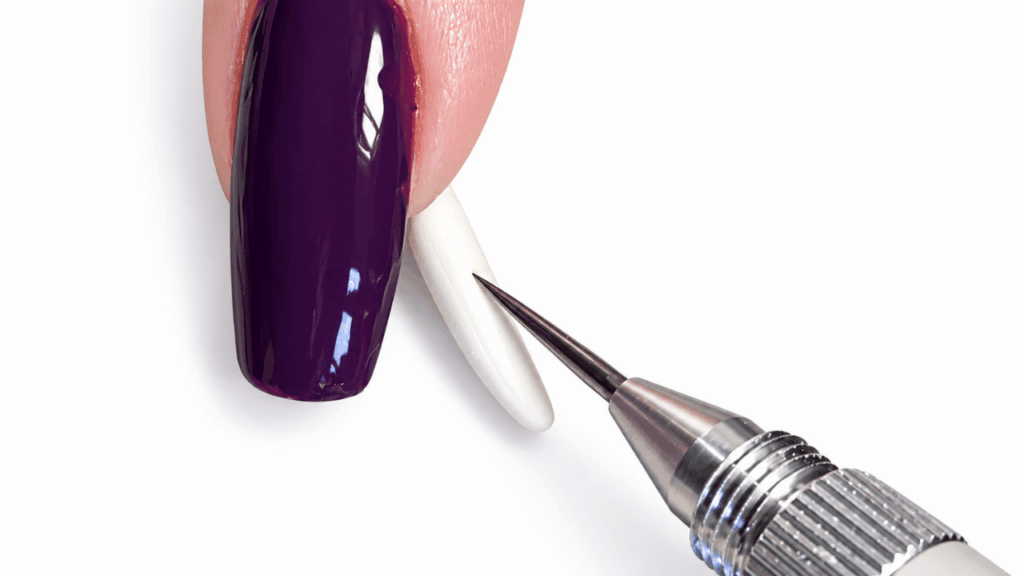
Step 2 — Add surface texture
- Use a needle tool to add fine texture lines and small marks on the banana surface.
- Do not worry about the bottom portion of the banana; it will be covered by the peel later.
- Work around the banana until you are satisfied with the textured look.
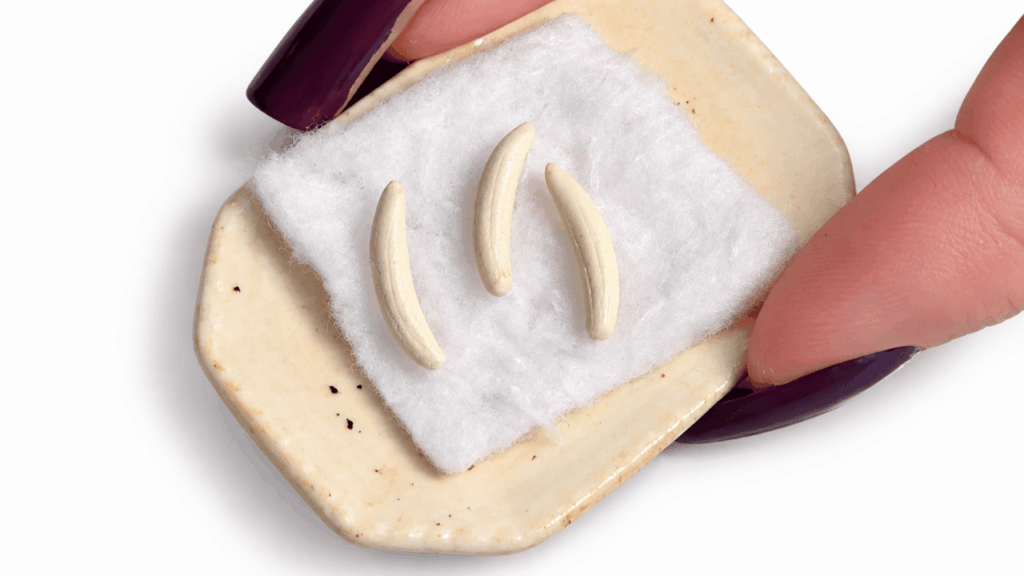
Pre‑bake to preserve texture
Step 1 — Pre‑bake the textured banana bodies
- Place the textured banana pieces on a small piece of ceramic fiber before baking.
- Bake according to your clay’s instructions. (The video shows pre‑baking at this stage.)
- Using ceramic fiber helps the pieces keep their texture and prevents flattening during the bake.
Make the peel pieces (for peeled bananas)
Step 1 — Prepare two clay layers for each peel segment
- Choose darker yellow clay for the outside of the peel and banana‑colored light yellow clay for the inner side.
- Roll out two layers: one darker yellow and one light yellow.
- Make sure the light yellow layer is thinner than the darker outside layer.
- Roll the layers again until they reach the right thickness to form realistic peel segments.
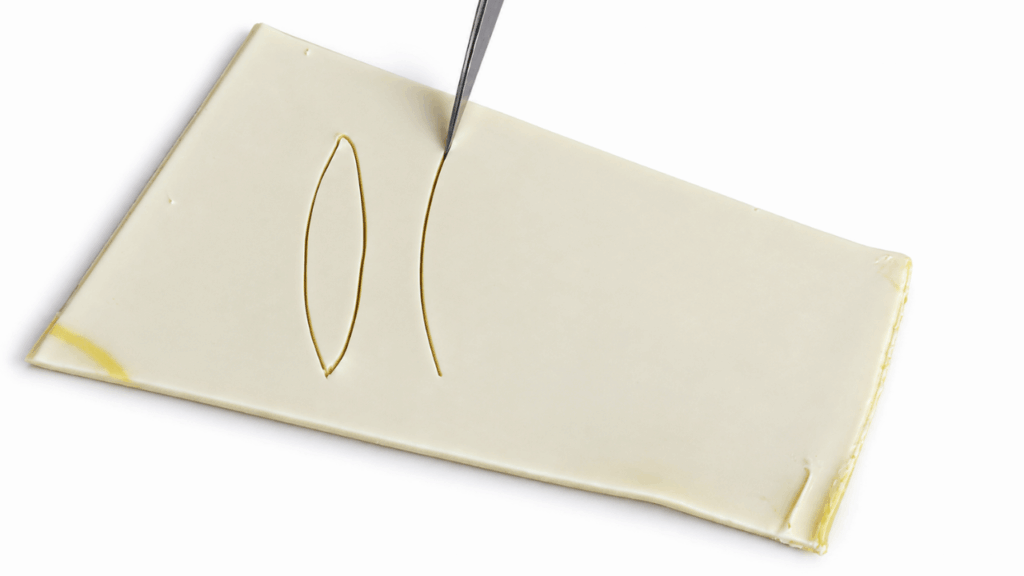
Step 2 — Cut peel segments and texture them
- Cut out four peel pieces (or the number you need) from the layered sheet so each piece will wrap around the banana.
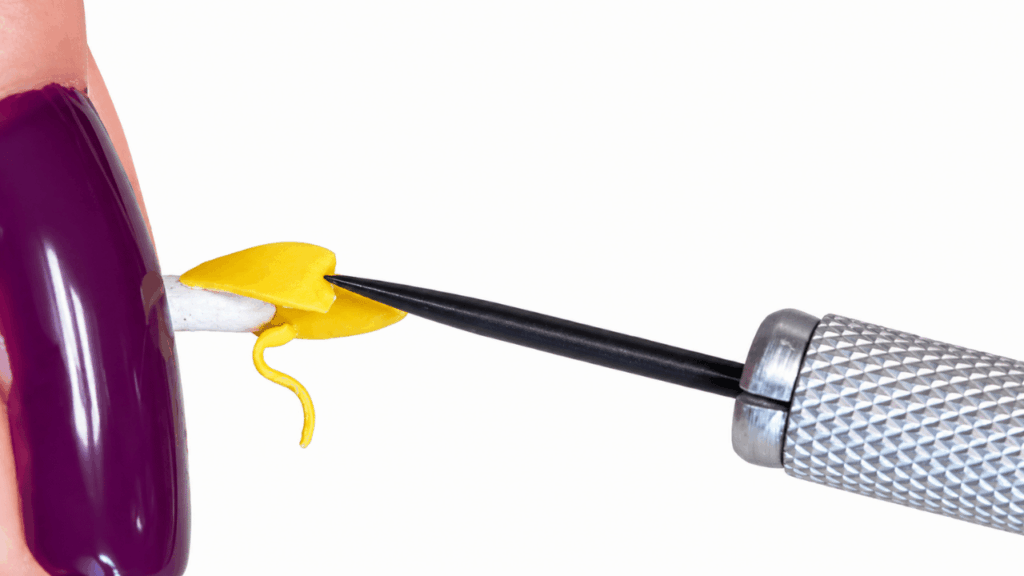
- Use a needle tool or other texture tool to add fine texture lines to the peel pieces to mimic real banana skin.
Step 3 — Attach a thin strip at the banana bottom
- Take a thin piece of darker yellow and wrap it around the bottom portion of each pre‑baked banana.
- Because the banana center is pre‑baked, you can hold the top while wrapping the peel without worrying about damaging the center’s texture.
- Press seams gently so the peel pieces sit flush against the banana body.
Make whole unpeeled bananas
Step 1 — Form the unpeeled banana skin
- Roll out a snake of darker yellow clay to form a full unpeeled banana covering.
- Use your blade to shape the clay snake so it has the same square shape (as shown in the video) or otherwise matches the banana form you want.
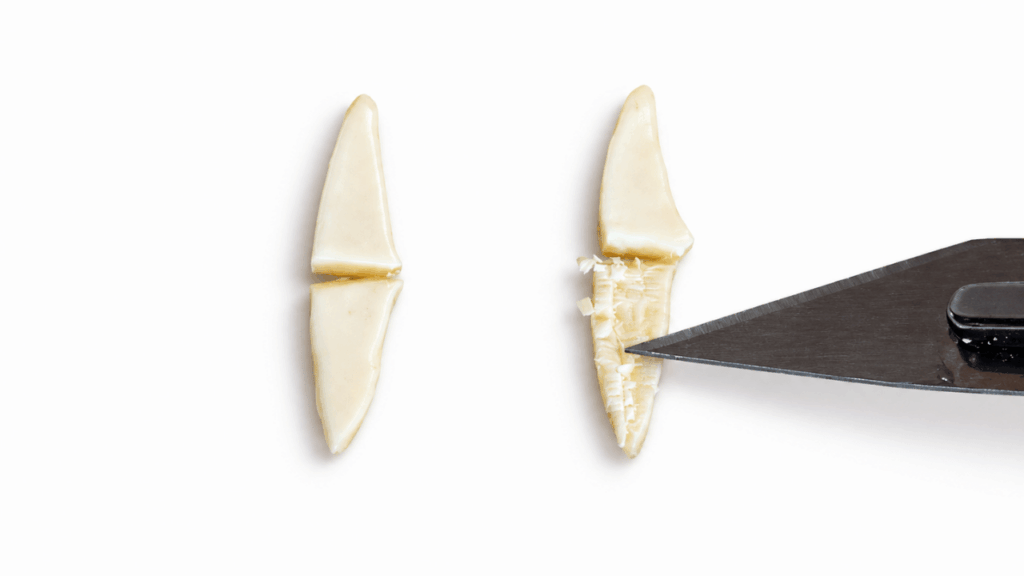
Step 2 — Shape the ends and finish
- Use your fingers to shape the ends of the unpeeled banana and cut off any excess clay.
- Apply a small amount of corn starch to your fingers while shaping to help minimize fingerprints and keep the surface clean.
Final bake (after assembly)
Step 1 — Bake assembled pieces
- After you have attached peel segments to pre‑baked centers (and finished any full unpeeled bananas), bake the assembled pieces again.
- This final bake sets any raw peel clay and unifies the assembled pieces.
Painting and finishing
Step 1 — Apply pastel and paint details
- After the final bake and cooling, brush on green pastel where you want subtle shading.
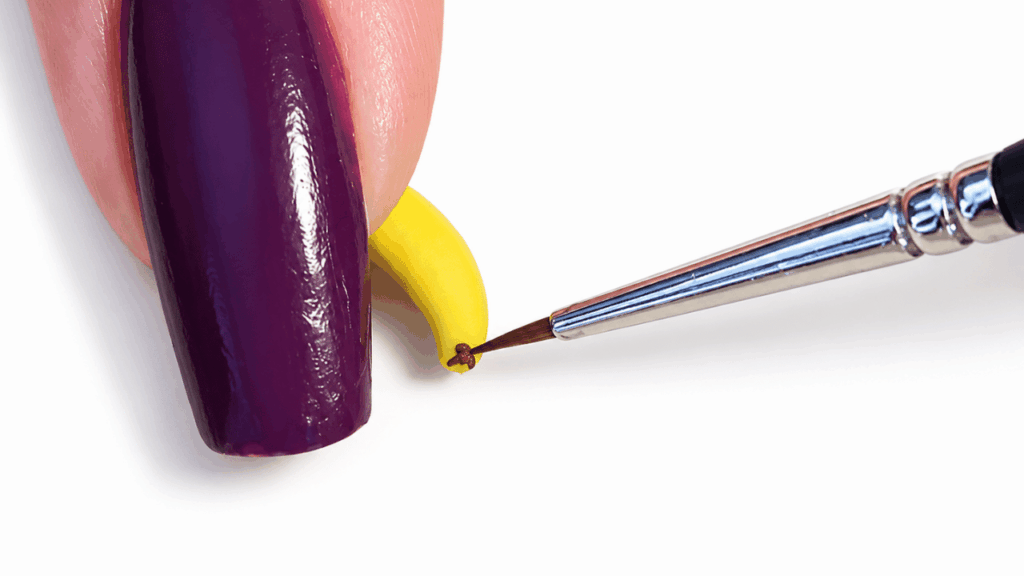
- Use dark brown acrylic paint for the final small details and dots on the banana skin.
- For softened dots or marks, add a little water to your brush after placing the dots and gently soften the edges.
Step 2 — Seal with glaze
- After painting and allowing paint to dry, seal your miniature bananas with glaze to protect the surface and add a finished look.
- Let the glaze dry fully before handling.
Tips and important notes
- Starting with a banana cane saves time, but a single color of clay works fine as well.
- Pre‑baking the banana centers preserves the texture and makes them easier to handle when adding raw peel pieces.
- Use corn starch on your fingers while shaping to reduce fingerprints.
- Take care when wrapping peel pieces so you do not flatten the banana texture.