DIY Polymer Clay Mini Donuts with Box for Cute Gift Ideas
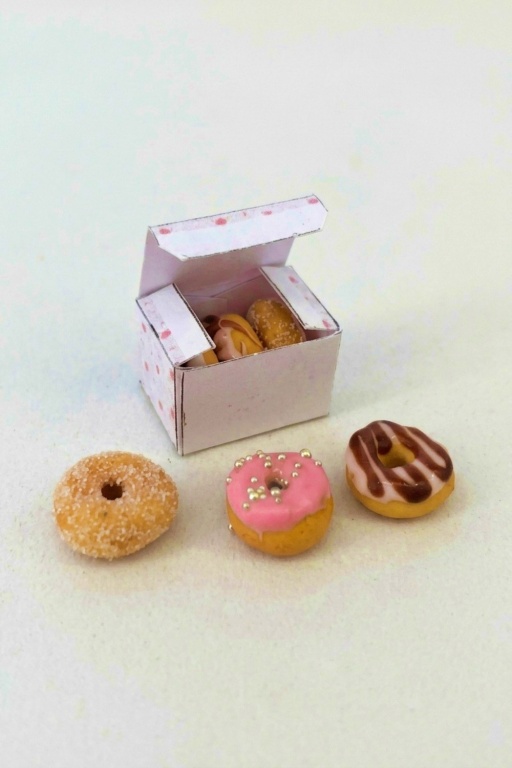
Create delightful DIY Polymer Clay Mini Donuts With Box a fun and playful craft to design tiny treats that bring charm and joy to any project.
If you love miniatures and cute projects, creating tiny donuts with polymer clay might just be your next favorite activity. This DIY project is fun, simple, and lets you craft adorable treats that look almost good enough to eat! You get to shape, decorate, and display your little creations, and the final result is a box of colorful mini donuts that everyone will be amazed by. It’s a great project whether you’re new to crafting or have plenty of experience, and it’s guaranteed to put a smile on your face.
Easy DIY Polymer Clay Mini Donuts with Box for Beginners
Project Details
- Difficulty: Beginner–Intermediate (basic shaping and surface work).
- Time: 30–90 minutes active time plus baking/cooling and optional packaging.
- Output: Multiple identical miniature donuts ready for display, play, or gifting.
You can design them to look like classic chocolate, strawberry, or even sprinkle-covered flavors. Adding small details like swirls of icing or tiny sprinkles made from clay gives them a realistic and playful touch. The donuts are quick to make, and once they’re done, you can carefully create a box to hold them, adding to the charm of the finished piece. With so many design options, you’ll never run out of ways to let your creativity shine.
These mini donuts and their box are perfect as tabletop decorations, gifts for friends, or even as part of a collection of miniatures. They’re small, fun, and bursting with personality. Working on this project is both relaxing and rewarding, especially when you see your tiny pastries come together in such a sweet way. Give it a try—it’s a delightful way to bring bite-sized creativity into your day.
Project Overview
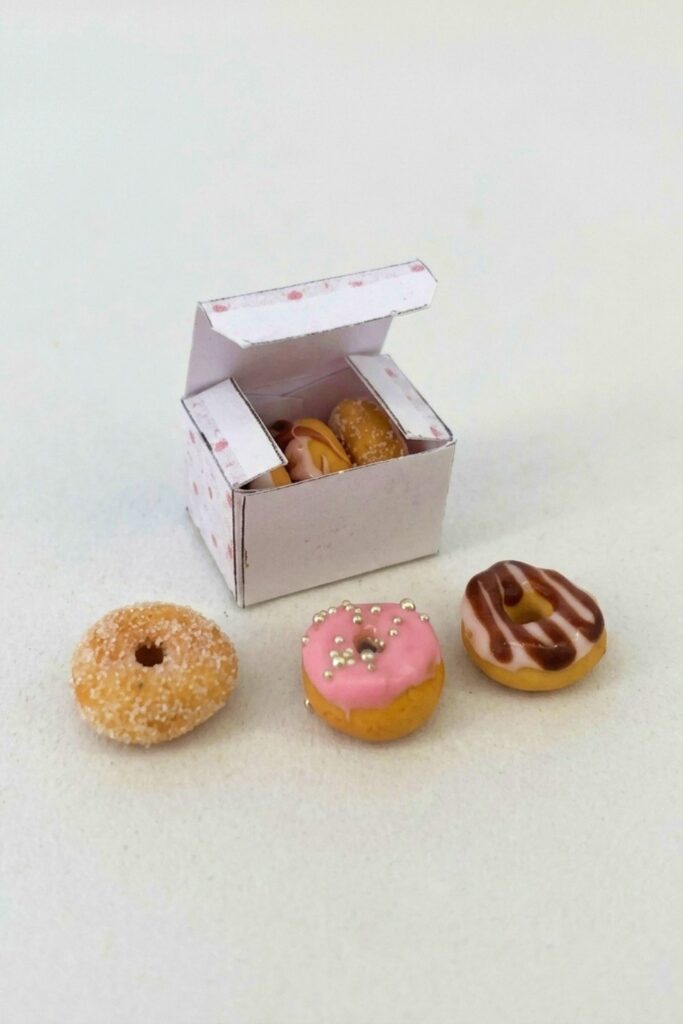
Make realistic miniature polymer-clay donuts with consistent sizing, textured surfaces, pastel shading, sugar coatings, and piped icing, then package them in a printable mini donut box. This project focuses on repeatable shaping, surface texture, color shading with soft pastels, and simple finishing techniques for charming small-scale food props.
Materials & Supplies
- Polymer clay (donut base color)
- Soft pastels: yellow, light brown, dark brown(s), red-brown
- Fimo Liquid (or another liquid polymer clay for adhesion/coating) — important for sugar coating
- Craft sand (for sugar texture)
- Pre-made white icing (clay or liquid clay paste for topping)
- Brown icing (colored clay or liquid clay in a piping bag)
- Printable donut box template (print sheet)
Tools & Equipment
- Pasta machine (set to setting 3) — to roll consistent clay sheets
- Cutters (test to find the right size) — use a cutter that produces uniform donuts
- Needle tool (to create the center hole)
- Small setting/tapered tool (to clean and widen the hole)
- Mold putty over sandpaper (texture pad) and a toothbrush — for surface texture
- Small bowls for Fimo Liquid and craft sand
- Piping bag or small plastic bag with a tiny cut for fine icing lines
- Oven (follow polymer clay brand baking instructions)
- Scissors and glue (for assembling printed box.
Preparation
- Condition clay until soft and even; pass through the pasta machine to a consistent thickness (use setting 3 as a starting point — test for your brand).
- Test cutters to find the one that produces the desired donut diameter when paired with the set clay thickness. Consistency here ensures all donuts match.
- Prepare texture tools (mold putty over sandpaper and toothbrush) and have pastels and baking equipment ready.
Step-by-Step Detailed
Cut and Shape Uniform Donuts
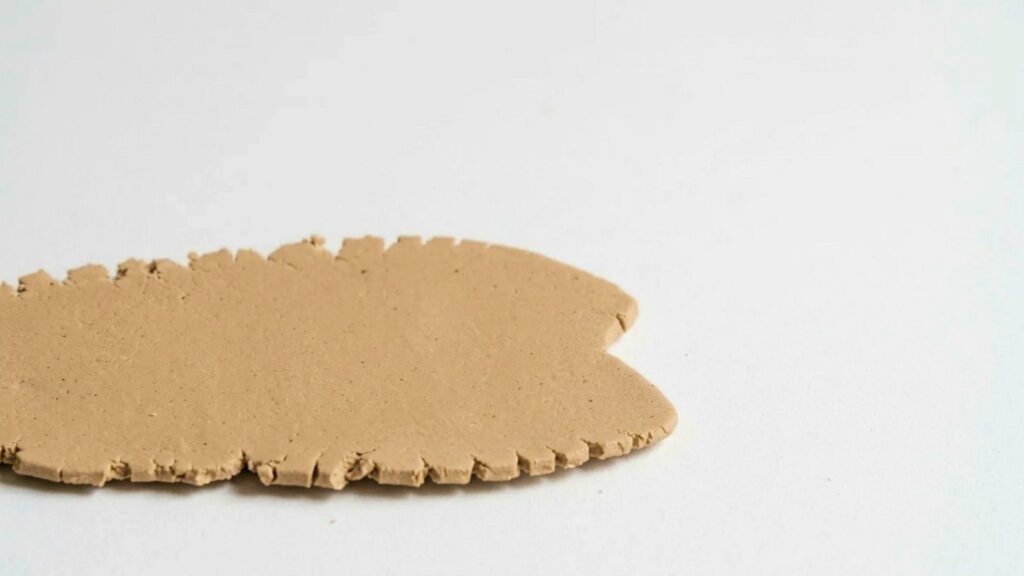
- Roll clay through the pasta machine on setting 3 to a consistent thickness.
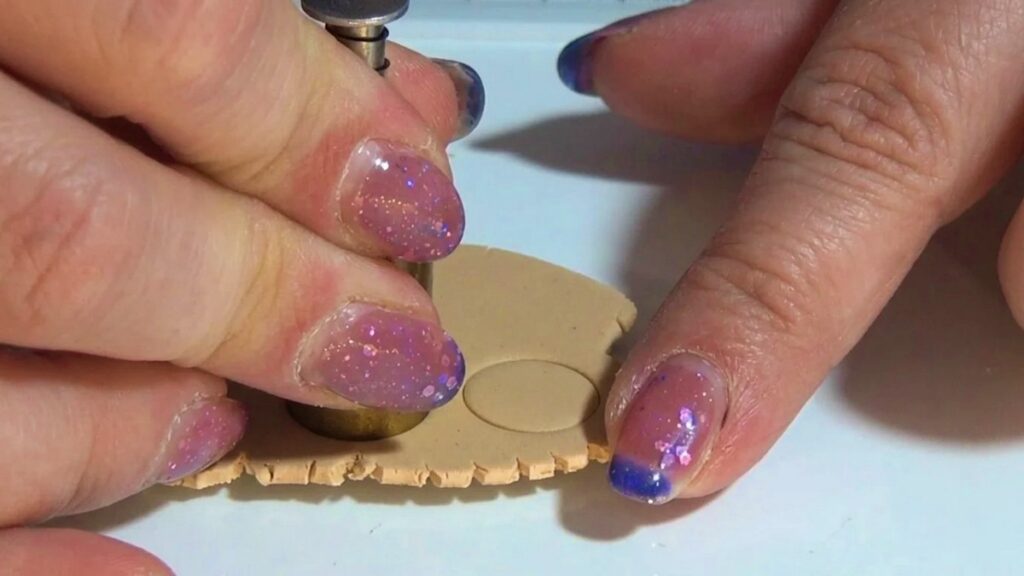
- Test different cutters to determine the perfect size — once found, use the same cutter for all donuts.
- Cut out as many donut blanks as desired; this ensures identical diameters.
Form the Donut Hole
- Take one cut piece and roll it into a tiny bowl to shape the torus.
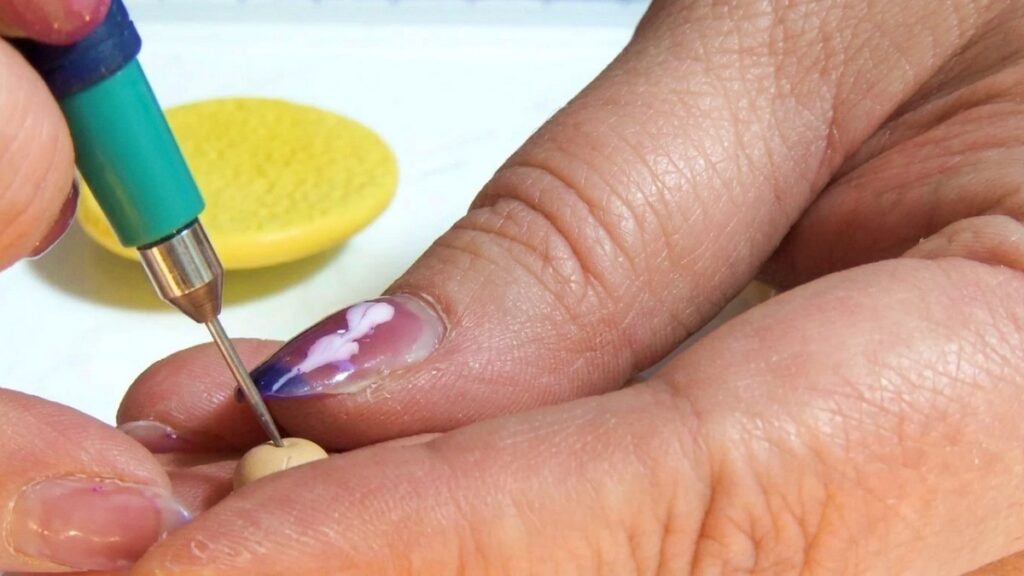
- Use a needle tool to push into the center from one side and then from the opposite side to start the hole.
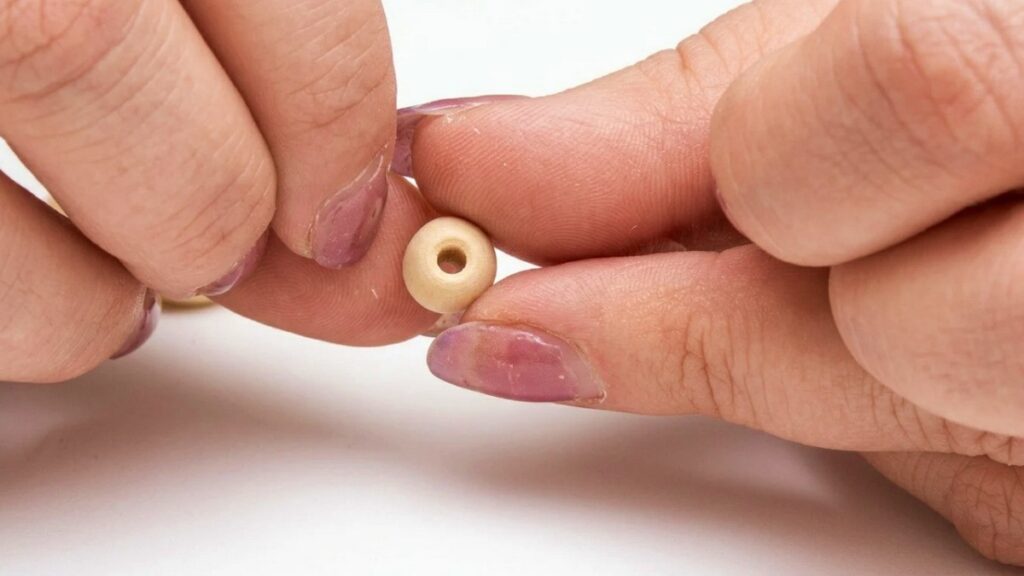
- Use a small setting/tapered tool (a narrow, slightly worn tip works) to carefully push the clay open and refine the hole from both sides until you have a clean donut with a centered hole.
Add Surface Texture
- Prepare a texture pad by pressing mold putty over coarse sandpaper.
- Use a toothbrush or the texture pad to gently brush and press on the donut surface — this gives realistic crumb and crust texture.
- Texture all donuts before coloring to avoid smudging shaded areas later.
Color with Soft Pastels
- Use soft pastels for natural shading. Lay out: yellow, light brown, two darker browns, and red-brown for variety.
- Start with the yellow as a base highlight, working it into creases and top surfaces.
- Add light brown to mid-tones and the sides of the donuts.
- Mix darker browns (including red-brown) for deeper shadows and rim shading.
- Work gradually and blend with a soft brush or cotton swab until shading looks balanced. Take your time — layering gives a neat natural result.
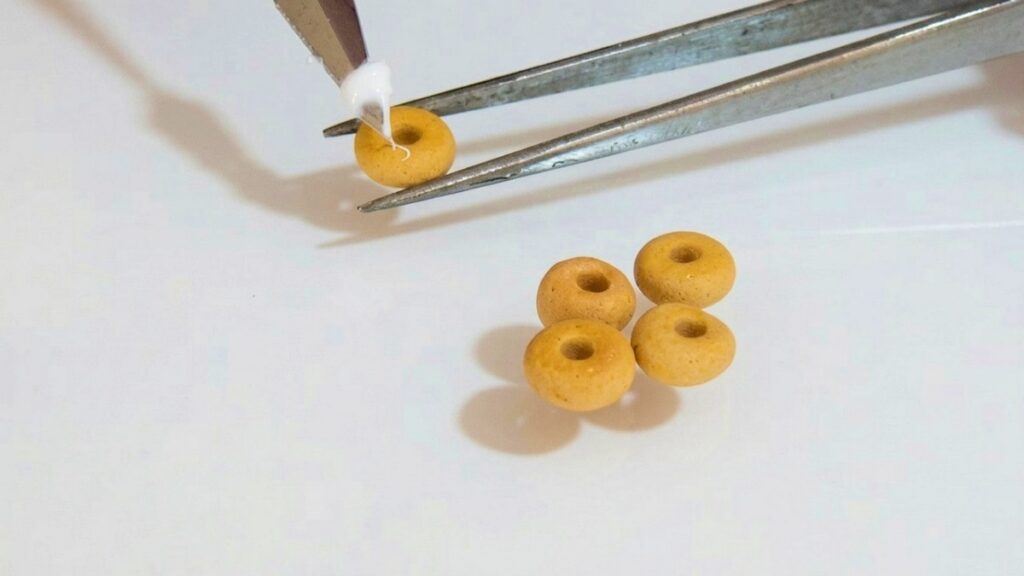
Bake According to Clay Instructions
- Bake the shaded donuts following your polymer clay brand’s recommended temperature and time.
- Let the pieces cool completely before handling for decoration.
Create a Sugar Coating
- For a sugar-dusted donut: place a small amount of Fimo Liquid in a bowl and craft sand in another.
- Brush or dip the cooled donut in Fimo Liquid, then immediately roll or press it into craft sand until evenly coated.
- Remove excess sand, place on a baking sheet, and rebake briefly if required by the liquid clay instructions to set the sugar effect.
- Result: a convincing granulated-sugar texture.
Add Icing and Piped Details
- For iced donuts: apply pre-made white icing (clay or clay-safe paste) on top of the cooled donut and smooth into place.
- Fill a small piping bag with brown icing (soft clay or liquid clay), snip a very tiny hole, and pipe fine lines or drizzle patterns over the white icing for contrast and realism.
- You can create multiple decoration styles (full glaze, drizzles, sprinkles) using small clay bits or painted accents.
Package in a Mini Box
- Print the donut box template provided by the creator and cut it out.
- Fold along guide lines, bend, and glue the tabs with normal paper glue to assemble the box.
- Place baked, cooled, and decorated donuts into the box. Close and present.
Finishing Instructions
- After all decorations are set and any rebakes completed, allow pieces to cool and cure fully.
- Optionally seal with a thin gloss varnish if you want a shiny glaze on iced areas; test a small piece first to ensure compatibility with pastels and coatings.
- Attach a label or small card if gifting.
Tips & Techniques
- Use a pasta machine for repeatable, even thickness — saves time and ensures uniform donuts.
- Always texture before coloring so shading stays crisp.
- Layer soft pastels slowly — build color rather than applying heavy pigment at once.
- Keep a scrap piece to test baking times and color changes.
Common Problems & Solutions
- Hole collapses or becomes off-center:
- Solution: make the hole carefully from both sides and use the tapered setting tool to keep it centered.
- Pastel dust smudges during handling:
- Solution: finish shading before baking and handle minimally; consider light sealing after baking.
- Sugar coating falls off:
- Solution: use sufficient Fimo Liquid coverage and press sand firmly; rebake briefly if instructions permit for better adhesion.
- Icing cracks after baking:
- Solution: use clay-compatible icings and avoid excessive thickness; thin layers bake more reliably.
Creative Ideas & Variations
- Make themed donuts: painted sprinkles, colored glazes, or tiny fondant-style decorations.
- Mix clays to get marbled or filled dough effects.
- Scale up to pastry boxes or create mini bakery displays and tags.
- Use mica powders for subtle shimmer on glazed donuts.
Final Result
A set of realistic miniature donuts with uniform size, convincing texture, layered pastel shading, and varied finishes (sugar, icing, piped details), neatly presented in a custom printable box — perfect for display, dollhouses, or gifts. Follow consistent sizing, texture-first workflow, and careful layering for the best miniature food results.