How to Make a DIY Miniature Book with Polymer Clay
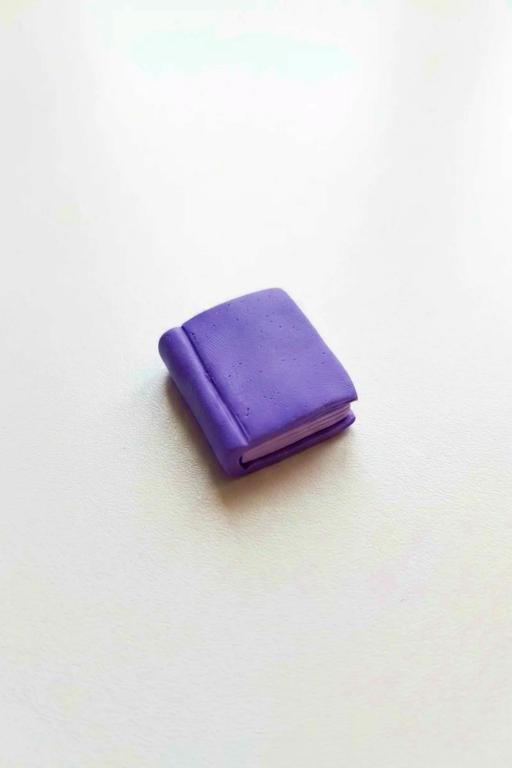
Learn to design a DIY Miniature Book with Polymer Clay using easy techniques to create cute, detailed mini books for crafts and jewelry.
Have you ever imagined creating something as unique as a tiny book that fits in the palm of your hand? Working with polymer clay gives you the chance to turn this idea into reality. This fun and creative DIY project lets you craft a miniature book that can be used as a charm, decoration, or even part of a jewelry piece. It’s a simple, hands-on activity that’s perfect for anyone who loves storytelling, crafting, or collecting tiny treasures.
Gorgeous DIY Miniature Book Design Using Polymer Clay
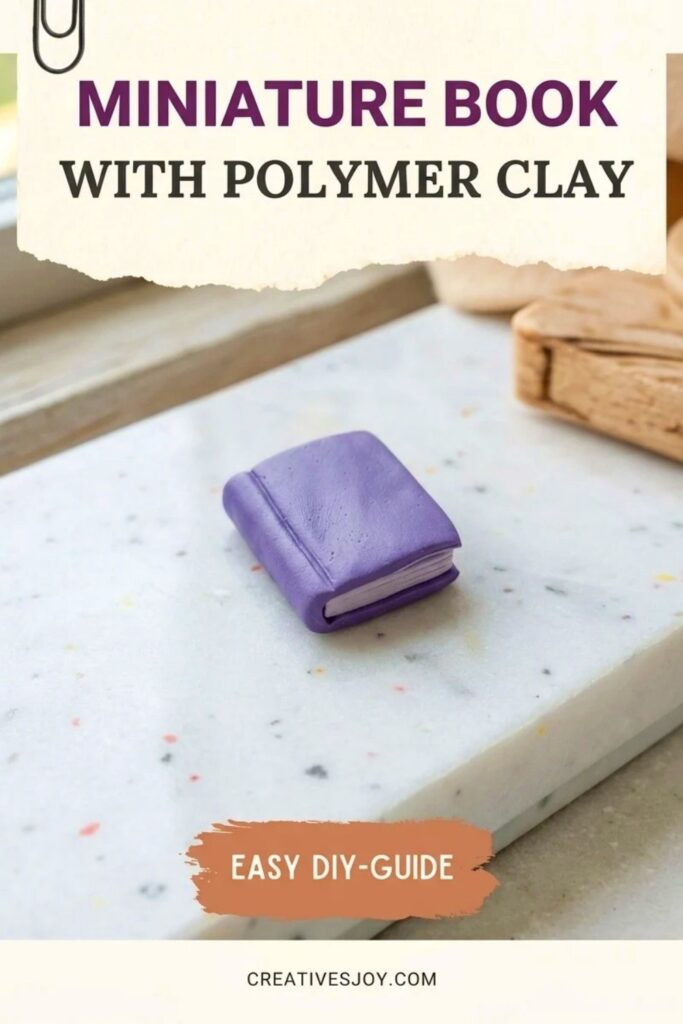
This project uses polymer clay to form the cover and pages of a miniature book, allowing you to design every tiny detail just the way you like. You can add textures to the cover, give it an antique leather look, or even decorate it with painted designs. The pages can be sculpted to look like real paper, and you can leave them blank or draw tiny words and pictures to make the book feel more complete. As you work with the clay, you’ll see how flexible and easy it is to bring your creative vision to life.
Creating a tiny book like this is not only fun but also meaningful. It’s a great piece to showcase on a keychain, necklace, or just as a little keepsake sitting on your shelf. This project is a wonderful mix of imagination and crafting, offering a chance to make something beautiful and personal that captures the charm of a handmade miniature creation.
Preparation
- Condition both clays thoroughly so they are soft and workable.
- Gather tools and set up a clean, nonstick working surface.
- Preheat oven only when you are ready to bake and after referring to your clay brand’s temperature and time recommendations.
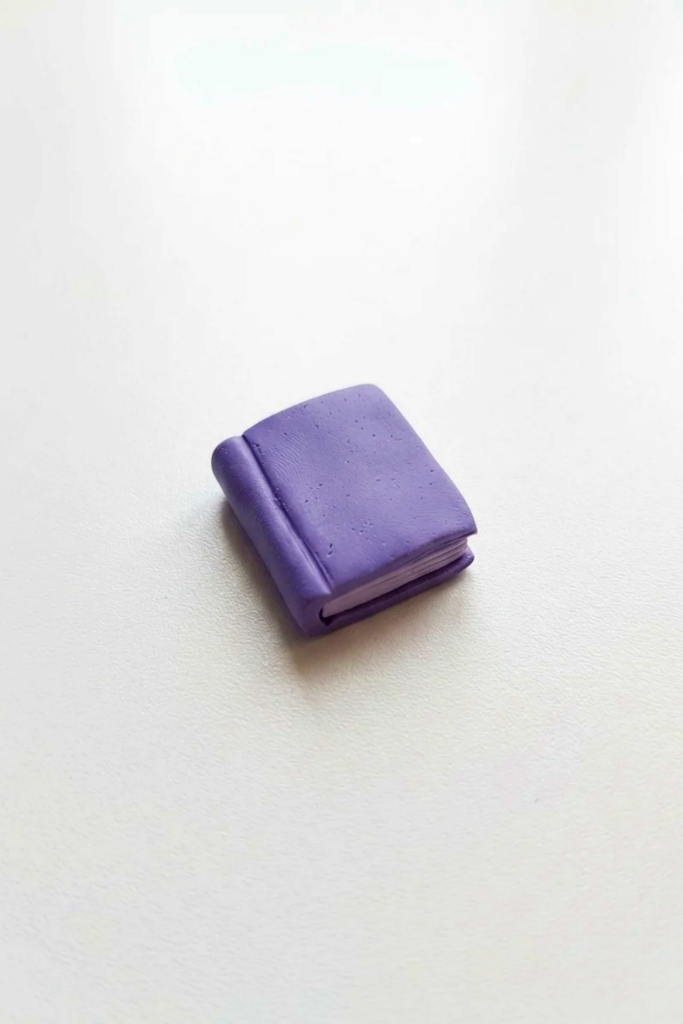
Miniature Book with Polymer Clay
Create a miniature polymer clay book (pendant or charm) using two clay colors — white for pages and purple for the cover. The project demonstrates shaping, texturing page edges, forming a book spine and cover, adding binding details, and finishing with optional title lettering. This is a compact, beginner-friendly sculpting project.
Materials & Supplies
- White polymer clay (for pages)
- Purple polymer clay (for cover)
- Thin strands of clay (for title or decorative text, optional)
Tools & Equipment
- Acrylic roller (for flattening)
- Pasta machine (optional, for thinning purple clay)
- Blade tool (recommended for neat edges)
- Needle tool (for page lines and fine texture)
- Small ball tool (to reinforce indentations)
- Oven (for baking polymer clay according to brand instructions)
Project Details
- Style: Miniature book charm or pendant.
- Size: Small oblong book — size depends on how large you roll and cut the clay.
- Complexity: Low to moderate — requires basic shaping and simple texturing.
- Use: Jewelry components, dollhouse accessories, or decorative charms.
Step-by-Step Detailed
Follow these steps in order. Important actions are bolded.
Shape the pages (white clay)
- Model the white clay into a rough oblong shape using your fingers to achieve a block that will represent the book pages.
- Flatten with an acrylic roller until the block has the desired thickness and even surface.
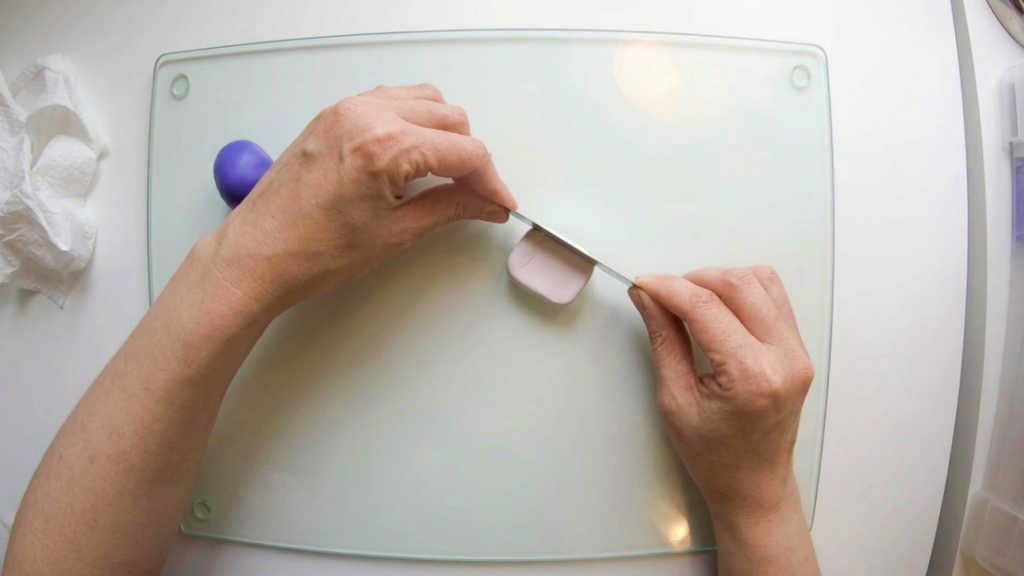
- Neaten the edges with a blade tool to square up the page block and remove stray bits.
- Note: the blade tool greatly speeds edge cleanup — the creator recommends adding one to your tool collection if you don’t already own it.

Prepare the cover (purple clay)
- Feed the purple clay through a pasta machine (or roll thinly) to flatten it to an even sheet suitable to wrap the pages.
- Use the acrylic roller lightly over the flattened purple to remove any roller indentations and ensure a smooth sheet.
- Trim stray ends of the purple sheet with the blade tool; neatness is helpful but not critical at this stage.

Measure and cut the cover to fit
- Use the white page block as a template/measure by placing it on the purple sheet to determine cover size.
- Cut just outside the white block’s edges with the blade tool to create a slightly larger cover piece that will fold over the pages.
- Mark the top edge by making a small nick where the top fold will be; this helps guide the next cut for a precise fit.

Texture the page edges
- Use the needle tool to create a series of close parallel lines along the three visible outer edges of the white block to imitate the look of pages.
- Vary pressure slightly to get realistic depth; these lines give the impression of individual pages.
Assemble cover and pages
- Fold the purple cover over the white page block, aligning edges so the cover wraps the pages neatly.
- Squeeze gently around the edges to neaten the join and remove any gaps between cover and pages.
- Adjust the cover to sit snugly and squarely around the page block.
Create the spine and binding impression
- Use the needle tool to draw vertical lines from top to bottom on both sides where the spine crease would naturally occur; these simulate the bookbinding area.
- Reinforce the spine crease with a small ball tool, pressing lightly along the crease on both sides to create a defined indentation.
- Add short parallel lines on the spine itself using the needle tool to mimic stitches or the textural detail seen on book spines.

Optional: Add title or text
- Form thin strands of clay (white or contrasting color) to spell a title or decorate the cover.
- Example: the creator used the anime “Death Note” title made from very thin clay strands.
- Attach lettering gently to the cover and press slightly to secure.
Final checks and baking
- Refer to your polymer clay brand’s baking instructions for time and temperature — this step is crucial to avoid burning or under-baking.
- Bake the assembled book piece as instructed. Typical times vary by brand and size of piece.
- Allow the piece to cool completely after baking before handling or applying any additional finishes.
Finishing Instructions
- After cooling you may:
- Sand minor rough edges with fine grit sandpaper (optional).
- Seal with a suitable varnish or leave unsealed depending on desired finish (matte or glossy).
- Attach jewelry hardware (eye pin, bail) if you plan to use the piece as a pendant.
Tips & Techniques
- Use a blade tool for cleaner edges and faster finishing — it’s worth adding to your toolset.
- Roll evenly and remove roller indentations with the acrylic roller for a professional surface.
- Make small nicks or reference marks to guide cutting and folding for accurate fits.
- Be gentle when stamping or texturing to avoid compressing the entire piece; subtlety creates realism.
- Work under good lighting and, if filming or demonstrating, be aware that camera angles can make fine work harder — take extra care with details.
Common Problems & Solutions
- Uneven cover fit: trim the purple sheet slightly and re-fold; use small nicks to align cuts.
- Over-pressed textures: press more lightly and build up texture gradually.
- Lettering won’t stick: use a tiny slip of liquid clay or blend edges gently to secure before baking.
- Baking issues: always follow the clay brand’s temperature and time — adjust for small pieces if recommended.
Creative Ideas & Variations
- Make themed miniature books (titles or covers matching fandoms).
- Create a stack of tiny books for a dollhouse scene.
- Use textured or metallic clays for unique cover finishes.
- Add a clasp or working hinge for interactive miniature books.
Final Result
A realistic miniature polymer clay book with textured page edges, a neat colored cover, defined spine detail, and optional title lettering. This simple project yields charming pendants or dollhouse accessories and teaches core skills in shaping, texturing, and finishing polymer clay.