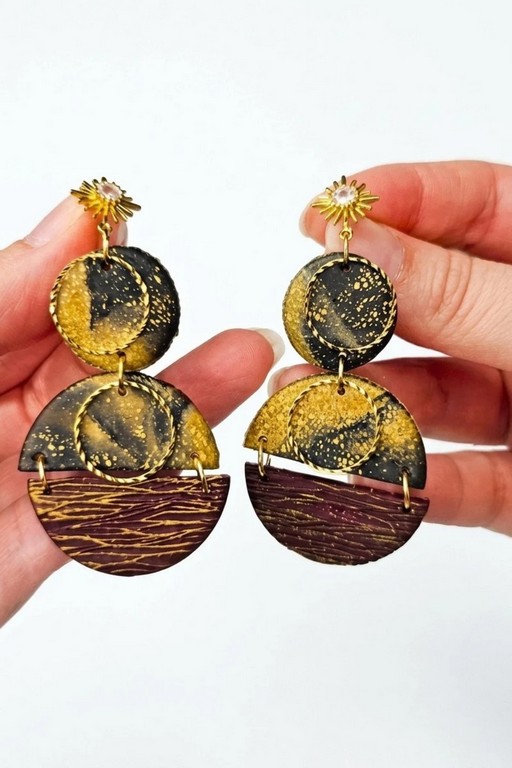
Handmade DIY Polymer Clay Corn on the Cob Idea for Beginners
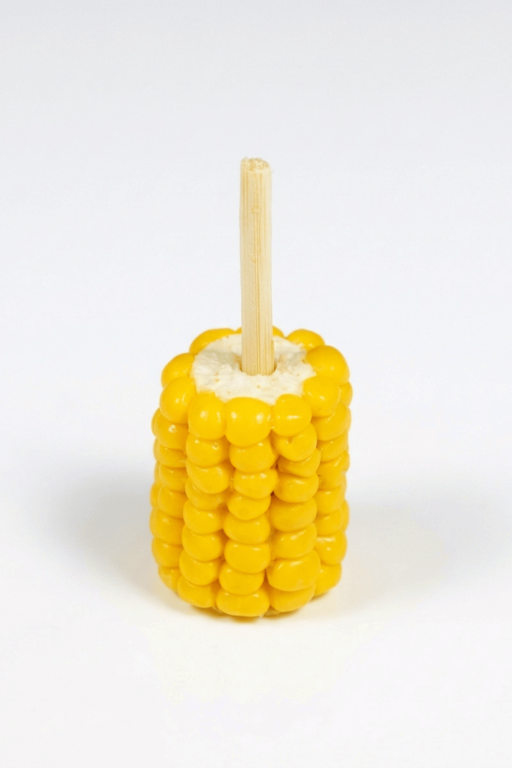
Shape realistic DIY Polymer Clay Corn on the Cob with this simple project, perfect for crafting miniature food pieces with stunning details.
Miniature food projects are always fun to make and admire, and creating corn on the cob with polymer clay is no different! This DIY craft is perfect for anyone who loves working with tiny lifelike designs. With its cheerful yellow kernels and bright green husk, corn on the cob can become a playful addition to a variety of miniature scenes, whether it’s for a dollhouse, a food-themed charm, or a unique decorative piece. It’s a simple yet creative way to celebrate the beauty of everyday objects in miniature form.
Easy DIY Polymer Clay Corn on the Cob Designs You’ll Absolutely Love

One of the most interesting things about this project is its eye-catching details. The soft texture of the kernels and the bold colors make the corn look almost good enough to eat! It’s a fun piece that can light up any corner where it’s displayed. Plus, the combination of yellow and green gives it a fresh and vibrant appearance, making it a perfect choice for people who enjoy crafting colorful designs that stand out.
Polymer clay is perfect for this type of DIY because it’s lightweight and easy to mold. Once completed, the mini corn on the cob is durable and can last for years as part of your creative collection. Whether you’re new to crafting or just looking for a unique project to try, this charming design will spark joy and inspire your imagination.
DIY Polymer Clay Corn on the Cob
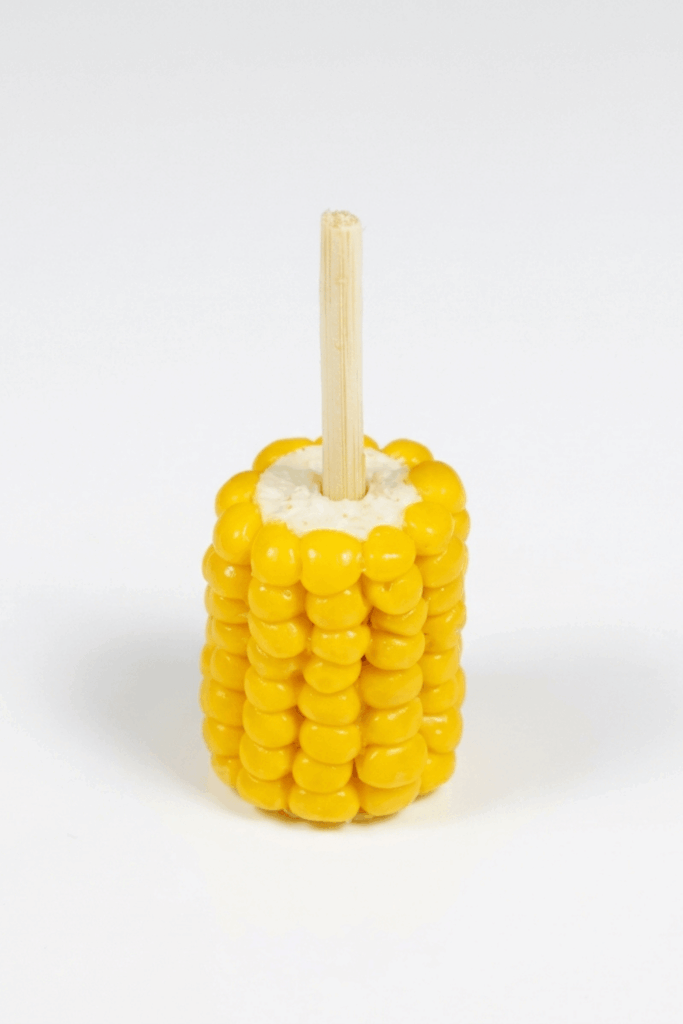
This pattern describes how to create a realistic miniature corn on the cob from polymer clay. The method uses a pale base cob (white mixed with a touch of yellow), individually formed kernels set in even rows, a toothpick core for handling and assembly, surface texturing for realism, and a glossy varnish finish. Steps follow a logical order: form cob, prepare kernels, attach kernels, texture and detail, bake, secure handle, and glaze.
- Scale: miniature (dollhouse/food prop scale).
- Outcome: a single corn cob with realistic kernels, textured ends, a wooden core (toothpick) secured with epoxy, and a glossy finish to simulate the fresh look.
- Time: moderate — kernel forming is time‑consuming but yields realistic results.
Materials & Supplies
- Polymer clay: white and a tiny bit of yellow (for the cob base); yellow clay for kernels.
- Toothpicks (one per cob).
- X‑Acto knife or razor blade.
- Needle tools and dotting tool.
- Small pliers (to trim toothpick).
- Epoxy glue (two‑part) for securing toothpick.
- Gloss varnish / gloss glaze for the kernels.
- Oven and heat‑resistant baking surface (tile or tray).
- Sandpaper or small file (optional).
- Toothpick holder or tweezers (optional).
- Work mat and clean workspace.
Preparation
- Condition clay thoroughly until soft and uniform.
- Mix the cob base by blending white clay with a tiny bit of yellow until you reach the desired off‑white corn‑cob tone.
- Preheat the oven according to the polymer clay manufacturer’s instructions.
- Lay out tools (knife, dotting tools, needle tool) within reach to work efficiently.
Step‑by‑Step Detailed
Forming the cob base
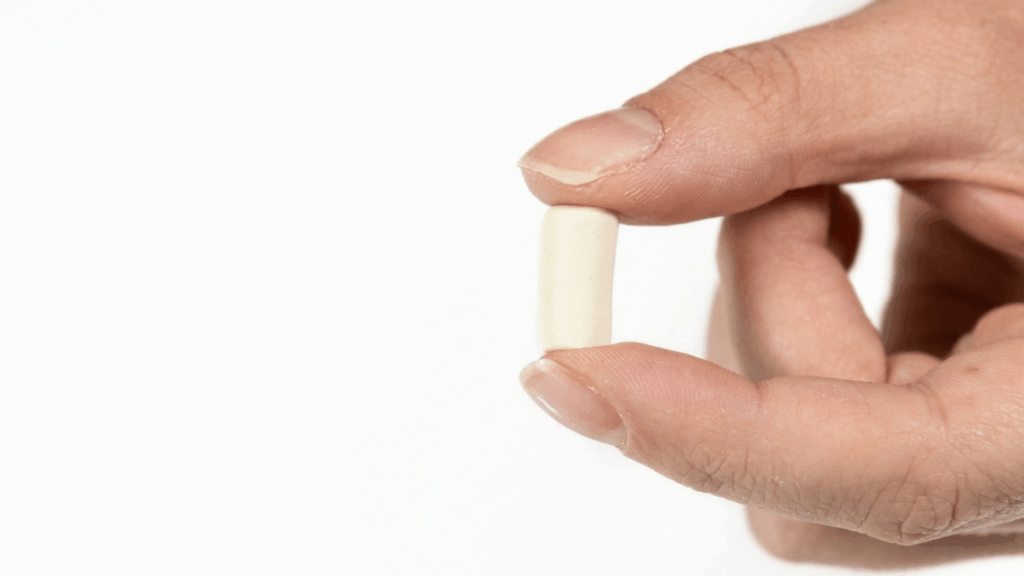
- Roll the mixed white/yellow clay into a cylinder:
- Roll steadily until you get a smooth, even cylinder appropriate to your scale.
- Check length and diameter against your intended display or doll scale.
Insert toothpick core
- Insert a toothpick into the cylinder:
- Stick the toothpick into the prepared cylinder so it runs along the axis.
- This toothpick will act as a handle during assembly and later as a place to glue back into the cob after baking.
- Leave enough toothpick length exposed to handle while you attach kernels.

Prepare kernels
- Condition yellow clay and form many tiny balls or bean shapes:
- Roll lots and lots of tiny balls — consistency and quantity determine how full and natural the cob looks.
- Slice each tiny ball in half with an X‑Acto knife or razor so you have half‑kernels (flat backs for attaching).
- Vary sizes slightly to avoid a mechanically uniform appearance.

Attachment of kernels
- Attach half‑kernels to the cob in rows:
- Use the X‑Acto knife or a firm tool to press each half‑kernel onto the cylinder, flat side against the cob.
- Work in horizontal rows, maintaining even spacing and alignment to mimic real corn rows.
- Rotate the cob as you go to cover the entire surface.
- Be extra careful not to deform the kernels while pressing them in place; light, controlled pressure works best.

Texturing the ends and wood ring
- Texture the top and bottom of the cob:
- Use a needle tool to add texture at both ends to simulate where the cob meets the husk and the stem.
- Temporarily remove the toothpick to fill or cover the top hole if desired.
- Use a dotting tool to make a small dimple in the center — this marks the woody ring at the cob’s core.
- Ensure you leave a hole at the bottom for the toothpick to be reinserted after baking.

Baking
- Bake the assembled cob according to clay instructions:
- Follow manufacturer temperature and time based on the cob’s thickness.
- Place the piece on a flat oven‑safe surface and bake.
- Allow the cob to cool completely before further handling to prevent distortion.
Toothpick trimming & securing
- Trim and secure the toothpick after baking:
- Use pliers to trim the toothpick to the correct length so it fits the cob comfortably.
- Mix epoxy glue according to the product instructions and use it to secure the toothpick firmly into the bottom hole of the baked cob.
- Allow epoxy to cure fully per manufacturer guidance for a strong internal handle.
Final glazing
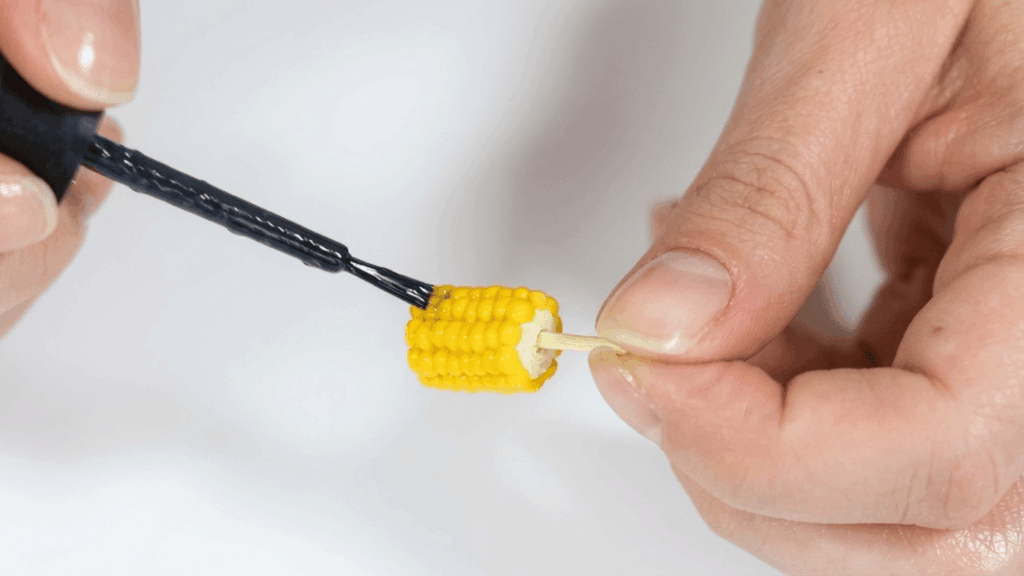
- Apply gloss varnish to the kernels:
- Brush on a glossy varnish to simulate the natural sheen of corn kernels.
- Allow the varnish to dry thoroughly; multiple thin coats give a better result than one thick coat.
Finishing Instructions
- Inspect for any loose kernels and reattach with a tiny dab of glue if needed.
- Smooth any rough toothpick edges with sandpaper and touch up epoxy if visible.
- Allow all adhesives and varnish to cure completely before display or handling.
Tips & Techniques
- Roll kernels consistently but vary size slightly for realism.
- Use a firm, flat edge tool for pressing kernels so they maintain half‑kernel shape.
- Work in small sections to maintain control and avoid flattening neighboring kernels.
- If kernels compress when attaching, chill the cob briefly to firm the clay (test for manufacturer compatibility).
- Apply gloss varnish sparingly and in thin layers to avoid pooling between kernels.
Common Problems & Solutions
- Kernels deform during attachment: press lightly, support the cob with a finger beneath, or use tools instead of fingers.
- Gaps or uneven rows: remove and reposition problematic kernels before baking. If baked, fill gaps with small spots of yellow clay and re‑bake if needed.
- Toothpick wiggles after epoxy cures: remove, clear epoxy, and re‑glue ensuring glue reaches deep into the cavity.
- Varnish pooling between kernels: apply thinner coats and use a small brush to guide varnish evenly; dab excess immediately.
Creative Ideas & Variations
- Add a husk: sculpt tiny green husk leaves from green polymer clay and attach around the base.
- Make grilled corn: lightly dry‑brush brown and orange pastel onto kernels before varnishing for a charred look.
- Scale variations: create mini ears for dollhouses or slightly larger novelty pieces for jewelry.
- Serve on tiny skewers: insert a decorative skewer instead of a toothpick for presentation.
Final Result
A miniature corn on the cob with densely packed half‑kernels arranged in even rows, textured ends, a secure toothpick core for handling, and a glossy finish that mimics the fresh, juicy look of real corn. The piece is sturdy after epoxy and varnish cures and suitable for display in dollhouse scenes, food collections, or as a detailed craft prop.