Unique Porcelain-Look DIY Polymer Clay Beads Ideas
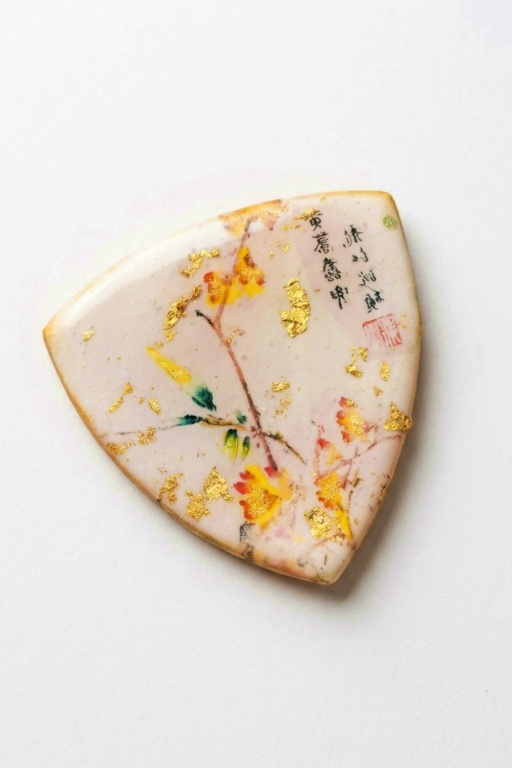
Achieve a polished and professional aesthetic with Porcelain-Look DIY Polymer Clay Beads, perfect for anyone who loves stylish handmade crafts.
Making beads at home is a fun and creative way to personalize your jewelry or add a handmade touch to small decorations. Using polymer clay, you can easily shape and design beads that look stylish and sophisticated. One of the best parts of this project is how simple it is to work with the clay—even beginners can enjoy it. With a bit of time, effort, and creativity, you can turn plain clay into beads that have an impressive, polished look.
Easy Porcelain-Look DIY Polymer Clay Beads Instructions
These beads stand out because they’re designed to mimic the timeless beauty of porcelain. By carefully shaping the clay and adding a smooth, glossy finish, your creations will look elegant and refined, almost like store-bought pieces. You can play with different colors, textures, and shapes to suit your style, whether you prefer soft pastels, bold tones, or classic white. The porcelain-like finish adds a professional and artistic touch that will make your projects feel extra special.
What’s wonderful about crafting these beads is how relaxing and enjoyable the process feels. You can experiment with ideas, create one-of-a-kind designs, and truly make something meaningful. Whether it’s for bracelets, necklaces, or simple accents, the charm of these beautifully crafted beads will definitely impress. It’s a fun project that lets you combine creativity with something practical—and the end result is always rewarding.

Stunning Porcelain-Look Polymer Clay Beads
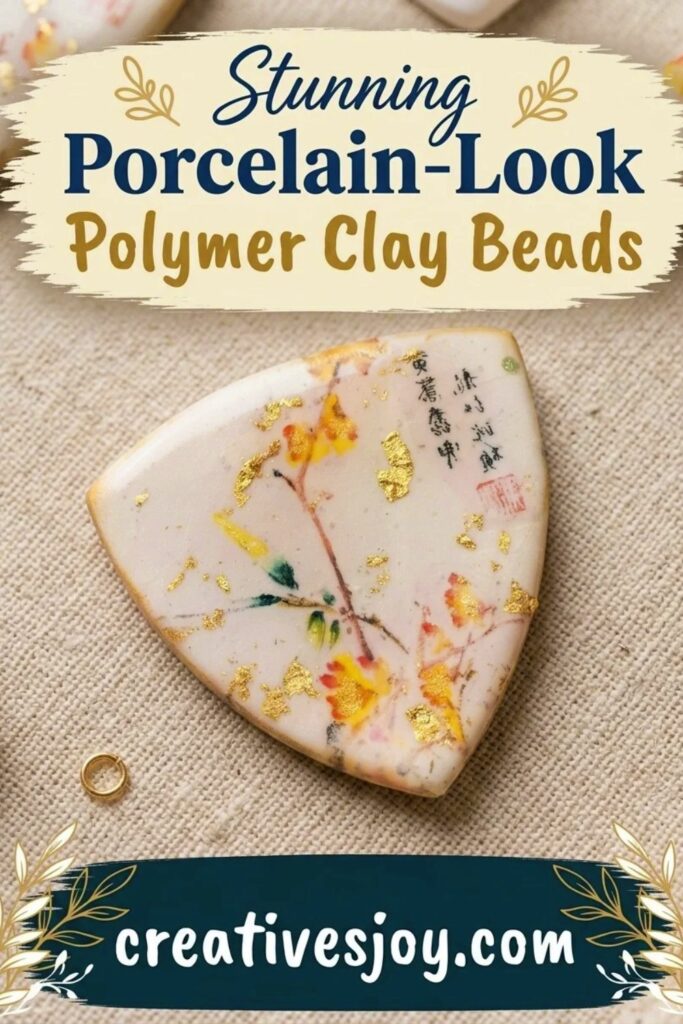
Create a wearable Faux Porcelain Shield pendant that looks like a fragment of a tea saucer using white polymer clay, a laser-printed design transfer, gold accents and a glossy finish. The process emphasizes proper conditioning, the rubbing transfer method, selective metal leaf embellishment and a high-shine topcoat.
Materials & Supplies
- White polymer clay (well conditioned)
- Laser-printed design (mirror-flipped if it contains text)
- Small bowl of water
- Scissors
- Gold metal leaf scraps
- Yellow glitter marker (optional)
- Gold mica powder
- Parchment paper
- Kato Super Gloss or UV resin (and UV lamp if using resin)
- Disposable aluminum pan (heat shield)
- Paper towels
- Fine sandpaper (optional)
Tools & Equipment
- Pasta machine (largest setting)
- Leaf texture sheet or mat
- Dotting tool (or small applicator)
- Shield-shaped cutter (or preferred cutter)
- Acrylic roller or acrylic block
- Oven (preheated to manufacturer temp)
- Small brush for resin/varnish application
Project Details
- Finished size depends on cutter (example shield ~40–50 mm).
- Bake time used in demo: 40 minutes (follow clay manufacturer).
- Finish options: two coats Kato Super Gloss or two thin coats UV resin (2–3 minutes cure each).
Preparation
Conditioning & Texturing
- Condition the white polymer clay thoroughly by hand or through the pasta machine.
- Pass clay through the largest setting of the Atlas pasta machine for an even sheet.
- Press the sheet with a leafy texture; set this textured piece aside as the back of the pendant.
Preparing the Printed Design
- Use a laser printer to print the downloadable design (link provided in video description).
- If the print includes text or directional elements, mirror it in an editor like Canva before printing.
- Cut the printed design with scissors; keep any small elements (e.g., a piece with Chinese writing) trimmed and prepared.
Step-by-Step Detailed Instructions
A. Image Transfer — Rubbing Method
- Place the cut printout face-down onto the clay surface.
- Press and rub the paper firmly into the clay using clean fingers for 2–3 minutes (or longer).
- Important: rub longer than you think necessary — this is the best advice for a strong transfer.
- Prepare a small bowl of water for removing paper fibers.
- Apply a tiny amount of water with your fingertip, then rub gently to lift paper fibers.
- If you spill a little water, blot and continue; light moisture helps remove paper residue.
- Use paper towels to dry and inspect the surface for paper scraps; re-wet and rub any remaining fibers carefully.


B. Embellishing with Metal Leaf & Marker
- When the transfer looks satisfactory, cut small pieces of gold color metal leaf.
- Use a dotting tool to place tiny metal leaf bits in desired areas.
- Note: In the demo, applying metal leaf before transfer produced some overlap — this can give interesting layered effects.
- Use a yellow glitter marker to color floral parts and some leaves for extra interest.
C. Sandwiching & Cutting
- Flip the textured sheet so the textured back aligns with the image-transferred layer.
- Place parchment paper over the sandwich and press with an acrylic roller to adhere.
- Use the shield-shaped cutter to cut out the pendant shape from the clay sandwich.
- If the clay is slightly wavy when removing from the cutter, cover with parchment and roll or press with an acrylic block to flatten.


D. Mica Rim & Edge Smoothing
- Apply gold mica powder to the margins to accentuate a faux porcelain rim.
- Smooth the edges carefully with fingers or a small tool; sand lightly if necessary after baking.

E. Baking
- Place pieces on parchment paper in a preheated oven.
- Cover with a disposable aluminum pan to protect white clay from direct heat.
- Bake according to manufacturer instructions (demo used 40 minutes).
F. Topcoat Application
- Allow pieces to cool completely after baking.
- Option 1: Apply two coats Kato Super Gloss (allow to dry between coats).
- Option 2: Apply two thin coats UV resin, curing each for 2–3 minutes under a UV lamp.
- Place the piece on a metallic cutter while curing to catch any resin drips.
- Spread resin carefully to the margins with a brush and avoid pooling.
Finishing Instructions
- Inspect for mica on the back; if undesired, sand lightly with fine sandpaper.
- Ensure the topcoat is fully cured/dry before handling or attaching findings.
- If using varnish, apply two coats for depth and protection.

Tips & Techniques
- Use white or light-colored clay for best transfer visibility; try pearlescent or glitter clays for variation.
- Avoid clay that’s too soft — it will smudge while removing paper fibers.
- Rub thoroughly during transfer — this is the most crucial step.
- Mirror any design with text before printing for correct orientation on the final piece.
- Experiment with metal leaf placement before vs. after transfer to vary outcomes.
Common Problems & Solutions
- Paper fibers remaining: Re-wet and rub gently, blot, repeat.
- Faint transfer: Ensure you printed with a laser printer, and rub longer/with firmer pressure.
- Wavy edges after cutting: Place parchment on top and roll flat before removing.
- Resin drips: Cure on a metal tray or cutter; apply thinner coats.
Creative Ideas & Variations
- Make matching earrings (mirror images if needed).
- Use a variety of textures (linen, lace) for backs.
- Try antiquing rims with a light diluted paint wash wiped back for depth.
- Combine multiple small transfers on a collage-style pendant.
Final Result
- A convincing Faux Porcelain Shield pendant: crisp floral transfer, textured back, delicate gold highlights and a high-gloss finish that mimics porcelain. Follow the rubbing transfer method, protect white clay during baking, and finish with a glossy topcoat for the best porcelain-like effect.