Modern DIY Polymer Clay Earrings Step-by-Step Instructions
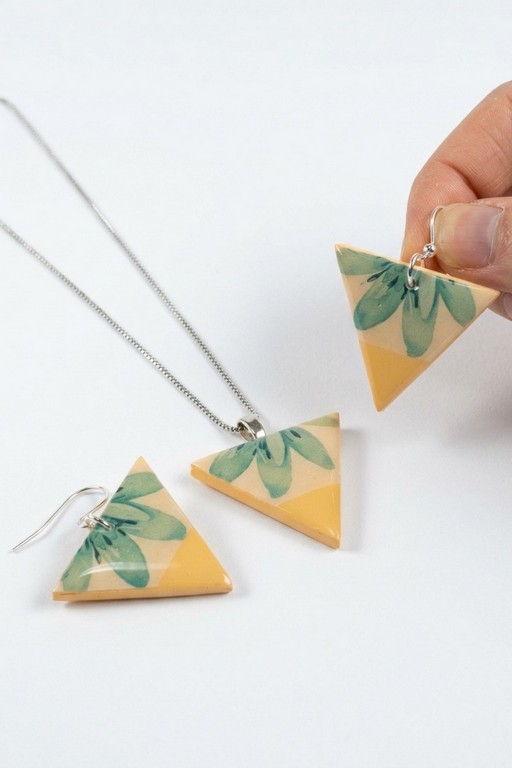
Turn your style with DIY Polymer Clay Earrings to shape, mold, and personalize eye-catching accessories that stand out wherever you go.
Creating earrings with polymer clay is a simple and enjoyable crafting project that allows you to design unique, stylish pieces of jewelry. If you’re a beginner, this craft is an approachable way to learn new techniques while experimenting with colors, shapes, and textures. For experienced crafters, it’s a chance to expand your skill set and dive into endless design possibilities. The versatility of polymer clay makes it an excellent choice for crafting lightweight and durable earrings that can be custom-made to suit any style or occasion.
Beautiful DIY Polymer Clay Earrings for Custom Creations

Polymer clay is easy to work with and doesn’t require special tools or expensive equipment. With just basic supplies like clay, earring findings, and an oven, you can create studio-quality jewelry right at home. You can experiment with shapes such as circles, petals, arches, or geometric designs, and try adding patterns like marble effects, ombre blends, or embossed textures. Once baked, polymer clay transforms into sturdy, long-lasting pieces that will hold their shape and color over time. It’s also incredibly lightweight, making it comfortable for everyday wear.
DIY polymer clay earrings are perfect for personal use or gifting. This craft allows you to create tailored designs that match your personality or align with specific trends. Whether you’re making minimalist studs or bold statement earrings, the process encourages creativity while delivering stunning results. Plus, it’s a budget-friendly activity, making it accessible to anyone.
What Are We Making?
- Polymer clay earrings decorated with washi tape for colorful, vintage‑style finishes.
- A beginner‑friendly process: conditioning clay, cutting shapes, applying washi tape to raw clay, baking, trimming, sanding, sealing, drilling, and attaching findings.
Overview
- This guide follows the demonstrated workflow: apply tape to unbaked clay, bake on tiles, trim and sand, seal, glue posts (or drill and add hooks), and finish hardware.
- Keep workspace clean and work on a bakeable surface (ceramic tile) for best results.
Materials at a Glance
- Polymer clay slab (example: apricot color or any base color).
- Washi tape in preferred patterns and colors.
- Isopropyl alcohol and lint‑free cloth or tissue blade for cleanup.
- Two‑part epoxy (for gluing posts) or suitable jewelry adhesive.
- Earring findings: stud posts with backs, ear hooks, jump rings.
- Sealing medium (clear varnish or resin).
- Ceramic tile(s) for baking.
Tools You’ll Need
- Cutters or craft knife for shaping.
- Scissors for trimming tape.
- Sanding tools: sandpaper (various grits) or sanding sponges, needle files.
- Drill (hand drill or electric rotary tool) and small drill bits.
- Pliers (flat, round‑nose) for opening/closing jump rings.
- Ruler and fine‑tip marker (Sharpie) for marking drill points.
- Oven thermometer (optional) to monitor bake temperature.
Things to Know Before Starting
- Apply washi tape to raw, unbaked clay and smooth very gently to avoid deforming the slab.
- Bake on ceramic tiles so pieces can go straight into the oven without shifting shape.
- After baking, trim excess tape, sand edges, and seal for durability.
- Use two‑part epoxy for secure attachment of metal findings; allow cure time per manufacturer instructions.
- Drill slowly and support the piece to prevent cracking.
Let’s Get Started
Step 1: Get Ready
- Prepare a conditioned clay slab of your chosen base color and roll to the desired thickness.
- Preheat your oven according to the polymer clay manufacturer’s recommendations and place a ceramic tile inside to warm (if using tile).
- Select washi tape patterns and cut manageable lengths to apply.
- Lay out cutters, scissors, knife, and cleanup supplies (isopropyl alcohol + tissue) nearby.
Step 2: Make the First Part — Apply Washi Tape & Cut Shapes
- Apply washi tape to the raw clay:
- Lay tape gently on the unbaked surface and smooth with light pressure—do not overly compress or squish the clay.
- Use a tissue blade or fingernail to lightly burnish tape edges; remove trapped dust with isopropyl alcohol applied sparingly.
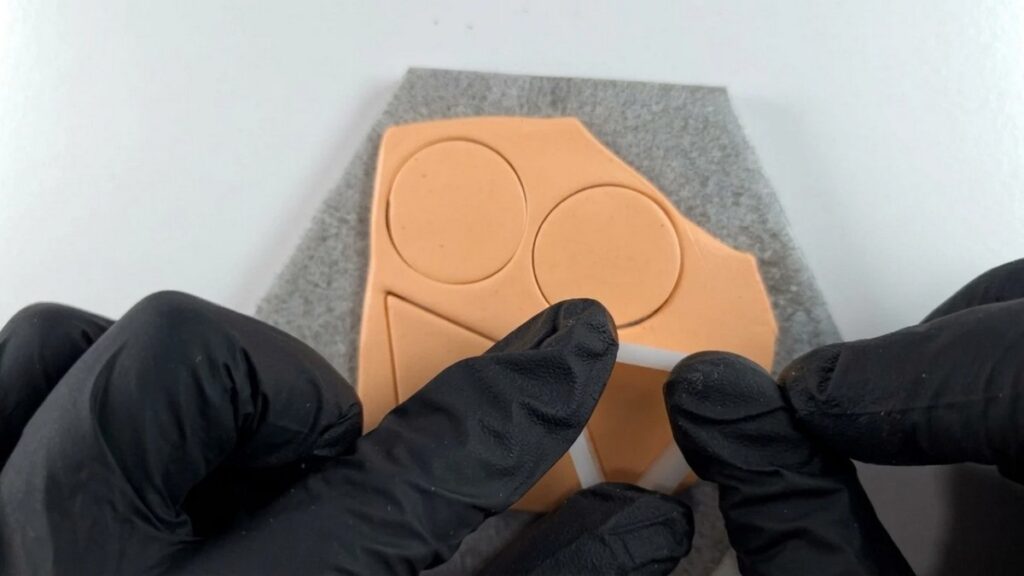
- Cut shapes:
- Use your cutters or a precision knife to cut earring silhouettes from the taped slab.
- Peel away excess clay pieces; this is satisfying and helps maintain clean edges.
- For consistent pairs, stack two slabs or mark and cut carefully to match shapes.
Step 3: Continue the Pattern — Bake & Trim
- Bake the taped pieces:
- Place cut pieces on a ceramic tile and bake according to clay brand instructions (typical ranges vary; follow package recommendations).
- Baking will adhere the tape and slightly meld its edges into the clay surface.
- Trim and clean up:
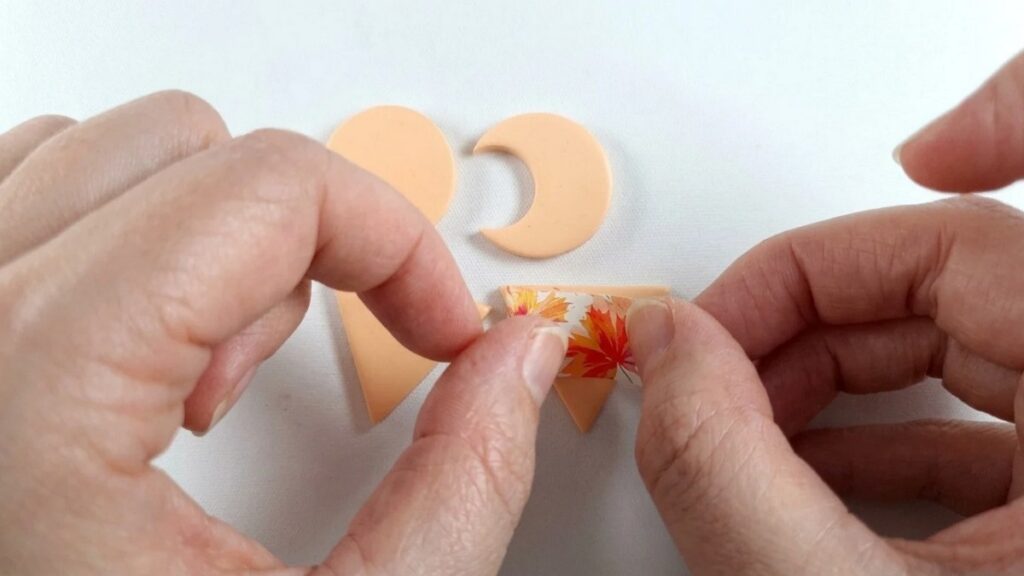
- After cooling, use scissors and a craft knife to trim remaining tape burrs and scraggly bits.
- Use fingernail scraping or a small blade to remove stubborn edges, then sand lightly to refine.
Step 4: Put the Pieces Together — Sanding, Sealing, and Findings
- Sanding:
- Smooth edges and surfaces with appropriate sanding tools. Start with coarser grit for large imperfections, then progress to finer grits for a polished look.
- Remove dust between grits with a soft brush or damp tissue before proceeding to sealing.
- Sealing:
- Choose your sealing medium (matte varnish, gloss varnish, or resin). Apply thin, even coats to protect the washi tape and clay surface.
- If using resin, work in a ventilated area and cure as instructed. Test sealant on a scrap tape sample to ensure no unwanted reactions.
- Attaching studs or hooks:
- For stud posts: apply two‑part epoxy generously to the post base and press onto the sealed area; allow proper cure time on a flat surface.
- For hooks: mark hole positions with a ruler and fine marker, then drill through the baked clay using a supported setup (piece resting on foam or cork). Use low drill speed to prevent chipping.
Step 5: Finish the Design — Hardware Tricks & Final Assembly
- Drilling and jump rings:
- Mark holes with a Sharpie for guidance; drill slowly through the center of the mark to avoid off‑center holes.
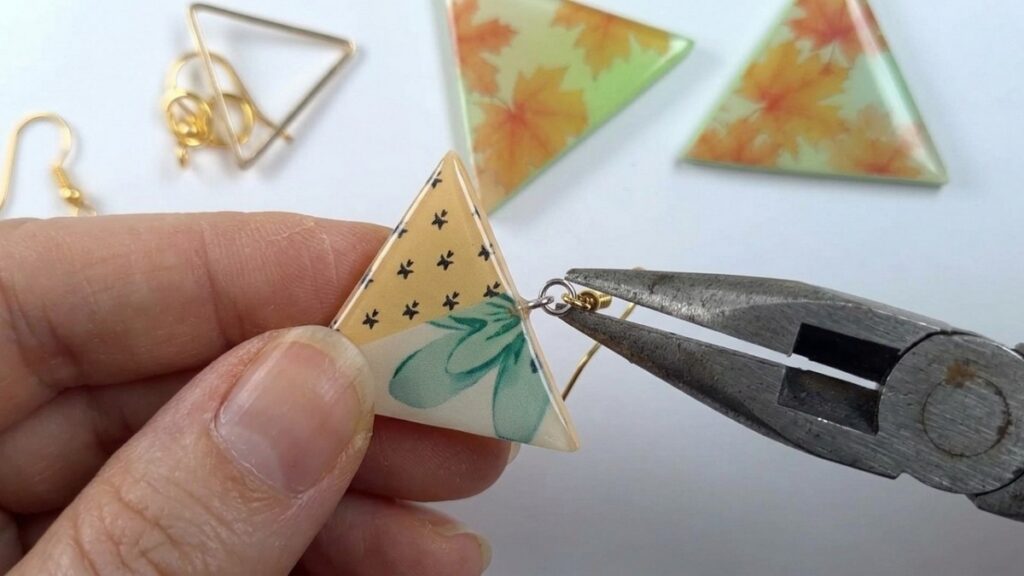
- Use small pliers to open jump rings; a helpful trick: place the jump ring around the widest section of the plier jaw and twist rather than pulling apart, then thread the ear hook and reclose. This reduces the need for tiny secondary rings.
- Final assembly:
- Attach findings (hooks, posts, jump rings) and ensure closures are tight.
- Inspect backs and edges and touch up any sealant if needed. Let everything cure fully before wearing.
Easy Finishing Tips
- Use a ceramic tile for baking: you can transfer directly into the oven and avoid warping.
- Clean up stray particles with isopropyl alcohol before baking to prevent trapped dirt under the tape.
- Practice trimming tape on scrap to get comfortable with how tape responds to heat and sanding.
- Keep a separate set of piping tips and tools for craft use only—avoid cross‑contamination with food tools.
Common Beginner Mistakes
- Pressing tape too hard onto soft clay, causing warps or uneven surfaces.
- Not baking on a rigid surface (tile), leading to misshapen pieces.
- Drilling too quickly or without support, which can crack or chip the piece.
- Using an inadequate adhesive for posts—opt for two‑part epoxy for secure long‑term hold.
Ways to Personalize It
- Mix different washi tape designs or layer tape strips for unique patterns.
- Incorporate hand‑painted accents over sealed tape for contrast.
- Cut playful silhouettes (abstract shapes, vintage motifs) to match your style.
- Use metallic or translucent tapes for shimmer or light diffusion.
Final Look
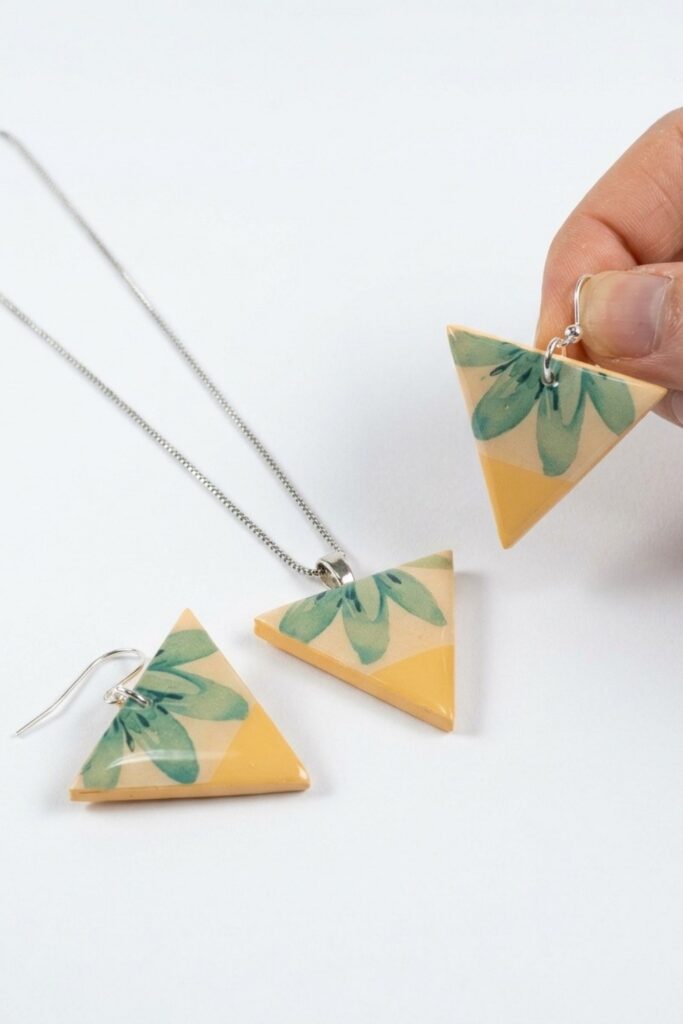
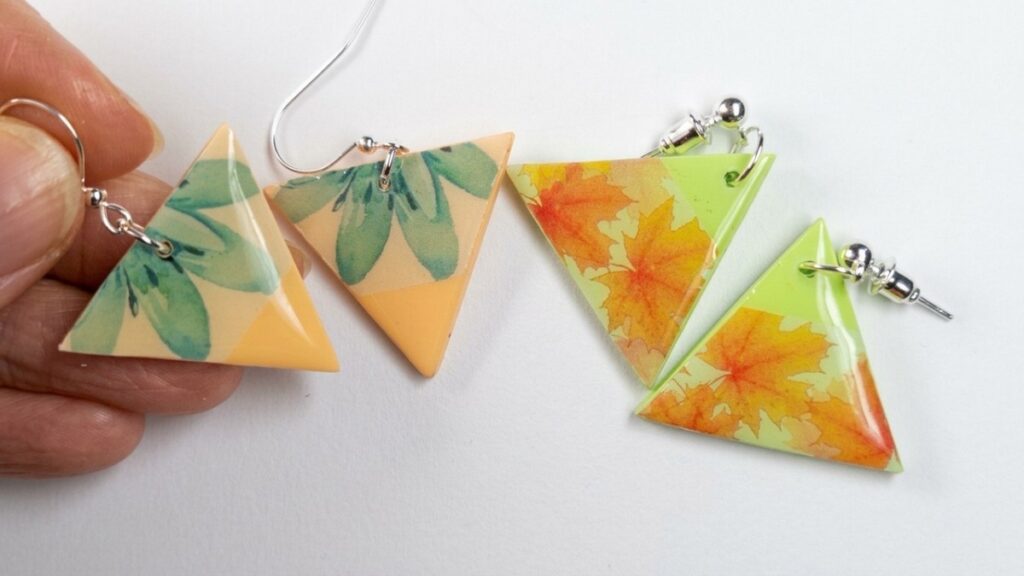
- Finished polymer clay washi tape earrings should have crisp edges, securely attached findings, and a sealed surface that preserves the tape pattern. Photograph them in natural light to showcase colors and textures. Enjoy wearing or gifting your handmade vintage‑style earrings.