Stylish Polymer Clay Flower Pendant Idea for Inspiration
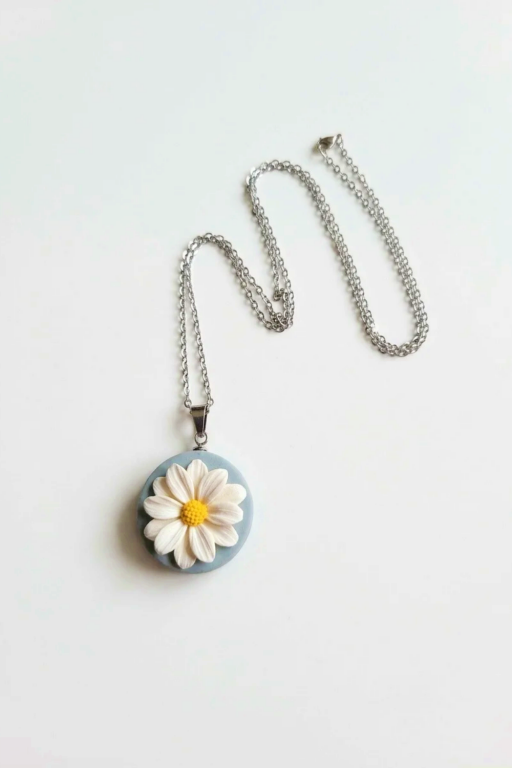
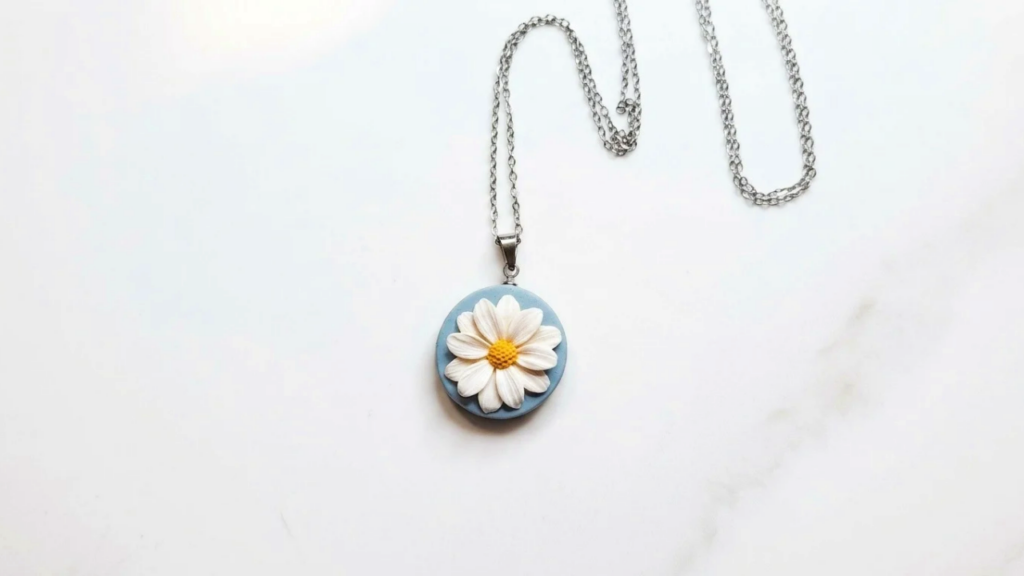
Design a gorgeous Polymer Clay Flower Pendant with this step-by-step guide and craft a unique, nature-inspired accessory to elevate your style.
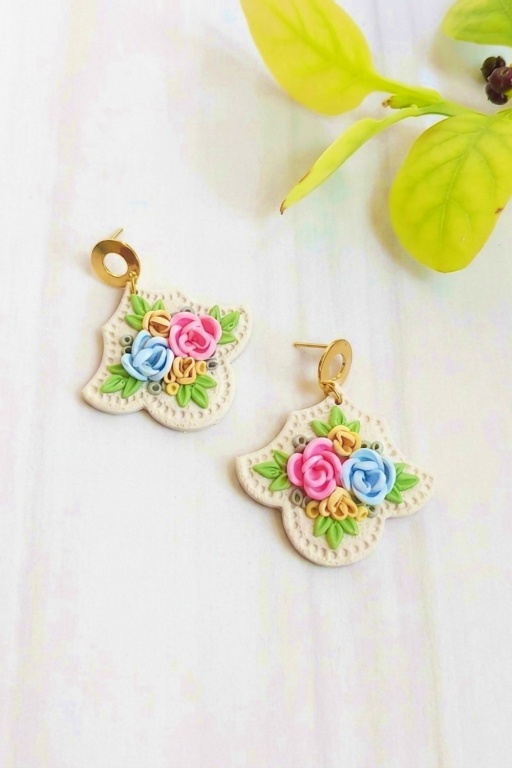
Nature-inspired crafts are a wonderful way to bring beauty and creativity into your everyday life. This project shows you how to make handmade earrings that reflect the charm of flowers, leaves, and other botanical designs using polymer clay. It’s an easy and enjoyable craft, perfect for beginners and experts alike, offering endless possibilities to experiment and express your creativity. With just a few supplies and some basic techniques, you can craft jewelry that is both stylish and meaningful.
How to Craft Stunning Polymer Clay Flower Pendants
The appeal of these earrings lies in their personal touch and natural charm. Polymer clay is soft and simple to shape, allowing you to create detailed leaf veins, delicate petals, or abstract floral patterns. Once baked, the clay becomes lightweight and sturdy, making these earrings perfect for everyday wear or special occasions. The step-by-step process is clear and manageable, so you don’t need to be an expert to make something beautiful. You can even customize your designs with colors, textures, or paints to match your mood or favorite seasons.
By following this engaging DIY project, you will have a collection of nature-inspired earrings that make stunning accessories or thoughtful handmade gifts. It’s a relaxing way to explore your creativity and celebrate the beauty of nature. Whether you’re looking to start a new hobby or just want a fun craft to try, these earrings are sure to leave you feeling proud of your handmade botanical masterpieces.
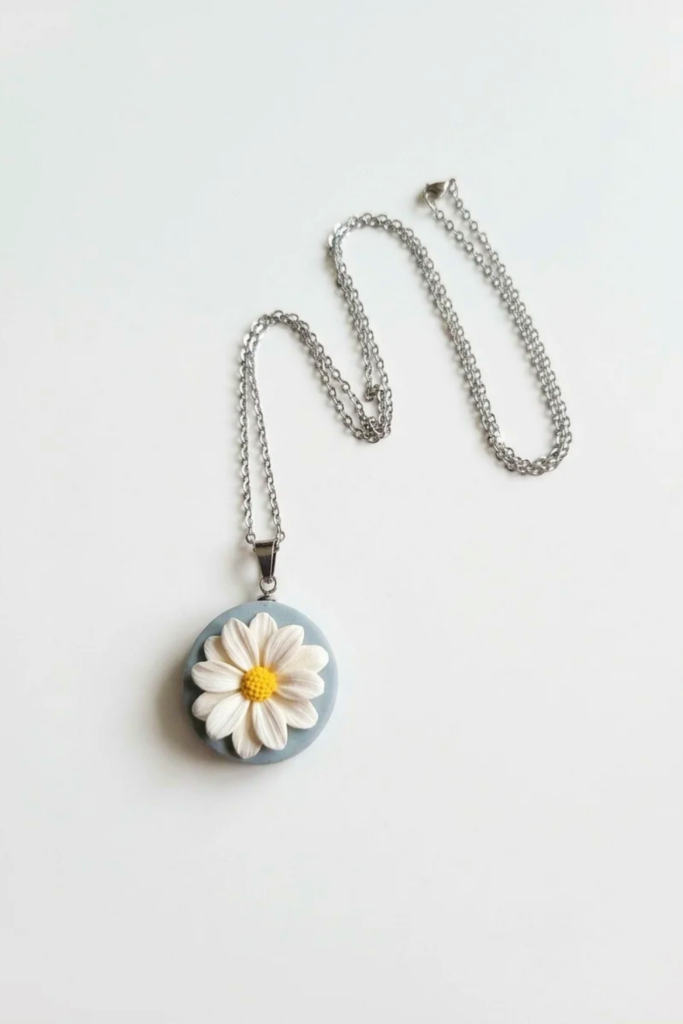
Polymer Clay Daisy Pendant — Professional Assembly Guide
This tutorial explains the professional assembly of a polymer clay daisy pendant built on a metal necklace charm base (5 mm thick, 2 cm diameter). The design uses two concentric petal layers and a reinforced center anchor to ensure structural integrity through baking and wear. Follow the stepwise process to achieve a clean, symmetrical, 3D botanical look suitable for studs, dangles, or pendants.
Materials Needed
- Polymer Clay: Fimo Soft — Sunflower Yellow (center) and Plain White (petals)
- Base: Necklace charm base, 5 mm thick, 2 cm diameter (metal)
- Tools:
- Small ball tool
- Needle tool
- Silicone sculpting tool
- Small work knife or blade (optional for trimming)
- Nonstick work surface (paper for easy rotation)
- Finishing: Oven (with thermometer), sandpaper (fine grits), varnish or satin sealer (optional), jewelry findings if converting to a pendant or stud
Before You Begin
- Condition the clay until soft and pliable; avoid overheating or overworking.
- Preheat the oven to the manufacturer’s recommended temperature for Fimo Soft and verify with an oven thermometer.
- Place a small piece of paper on your work surface so you can rotate the base easily while working.
- Clean the charm base to remove oils or residues; a quick wipe with isopropyl alcohol helps adhesion.
- Have all tools within reach — the assembly proceeds quickly once petals are applied.
How to Make It
Step 1: Bottom Layer
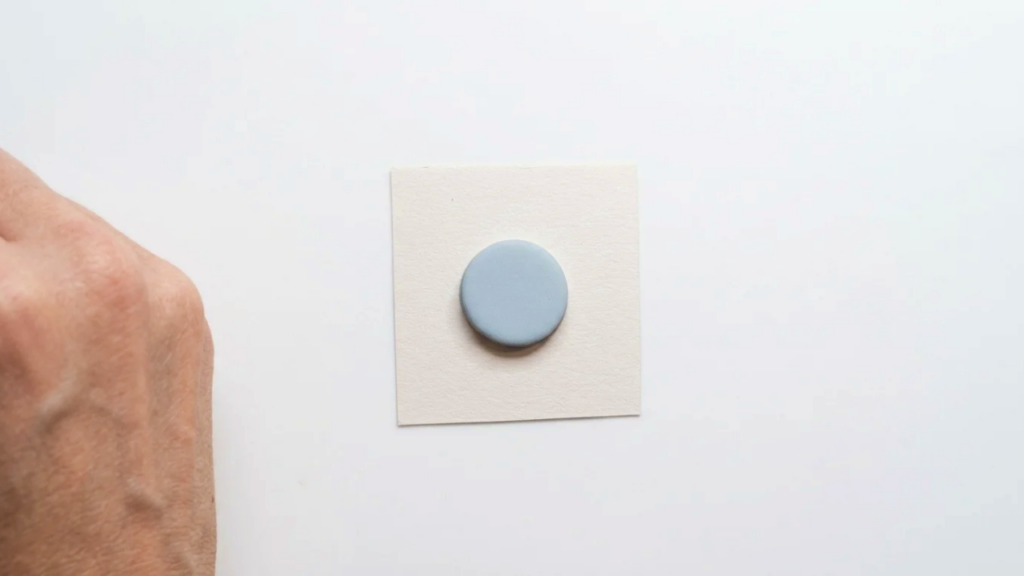
- use gray clay for base.
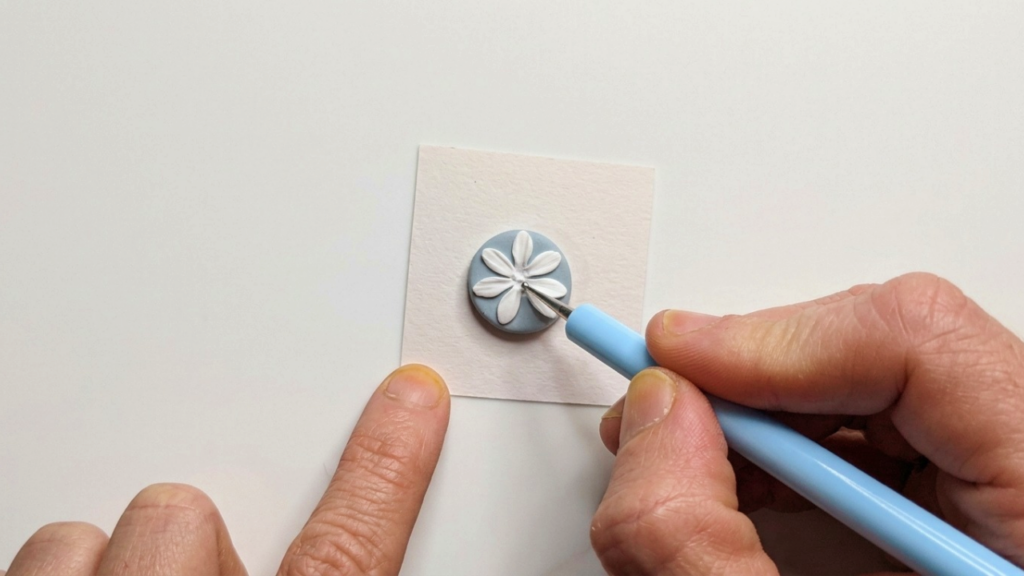
- Roll or shape seven identical white petals. Aim for uniform size and thickness so the flower sits balanced.
- Position the charm base on the paper so you can turn it while working.
- Place each of the seven petals evenly around the base, leaving consistent gaps for the top layer.
- Use the small ball tool to blend the bottom edge of each petal into the base surface:
- Press gently and roll slightly to form a smooth junction.
- Ensure the bottom of each petal is fused to the metal surface enough to withstand handling and subsequent steps.
- Check spacing and symmetry after placing all seven petals; adjust before moving to the next layer.
Step 2: Top Layer
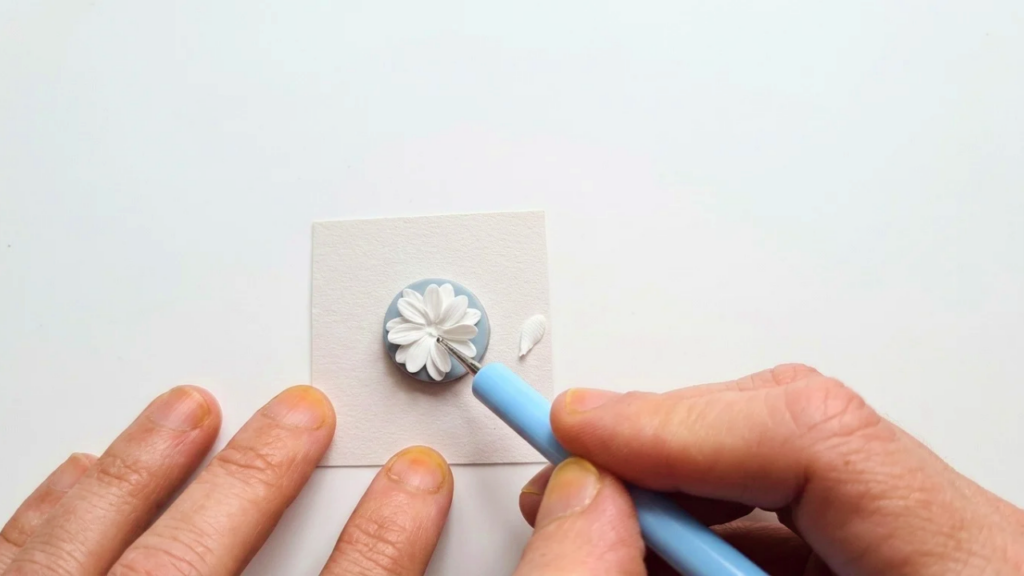
- Prepare seven additional white petals, matching the size and shape of the bottom layer.
- Place each top petal into the gap between two bottom petals so the petals nest without crowding.
- Use the silicone sculpting tool to nudge each petal into position:
- Adjust base contact so tops rest naturally over the bottom petals.
- Ensure the petals are not pressed too flat; maintain a slight overlap for a layered look.
- Rotate the base and confirm even spacing and consistent overlap from every angle.
Step 3: Refining the Shape
- With the silicone tool, gently lift and curve the tips of the petals to introduce three-dimensionality:
- Cup some petal tips upward and feather others slightly outward for a natural appearance.
- Keep movements small—excessive bending can deform the petal bases.
- Maintain symmetry by mirroring adjustments across the flower; subtle asymmetry is acceptable to mimic natural variation.
- Re-check the junctions where petals meet the base to ensure there are no gaps that could open during baking.
Step 4: Flower Center
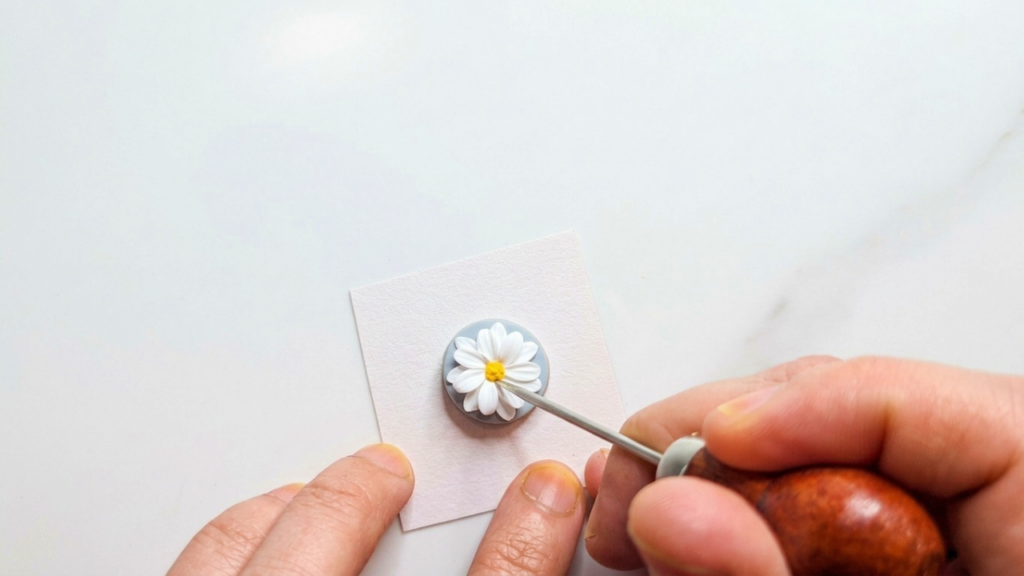
- Take a small amount of Sunflower Yellow clay and form a compact center piece sized to fit the central void (roughly a small dome).
- Use the needle tool to position the piece precisely in the center of the petal arrangement.
- Tap the yellow center gently but thoroughly into the petals and base:
- This action is structural — it anchors the petals, distributes stress, and reduces the chance of petal separation after baking.
- Make several light taps around the edge of the center to push clay into gaps between petal bases.
- Finish by blending the outer base of the center into surrounding petal bases with the small ball tool to secure and smooth transitions.
Step 5: Final Touches
- Inspect the assembled flower for shifted petals or uneven edges and correct with silicone or ball tools.
- If studs or dangles are desired, decide whether to:
- Embed a post or loop prior to baking (recommended for best mechanical attachment), or
- Attach findings post-bake using strong jewelry adhesive.
- Clean the pendant surface of fingerprints and stray clay bits before baking.
Baking and Finishing
- Bake according to Fimo Soft instructions, using an oven thermometer to maintain correct temperature and timing.
- Allow the piece to cool fully on a flat, heatproof surface before handling or sanding.
- Lightly sand any rough spots with fine-grit sandpaper; use very gentle pressure near thin petal tips.
- Optional: Apply a thin coat of satin or gloss sealer as desired — a satin finish keeps a natural floral feel, while gloss highlights petal curvature and color.
Helpful Tips
- Consistent petal sizing is key to symmetry — consider a simple template or repeat shaping with the same tool.
- Work on paper so you can rotate the base and view from all angles without touching the piece.
- Embedding metal findings before baking creates the strongest attachment; if gluing after baking, choose a high-quality epoxy for jewelry use.
- If a petal tears or distorts, smooth the tear with a ball tool and add a thin clay patch beneath to reinforce before continuing.
Troubleshooting
- If petals separate after baking: ensure the base-to-petal blend was sufficient and center anchor reached petal bases; next time embed or press more clay into junctions.
- If the center sinks during baking: use slightly firmer packing for the center and avoid over-thinning petal bases.
- If edges darken or scorch: reduce oven temperature slightly and extend bake time if necessary, using an oven thermometer to confirm.
Variations and Applications
- Change the petal color for seasonal palettes (pastel for spring, deep red for autumn).
- Scale the design up for brooches or down for studs by adjusting petal size and base diameter.
- Combine with mica powders, pastels, or translucent clay layers to create center textures or subtle tinting.