Fun DIY Polymer Clay Earrings Ideas for Custom Accessories
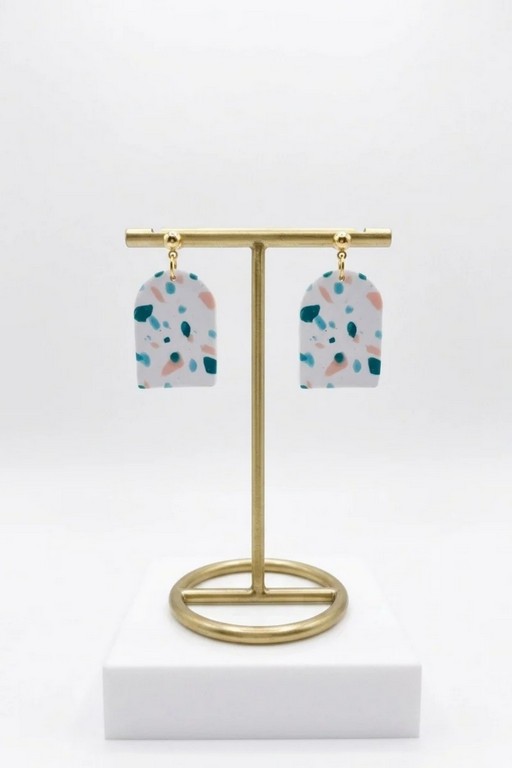
DIY Polymer Clay Earrings Ideas offer a simple way to make unique, stylish accessories that perfectly reflect your personal style and taste.
Making your own earrings is not only a fun craft but also a way to express your style. This project lets you explore creative designs using polymer clay to craft lightweight, colorful earrings that are perfect for any occasion. Whether you prefer simple shapes, bold patterns, or cute details, the options are limitless. Even if you’re new to crafting, this is an easy and rewarding activity that anyone can try.
Easy DIY Polymer Clay Earrings Ideas to Try Today
Polymer clay is ideal for making earrings because it’s simple to work with, comes in endless colors, and can be shaped into almost anything. You can try creating hoops, studs, or dangly designs, and finish them with textures like marbling or layering. Once baked, the clay hardens into a durable piece, ensuring your earrings are as practical as they are stylish. With just some basic tools and a little creativity, you can transform plain clay into stunning accessories.
By trying out this craft, you’ll discover endless DIY polymer clay earring ideas to match your wardrobe or gift to your loved ones. Plus, making jewelry at home is an affordable way to experiment with trends and create something truly unique. From minimalistic designs to statement pieces, you’ll have fun crafting earrings that showcase your personality and creativity while learning a new skill to enjoy over and over again.
What Are We Making?
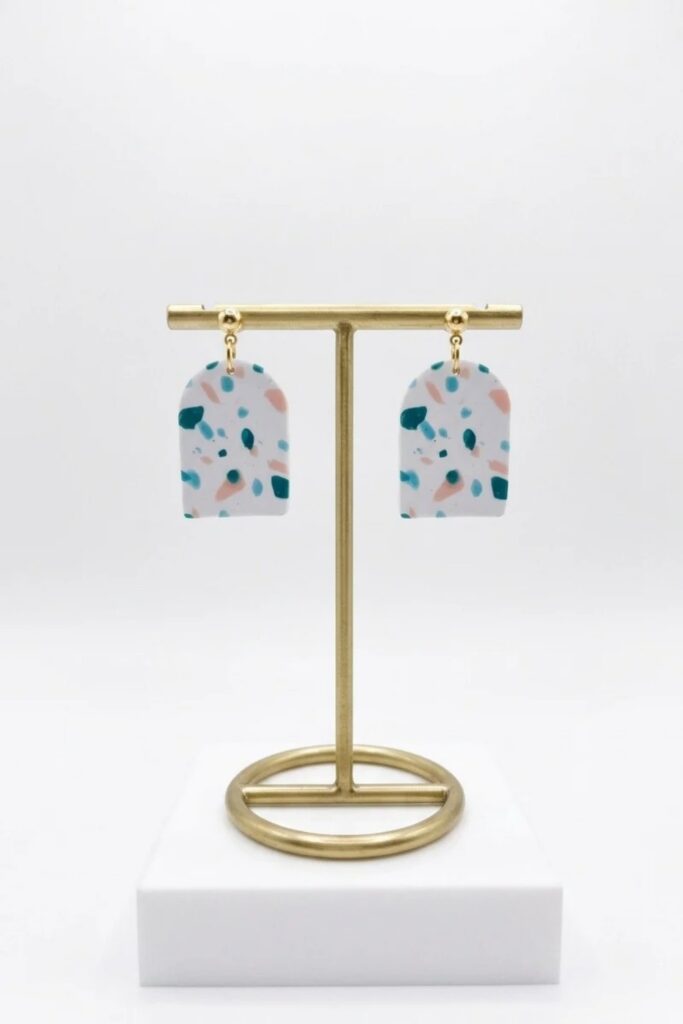
A beginner‑friendly pair of polymer clay earrings using a terrazzo slab technique. This tutorial walks through recommended clay brands, conditioning methods, creating consistent slabs, embedding chips for terrazzo effect, cutting shapes, safe baking, drilling, attaching findings, sanding, sealing, and personalization so you can produce wearable, durable earrings.
Materials at a Glance
- Polymer clay: Sculpey Premo, Souffle, or Cernit (avoid Sculpey III for earrings).
- Clay colors: white base plus three chip colors; optional accent colors.
- Ceramic tile (bakeable) or baking tray with foil, parchment if not using a tile.
- Jewelry findings: earring posts, jump rings (6–7 mm common), hooks, eye pins.
- Drill (rotary or hand drill) and fine drill bits.
- Sandpaper (grits 220 → 400 → 600), needle files, small brushes.
- Craft varnish or UV resin for sealing (optional).
- Acrylic roller, depth guides, clay machine (optional), cutters, precision knife.
Tools You’ll Need
- Acrylic rolling pin or pasta/clay machine for conditioning and consistent slabs.
- Depth guide dowels or adjustable guides to control thickness.
- Precision knife, long blade, metal or 3D printed cutters for shapes.
- Ceramic tile for directly baking pieces; oven thermometer for accurate temperature.
- Drill and jewelry pliers for attaching findings and finishing hardware.
- Small workspace mat, clean hands, soft cloth to wipe dust.
Things to Know Before Starting
- Baking guideline: many polymer clays cure around 130°C (266°F) for ~30 minutes per 6 mm thickness, but always follow manufacturer specs and use an oven thermometer.
- Conditioning: clay must be pliable and homogeneous; well‑conditioned clay folds without cracking. Conditioning time varies by brand and room temperature.
- Use a tile to bake to avoid warping; if using a tray, cover with foil to protect from direct heat spikes.
- Weight considerations: keep earring pieces lightweight for comfort; thin slabs help reduce weight but follow recommended bake times.
Let’s Get Started
Step 1: Get Ready
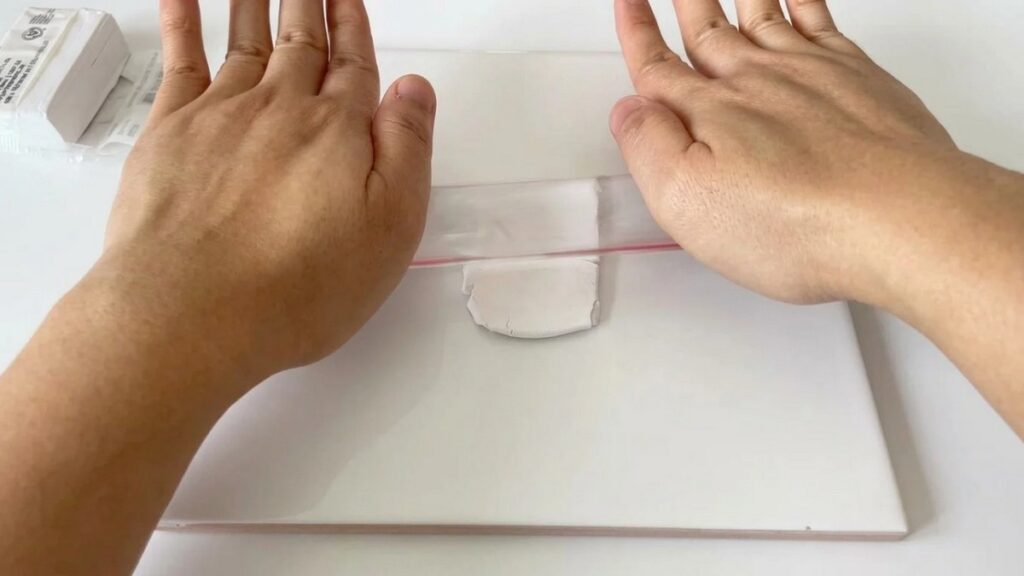
- Condition clay:
- Method A: Hand‑condition by kneading and rolling with an acrylic roller until soft, then fold and repeat until no visible streaks.
- Method B: Use a pasta/clay machine; pass clay through several times until soft and even—this is faster and great for batches.
- Prepare slab:
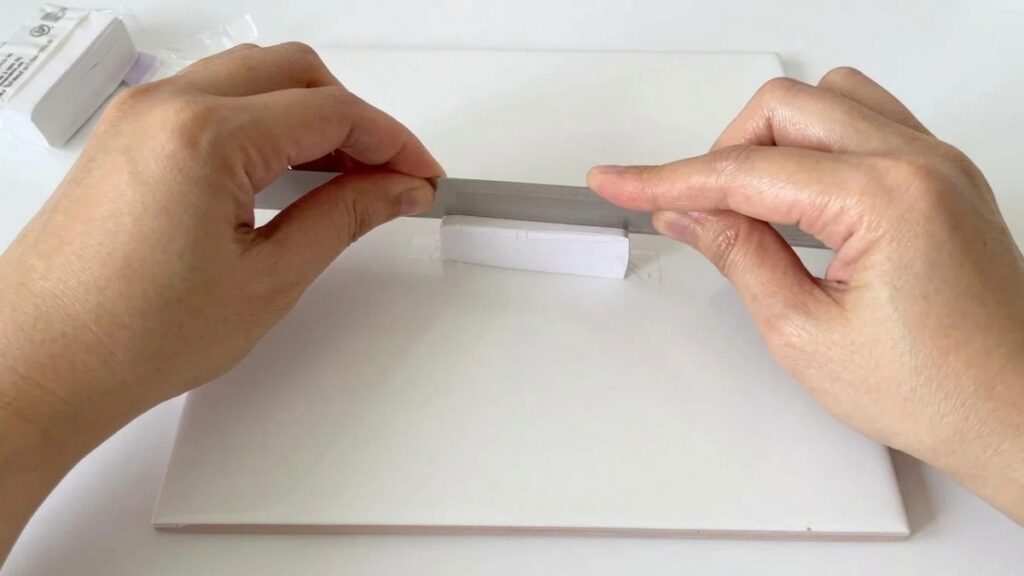
- Place depth guides on either side of the clay and roll to a consistent thickness. Typical earring slabs range from 1.5–3 mm depending on design and weight.
- Keep workspace clean and free of lint to avoid embedded dust.
Step 2: Make the First Part
- Create terrazzo base:
- Condition a white base slab to your chosen thickness.
- Make chips by slicing small fragments from colored clays; vary sizes for visual interest (tiny specks to small chips).
- Randomly press chips onto or into the white slab, spacing for balance. Lightly roll over with the roller to partially embed chips—don’t flatten them fully to retain texture.
- Cut shapes:
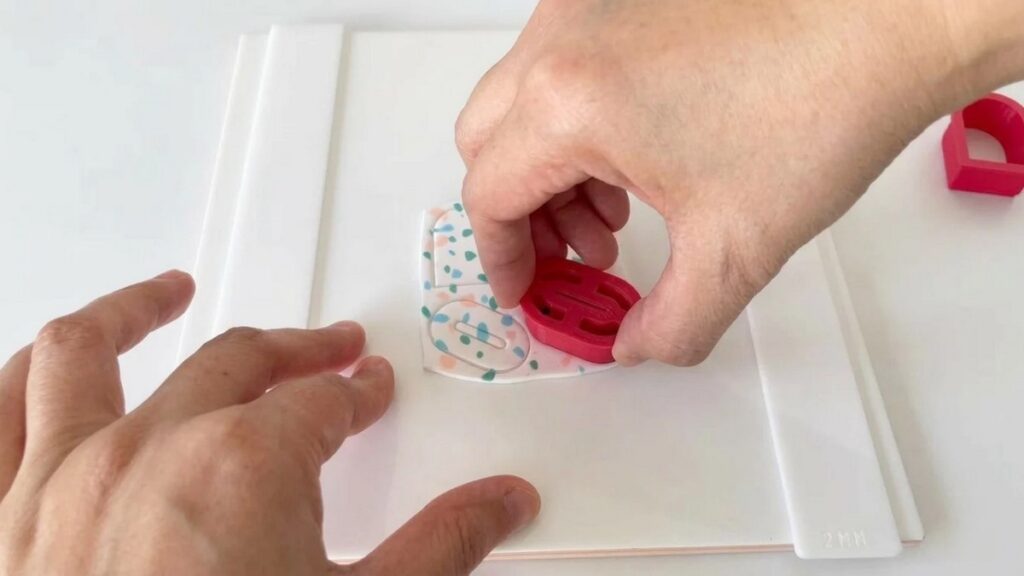
- Use cutters or a precision knife to cut your earring silhouettes. Trim stray bits and round edges as needed. Keep pairs matched by stacking two slabs and cutting together if possible.
Step 3: Continue the Pattern
- Refine design:
- Test chip distribution on scrap to ensure even color spread and avoid clustering.
- For multi‑layer or geometric designs, adhere thin slabs by pressing and smoothing seam lines before cutting final shapes.
- Consider cutouts, negative space, or layered shapes for interesting silhouettes.
Step 4: Put the Pieces Together
- Baking:
- Preheat oven to manufacturer recommended temperature; use tile for baking.
- Place pieces on a ceramic tile with enough space; bake according to thickness and brand instructions. Monitor with an oven thermometer to prevent overheating.
- Allow pieces to cool fully on the tile—cooling stabilizes structure and prevents warpage during handling.
- Drilling and findings:
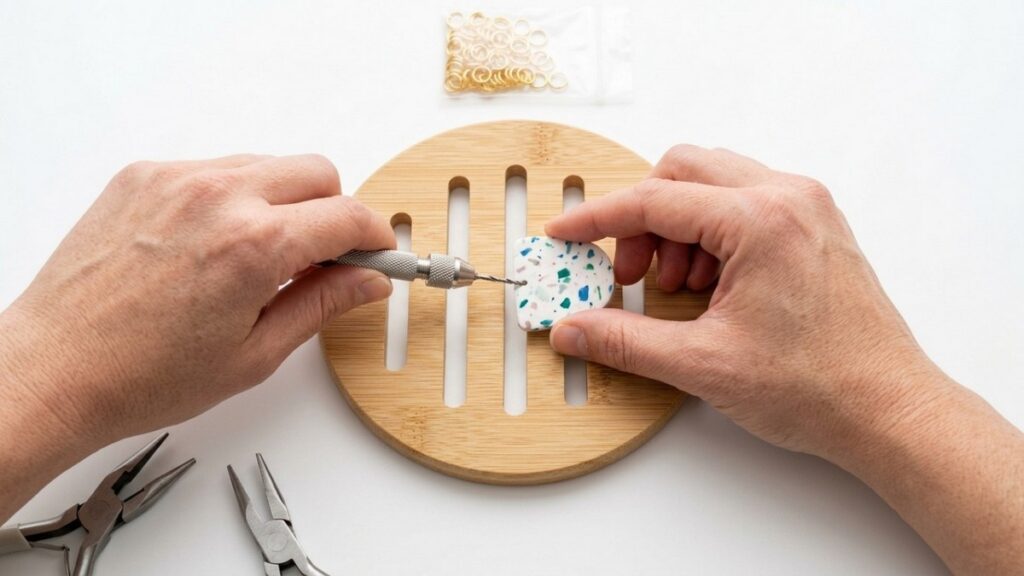
- Mark drill points with a needle; clamp piece to soft foam to support.
- Drill at low speed with a fine bit to make clean holes; avoid pressure that could crack edges.
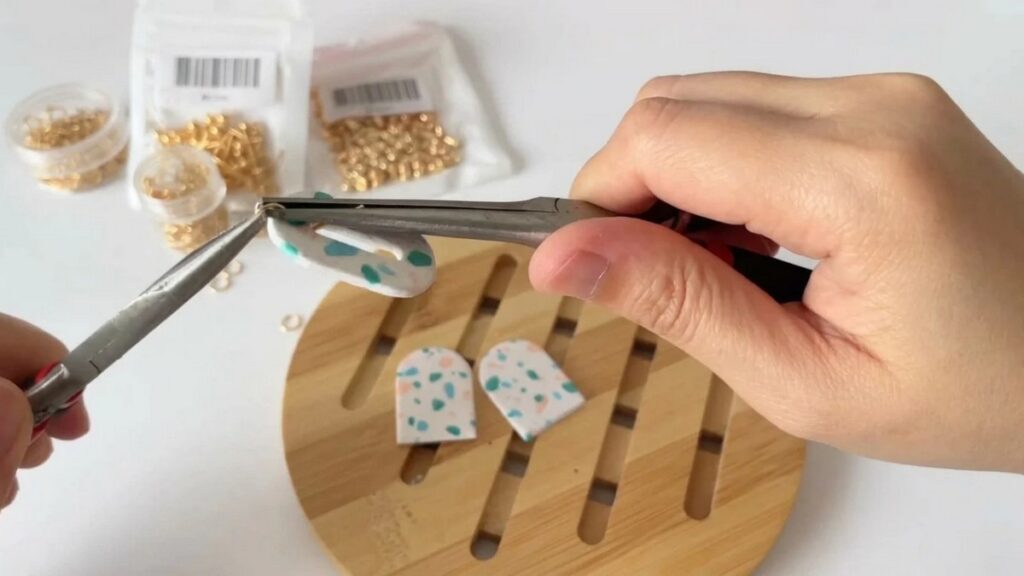
- Attach jump rings, posts, or hooks using pliers; close jump rings securely for wearability.
Step 5: Finish the Design
- Sand and smooth:
- Start with 220 grit to remove major imperfections, progress to 400 then 600 for a fine finish. Use needle files for small curves and hole interiors.
- Wipe dust with a damp cloth before sealing.
- Seal or glaze:
- Apply a thin coat of clay varnish for a soft sheen or use UV resin for a high‑gloss finish. Test varnish on scrap to check for yellowing.
- With resin, cure in short passes and follow safety and ventilation recommendations to avoid fumes and heat damage.
Easy Finishing Tips
- Bake on ceramic tiles for even heat distribution and minimal warping.
- Drill slowly and support pieces to avoid chipping or cracking.
- Always test seals and varnishes on scrap pieces for desired sheen and compatibility.
- Keep earring weight low by maintaining thin slab thickness for longer wear comfort.
Common Beginner Mistakes
- Under‑conditioning clay, causing cracks during manipulation.
- Baking without preheating or at incorrect temperatures leading to undercure or burning.
- Drilling too fast or without support, causing chipped holes.
- Overapplying varnish causing drips or pooling; apply thin even coats.
Ways to Personalize It
- Marbled or gradient bases from blended colors, or add mica powders for shimmer.
- Incorporate tiny inlays like metallic leaf, translucent chips, or stamped patterns.
- Use mixed finishes—matte base with glossy accents—for contrast.
- Hand‑paint details for bespoke motifs after baking.
Final Look
- Finished earrings should display even chip distribution, smooth edges, secure findings, and a finish that matches your aesthetic—matte or glossy. Photograph in natural light to show true color. Note your clay brand, slab thickness, bake temperature, and jump ring size for consistent future results.
Follow these steps carefully and practice with scraps to refine technique. Enjoy making your first wearable polymer clay earrings!